

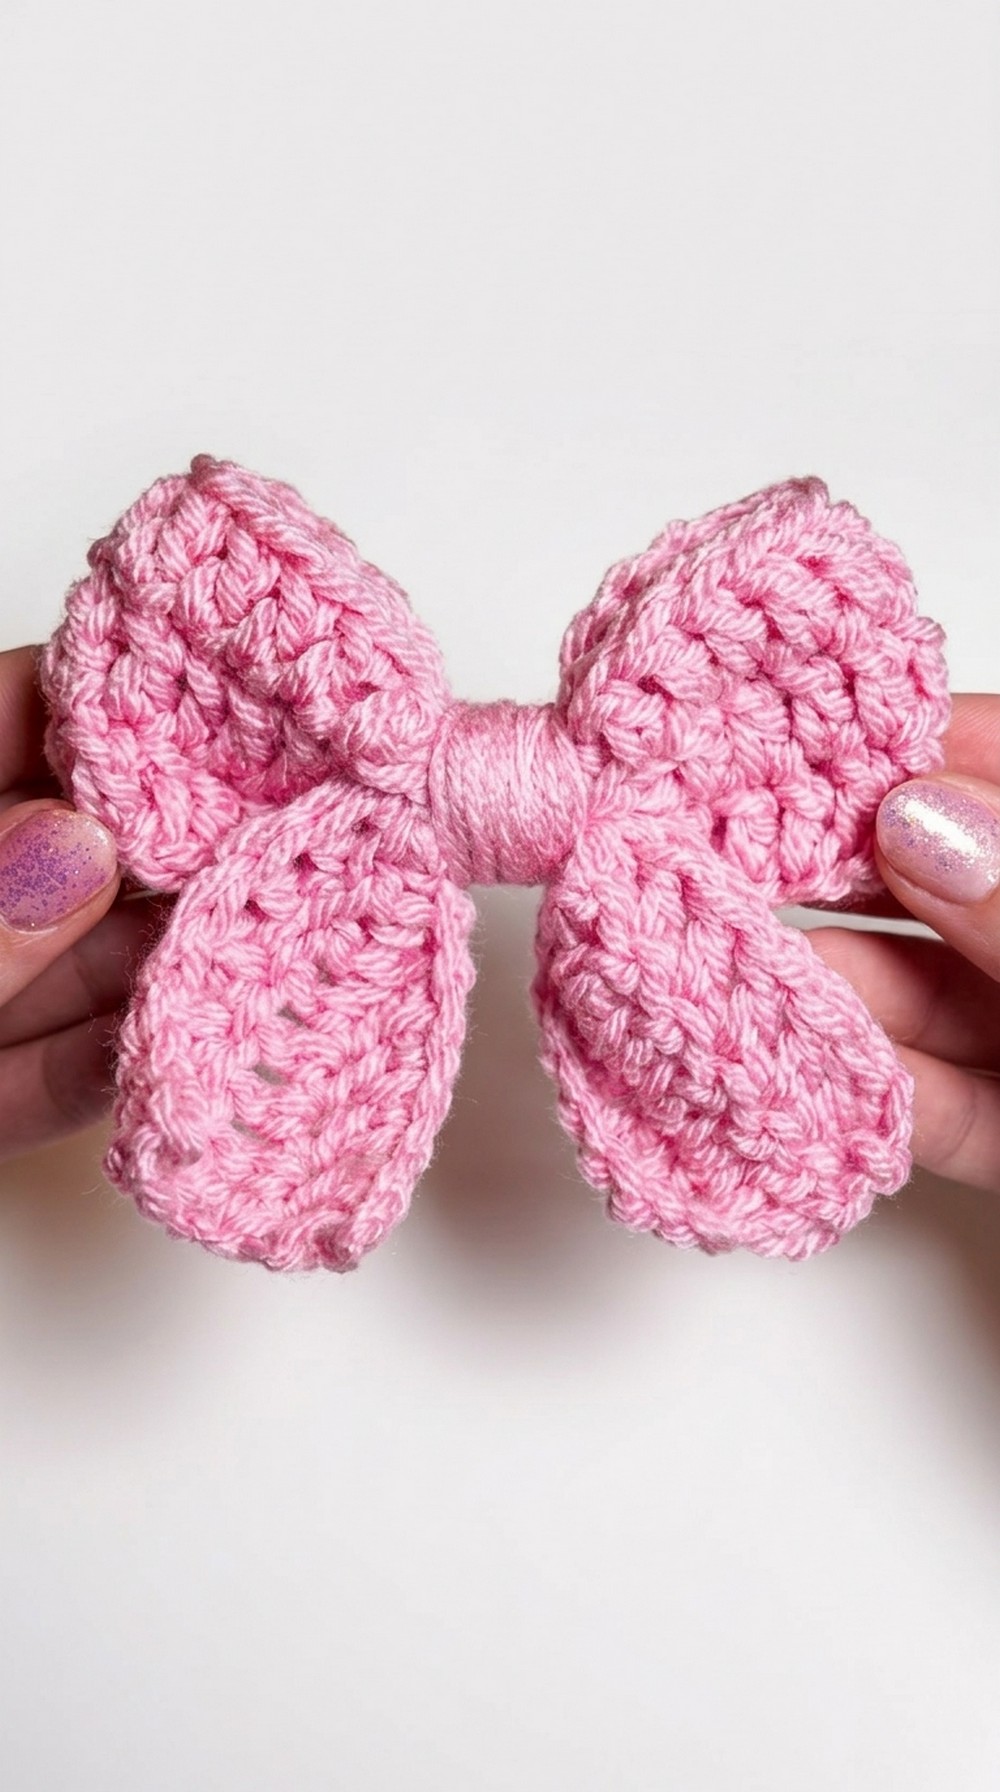
Beautiful Handmade Crochet Bow Pattern for You
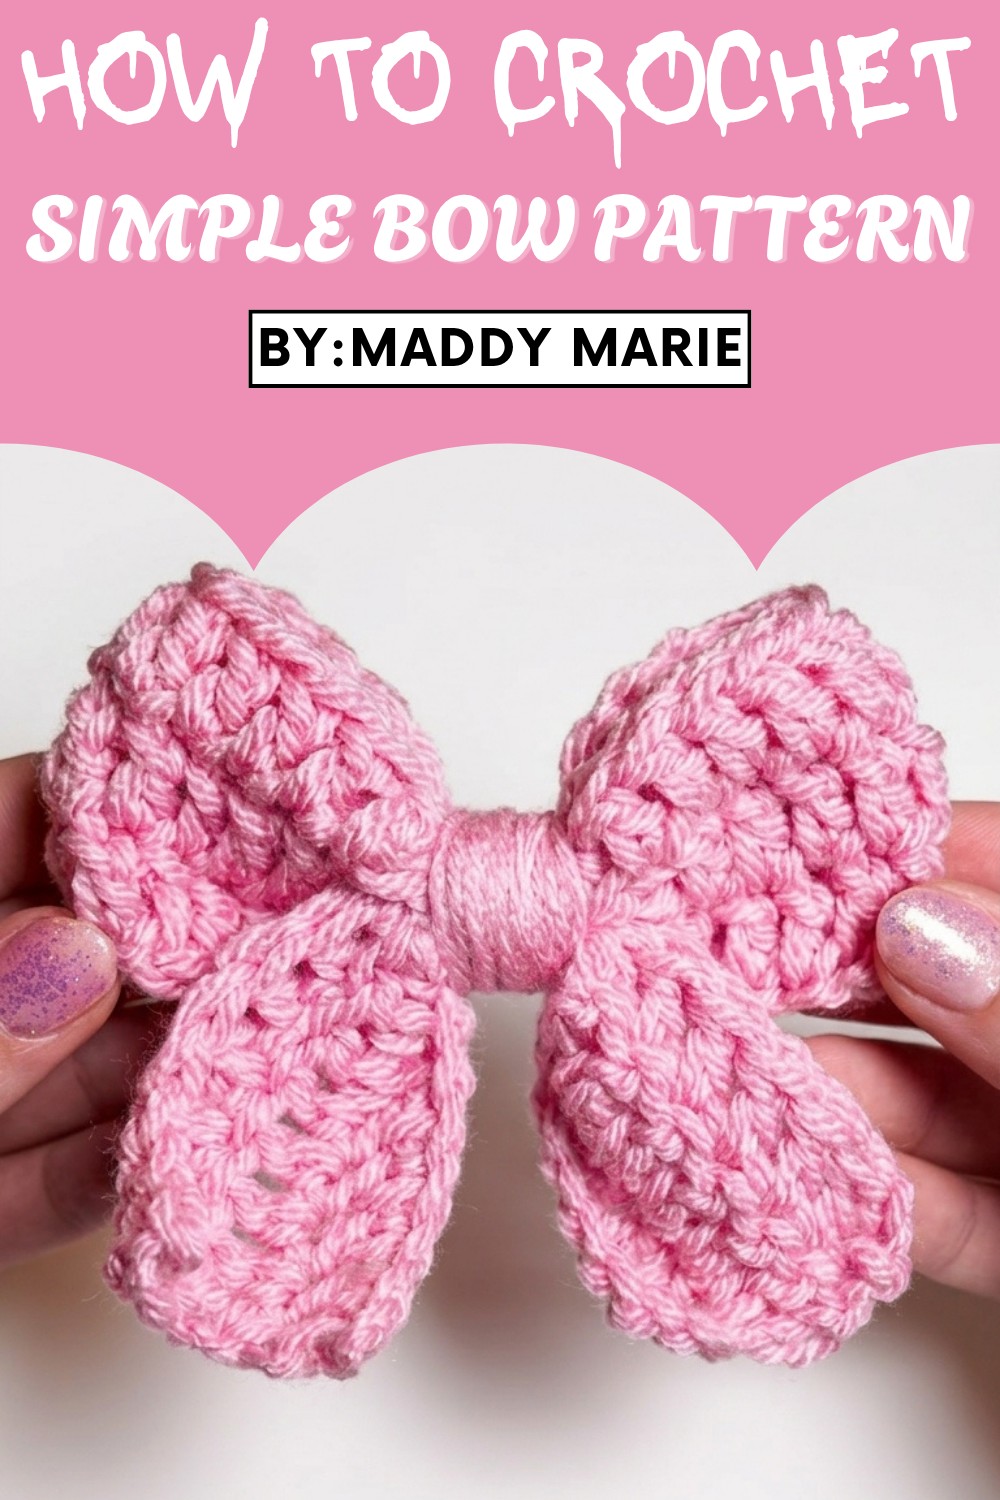
Simple adjustments in color or yarn type let you customize the bow to match any occasion or personal preference. With just a few basic materials, you can crochet something truly special and add a splash of personality to your creations. It’s a quick project, ideal for beginners and perfect for crocheting a thoughtful gift or putting your creativity to good use on a quiet afternoon.
This small bow pattern is more than just a project; it’s a skill booster and a confidence builder for anyone new to crochet. Whether for practical use or just decoration, it brings impact with minimal effort. An easy pattern, a smooth flow, and an elegant finish make this bow an absolute must-try for all crochet enthusiasts.
Level of Difficulty:
Beginner
This is ideal for those new to crochet, as it uses simple stitches like chains, slip stitches, and double crochets.
Materials Needed:
- Yarn: Medium-weight acrylic yarn (recommended: “I Love This Yarn” for its soft texture).
- Crochet Hook: Size 5mm.
- Scissors
- Yarn Needle
Step-by-Step Crochet Bow Pattern
Bow Part
1. Start With a Slip Knot:
- Take the tail end of your yarn and hold it in your left hand.
- Cross the strand over with your right hand to make a loop.
- Place your fingers through the loop, grab the long strand, and pull it up. Tighten the slip knot and place it on your hook.
2. Make Your Base Chain (30 Chains):
- Yarn over and pull the strand through the loop on your hook.
- Repeat this process until you have 30 chains.
3. Create a Ring:
- Make a slip stitch into the very first chain to form a ring.
- Ensure your chains are not twisted before inserting your hook into the first chain.
- Yarn over, pull the strand through the chain, and pull it through the loop on your hook to create the ring.

4. Round 1 - First Row of Double Crochets:
- Chain 2 to start the round.
- Skip the first chain and make a double crochet in the next chain:
- Yarn over, insert your hook into the chain, yarn over, and pull up a loop (three loops on the hook).
- Yarn over, pull through two loops. Yarn over again, pull through the last two loops.
- Continue making one double crochet in each chain all the way around the circle.
- End the round with a slip stitch into the top of the first double crochet.

5. Round 2 and 3 - More Double Crochet Rows:
- Start each round with a chain 2.
- Skip the first double crochet from the previous row, and make one double crochet in each stitch around.
- Finish each row with a slip stitch at the top of the first double crochet of the round.
- After completing three rows of double crocheting, fasten off your yarn by leaving a long tail (to wrap around the bow center later).
6. Sew in the Loose Tail:
- Use a yarn needle to weave the small tail of yarn through the stitches.
- For better security, weave the yarn in both directions before cutting off the excess.
Bow Tails
1. Start With the Foundation (18 Chains):
- Make a slip knot (same process as above).
- Make a base of 18 chains.
2. First Row:
- Make a double crochet in the 4th chain from the hook.
- Continue making one double crochet in each chain down the row.
3. Rows 2 and 3:
- Chain 2 at the start of each row and turn your work.
- Make a double crochet in the second stitch from the chain.
- Continue making double crochets across the row.
- At the end of each row, make an extra double crochet in the top of the chain 2 to ensure flat edges for the bow tail.
- Once the 3rd row is complete, fasten off the yarn, leaving a short tail to sew in later.


4. Sew in the Bow Tail Ends:
- Using a yarn needle, weave the short tails through the stitches and trim the excess.
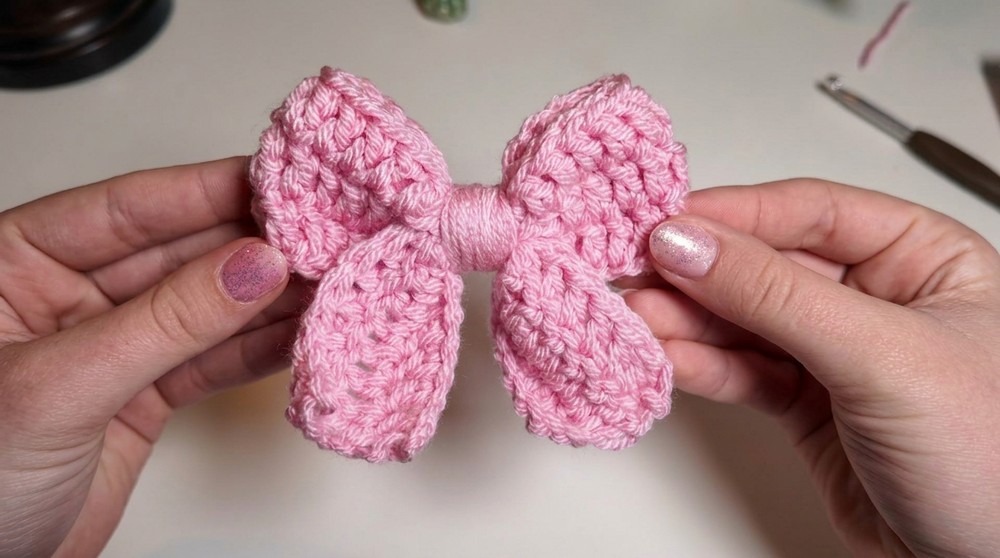
Putting It All Together
1. Fold the Bow:
- Fold the bow section in half, ensuring the tail of yarn is in the center.
2. Attach the Bow Tail:
- Position the bow tail underneath the folded bow. Adjust its placement until both pieces are properly centered.
3. Wrap the Center:
- Using the long tail from the bow, wrap it tightly around the center of the bow multiple times. This creates a secure “knot” look in the center while holding both bow and tail parts in place.
4. Secure the Wrapping:
- Flip the bow over and thread the remaining yarn tail through a yarn needle.
- Use the needle to weave the yarn around the center section from the backside. This ensures that the wrapping stays tight and secure.
- Trim the excess yarn once you're confident in the stability.
Special Features
- Versatility: These bows can be used as keychains, or with a magnet on the back, as refrigerator decorations. Other uses include embellishing hats, bags, or gift wraps.
- Beginner-Friendly: With repetition of simple stitches, this pattern is accessible to those new to crochet.
Tutor's Suggestions:
- Use Soft Acrylic Yarn: Recommended for its texture and durability.
- Choose Fun Colors: Experiment with various shades to match your style and projects.
- Cut Longer Tails: It’s better to have extra yarn for wrapping the center than not enough.
Tips for Success:
Always ensure your edges are clean by making extra double crochets at the end of chain rows. This small technique elevates your finished piece to look more polished!
Conclusion:
Congratulations! You’ve crocheted your very own crochet bow. Its beginner-friendly design and versatile uses make this project truly special. Whether gifted or kept as keepsakes, these bows are sure to add charm wherever placed.


Leave a Reply