

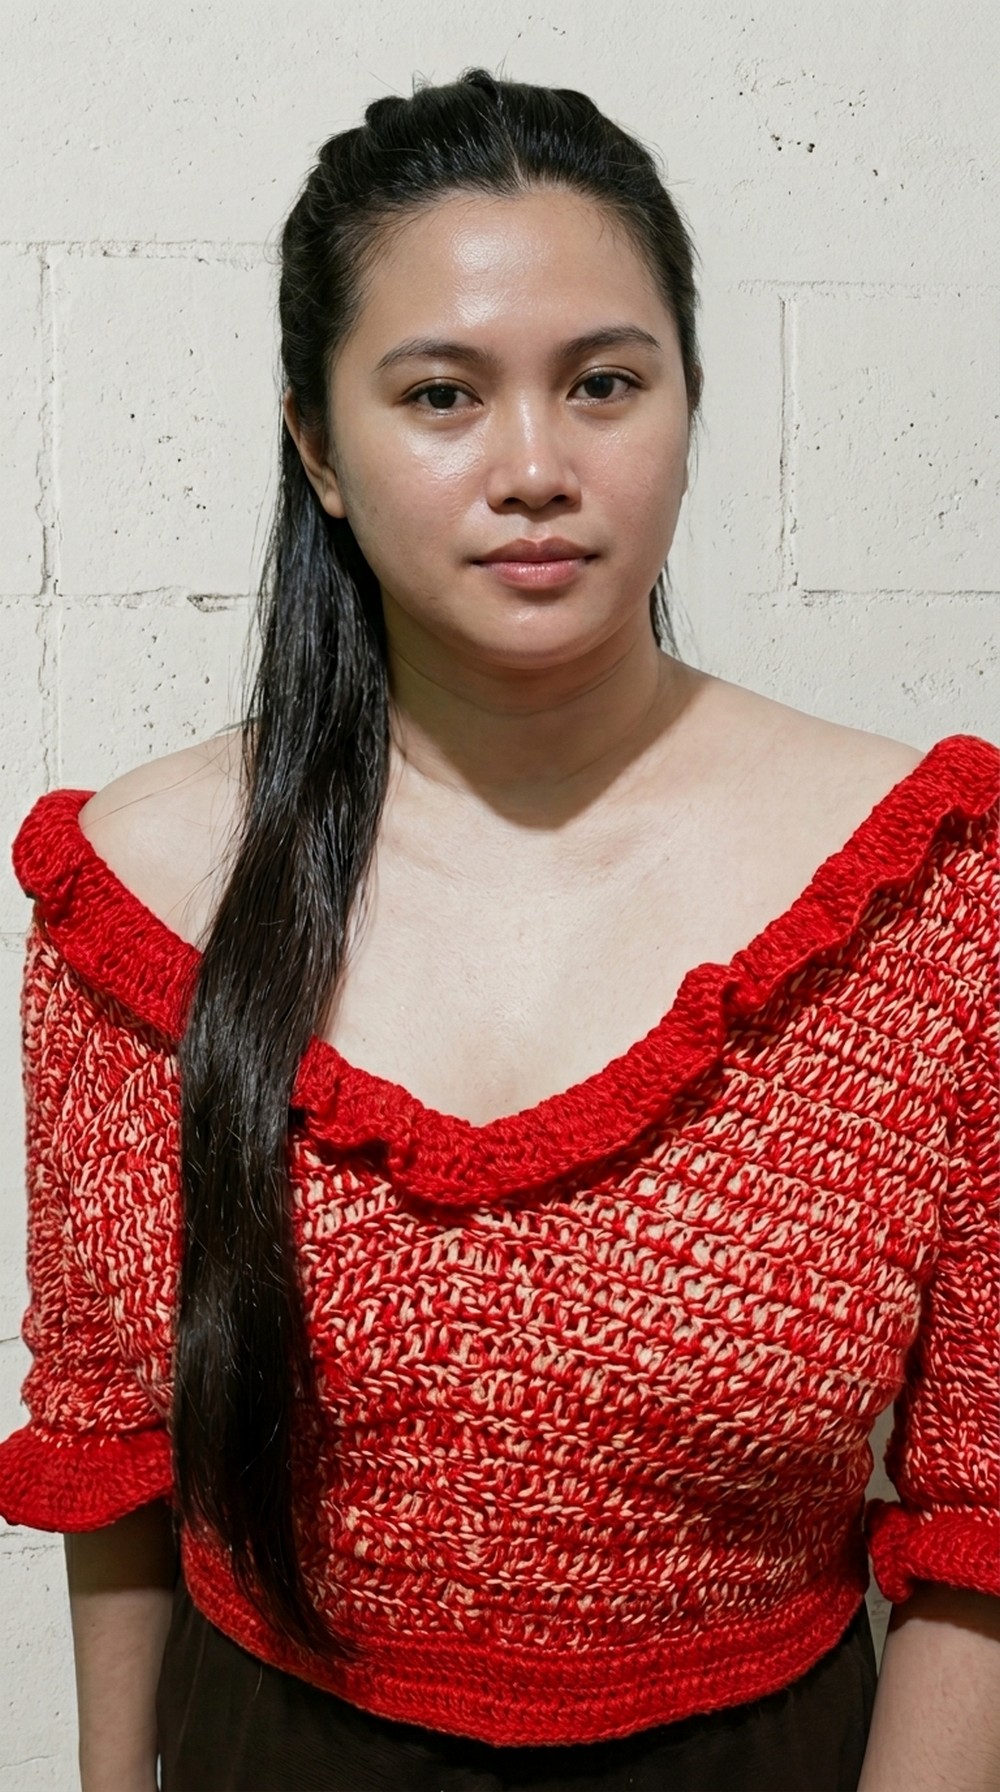
Create stunning looks with this free crochet off shoulder ruffled top pattern that’s easy, elegant, and perfect for adding a touch of charm to any outfit.
There’s something special about wearing a top that makes you feel stylish and confident with minimal effort. A crochet off-shoulder ruffled top is a stunning example of simple beauty combined with charm. The off-shoulder design elegantly highlights the shoulders and neckline, while the soft ruffled edges give it a delicate and feminine touch.
Free Crochet Off-Shoulder Top Pattern for Warm Weather Days
Its lightweight and breathable material make it perfect for warm weather, offering both comfort and style. This top can be paired effortlessly with jeans, skirts, or shorts, making it versatile for various occasions, from casual outings to special gatherings. The intricate crochet design adds a timeless and artistic appeal, ensuring it stands out wherever it’s worn. Whether dressing for a casual day or adding flair to an evening look, this top combines comfort and beauty in the most delightful way, making it a favorite piece that suits any wardrobe.

Crochet off shoulder Ruffled top Pattern
Materials
- Yarn: Medium weight (Category 4) yarn (choose a soft yarn with good drape, e.g., acrylic or cotton blend)
- Hook: Crochet hook (size H/8, 5.0mm suggested)
- Optional: Stitch markers, measuring tape, yarn needle for weaving ends, scissors
Skill Level
Intermediate to Advanced: This pattern involves creating a panel with increases, decreases, and seamless sleeve construction. Familiarity with double crochet (dc), half double crochet (hdc), and basic garment shaping is expected.
Key Abbreviations (in US Crochet Terminology)
- ch: chain
- dc: double crochet
- hdc: half double crochet
- st: stitch
- sl st: slip stitch
- yo: yarn over
- inc: increase
- dec: decrease
Special Notes
- Chain 2 at the beginning of a row counts as the first dc unless stated otherwise.
- This project is worked in turning rows unless specified.
- Take care to count your stitches at the end of each row to maintain alignment and prevent unintentional increases or decreases.
- Adjust the yarn type, hook size, and starting chain length if resizing.
Pattern Instructions
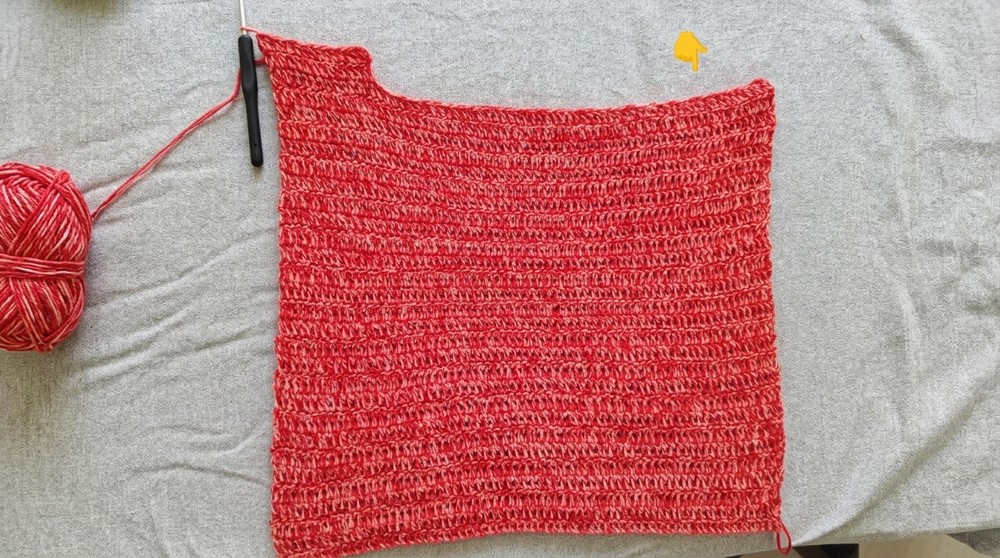
Foundation Chain (Main Panel)
- Start by chaining 37.
- Row 1: Dc into the 3rd ch from the hook. Continue to dc in every ch across. You should have 35 dc at the end of Row 1.
- Turn your work, ch 2.
- Rows 2–10: Dc in every stitch (35 stitches). At the end of the 10th row, count your rows to ensure you have completed 10 rows in total.
Row 11: Increasing Row
- Ch 2 and turn your work.
- Skip the first st, dc in the second st. Continue dc in every stitch across. This increases the panel slightly.
- Row 12: Ch 2, turn your work, and dc starting in the first stitch. Continue dc in every stitch until the third-to-last stitch. Leave the last 2 sts unworked (this is a decrease row).
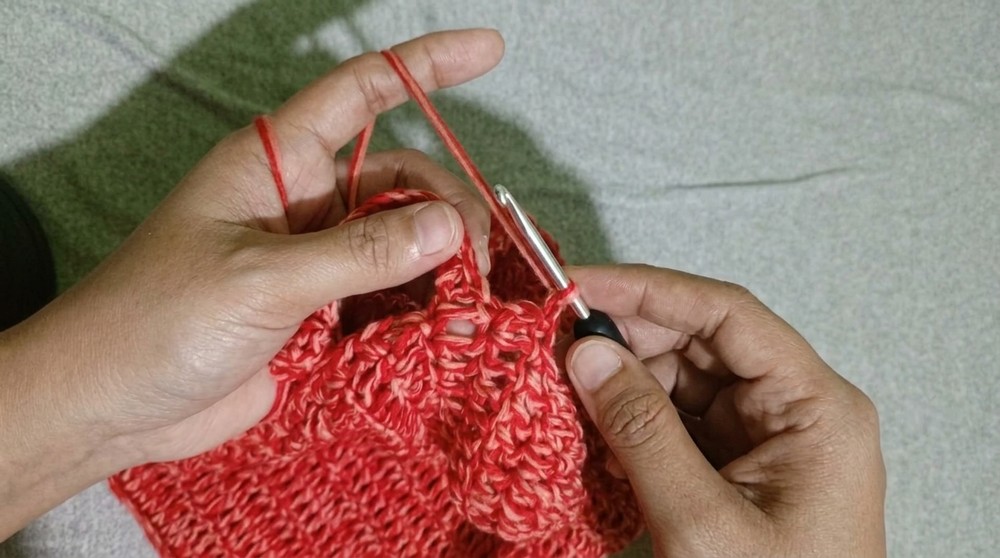
Rows 13–End of Panel: Decreasing Pattern
- Ch 2 and turn your work. Begin following a decreasing pattern: Yo, insert hook into 2nd st, and dc decrease two stitches together.
- Continue your dc across the row as normal, decreasing in this manner at the start and end of rows, matching the total stitch count reduction strategically.
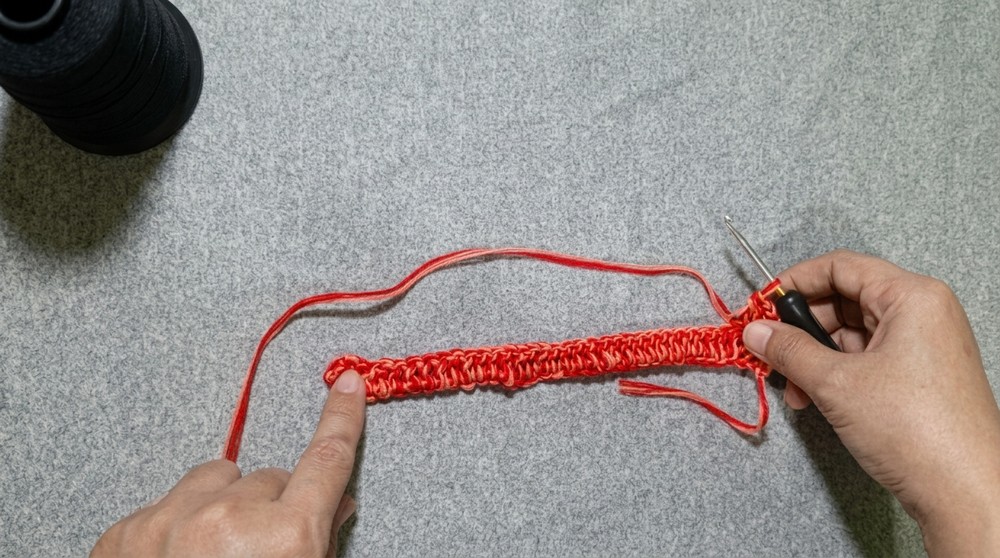
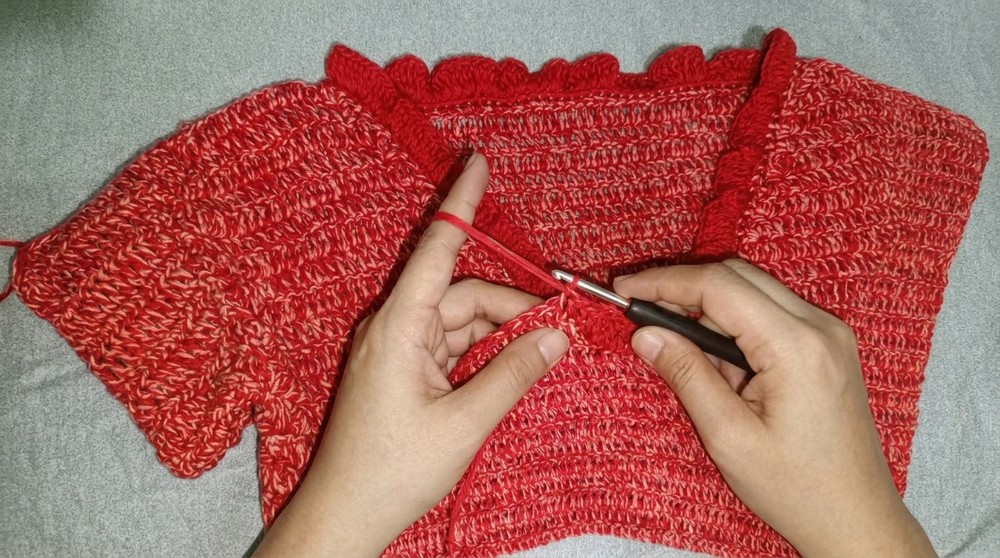
Sleeve Construction
- Once the main panel is complete, create the sleeve by attaching yarn to the back panel.
- Attach by inserting your hook into the edge stitch of the back panel.
- Ch 26 for the sleeve foundation chain.
- Row 1 (Sleeve Foundation Row): Dc into the 3rd ch from the hook. Continue dc in each ch and into the connecting st on the panel (total of 25 dc plus 1 dc into panel = 26 dc).
- Slip stitch (sl st) to the panel to secure. Turn your work and ch 2.
Increasing for Sleeve:
- Row 2: Begin working hdc starting in the first st, increasing evenly by adding extra stitches at each end of the first few rows for a slight flare.
- Rows 3–5: Continue working hdc across while increasing as needed to achieve sleeve width.
Shaping the Sleeve Cap:
- To shape the sleeve cap, dc decrease every 2 sts together across the next rows.
- Continue following the decreasing pattern symmetrically until the desired sleeve cap shape is achieved and fits the armhole.
Joining Pieces
- Sew or crochet the side of the panel and underarm seam of the sleeve seam together.
- Fasten off and weave in ends neatly.
Ruffles
- R1: 1sc
- R2: 2dc tog to stitches and 3dc tog to te next (Repeat until to the last)
- Final row: 1dc to every Stitches
Conclusion
This pattern is suitable for an intermediate-to-advanced crocheter due to the shaping, increasing, and decreasing techniques involved. The finished piece should resemble a tailored panel with one or more sleeves. Adjustments for sizing can be done by altering the foundation chain in increments of stitches and matching the decrease and increase patterns accordingly.
Pattern Correction
Based on the provided pattern, there were some unclear sections. As a result:
- The decreasing description was slightly ambiguous. The finalized pattern uses standard dc2tog (double crochet two together) decreases wherever decreases were intended.
- The sleeve length and tapering can vary depending on the user’s preference. Ensure symmetry and consistency in both sleeves.
Tips for Success
- Use stitch markers at the beginning and end of rows to maintain straight edges.
- Block your final work to shape the garment panel and sleeves neatly.
- Experiment with contrast-colored yarn for the sleeves or borders for additional visual interest.


Leave a Reply