

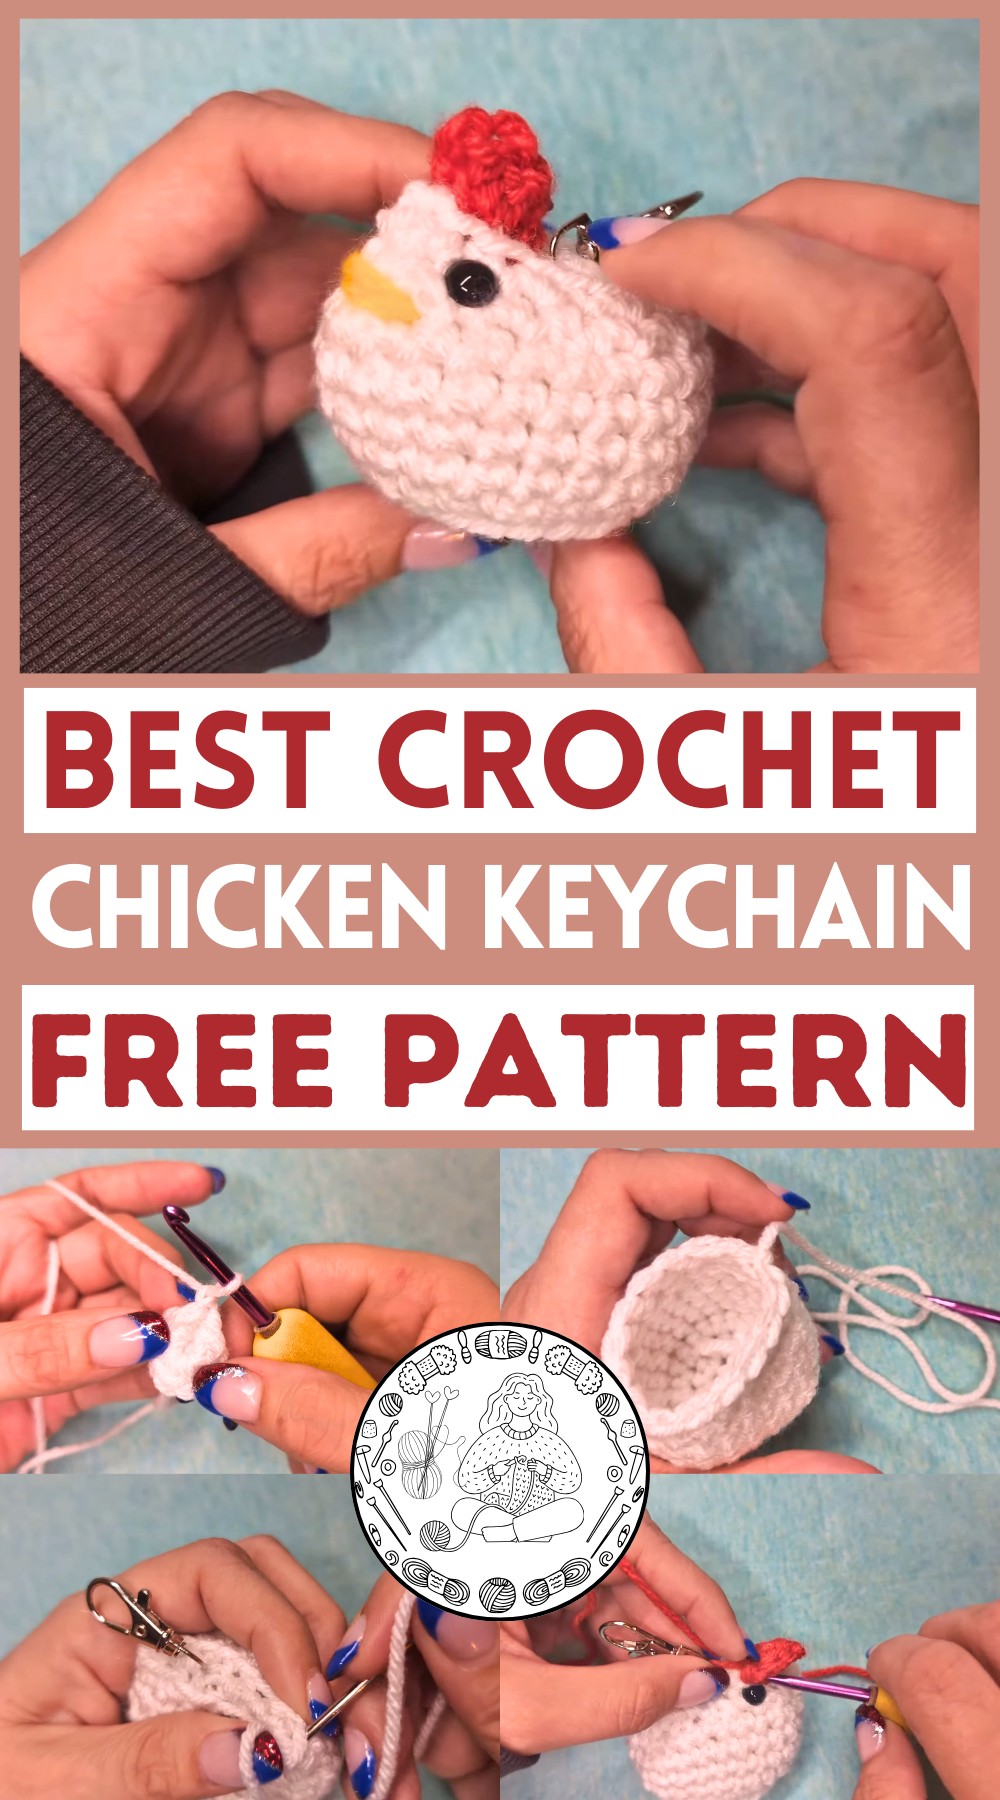
Bring charm to your keys with this Free Crochet Chicken Keychain Pattern, a cute and practical accessory perfect for bags, backpacks, and daily use.
Tiny accessories have long held a special place in daily life, offering both charm and function in small, delightful forms. Among them, Crochet Chicken Keychain have captured attention for their ability to brighten everyday routines while keeping essentials organized. Chicken-shaped trinkets, in particular, have become a favorite, combining whimsy with practicality. Their compact size allows them to hang effortlessly from keys, backpacks, or purses, serving as cheerful reminders of home, nature, or simple joys.
Joyful Crochet Chicken Keychain Pattern Perfect for Essentials
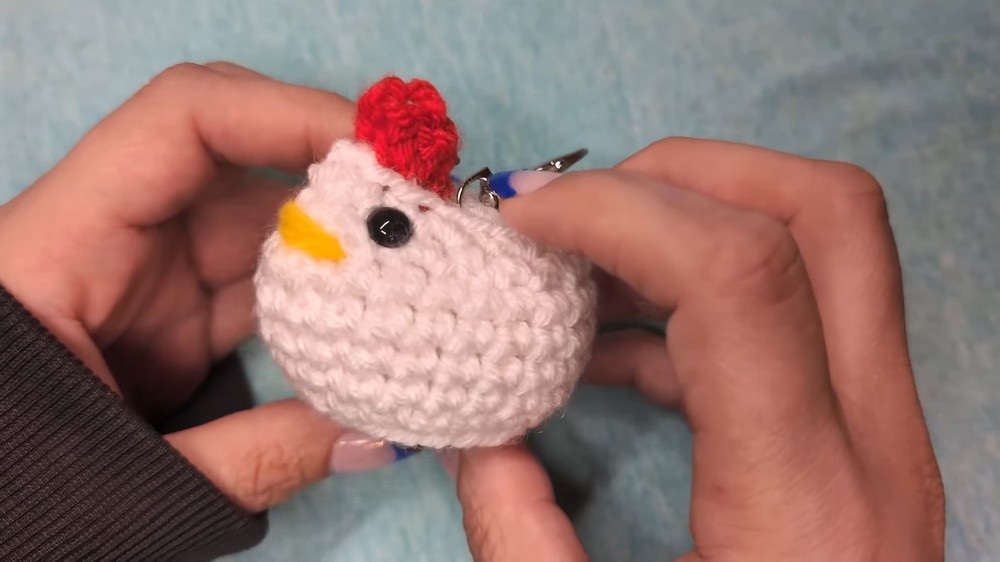
This chicken keychain project is not only visually appealing but also highly functional. Lightweight yet sturdy, it keeps keys or small items secure while adding a playful touch to everyday essentials. Its petite construction makes it ideal for gifting, swapping, or personal use, bringing a handcrafted element to a functional object.
The process begins with forming the base body, working through simple rounds that shape the chicken with balanced proportions. Details such as wings, comb, and tail are added gradually, using basic stitches that introduce subtle texture and dimension. Once the main components are assembled, a keyring is attached securely, ensuring durability for daily use.
Special Features of the Keychain
- Beginner-Friendly: This tutorial is designed with clarity and simplicity, ideal for new crocheters.
- Customizable Colors: You can use various yarn colors to suit your creativity—white, tan, brown, or even vibrant shades.
- Unique Keychain Design: The tutorial includes how to attach the keychain clasp directly to the chicken, making it both functional and adorable.
- Compact and Lightweight: The finished keychain is small enough to carry but sturdy enough to last.
Materials Needed
- 4-ply worsted weight yarn for the chicken’s body (e.g., white).
- Chunky yarn (size 5) for the beak.
- Red yarn for the comb (top part of the chicken).
- Crochet hook: 4.75mm.
- Fiberfill for stuffing.
- Safety eyes: 8mm size.
- Keychain clasp: To attach to the chicken.
- Darning needle: For sewing and finishing.
- Stitch marker (optional).
- Scissors and lighter (for securing safety eyes).
Step-by-Step Instructions
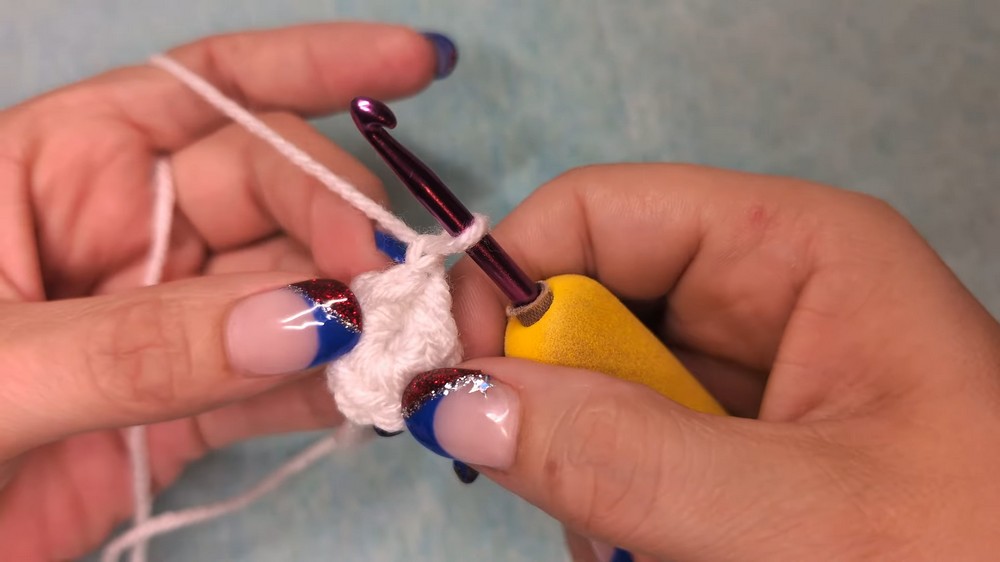
Step 1: Create a Base with a Magic Ring
- Start by creating a magic ring and crocheting 8 single crochets into the ring.
- Pull the ring tight and turn the work inside out for seamless stitching.
- Slip stitch into the first single crochet and chain one to secure.
Step 2: Begin Increase Rounds
- Round 2: Add two single crochets into each stitch around, increasing the total count to 16.
- Round 3: Alternate between one single crochet and two single crochets into the next stitch all around. This increases the total count to 24.
3: Add the Back Loop Texture
- Round 4: Work into the back loops only, making one single crochet in each stitch for a tidy, textured finish.
4: Build the Body
- Rounds 5–8: Work regular single crochets into the entire stitch (no back loops) for four rows to expand the chicken's body. Use a stitch marker to track progress.
5: Decrease for Shaping
- Round 9: Alternate between one single crochet and a single crochet decrease. This reduces the total count to 16.
- Round 10: Work one single crochet into each stitch without increasing or decreasing.
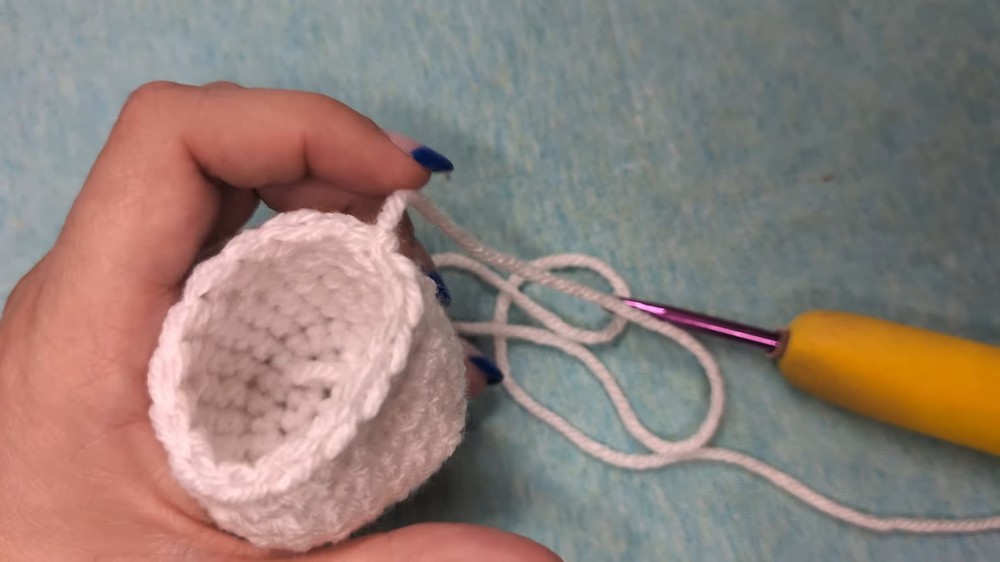
6: Close the Body
- Slip stitch to finish the final round. Leave a long tail of yarn to sew the top closed.
- Add fiberfill to stuff the body. Be careful not to overstuff, as it can pull apart stitches.
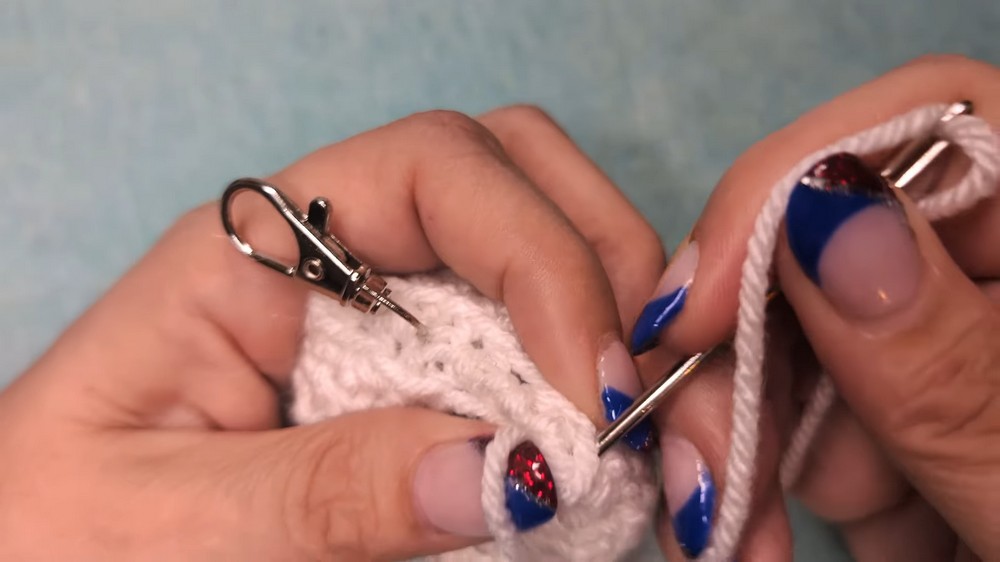
7: Attach the Keychain Clasp
- Use the darning needle to sew the top edges of the chicken together. As you close the gap, attach the keychain clasp directly by threading it through your stitches for security.
8: Add Safety Eyes
- Place the safety eyes on the last row of the body, five spaces apart. Use a lighter to carefully melt the backs of the eyes for a more secure fit. Be sure to handle the lighter cautiously to prevent injury or damage.
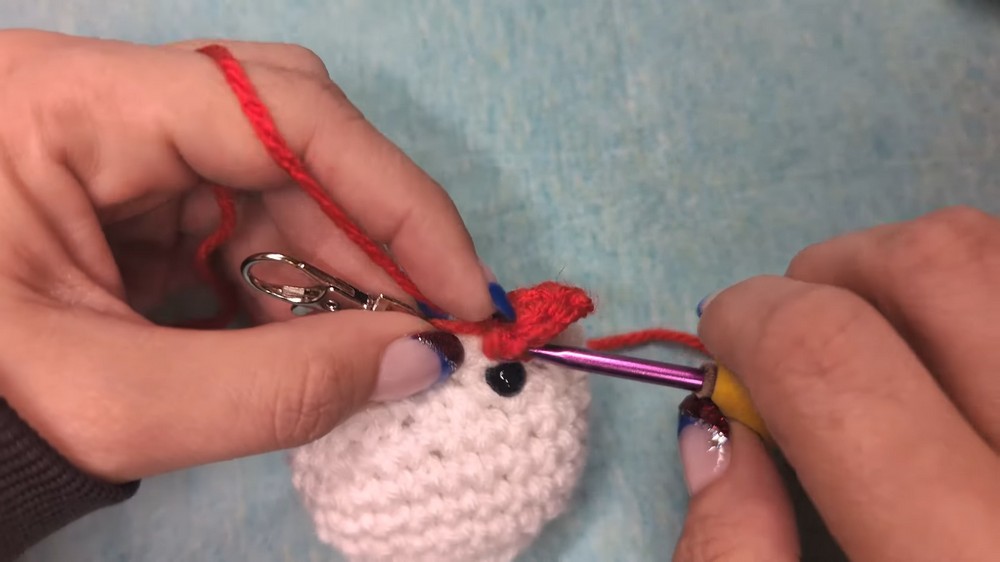
9: Add the Comb (Red Top)
- Attach the red yarn to the top of the chicken and chain two.
- Work two double crochets into the same stitch, followed by a single crochet into the next stitch.
- Slip stitch into the same stitch and tie off. Use the darning needle to hide the loose ends.
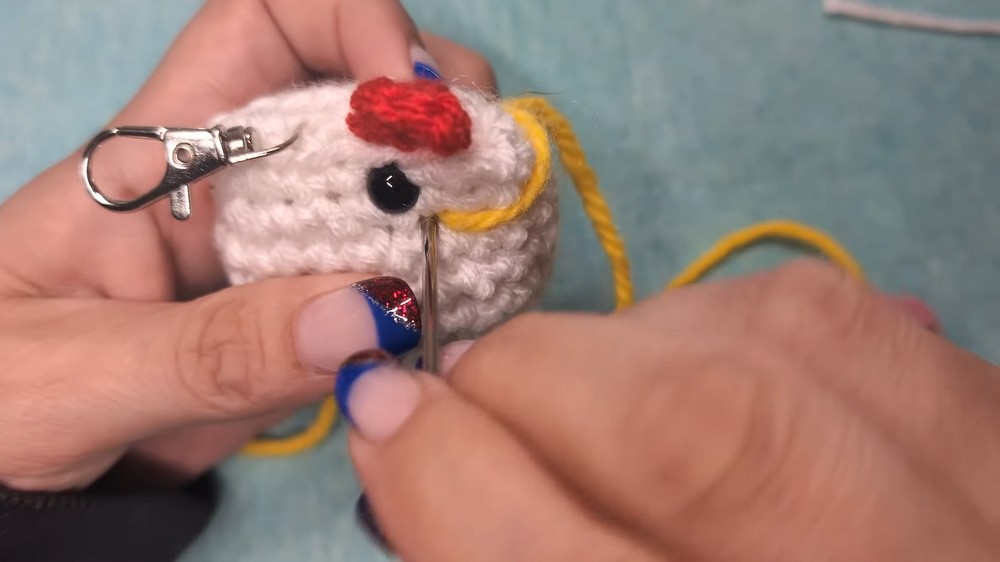
10: Create the Beak
- Cut a piece of chunky yarn and thread it through the front stitches (directly below the eyes, one stitch apart).
- Loop the yarn twice to form a small triangle beak and secure with two knots. Hide the tails inside the body using the darning needle.
Tutor’s Suggestions
- On Stuffing: Avoid overstuffing, as this can cause the stitches to spread apart. A plump chicken looks cute, but balance it carefully.
- Safety Precautions: Be extremely cautious when using the lighter with the safety eyes to avoid burns or fire hazards.
- Consistency Matters: Regular slip stitches and chaining one after each round create a cleaner, more professional look.
- Customization: Experiment with different yarn colors for variety—white chickens were the most popular market choice for Sarah, but you can try other shades.
Uses of the Crochet Chicken Keychain
- Everyday Accessory: Attach it to your keys, handbag, or backpack for a fun, handmade touch.
- Gift Idea: This makes a delightful gift for friends and family members.
- Market Item: These chickens are great sellers at craft fairs and markets, especially when offered in multiple colors.
Conclusion
This crochet chicken keychain project is a fun, creative way to use your crochet skills and produce something adorable and functional. Designed to be affordable, quick, and customizable, it’s perfect for beginners or anyone who wants a satisfying evening project.
Final Tip
To create a polished finish, always thread loose ends through hidden areas like the inside of the body. This keeps your crochet project clean and professional, ensuring that all seams and loose threads stay secure over time.


Leave a Reply