

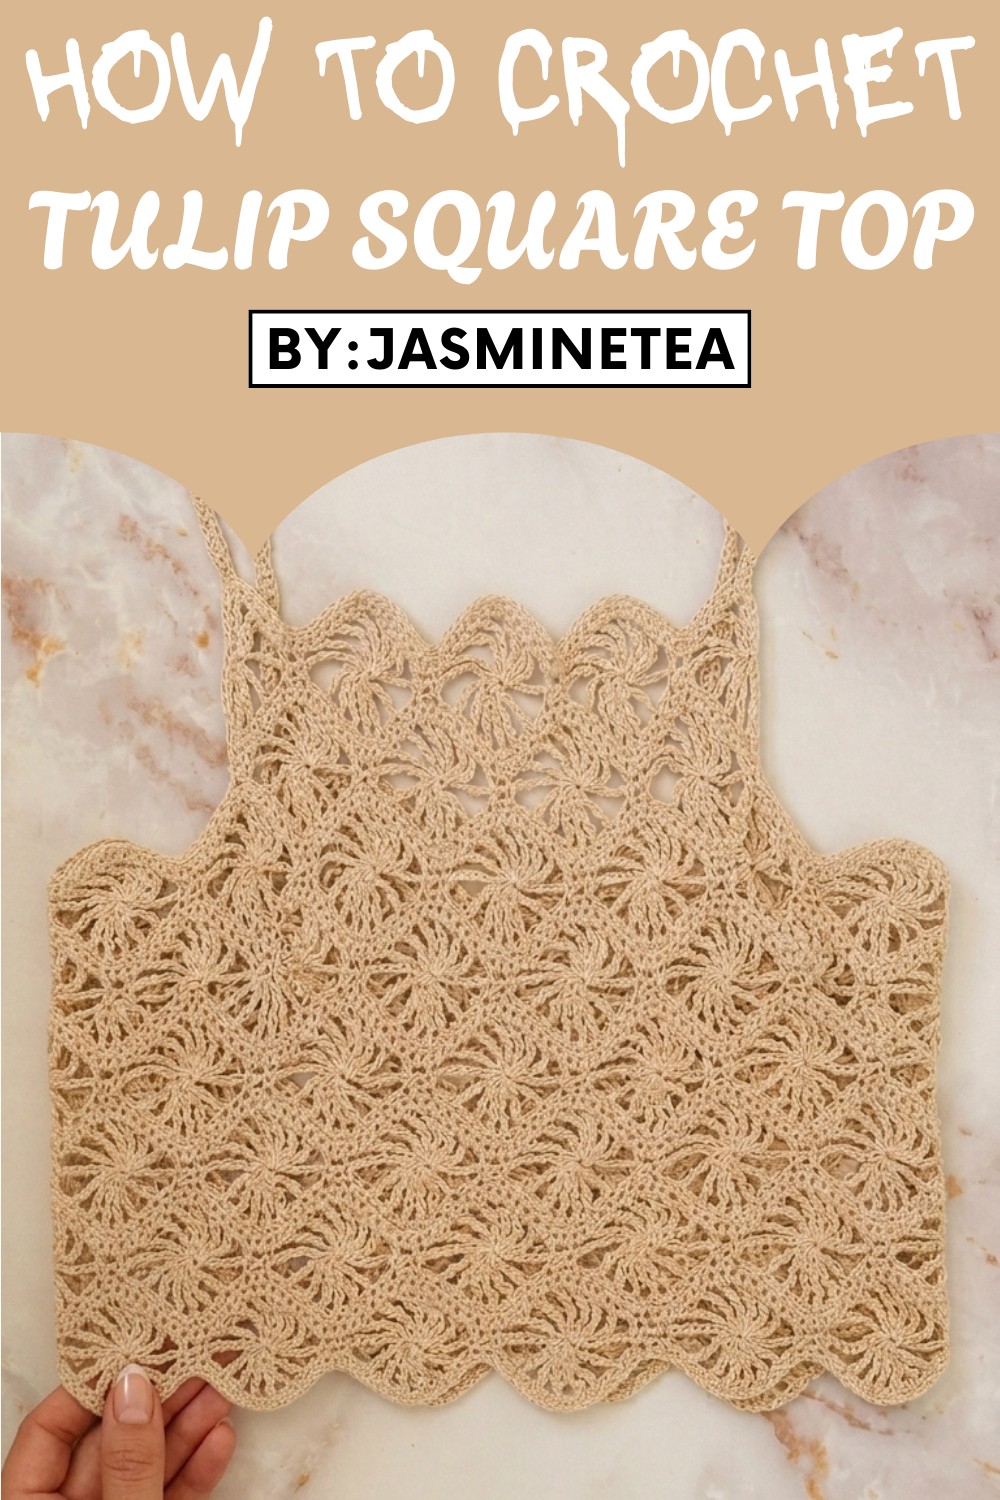
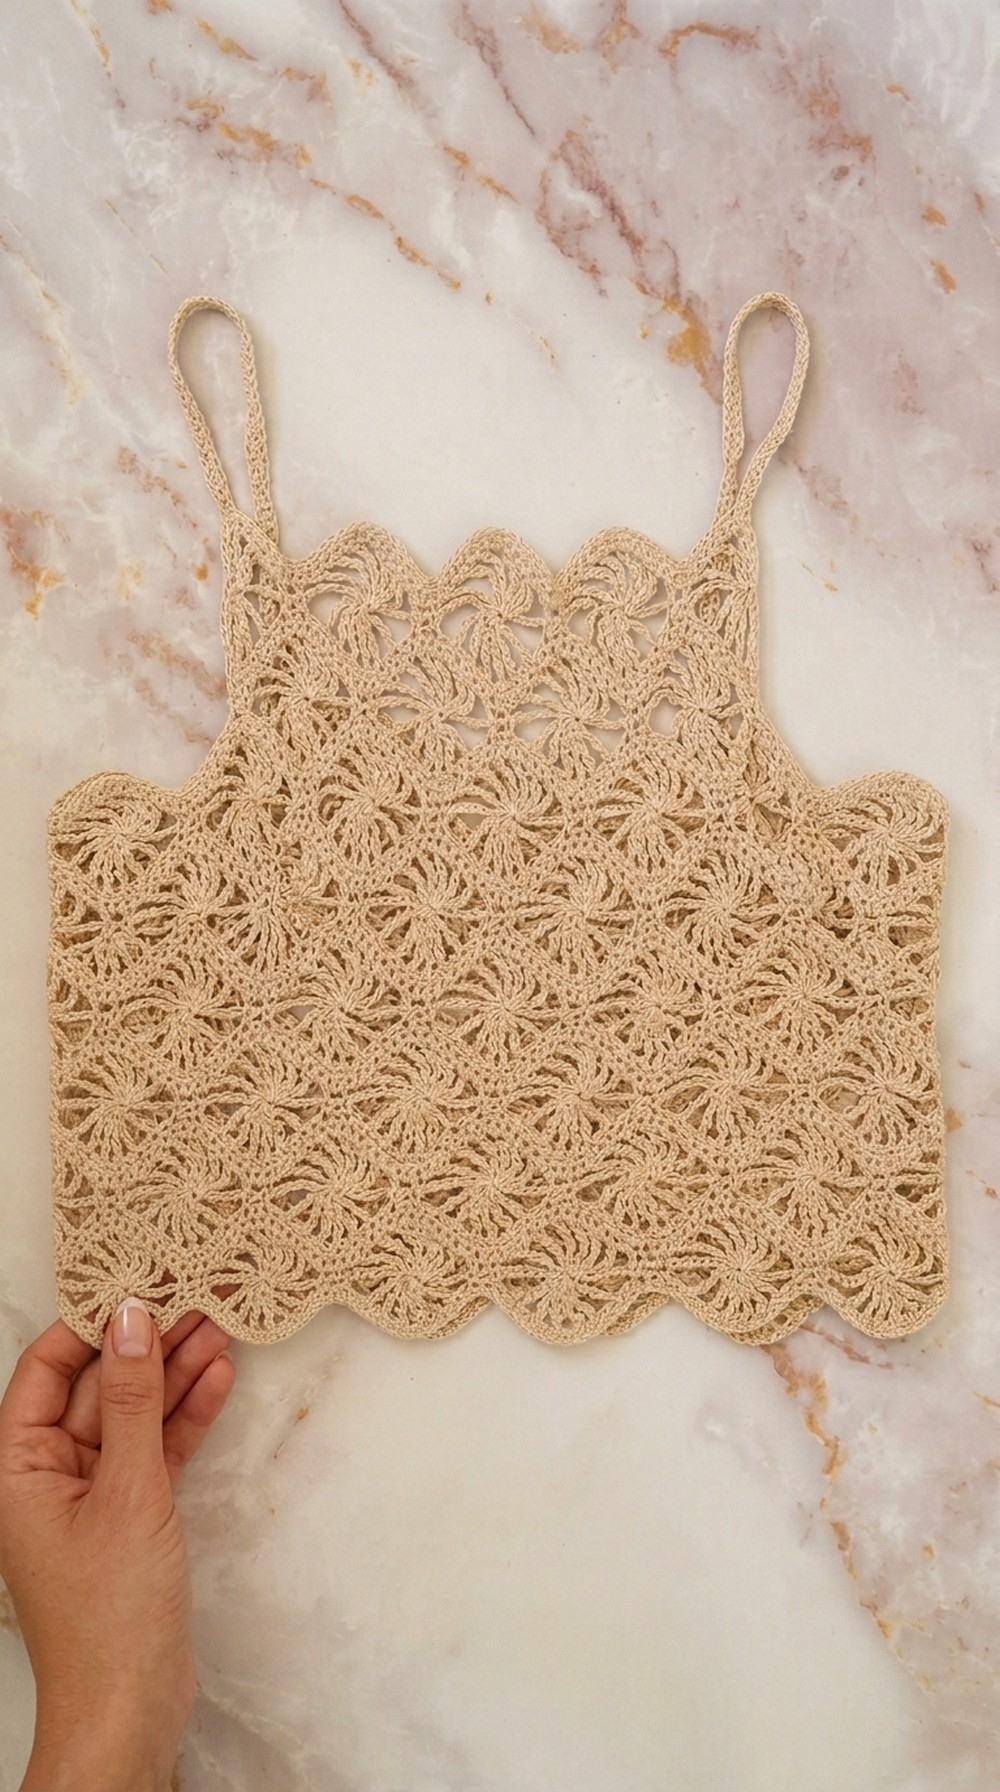
Celebrate style and comfort with the Crochet Tulip Square Top Pattern, offering a floral-inspired statement perfect for warm weather and versatile occasions.
Delicate floral designs and lightweight textures can turn an ordinary outfit into something truly special. The crochet tulip square top pattern brings this charm to life, featuring intricate tulip-inspired details that are perfect for a variety of occasions. Ideal for warm weather, this piece feels breathable and comfortable, making it a great choice for casual outings, garden parties, or as a layering piece for beach vacations.
Crochet Tulip Square Top: A Versatile Design for All Seasons
Pair it with high-waisted jeans for a relaxed, modern look or style it with a flowing skirt for a romantic, boho vibe. The elegant design not only elevates your wardrobe but also offers a practical garment, wearable throughout the seasons. Whether dressed up or down, this top stands out as a unique blend of artistry and function for any handmade clothing enthusiast.
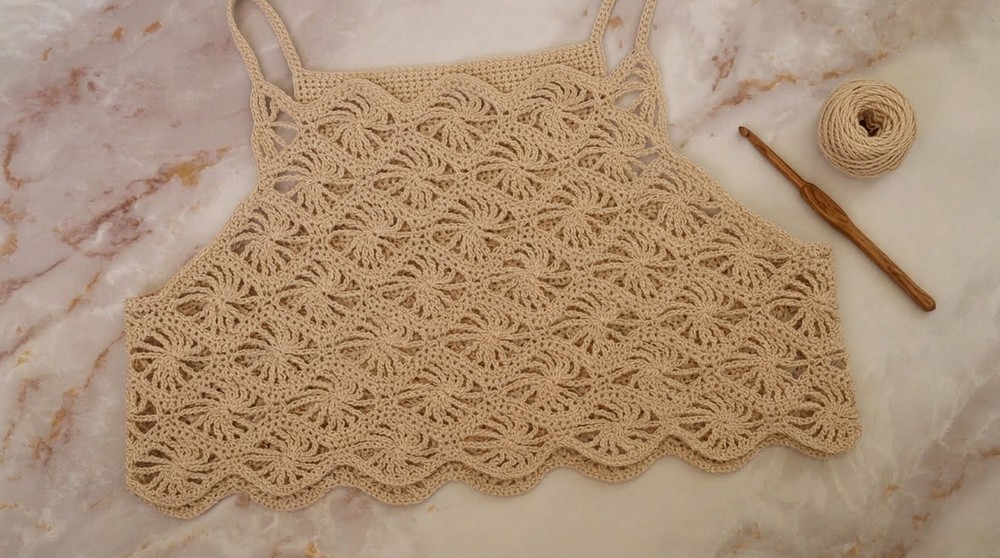
Crochet Tulip Square Top Pattern
Materials Needed:
- Yarn:
- Use crochet thread or lightweight cotton yarn for a lace-like appearance.
- Recommended Yarn Category: Size 10 crochet thread or equivalent.
- Hook:
- 2.5 mm crochet hook (or size needed for your gauge).
- Additional Tools:
- Stitch markers
- Yarn needle for weaving in ends
- Scissors
Gauge:
18 stitches (sc) and 22 rows = 4 inches (10 cm).
Always check gauge before starting your project to ensure correct sizing.
Finished Measurements:
- Size Small (Bust 32-34 inches): The bralette's front width will measure 16 inches (40.6 cm), with the height of the bralette adjustable to suit the wearer.
- To adjust for larger or smaller sizes, refer to the customization section.
Skill Level:
Intermediate: This pattern involves intricate stitches, including double treble clusters and chaining patterns.
Key Abbreviations (US Terminology):
- ch: chain
- sc: single crochet
- dc: double crochet
- sl st: slip stitch
- tr: treble crochet
- dtr: double treble crochet
- tog: together (indicates working stitches together)
- st(s): stitch(es)
- yo: yarn over
Special Techniques:
- Foundation Chain:
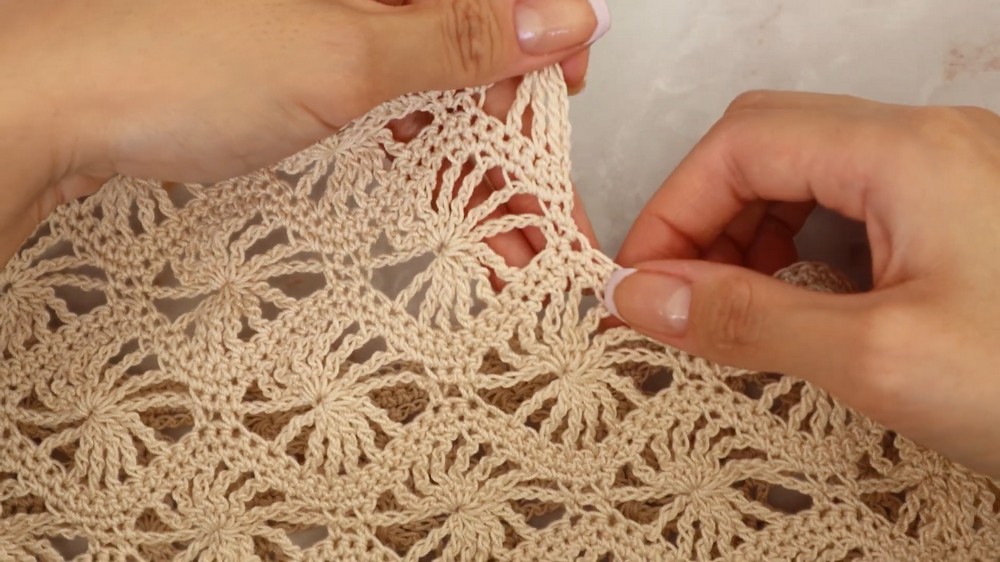
The pattern's foundation chain requires multiples of 16 + 1 to achieve the scalloped edge. This ensures consistent lace shaping. - Double Treble Cluster (6 dtr tog):
- Yarn over 3 times, insert hook into the next specified stitch, pull up a loop, [yo, pull through 2 loops] 3 times; repeat for the next 5 stitches, leaving 1 loop of each on the hook.
- Once 6 partial stitches are worked, yo and pull through all loops on the hook to close the cluster.
- Lace Motif Placement:
- Rows alternate between scalloped lace sections and simpler connecting stitches. Careful placement ensures pattern consistency.
Customization Ideas:
- Bust Size:
Adjust the starting chain to fit half your bust measurement by working multiples of 16 + 1. For a looser or slightly snug fit, add or reduce multiples of 16. - Length Adjustment:
Repeat Rows 2 through 9 more times for additional length (higher coverage) or fewer times for cropped styles. - Yarn Choice:
Experiment with lightweight cotton yarn for breathability or acrylic thread for a shinier, stiffer finish. - Details:
Add decorative straps or scalloped edges along the armholes for additional flare.
Pattern Instructions
Front Panel:
Step 1: Foundation Chain
- Measure half of your bust size.
- Work a foundation chain in multiples of 16 + 1 to match half your bust measurement (e.g., size small: 7 multiples of 16, plus 1 extra chain = 113 chains).
- If a looser fit is desired, add one or two multiples of 16.
Step 2: Row 1 - Single Crochet Foundation
- Work 1 sc into the second chain from the hook.
- Place 1 sc in each ch across.
- Turn.
Tip: Count stitches to ensure you’ve maintained a consistent foundation (e.g., 113 sc for the size small).
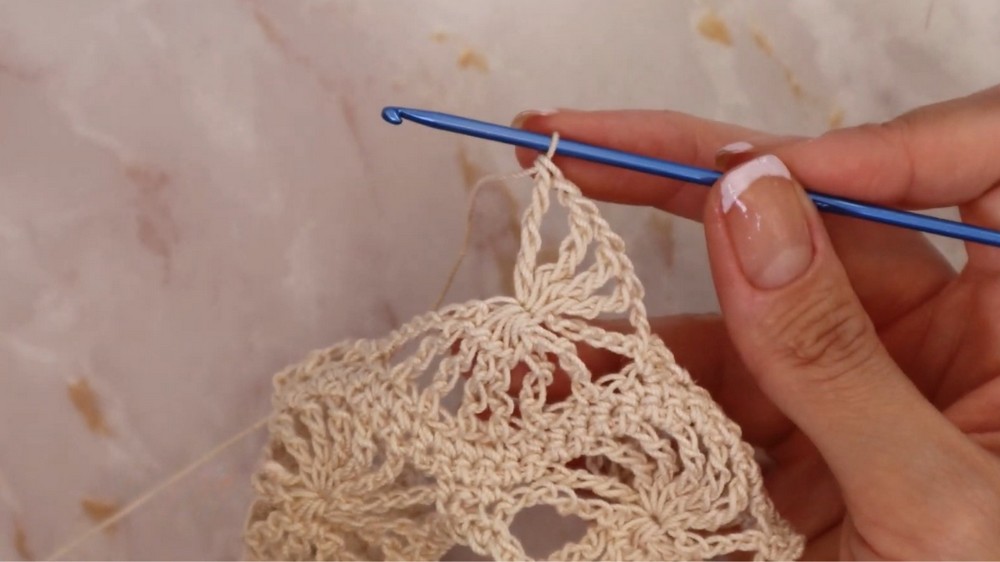
Step 3: Row 2 - Dainty Scallops
- Ch 1 and turn. Work 1 sc into each of the first 2 sts.
- Ch 6, skip the next st.
- Begin a 6 dtr tog cluster:
- Yo 3 times, skip 1 st, insert hook into the next st, complete an unfinished double treble crochet, and move to the next st.
- Repeat for 6 dtr leaving the last loop of each stitch unworked.
- Yo and pull through all loops on the hook to close the cluster.
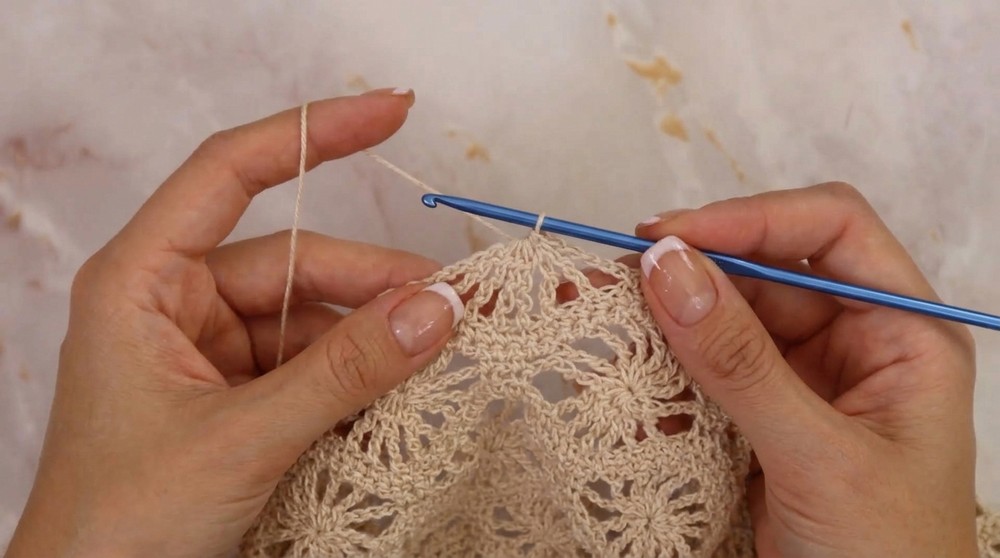
- Ch 6, skip the next st, place 1 sc in the following st, ch 1, skip 1 st, then 1 sc.
- Repeat the scallop pattern across:
- Clusters alternate with chain spaces and single crochets in a lace pattern.
- At the end, finish with 2 sc in the last 2 sts of the row.
- Turn.

Steps 4-9: Continue Row Pattern
- Rows alternate between lace scallops and single crochet rows.
- Repeat rows 2–9 until you reach desired length. For size small, continue until the height from hem to armpit measures 5.75–6 inches.
Back Panel:
- Work the back panel using the same foundation and pattern as the front panel.
- Ensure front and back panels have the exact number of rows and stitches for even seaming.
Seaming the Panels Together:
- Align Panels: Place the panels together with the right sides facing inward (wrong sides out).
- Use a yarn needle or crochet hook to sl st or sc seam along the sides.
- Leave armholes open. For reference: size small armhole: 6 inches (15.2 cm) from the seam edge.
Straps:
Step 1: Mark Strap Placement
- Lay the top flat and mark strap attachment points:
- Front: Position in-line with armpit seams.
- Back: Slightly inwards for comfort.
Step 2: Create Straps
- Attach yarn to the front strap marker.
- Ch desired strap length (e.g., 75 chains = 11.5 inches for size small).
- Attach strap via slip stitch at the back marker.
Step 3: Reinforce Straps
- Sc into each ch along the length of the strap for durability.
- Once you reach the starting corner, secure the strap with a sl st to the initial chain.
- Repeat for the second strap.
Special Techniques Used in This Pattern
- Seaming with Slip Stitches: Creates a nearly invisible seam when working the bralette inside out.
- Dainty strap construction: Adds a customizable and sturdy finish to your piece.
Conclusion
Your beautiful lace bralette is now complete! With its delicate lace patterns, soft scallops, and tailored adjustments, this bralette is not only stylish but also functional. It's designed to be a lightweight, breathable, and elegant piece for summer layering or solo wear. Enjoy pairing it with your favorite jewelry or outfits!
Final Tips:
- Block the Finished Piece: Lightly block your bralette to enhance the lace design and ensure even stitches.
- Adjust as Needed: Try on the bralette as you go to ensure proper fit, especially for the strap lengths and armhole sizing.
- Experiment: Add trims or beadwork for a personal touch.
Leave a Reply