

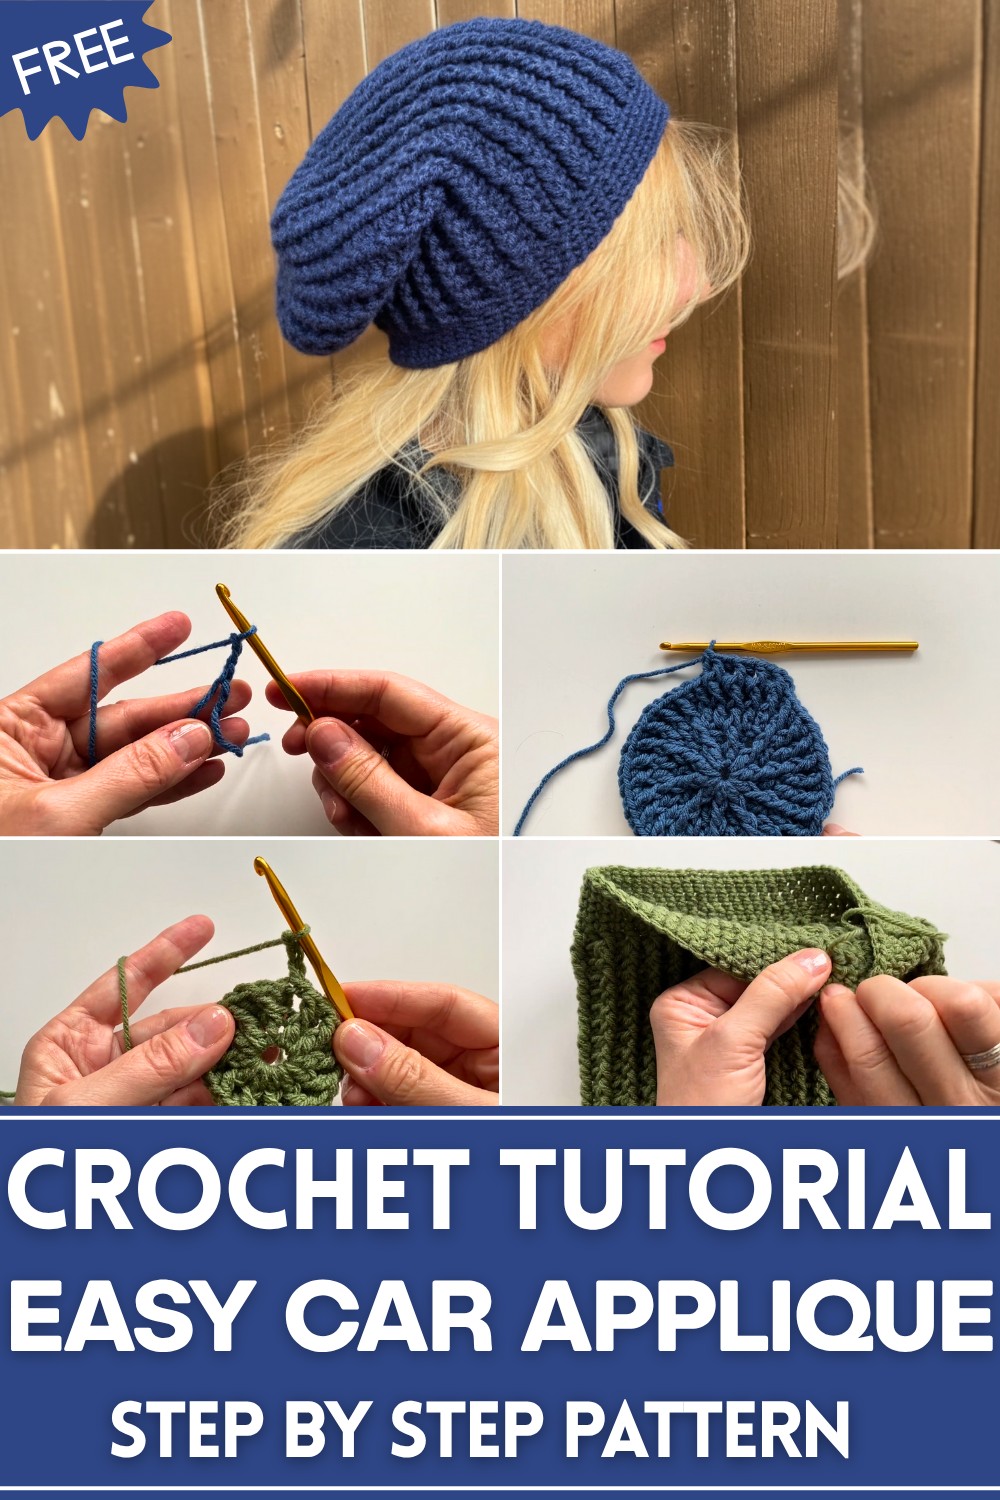
Embrace effortless style with this Free Crochet Slouchy Hat Pattern, quick to make, cozy to wear, and perfect for trendy winter vibes.
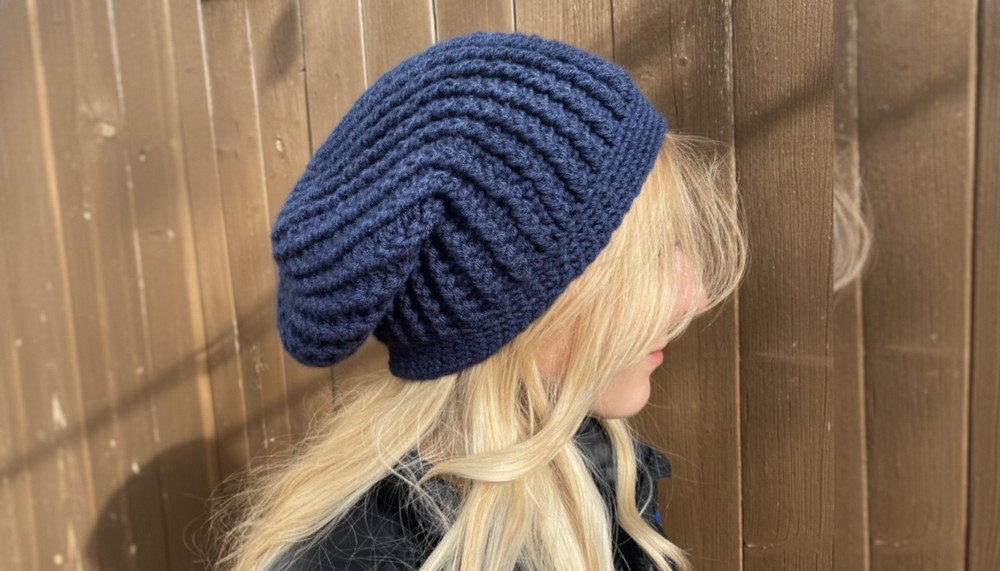
As the chilly winds roll in and cozy warmth becomes a seasonal necessity, a timeless accessory effortlessly bridges functionality and style: the crochet slouchy hat. Versatile in purpose, these soft and comfortable hats are more than simple winter wear, each stitch carries the charm of handmade artistry, transforming everyday outfits into something special. Featuring a relaxed, slightly oversized silhouette, they add a casual elegance to any look while providing much-needed coverage for brisk days.
Modern Crochet Slouchy Hat Pattern That Fits All Sizes
Whether worn on morning walks or layered for cozy indoor gatherings, these hats merge practicality with texture and flair. With an adjustable fit and customizable length, their beauty lies in their universal appeal. They suit diverse age groups, wardrobes, and occasions, making them thoughtful gifts or personal wardrobe staples. Lightweight yet warm, they drape effortlessly over hairstyles while offering flexibility without sacrificing comfort.
1. Materials Needed
- Yarn: 100% acrylic (recommended: Bernat Premium, or Loops and Threads Impeccable).
- Crochet hook: 5 mm.
- Darning needle.
- Scissors.
Beyond the aesthetic benefits, slouchy hats provide protection against the elements, wrapping you in a gentle cocoon of softness. Working them up with easy-to-follow instructions allows anyone to capture the joy of creation, turning yarn and time into something meaningful. Perfect for crisp autumn evenings or frosty winter mornings, these hats promise not only warmth but also an understated charm that enhances every cold-weather outfit.
Step-by-Step Instructions
2. Youth Slouchy Hat
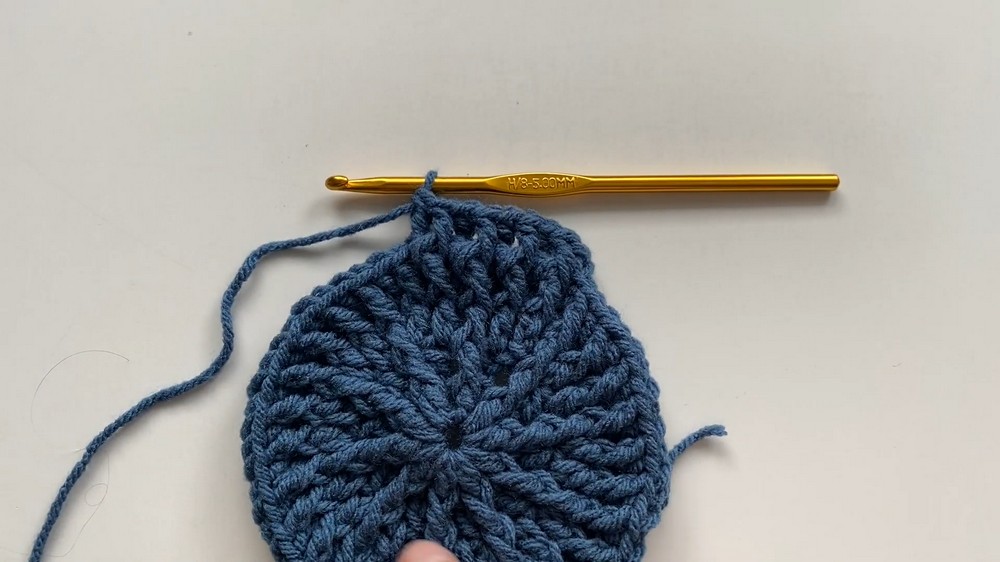
Step 1: Start the Magic Circle
- Begin with a magic circle.
- Chain three (this counts as the first double crochet).
- Add nine double crochet stitches into the circle.
- Pull snugly to close the circle and slip stitch into the top of the chain three to join. You should have 10 stitches at the end of round one.

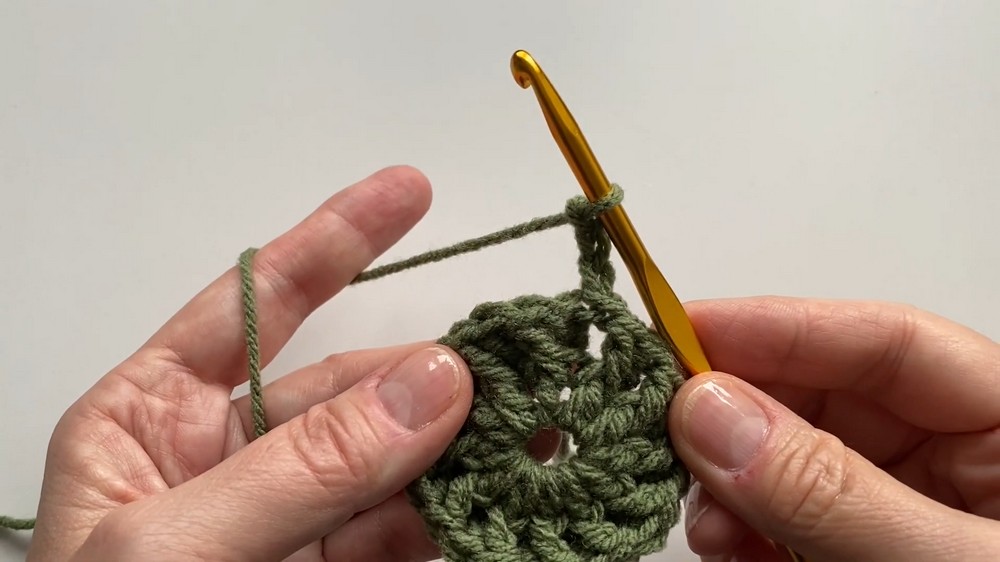
Step 2: Build the Base
- Round 2: Chain three and add a front post double crochet around the chain three from the round below. Then double crochet and add a front post stitch around the same stitch. Repeat for all stitches, doubling the count to 20 stitches by the end of the round.
- Round 3: Chain three, double crochet into each stitch, and add a front post stitch around the same stitch. Repeat until stitch count reaches 30 stitches.
- Round 4: Chain three, and for each stitch, double crochet and add a front post double crochet around the same stitch. Finish the round with 60 stitches.
Step 3: Lengthen the Hat
- Begin round 5 with a chain 2 (considered as a back post double crochet) and alternate between front post double crochet and back post double crochet for the entire round.
- Repeat this front post/back post double crochet pattern for as many rounds as required, until the hat reaches your desired length (8–9 inches).
Step 4: Add the Brim
- Chain one and work a single crochet stitch into each stitch around (60 stitches).
- For the next row, reduce the brim size: single crochet into 4 stitches, then decrease by crocheting two stitches together. Repeat this around to reduce the stitch count to 50 stitches.
- Continue by crocheting one single stitch into every stitch for the next two rows.
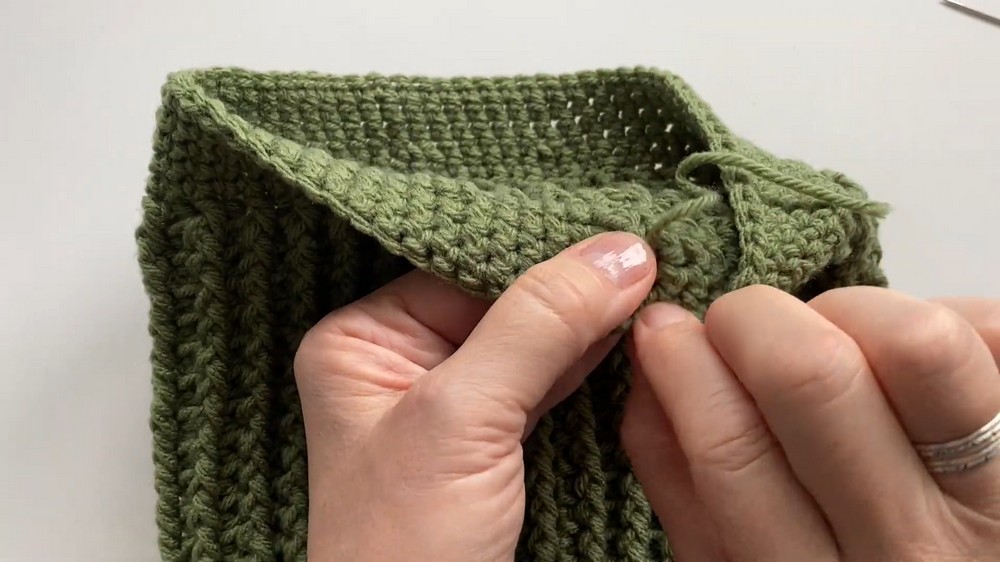
Step 5: Finish the Hat
- Cut the yarn and pull through. Use a darning needle for an invisible close by weaving into the first stitch and back into the last stitch to form a seamless edge. Weave in the ends to secure.
3. Adult Slouchy Hat
The process for the adult hat is similar to the youth hat, with a few adjustments:
- Start with a magic circle and chain three. Add 11 double crochet stitches into the circle instead of nine.
- Follow the same steps to build the base, but with increased stitch counts per round:
- Round 1: 12 stitches.
- Round 2: 24 stitches.
- Round 3: 36 stitches.
- Round 4: 72 stitches.
- Alternate between front post and back post double crochets for round 5 and beyond until the hat measures 9+ inches for standard slouchiness or up to 11 inches for extra slouch.
- Add the brim using single crochets and decreases, as described previously, for a snug yet flexible fit.
Special Features
- Stretchy and Adjustable Fit: The design is flexible and fits a wide range of sizes, making it ideal for gifting or family projects.
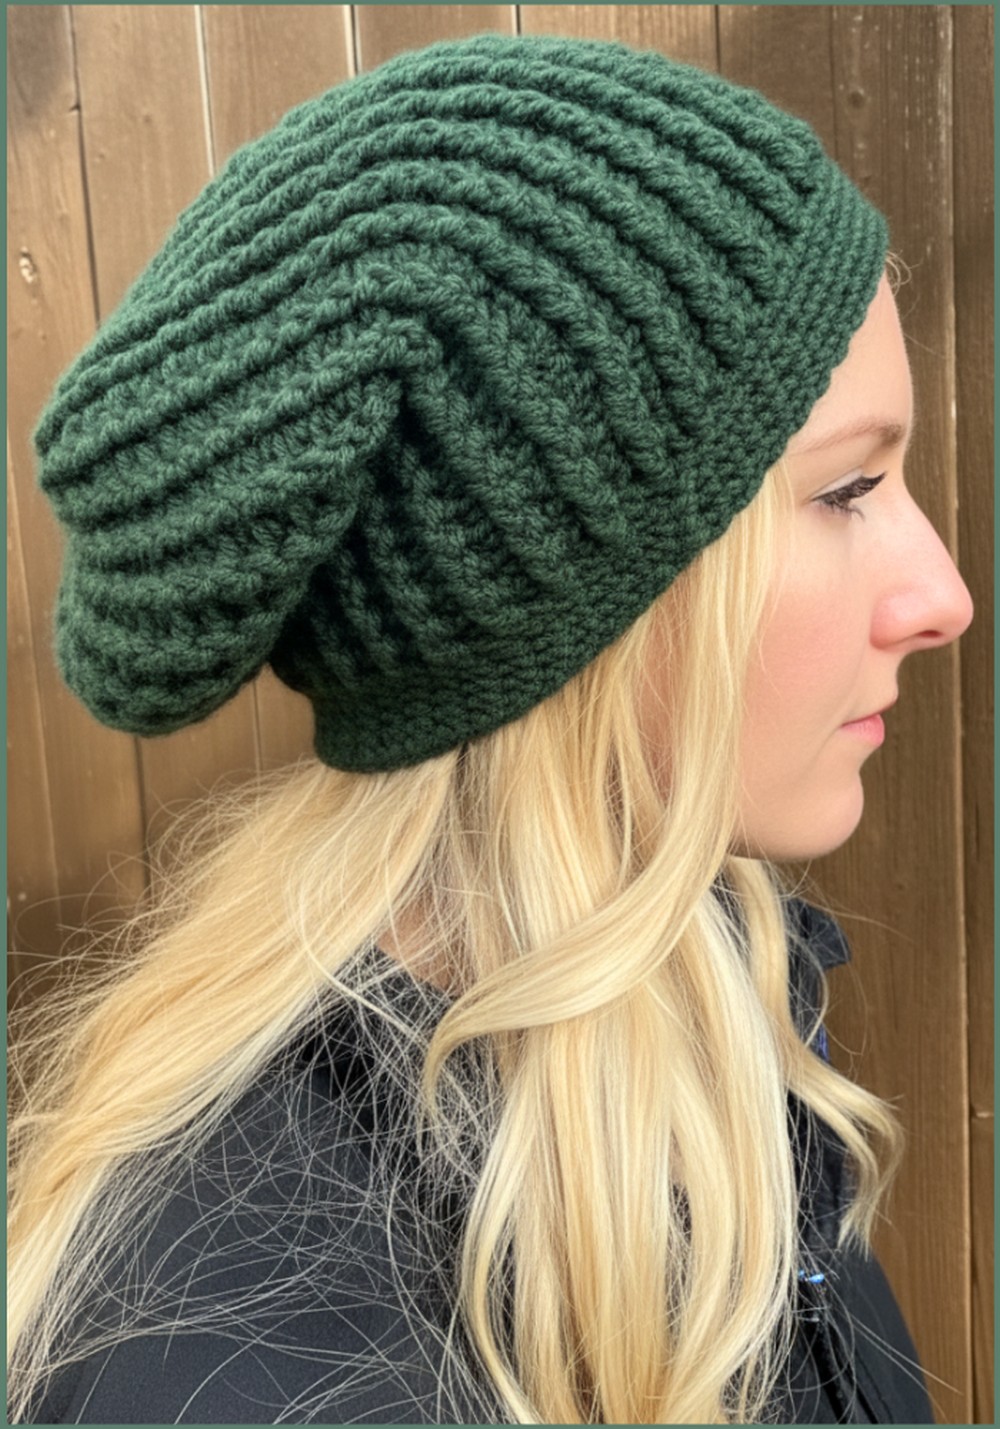
- Customizable Yarn & Length: Choose softer yarn like Bernat Premium for a slouchier effect and adjust the length for your desired style.
- Versatility in Style: Works as a casual accessory for cold weather or as a trendy addition to outfits.
Level of Difficulty
The project is beginner-friendly, focusing on simple techniques like double crochet, front post/back post stitches, and single crochet decreases. While magic circles can initially be tricky, the video provides visual guidance to make the process easier.
Tutor Suggestions
- Use soft yarn for better elasticity and a slouchier appearance (Bernat Premium is recommended).
- Pay attention to maintaining even tension while working front and back post stitches for a clean and textured look.
- Adjust the starting stitch count for wider or narrower hats as needed.
Uses
- Stylish accessory for everyday wear or special occasions.
- Thoughtful, handmade gifts for friends and family.
- Perfect for adding warmth during colder seasons.
Tip
When weaving in the ends, do it vertically along the hat, as the horizontal stretches may cause the yarn to come loose over time. Reinforce the weave at least 2–3 times for security.
Conclusion
This slouchy hat tutorial offers an efficient and enjoyable way to create personalized headwear with minimal effort. The combination of stretchy design and textural patterns ensures each piece is both functional and fashionable. Whether for yourself or others, the process encourages creativity while delivering elegant results. Try these techniques to crochet a slouchy hat that’s uniquely yours!
Leave a Reply