

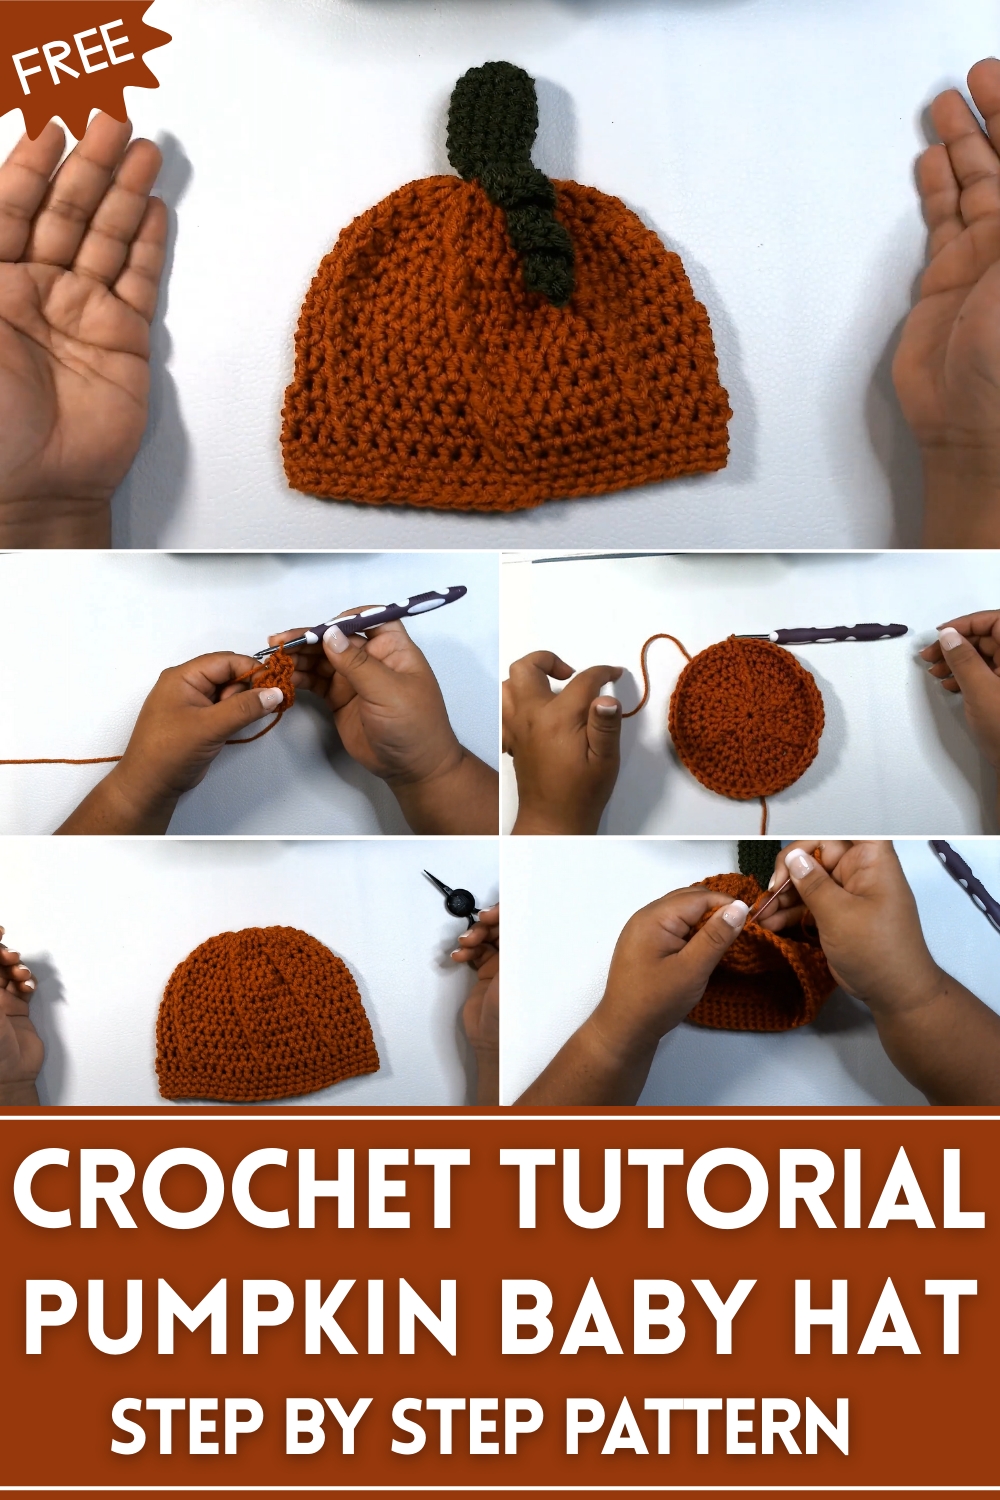
Cozy up with this Free Crochet Pumpkin Baby Hat Pattern that brings charm and warmth to your little one’s autumn wardrobe in style.
As autumn leaves begin to carpet the ground, parents often search for tiny, cozy accessories to keep their little ones warm and festive. The Crochet Pumpkin Baby Hat offers a charming solution, turning simple yarn into a snug, playful hat that captures the spirit of the season. Perfect for fall outings, baby photoshoots, or casual strolls in cooler weather, this hat combines comfort and cuteness effortlessly. Its gentle stretch ensures a secure yet soft fit for delicate heads, while the pumpkin-inspired shape and vibrant hues bring a cheerful touch to every outfit.
Trendy Crochet Pumpkin Baby Hat Pattern to Warm Your Baby
Beyond aesthetics, this crochet hat provides practical warmth and protection, helping little ones stay cozy during crisp autumn mornings. Parents can also use it as a thoughtful handmade gift, adding personal warmth to seasonal celebrations or baby showers.
The straightforward instructions make it accessible for those new to crochet, while seasoned crocheters will enjoy the satisfying process of transforming simple yarn into a delightful wearable item. This hat not only brightens up a baby’s wardrobe but also offers a creative, hands-on way to celebrate the fall season with small, meaningful projects that are as useful as they are adorable.

Special Features
- Adorable Pumpkin Aesthetic: The baby hat replicates the look of a pumpkin, complete with leafy embellishments and a curly vine for a festive seasonal design.
- Customizable Pattern: Though this tutorial is designed for an infant-sized hat, Veronica promises future tutorials for larger sizes, allowing you to match designs for older children and adults.
- Beginner-Friendly Techniques: While some steps require careful stitching (e.g., working in back loops), the tutorial emphasizes straightforward techniques like half-double crochet, slip stitches, and single crochet.
- Quick Project: The hat can be completed within a few hours, making it a fun and efficient project for creating seasonal gifts.
Materials Needed
Yarn:
- Pumpkin Color:
- Example: Hobby Lobby’s "I Love This Yarn" in pumpkin orange.
- Details: 99 grams, 100% acrylic, size #4 weight yarn (recommended crochet hook: 5.5mm).
- Leaf Color:
- Example: Premier Just Yarn in green (available at Dollar Tree).
Hook:
- Size 5mm crochet hook (adjust based on your tension; 5.5mm may be better for tighter stitches).
- Veronica recommends Clover hooks for ease of use.
Additional Tools:
- Pair of scissors.
- Yarn needle.
- Optional: Custom tags for personalization.
Level of Difficulty
Beginner-Friendly to Intermediate:
- Most of the project uses basic stitches like half-double crochet, single crochet, slip stitch, and chain.
- The techniques involving working in back loops and shaping leaves/stems add slight complexity but are explained thoroughly in the video, making them accessible for ambitious beginners.
Tutor’s Suggestions
- Adjust Hook Based on Tension: If your tension is loose or tight, choose a crochet hook size that achieves the proper stitch definition.
- Don’t Rush: Ensure your rounds are even and flat as you proceed to avoid distortions in the hat structure.
- Custom Size Adjustments: If the hat seems too small or large for the intended wearer, add or decrease rounds accordingly.
- Eco-Friendly Yarn Choices: Veronica suggests using stash yarn and promotes budget-friendly options like Dollar Tree Premier Yarn for certain sections (leaf/stem).
- Tag Personalization: Add a label or tag to your finished project for an extra professional touch (optional).
Step-by-Step Instructions
Step 1: Create the Pumpkin Base
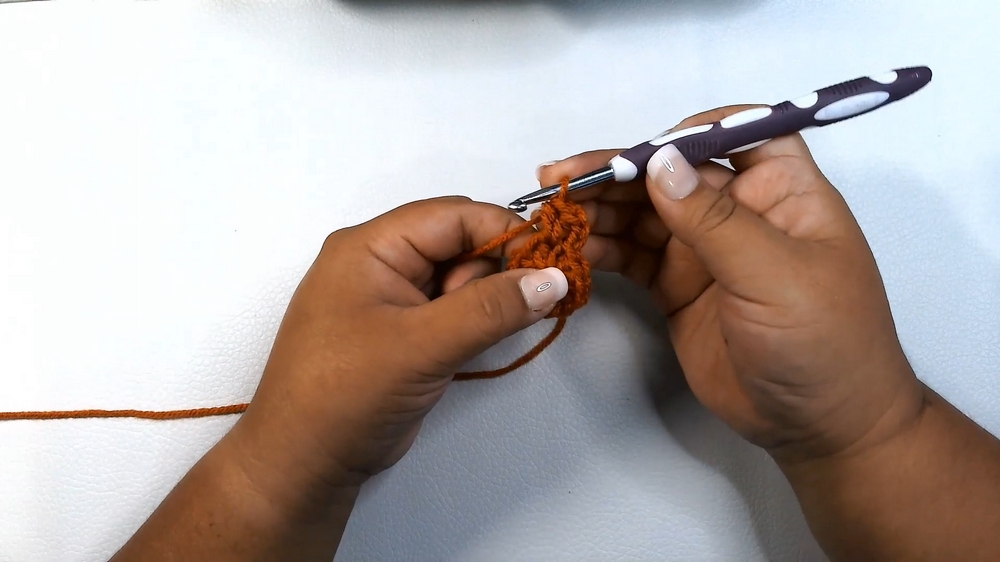
- Foundation (Round 1):
- Start with pumpkin-colored yarn and make a magic ring.
- Chain 2 (counts as the first stitch) and create 12 half-double crochets into the ring.
- Slip stitch into the top of the chain 2 to close the round.
- Increase (Round 2):
- Chain 2. Work 2 half-double crochets in each stitch from the previous round (24 stitches total).
- Slip stitch into the top of the chain 2 to close the round.
- Continue Expanding (Round 3):
- Chain 2. Alternate 1 half-double crochet in the first stitch, 2 half-double crochets in the second stitch around (36 stitches total).
- Use slip stitch to finish the round.
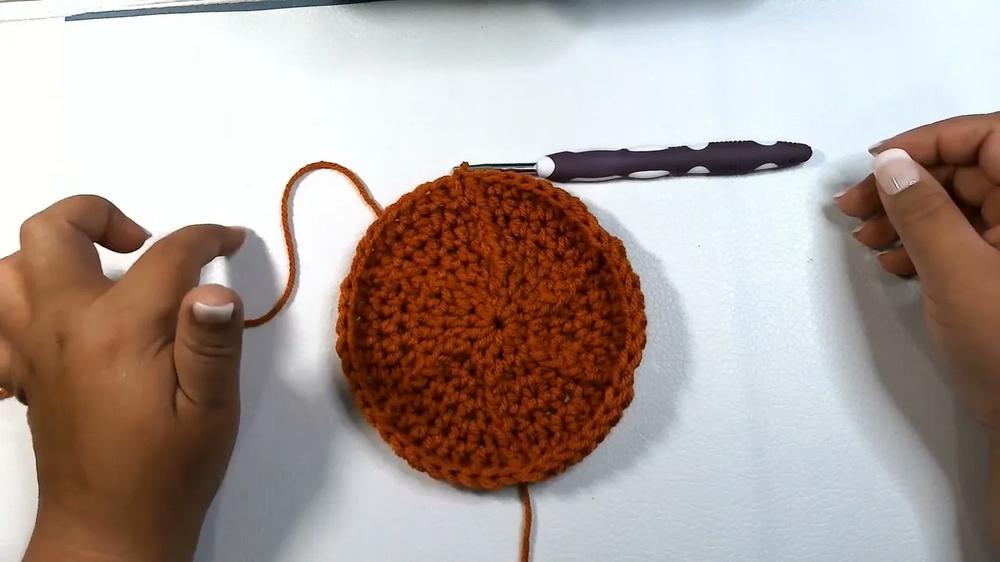
- Shaping the Pumpkin Ribs (Rounds 4–7):
- In these rounds, work in the back loops only to create texture.
- Follow the increasing pattern:
- Round 4: Chain 2, alternate 1 half-double crochet, 2 half-double crochets (repeat).
- Round 5: Repeat steps, but increase stitches (1–3–2).
- Rounds 6–7: Continue adding stitches to form the body of the hat.
- Repetition of Rounds:
- Work 7 rounds total to achieve the required height and width.
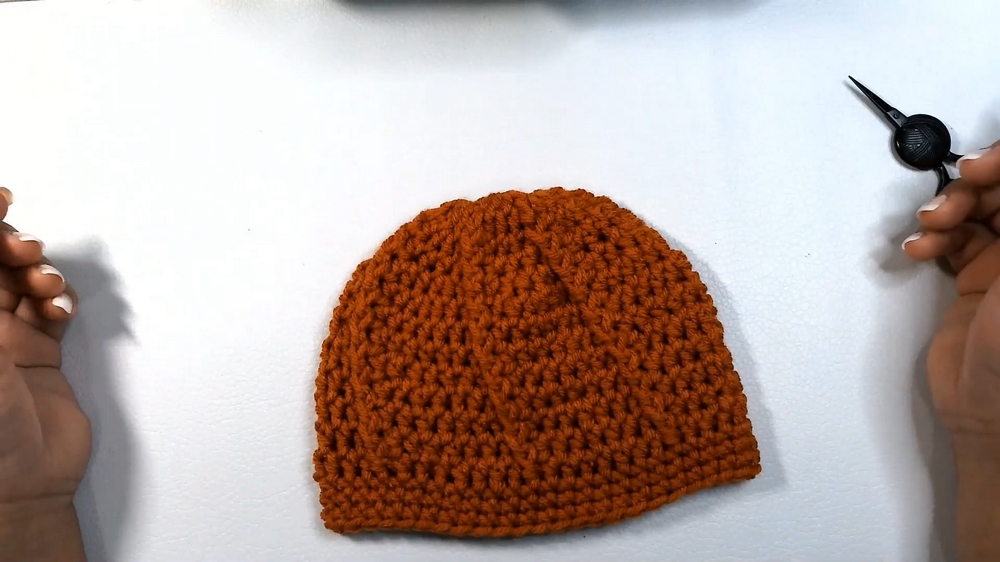
Step 2: Shape the Top Edge
- Single Crochet Rounds: Finish the pumpkin with 3 rounds of single crochet for a clean edge.
- Chain 1 at the beginning of each round.
- Stitch evenly around without adding increases or working in back loops.
Step 3: Create the Leaf
- Start with a Green Yarn Magical Ring:
- Chain 1 and make 8 single crochets into the ring. Close with a slip stitch.
- Expand the Leaf:
- Chain 1 and create 2 single crochets in each stitch (16 stitches total).
- Work 1 more round evenly, stitching 1 single crochet per stitch without increases.
- Shape the Leaf: Fold slightly and sew onto the hat wherever desired.
Step 4: Create the Curly Vine Stem
- Foundation Chains:
- Use green yarn to chain 14 chains.
- Add 2 extra chains for turning (16 chains total).
- Twist Formation:
- Work 2 double crochets into each chain.
- This will naturally curl the yarn to form a spiral.
- Attach to Hat:
- Position and sew the curly vine next to the leaf for the perfect pumpkin look.

Step 5: Assembly
- Secure Leaf and Vine: Use a yarn needle to sew these pieces onto the hat.
- Finishing Touches: Weave in all loose ends and trim extra yarn with scissors.
Uses
- Adorable Baby Accessory: Perfect for fall, Halloween, Thanksgiving, or professional baby photoshoots.
- Matching Sets: Veronica plans future tutorials for adult-size versions, which can pair beautifully with children's hats for coordinated family outfits.
- Handmade Gifts: Makes a thoughtful seasonal present for friends or family.
Tip
When working the pumpkin ribs (Rounds 4–7), remember to work into back loops only consistently. This technique creates the texture that replicates a pumpkin’s natural ridges and gives the hat its signature look.
Conclusion
Veronica’s Baby Pumpkin Hat Tutorial is a delightful, quick, and beginner-friendly project that combines functionality with a festive seasonal design. With its expandable, textured pattern and ability to customize size, this adorable hat is perfect for celebrating fall or surprising loved ones with handmade gifts.
Leave a Reply