

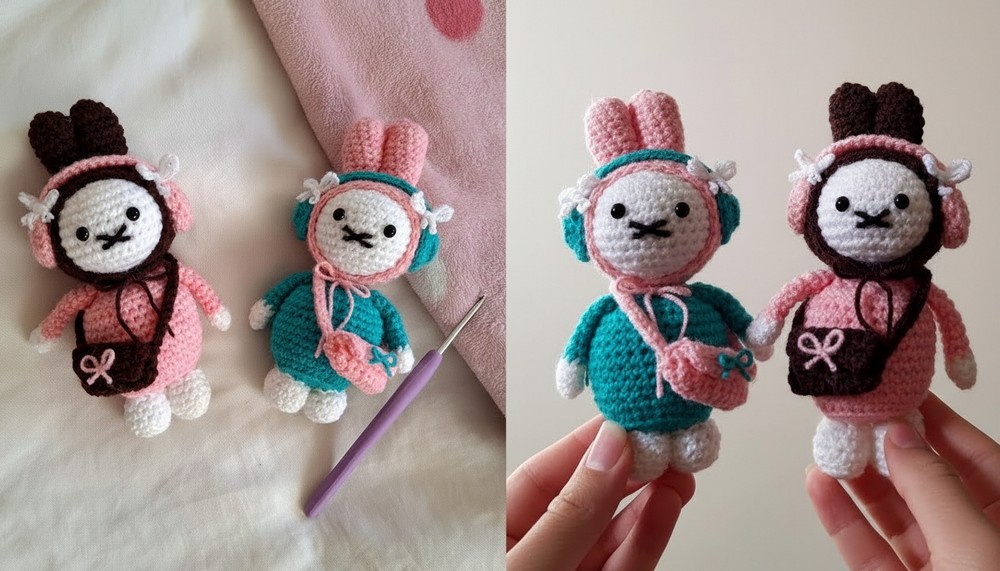
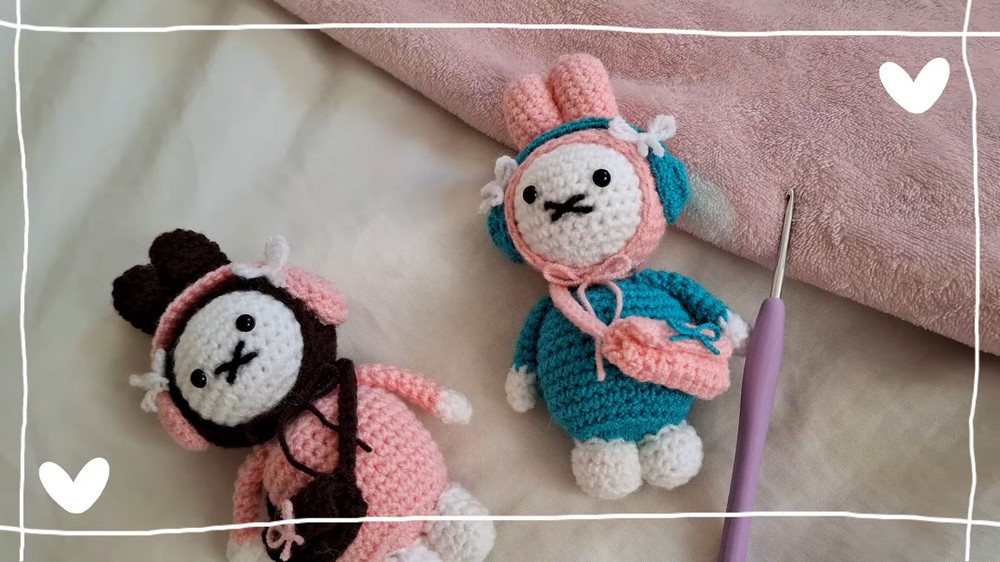
Crocheting adorable characters can be a delightful way to relax and make something meaningful, and Miffy is no exception. This charming pattern works perfectly as a gift for loved ones, nursery décor, or a collectible piece for fans. The process involves shaping her signature features, including the head, ears, body, and accessories like headphones and a cute bow. This pattern not only enhances crocheting skills but also lets you personalize the character to suit your preferences. Whether it’s incorporating different colors or adjusting the patterns slightly, the Miffy pattern provides an opportunity for creativity while giving you a rewarding finished product.
Easy Crochet Miffy Step-by-Step Pattern for Cutest Creations
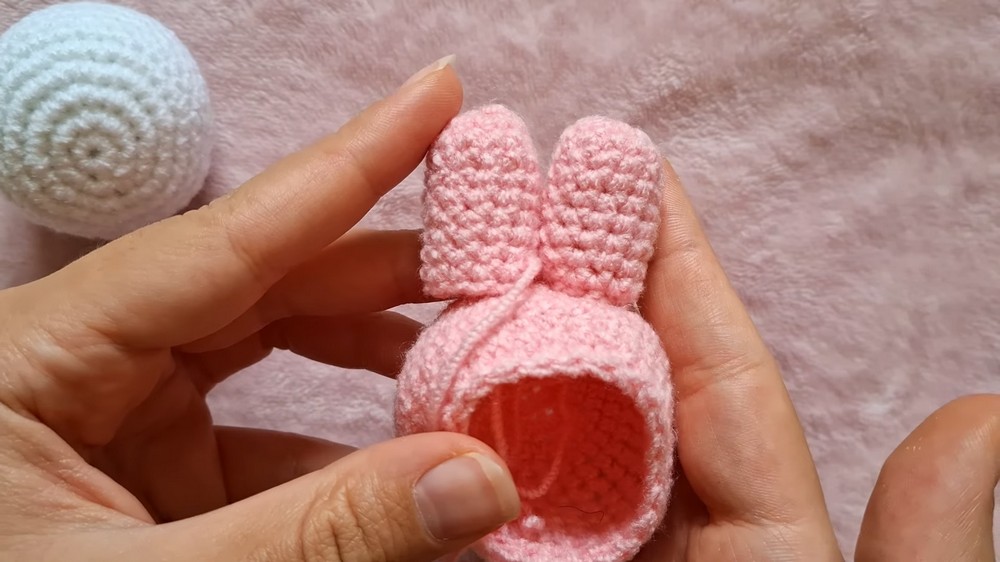
As a pro tip, always track your stitches carefully with markers and try positioning parts before sewing them to achieve perfect alignment. With patience and focus on details, you can crochet your very own lovable Miffy!
Materials Needed
Before starting, gather the following materials:
- Yarn: Use the recommended colors (e.g., white for Miffy, black for features, and optional colors for accessories).
- Crochet Hook: Sized appropriately for your yarn.
- Stuffing: To shape the finished doll.
- Bobby Pins/Stitch Markers: To track stitch placement.
- Needle: For sewing pieces together.
- Safety Eyes or Black Yarn: For facial features.
- Glue (Optional): Helpful for attaching details like bows.
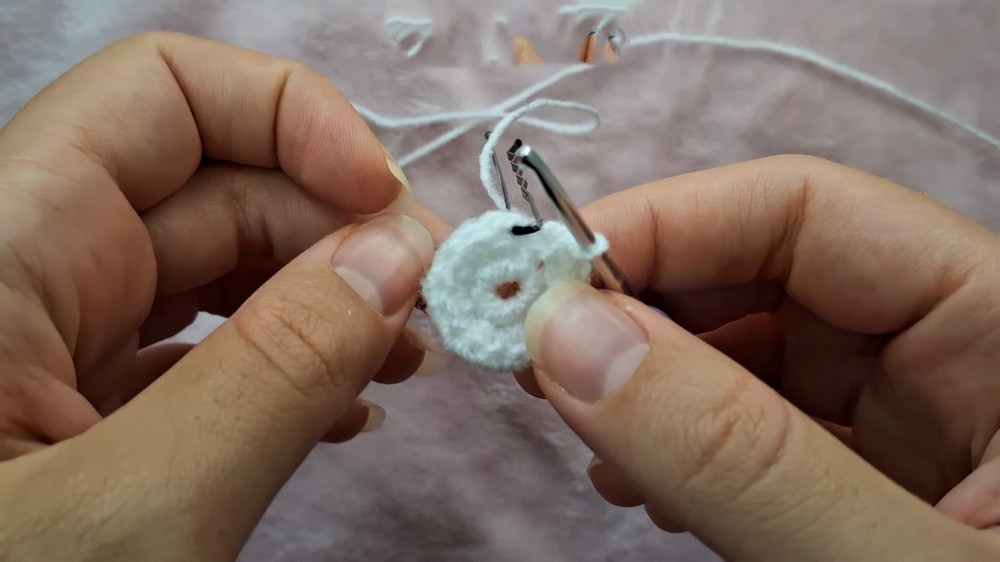
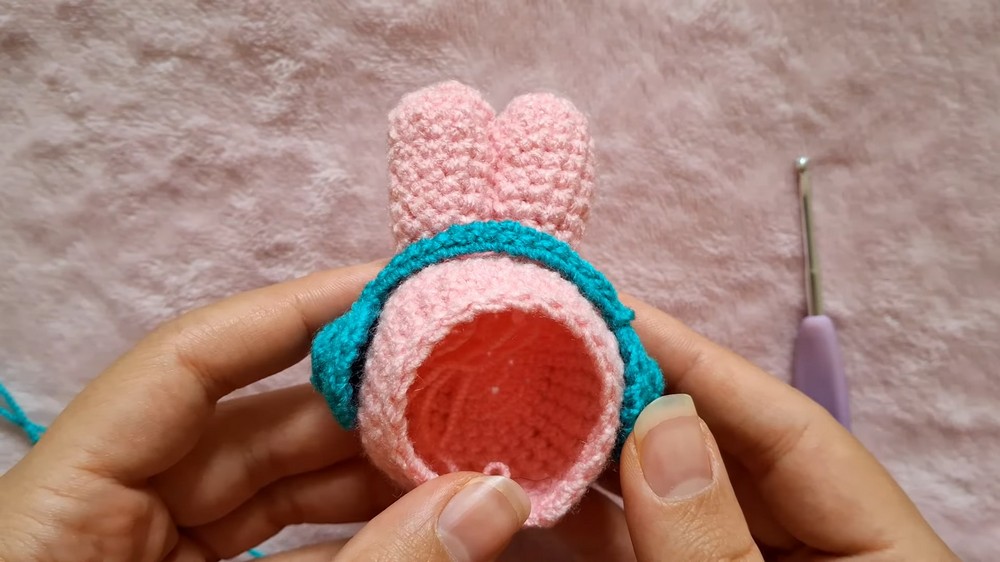
The pattern starts with the head, created using a magic ring—a beginner-friendly technique.
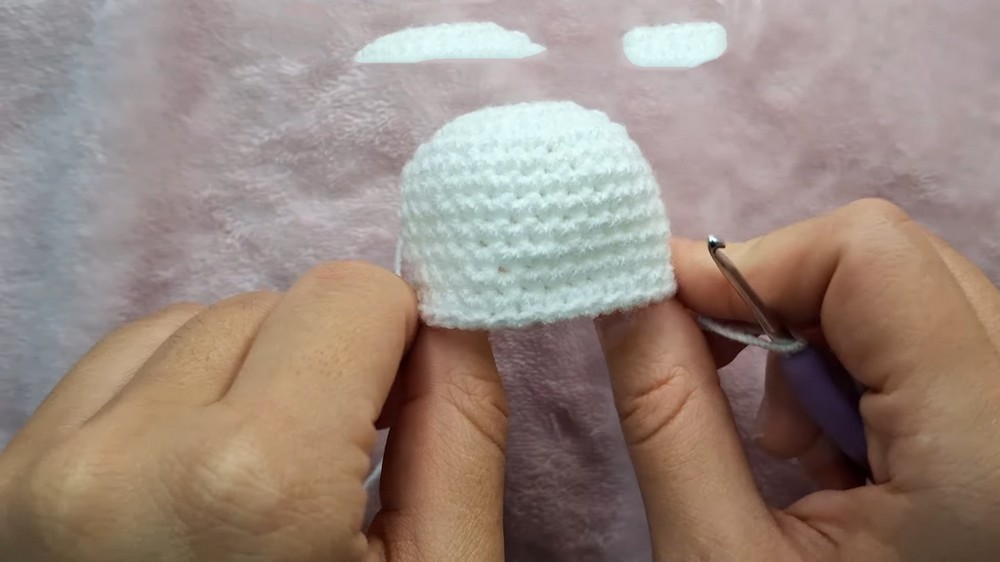
By working single crochets, increases, and decreases, the head is gradually shaped.
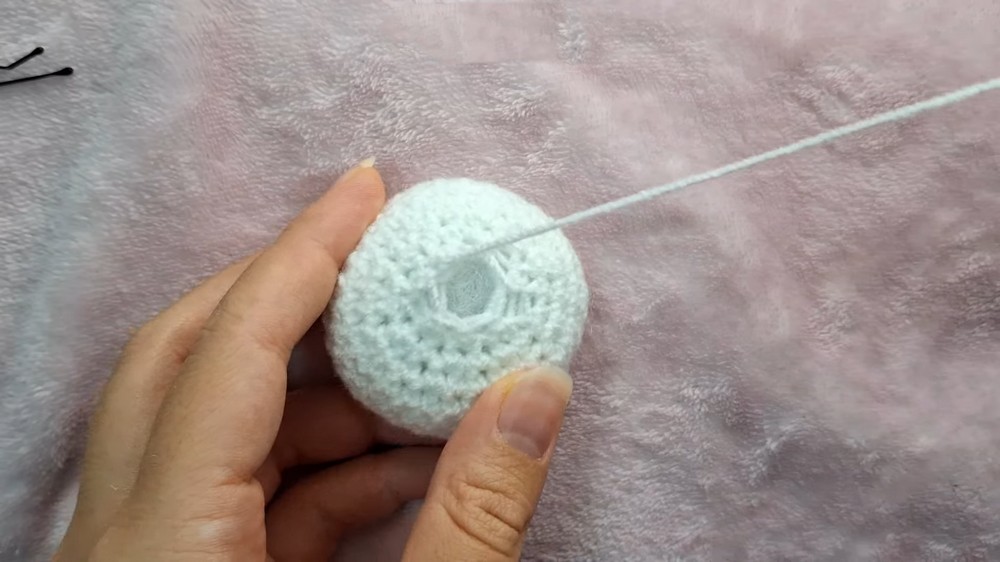
The tutorial emphasizes marking stitches to maintain precision, ensuring symmetry and a smooth transition between rounds.
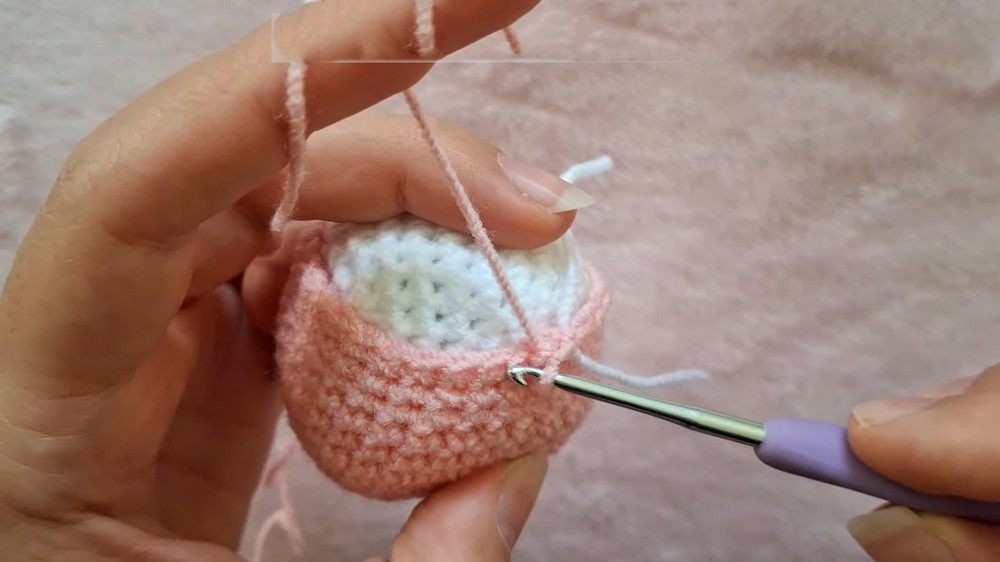
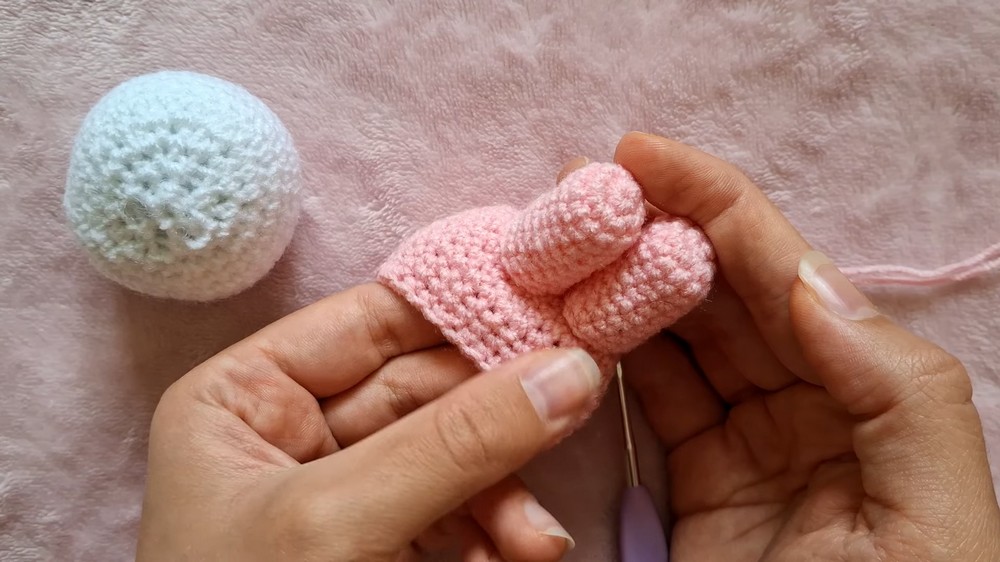
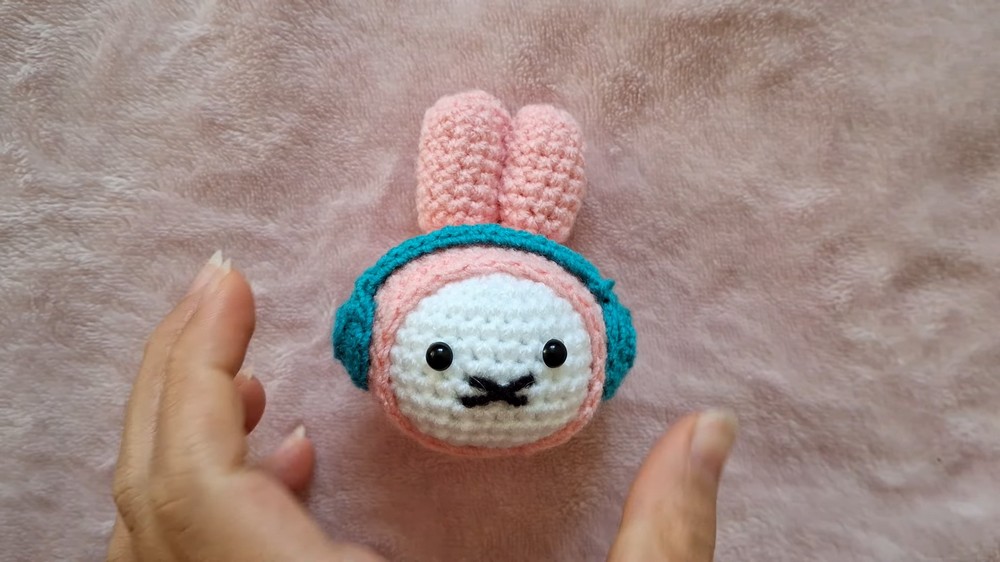
Subsequent steps focus on the ears, hat, body, arms, and legs, all completed with straightforward combinations of single crochets, increases, and loops.
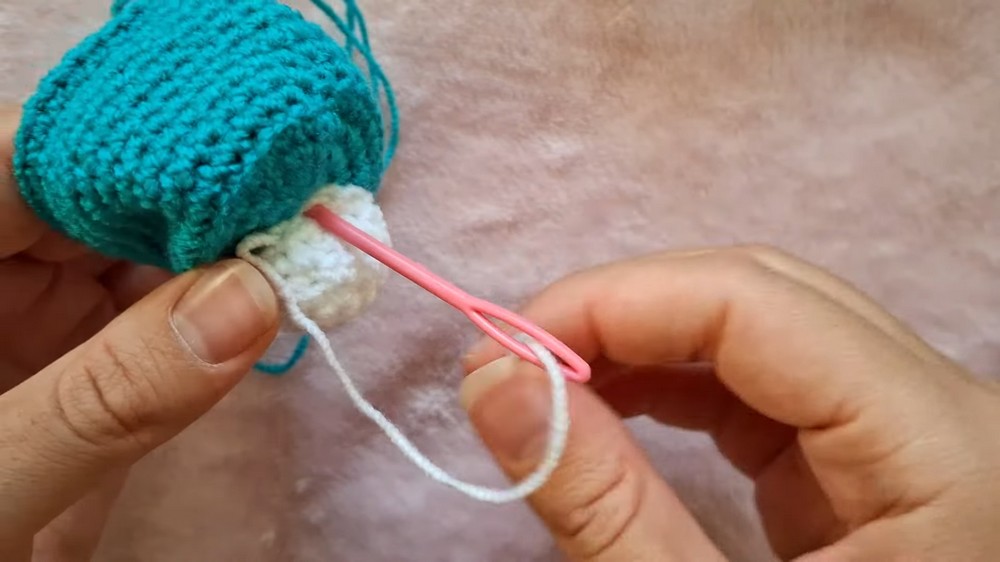
The headphones tutorial introduces back-loop stitching for detailed pattern, while slip stitches and chains are used to add decorative straps and edges.
For facial features, safety eyes can be used or stitched manually for a softer look.
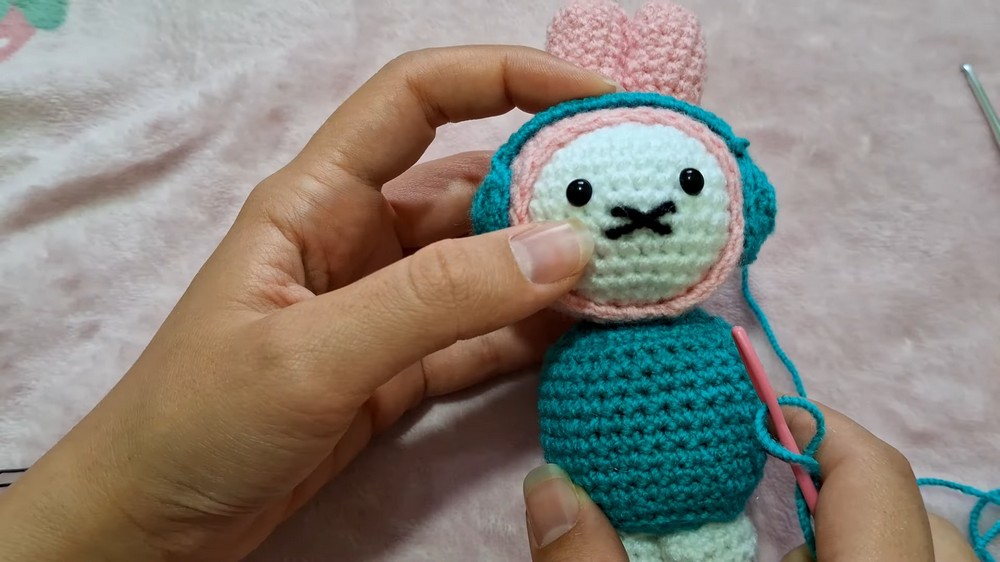
Tips like stuffing pieces before completing final rounds and sewing parts securely help give the doll a finished and polished appearance.
Overall, this project combines simplicity and customization, resulting in a beautiful keepsake that highlights your creativity.
Special Features
- The tutorial includes detailed instructions for assembling each part.
- Tips for creating accessories like headphones and adding personal touches (e.g., bows).
- Easy-to-follow techniques, like single crochet and magic rings, suitable for beginner or intermediate-level crocheters.
Level of Difficulty
This project is suitable for beginner to intermediate crocheters. Though it requires familiarity with basic stitches like single crochet, increases, and decreases, the slow and clear instruction makes it accessible for crochet enthusiasts.
Tutor’s Suggestions
- Mark Stitches: Use a bobby pin, stitch marker, or yarn to mark the first stitch of every round. This helps you keep track of rounds.
- Work Carefully with Accessories: The headphones and strap add an extra decorative element and require precision during assembly.
- Double-Secure: Tie knots when sewing and weaving yarn to ensure the doll is durable.
Uses
- Decorative Piece: Adorn shelves or nurseries.
- Gift: A handmade present for loved ones, perfect for children and fans of Miffy.
- Keychain or Accessory: Scale down the size to make mini versions for keychains or bag charms.
Step-by-Step Instructions
This step-by-step tutorial details the process of crocheting Miffy. Along the way, you’ll crochet a sweet doll with accessories that can be gifted or used as décor. The project includes magic rings, single crochets, increases, and decreases—perfect techniques to improve your crocheting skills!
Conclusion
Crochetting a Miffy is not only a rewarding project but also a delightful way to develop your crocheting skills. By following this step-by-step tutorial, you can crochet a unique and adorable doll complete with cute accessories. While the project demands some attention to detail, the satisfaction of holding the finished product is worth the effort.
Pro Tip
Before you sew smaller parts like ears or arms, use pins to position them first. This helps ensure symmetry and eliminates the need to undo stitches if adjustments are needed.
Leave a Reply