

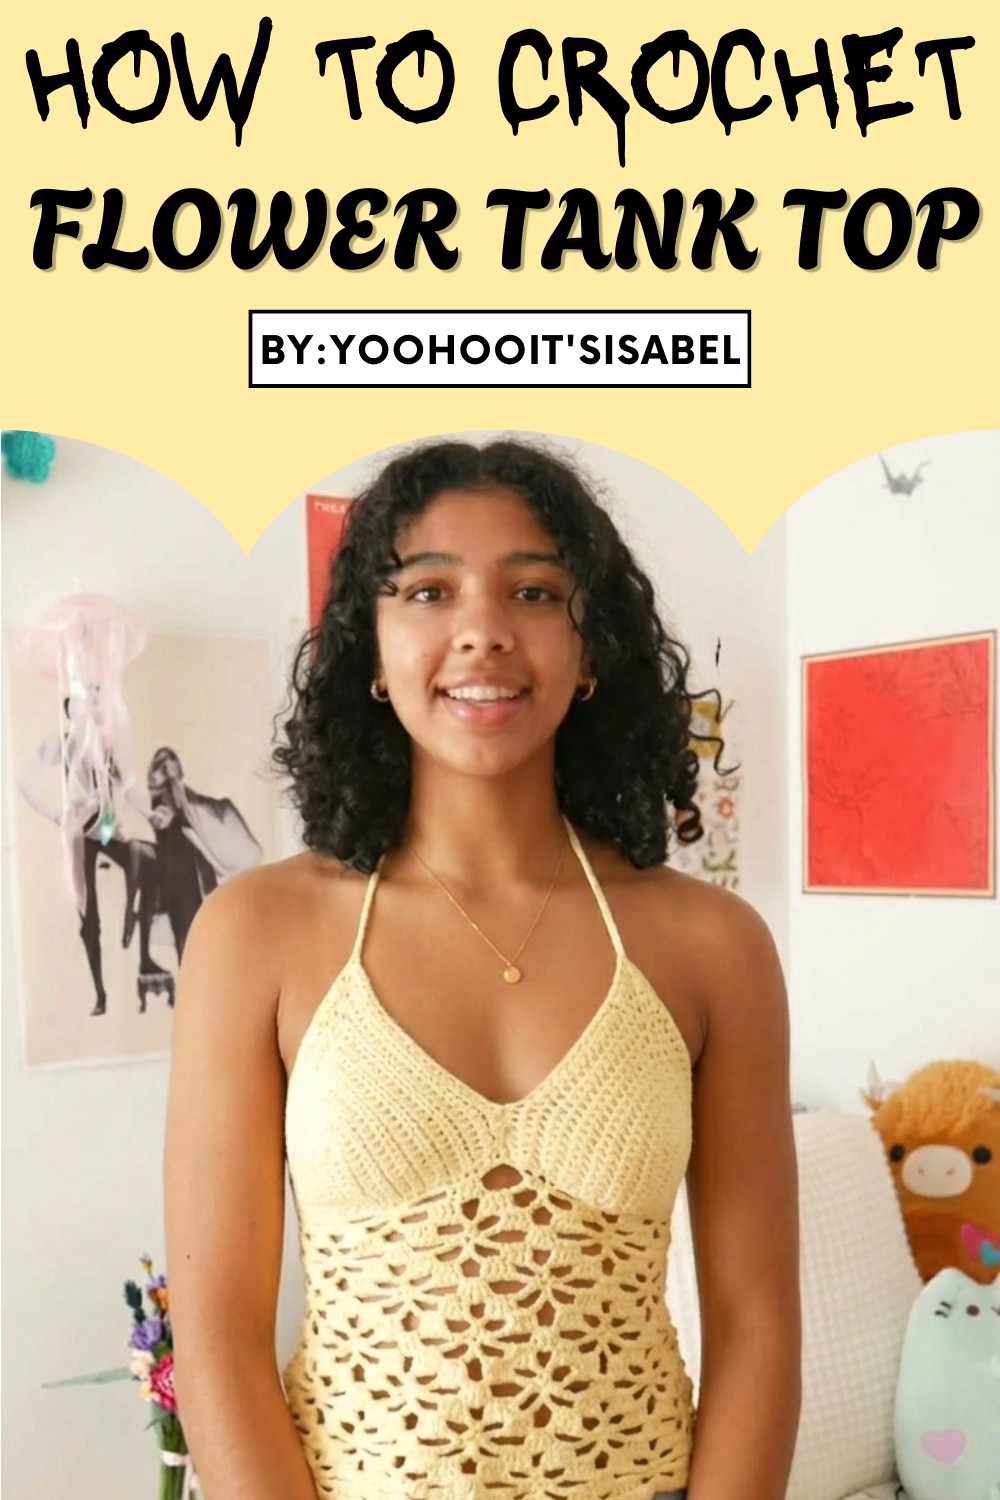
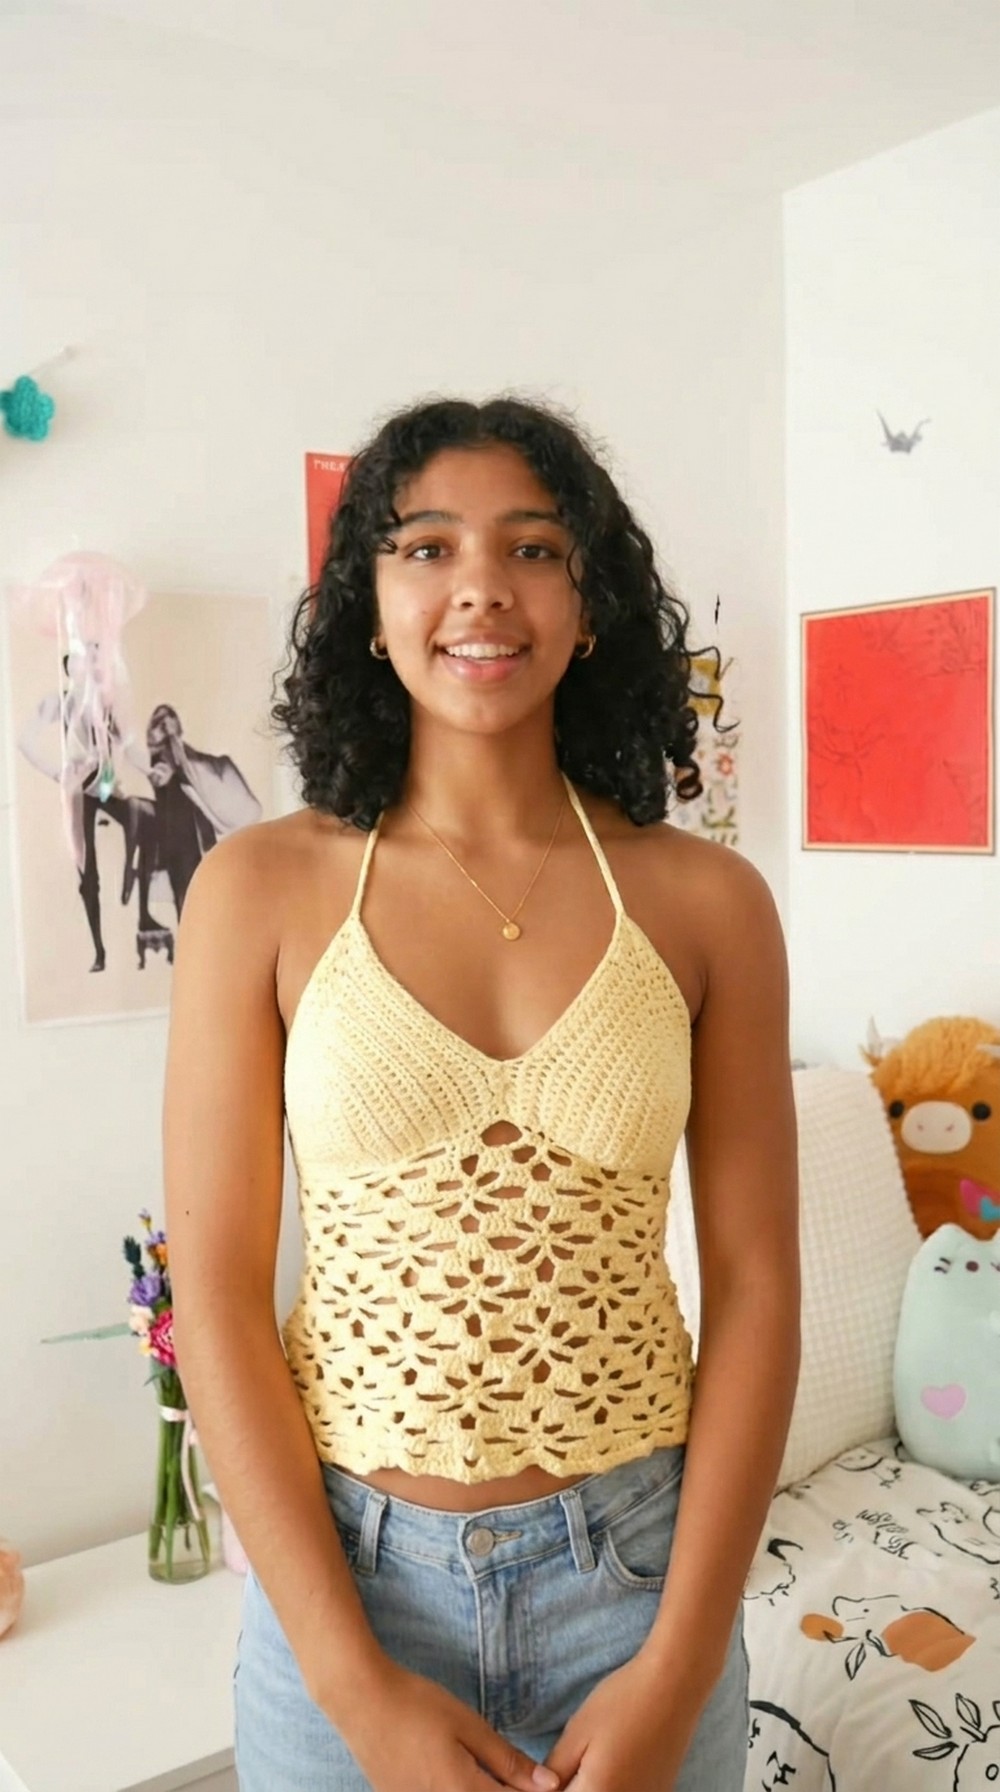
Turn heads this summer with a crochet flower tank top featuring stunning floral details, customizable colors, and effortless versatility for any occasion.
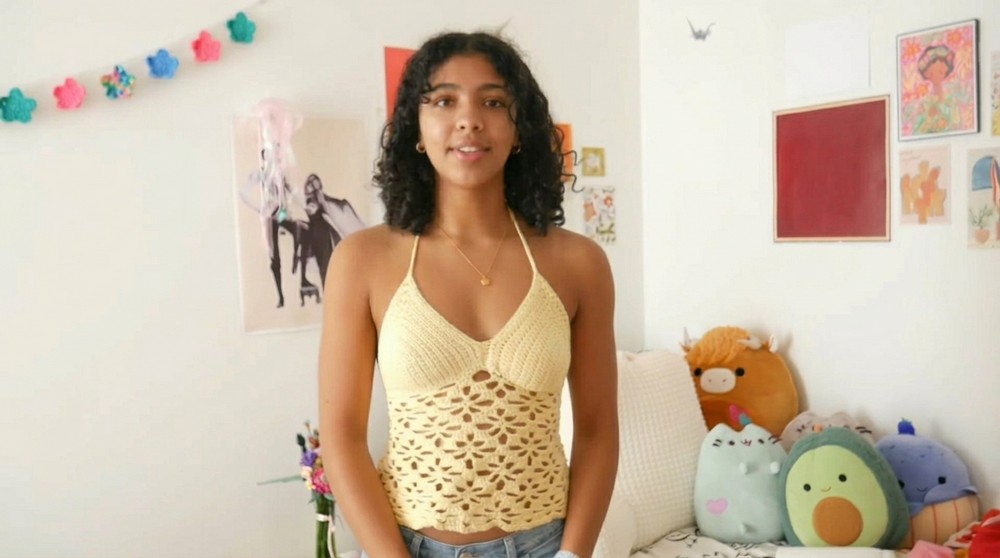
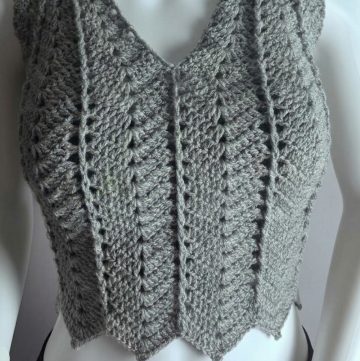
There’s nothing quite like wearing something you’ve put care and effort into, and a crochet flower tank top is a fabulous example of that. Lightweight and breathable, it’s the perfect addition to your wardrobe for warm days, whether worn over shorts for a relaxed vibe or layered under a jacket for a chic, transitional look. With intricate flower motifs worked into the design, the tank top is a stunning combination of texture and style that instantly elevates any outfit.
Free Crochet Flower Tank Top Pattern for a Chic Look
It’s not just about fashion, it’s also an enjoyable way to focus your energy on something personal and unique. This wearable art piece provides an eco-conscious option for refreshing your closet and allows for endless customization with different colors or yarn choices. With its versatility and beauty, it’s a timeless addition to any clothing collection.
Stunning Crochet Floral Tank Top
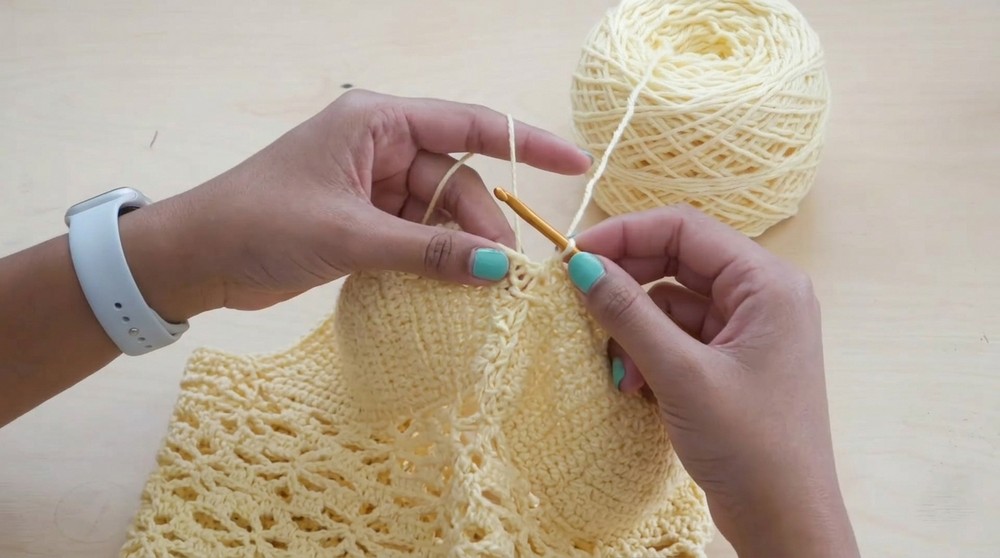
Step 1: Crochet Cups
Cup Instructions
Row 1: Foundation Row
- Create a slip knot using a 4 mm hook.
- Chain the required number to match your measurement (e.g., 12 chains).
- Starting in the second chain from the hook, work:
- 11 hdc (one into each chain).
- In the final chain, work 3 hdc to create the rounded tip of the cup.
- Rotate the work to crochet on the underside of the chain:
- Work 11 hdc along the bottom side.
- Total Stitches Row 1: 25 hdc.
(11 hdc on top, 3 hdc in the final chain, 11 hdc on bottom).
Rows 2–12: Repeating Rows
- Chain 1, turn.
- Work hdc into each stitch across.
- When you reach the 3 hdc cluster at the tip, increase by working 3 hdc into the middle stitch.
- Continue working hdc stitches down the other side of the row.
- End each row with chain 1 and turn your work.
- Suggested rows: 12 rows total for moderate coverage. Adjust based on your desired cup size.
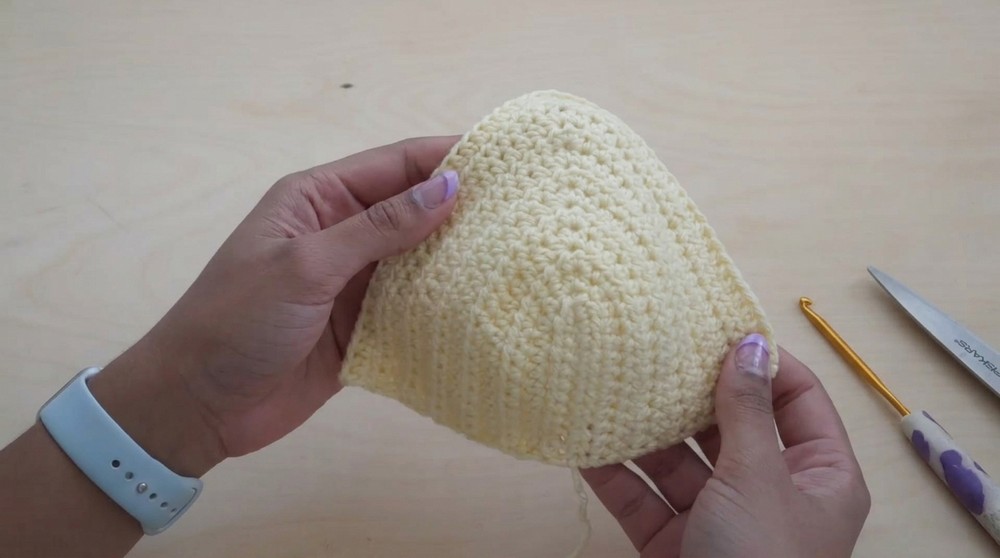
Finishing the Cups
- Cut Yarn for First Cup: Leave a long tail for sewing.
- Repeat the above process to make the second cup.
Joining the Cups
- Use a darning needle to sew 3–4 stitches between the cups.
- Adjust stitch count for desired neckline depth.
- Ensure cups are securely joined before moving to the body section.
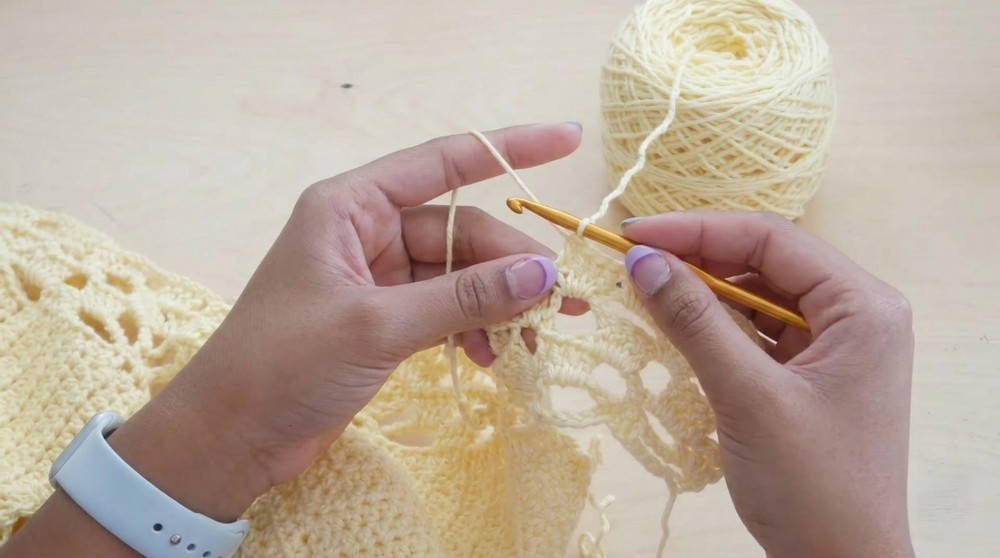
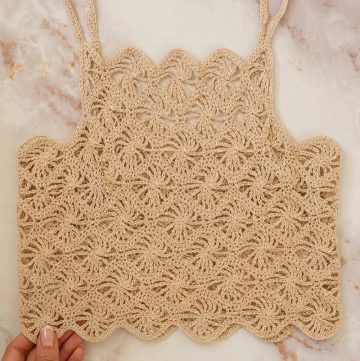
Step 2: Lacy Body Section
Foundation Setup
- Use the 4.25 mm hook for the body section.
- Work a chain across the cups and back panels:
- Chain 17 stitches for the first back panel.
- Attach hdc to connect to the cups. Crochet across the cups in multiples of 17 stitches.
- Chain another 17 stitches for the second back panel.

Row 1: Foundation Row
- Chain 3 (counts as 1 dc).
- Work 3 dc into the next 3 stitches (4-dc cluster).
- Chain 5, skip 5 stitches, and sc into the next stitch.
- Do 3 sc in the next 3 sts, then chain 5 and repeat:
- Alternate between 4-dc clusters and sc groups.
- End the row with a dc cluster.
- Total Stitches Example: Multiple of 17 stitches.
Row 2
- Chain 3, turn.
- Work 3 dc into the chain space immediately below.
- Chain 4, and sc into the middle sc from the previous row.
- Chain 4, 3 dc into next chain space, and 1 dc into top of dc cluster (to maintain shape).
- Repeat this pattern across the row.
Row 3
- Chain 1, turn.
- Work 1 sc into the first chain space. Chain 4, and dc into the 4th dc from the previous row.
- Work 3 dc into chain spaces, then:
- Chain 2 and repeat until you reach the end.
Row 4
- Chain 1, turn.
- Work sc into every sc and chain space, building stability before returning to lace repeats.
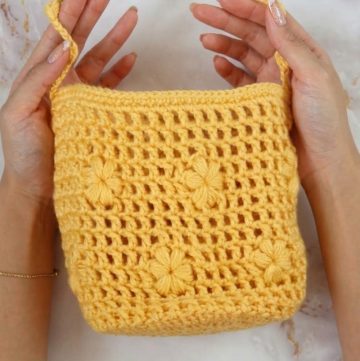
Row 5
- Start Flower Pattern:
- Chain 4 and alternate between 4-dc clusters and chain 5 spaces.
Row 6: Increasing Rows
- Chain 1, turn.
- As the top expands in length, calculate stitches to increase at chain 2 spaces. Follow this format:
- Divide total stitches by 17 and incrementally increase every few rows.
Step 3: Straps & Ties
Front Straps
- Attach yarn to the center stitch at the top of each cup.
- Chain 100 stitches for long straps, allowing enough slack for bow tying at the shoulders.
- Slip Stitch into each chain, back to the base.
- Secure and fasten off when finished.
Back Ties
- Attach yarn to the bottom corner of the back panels.
- Chain 70 stitches for ties that secure the back closure.
- Work slip stitch into each chain, fasten off, and repeat on the opposite side.
Finishing
- Edging: Add a simple single crochet edge along the cups for neatness.
- Weaving Ends: Use a darning needle to hide all loose yarn ends.
- Adjustments: Try on the top and re-tie straps or add more stitches to chains as needed.
Remarkable Highlights
Customization Tips
- Cup Size:
- Add more rows to the cups for extended coverage.
- For micro styles, reduce the initial foundation chains.
- Body Fit:
- For a looser fit, use a 4.5 mm hook for the body.
- To create a cropped version, stop after a few repeats of Rows 1–6.
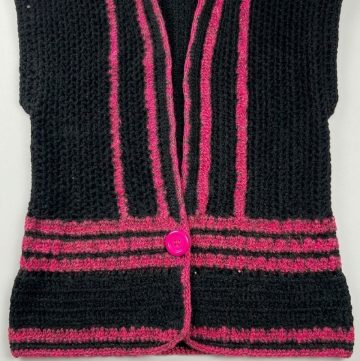
- Color Options:
- Use ombré, stripes, or multicolored yarn for a playful summer top.
Conclusion
Congratulations on completing your crochet top! This highly customizable pattern ensures a comfortable and stylish result suitable for all body types. The pattern works for everyday summer wear or even layering, giving you flexibility to add your personal design taste to the final product.
Final Notes
- Share your creations on social media; seeing this top in different colors and sizes is inspiring!
- Don’t hesitate to revisit specific row instructions or ask for community feedback when experimenting with stitch counts.
Leave a Reply