

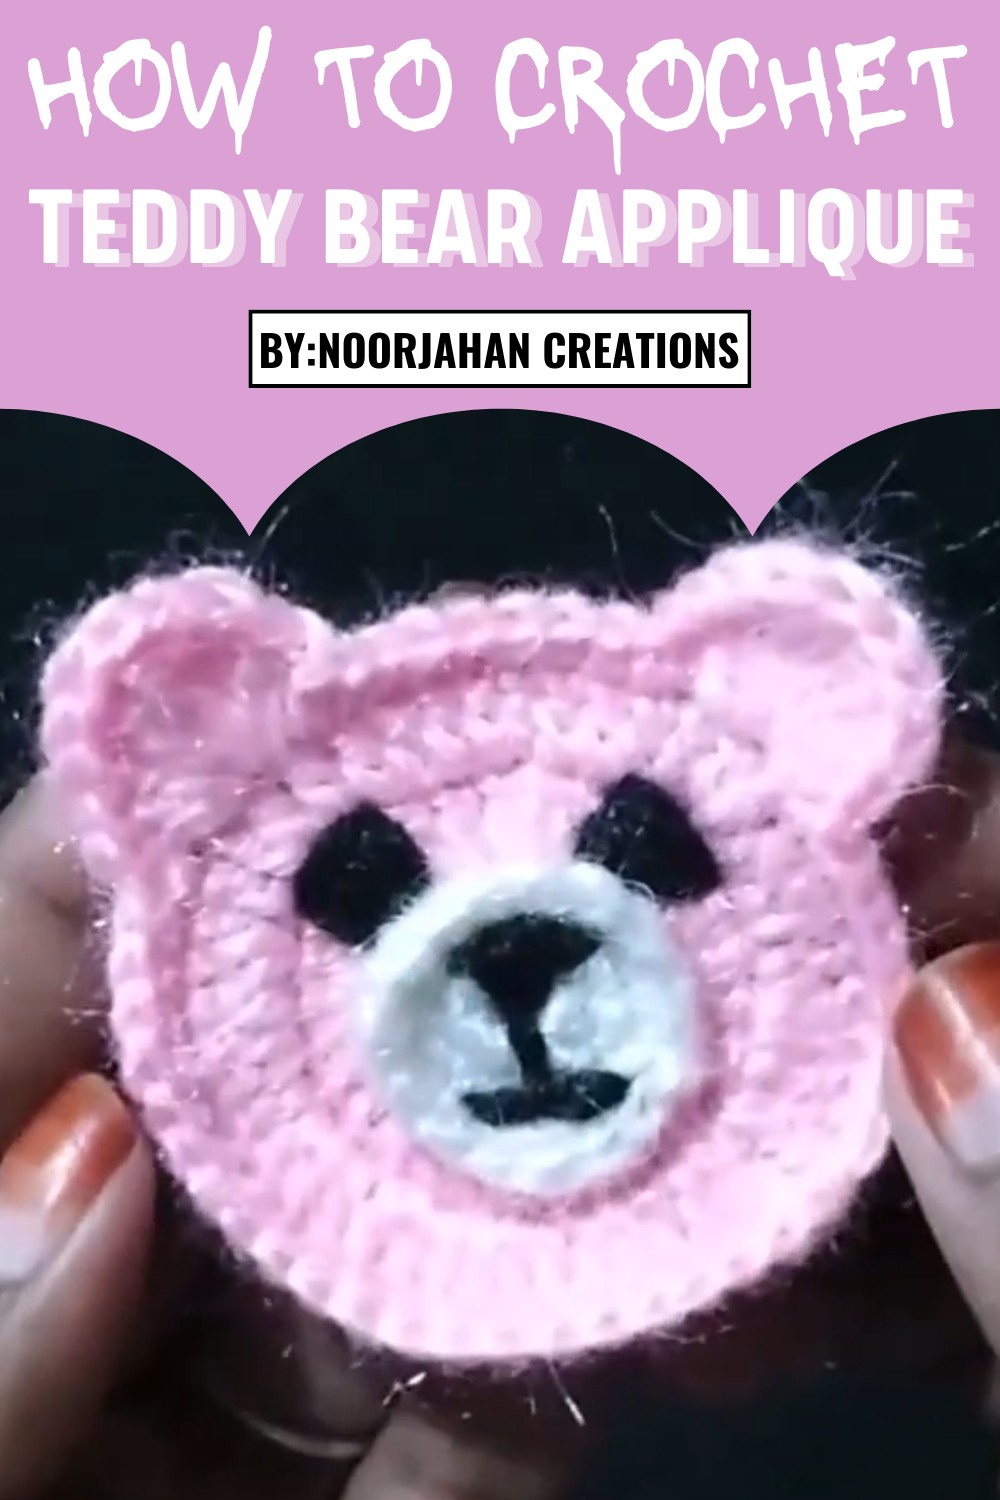
Personalize your favorite items with Crochet teddy bear applique pattern perfect for blankets clothes and bring charm to every creation.
A cute teddy bear design adds warmth and charm to anything you make. This crochet teddy bear applique pattern brings life to baby blankets, kids’ clothes, tote bags, or even home décor. The soft and playful look of the teddy bear makes it an adorable choice for personalizing gifts or decorating your favorite accessories. With its simple design and options for color customization, it’s easy to match it with different themes or occasions.
Classic Crochet Teddy Bear Applique Pattern with Easy Steps
Whether you’re adding it to a nursery décor item or enhancing a plain project, this applique offers a unique and heartwarming touch. Even beginners can enjoy making this fun and delightful design, as it’s both easy to follow and rewarding. It’s an excellent way to transform everyday items into something extra special that will bring joy to kids and adults alike, spreading smiles wherever it’s seen.
Materials List
Make sure you have the following materials ready:
- Yarn: Medium-weight yarn (#4) for durability. You can use:
- Primary color for the base (e.g., beige/brown).
- Contrasting color for decoration (e.g., black/dark brown).
- Crochet Hook: US E/4 (3.5 mm) or hook size matching your yarn.
- Scissors: To trim excess yarn and trim ends cleanly.
- Tapestry Needle: For finishing tasks like weaving in ends or adding embellishments.
- Optional Items:
- Stitch markers to easily track rows/rounds.
- Safety pins to hold applique sections temporarily if you're sewing them together.
Key Abbreviations
This pattern uses US crochet terminology:
- ch: Chain
- sc: Single Crochet
- dc: Double Crochet
- sl st: Slip Stitch
- yo: Yarn Over
- rep: Repeat
- sp: Space
- st(s): Stitch(es)
- [ ]: Work instructions in brackets within the same stitch.
Special Notes
- Gauge: Not critical for this pattern but consistency in tension is key to maintain the applique’s structure.
- Customization: This applique can be adjusted to fit various styles/sizes by modifying yarn type and hook size.
- Joining Technique: Sections of this applique are created separately and joined during assembly.
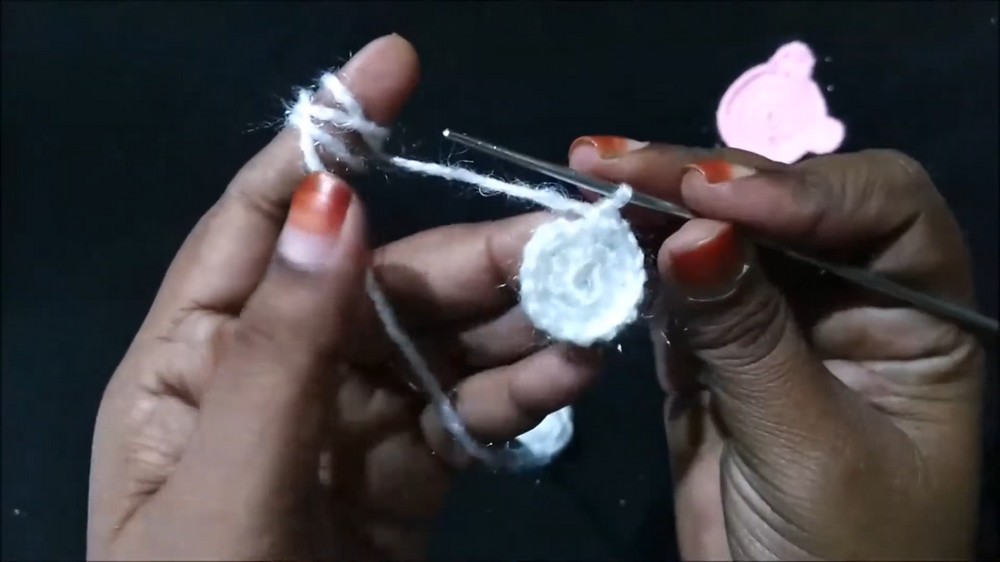
Step-by-Step Instructions
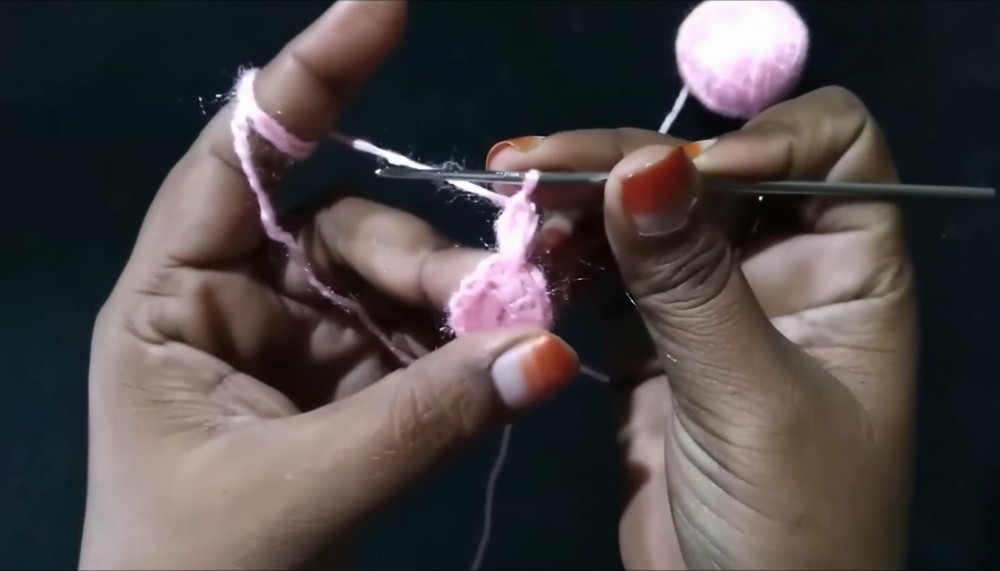
1. Create the Base Circle
Round 1:
- Begin with a magic ring or ch 5, then use a sl st to join the fifth chain into a loop.
- Ch 2 (counts as the first sc).
- Work 12 sc evenly into the ring.
- Pull the tail of the ring tight to close the center hole, then join the round with a sl st into the first sc.
Round 2:
- Ch 3 (counts as dc).
- Work 2 dc in each st around the previous round (you will have 24 dc total).
- Join with a sl st into the top of the ch 3.
Round 3:
- Ch 3 (counts as dc), then dc once in the next st.
- In the next st, work 2 dc, creating an increase.
- [1 dc in the next st, 2 dc in the next st]; repeat around.
- Join with a sl st. Total: 36 dc.

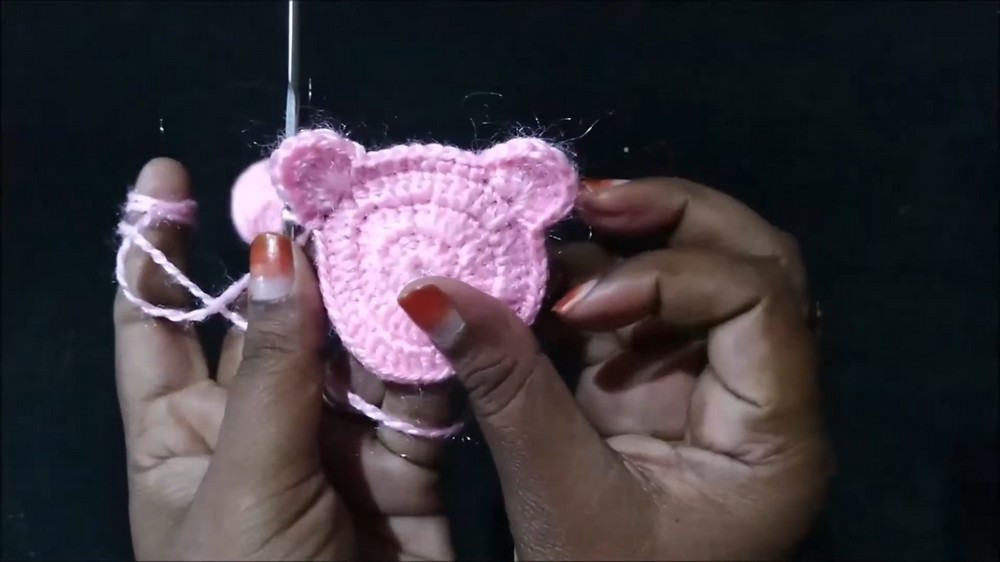
2. Create the Decorative Loops
Round 4 – Double Loop Rows:
- Ch 3 (counts as dc), yo twice (2 yo) and insert the hook into the first st.
- Pull through and complete the loop while maintaining tension. Repeat this for each stitch.
- [1 dc, 2 loops in the next st]. Repeat this sequence around the base circle.
Round 5:
- Continue creating more loops in the same pattern while following the expansion rules:
- Add extra loops by wrapping the yarn multiple times per stitch (for texture).
- Alternate between single loops in one stitch and two loops in the next.
3. Add Decorative Features
- Switch to a contrasting color (black/dark brown).
- Use ch 6 as a foundation for decorative elements:
- Work sc across (5 sc total).
- Use this strip for arms, feet, or other shapes as desired.
4. Create Additional Sections
- For smaller details:
- Begin with sc foundation.
- Create tiny shapes like leaves, squares, or simple loops with your secondary color.
5. Assemble the Applique
- Arrange Pieces:
- Place the base circle in the center, align loops or strips around it.
- Attach Details:
- Use a tapestry needle or crochet directly onto the base to attach strips or smaller pieces securely.
- Neat Finish:
- Weave in all loose ends with your tapestry needle.
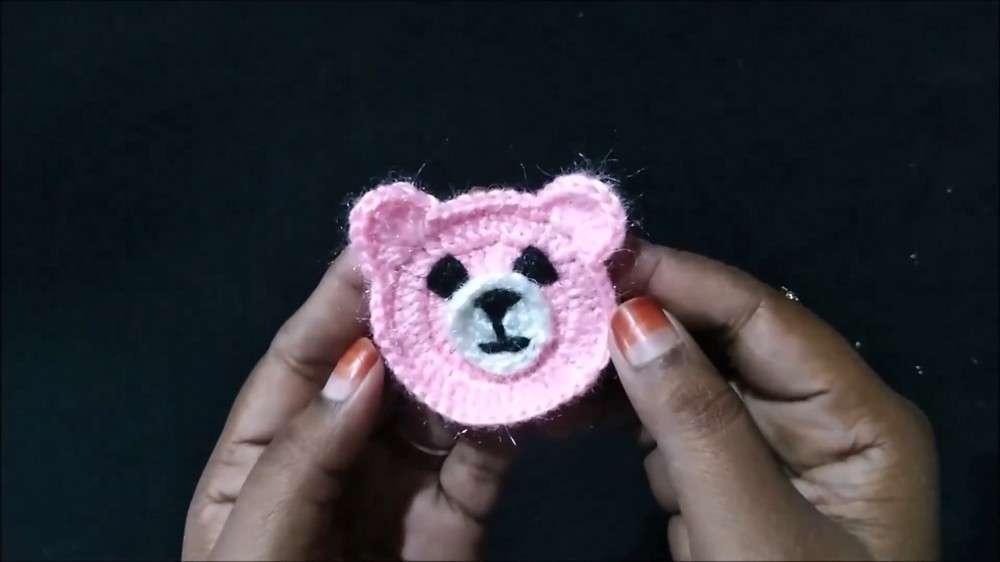
Conclusion
Your applique is complete! This design offers endless customization options for embellishing sweaters, blankets, or other craft projects. The textured stitch combinations and decorative loops create an eye-catching look.
Pattern Corrections
If the loops or stitches look distorted:
- Evaluate your tension and ensure consistency between rounds.
- Practice maintaining even yarn pulls when creating loops.
Bonus Tips
- Experiment with Layers: Add more rows to the core structure or layer multiple appliques for a detailed look.
- Blocking: Block the applique using a wet or steam method to smoothen the edges and enhance its shape.
- Alternative Uses: Transform this applique into coasters by stiffening the structure with spray starch.


Leave a Reply