

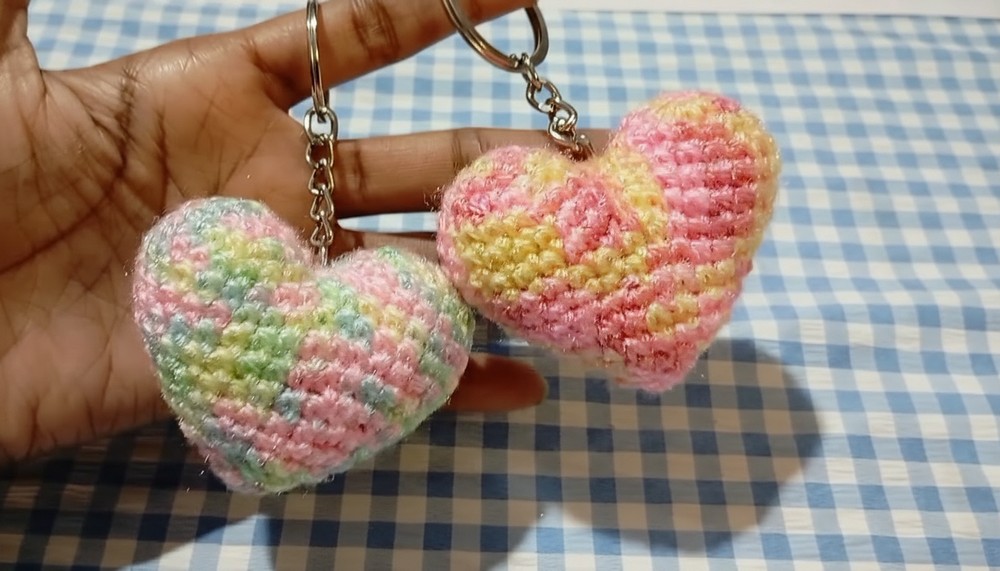
Attach a cute heart to your keys with this Crochet Heart Keychain Pattern for a charming accessory that adds personality to everyday life.
Nothing brightens a plain bag or a bunch of keys like a small handmade charm. This crochet heart keychain pattern brings warmth, joy, and a touch of love to everyday items. Carefully stitched, it feels smooth in your hands and is strong enough to last a long time. You can hang it on keys, backpacks, purses, or even use it as a small gift to make someone’s day special.
Romantic Crochet Heart Keychain Pattern for Valentine’s Gifts

Its cheerful shape and vibrant colors turn simple things into something lively and charming. Perfect for birthdays, anniversaries, or just to add a little happiness to daily life, it is practical yet full of personality. Easy to make and delightful to carry, this tiny creation transforms simple yarn into a small treasure that spreads beauty, love, and charm wherever it goes.
Materials List
- Yarn:
- 4-ply yarn in the color of your choice (for the heart)
- Hook: 3 mm crochet hook
- Stuffing: Polyfill or cotton fiber, as desired
- Tapestry needle: For sewing and finishing
- Keychain accessory: Optional, can also use jump rings
- Stitch marker: To keep track of rounds
- Scissors
Key Abbreviations (US Terminology)
- ch: Chain
- sc: Single crochet
- st: Stitch
- inc: Increase (2 single crochets in the same stitch)
- dec: Decrease (crochet two stitches together using the back loop only)
- sl st: Slip stitch
- [...]: Repeat instructions within brackets
- (x sts): Final stitch count for the round
Special Notes
- The project is worked in continuous rounds (spirals). Use a stitch marker to note the start of each round.
- Avoid overstuffing the heart; it should keep a flat yet firm shape.
- For beginners: Count your stitches regularly to maintain accuracy.
Pattern Instructions
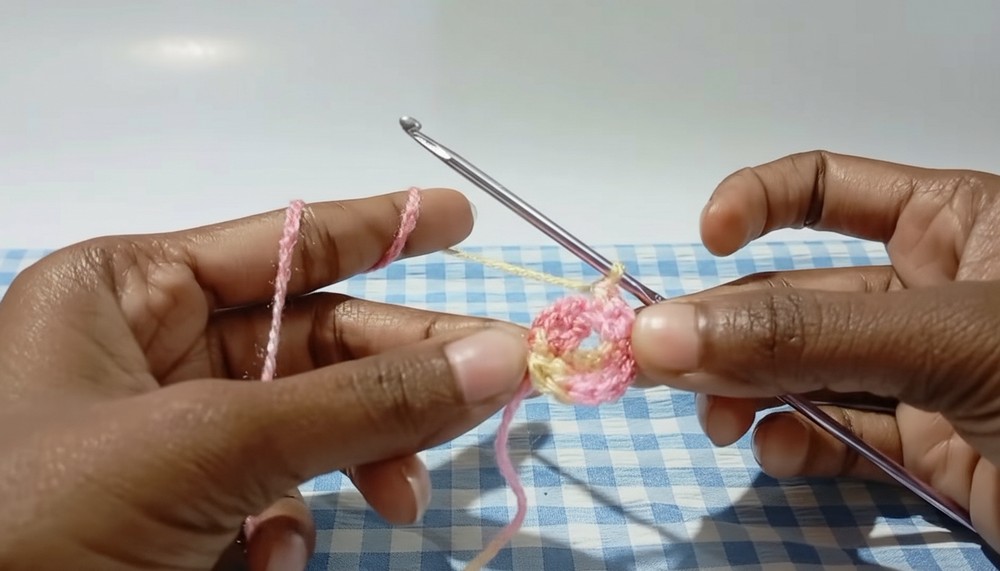
Heart (Make 2 Halves)
First Half of the Heart
- Round 1: Create a magic circle. Work 6 sc into the ring. Pull the tail of the magic circle slightly to tighten, but do not close it completely. (6 sts)
- Round 2: [inc in each st] around. (12 sts)
- Round 3: [1 sc, inc] repeat 6 times. (18 sts)
- Round 4: Sc in each st around. (18 sts)
- Fasten off and cut the yarn.
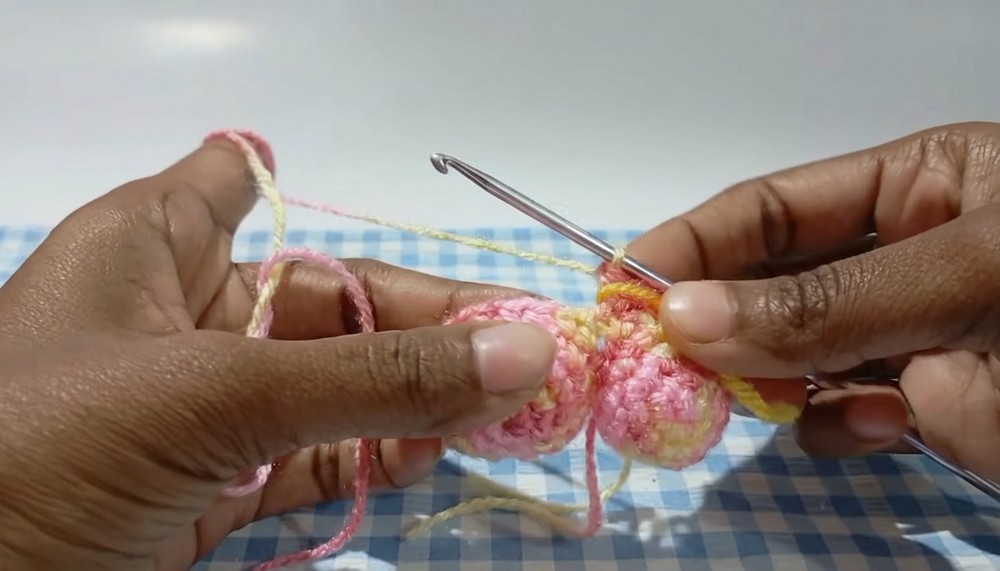
Second Half of the Heart
- Repeat the pattern for Rounds 1-4 from the first half.
- Do NOT fasten off at the end of Round 4 as the two halves will be joined together in Round 5.
Joining the Heart Halves
- Take the first half of the heart and align it with the second half.
- Insert your hook into the first stitch of the first half, then yarn over and pull through. Sc around all 18 stitches of the first half, then continue with 18 sc around the second half. This will join both halves and create a total of 36 stitches. (36 sts)
- Round 6: Sc in each stitch around. (36 sts)
Shaping the Heart
Round 7:
- Sc in the next 7 sts, then dec twice.
- Sc in the next 14 sts, then dec twice.
- Sc in the last 7 sts. (32 sts)
Round 8:
- Sc in each stitch around. (32 sts)
Round 9:
- Sc in the next 6 sts, then dec twice.
- Sc in the next 12 sts, then dec twice.
- Sc in the last 6 sts. (28 sts)
Round 10:
- Sc in the next 5 sts, then dec twice.
- Sc in the next 10 sts, then dec twice.
- Sc in the last 5 sts. (24 sts)

Round 11:
- Sc in the next 4 sts, then dec twice.
- Sc in the next 8 sts, then dec twice.
- Sc in the last 4 sts. (20 sts)
- Stuff the heart lightly with polyfill, ensuring it maintains its shape.
Round 12:
- Sc in the next 3 sts, then dec twice.
- Sc in the next 6 sts, then dec twice.
- Sc in the last 3 sts. (16 sts)
Round 13:
- Sc in the next 2 sts, then dec twice.
- Sc in the next 4 sts, then dec twice.
- Sc in the last 2 sts. (12 sts)
- Add additional stuffing if needed.
Round 14:
- Work 6 decreases to close the heart. (6 sts)
- Fasten off, leaving a long tail for sewing. Finish closing the hole by weaving the tail through the remaining stitches and pulling tight.

Final Assembly
- Closing the Gap Between the Two Halves: If there’s a small gap between the two joined circles, use the yarn tail to sew the gap shut using neat stitches.
- Attaching the Keychain:
- Thread the yarn tail with a tapestry needle and secure the keychain attachment through the stitch at the top of the heart.
- Reinforce by weaving through multiple times until the keychain is sturdy.
- Weave in and hide all loose ends.
Conclusion
Congratulations! Your cute Heart Keychain is now complete. Whether you’re making it as a gift or for personal use, this little project showcases your skills in amigurumi crochet beautifully. Don’t forget to share your creations and tag the original creator if applicable!
Pattern Corrections
- Stitch Count Issues: If your stitch count is one or two off after joining the two halves, adjust in the 6th round by making a subtle increase or decrease at the join. This ensures symmetry in shaping.
Tips for Success
- Even Stuffing: Distribute stuffing evenly as you close the heart to avoid bulging.
- Stitch Consistency: Tighten your tension slightly for a cleaner, smoother heart shape.
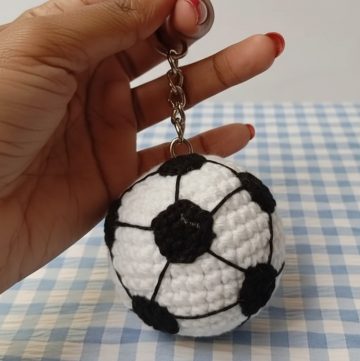
- Customization: Experiment with different colors or use two-tone yarns for a unique heart.


Leave a Reply