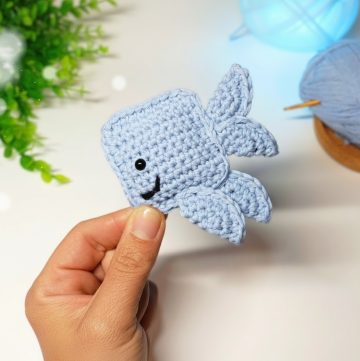
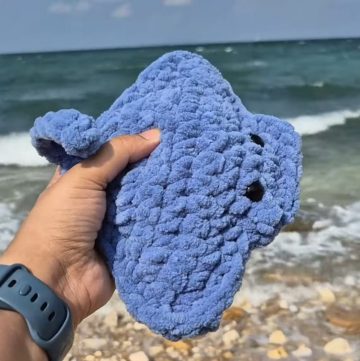
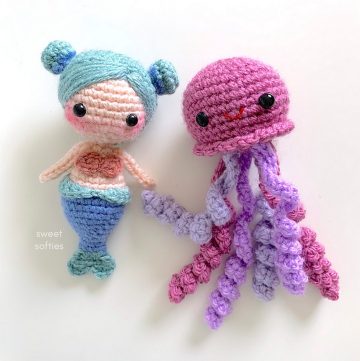
Explore crocheting with the No Sew Crochet Goldfish Pattern, a charming project designed for crochet enthusiasts of all levels. This intuitive and engaging pattern eliminates the need for sewing pieces together, making it a perfect endeavor for those looking for a straightforward and enjoyable crafting experience.
No Sew Crochet Goldfish Tutorial
With a few simple materials like sport weight yarn, a 3 mm crochet hook, and a sprinkle of creativity, you can bring to life a colorful and adorable goldfish. Whether you're looking to add a whimsical touch to your home decor, gift a handmade treasure, or simply immerse yourself in the therapeutic process of crocheting, this pattern is your gateway to creating a cute, no-fuss aquatic companion. Let's embark on this crochet adventure, where the magic of yarn transforms into a vibrant, no-sew goldfish.
Materials Needed:
- Sport weight yarn (5 ply)
- 3 mm crochet hook
Note: Using thinner yarn and a smaller hook will result in a smaller goldfish.
Pattern:
Round 1:
Start with a magic ring.
- Chain 2 (counts as your first half double crochet).
- Make 4 more half double crochets into the magic ring (5 half double crochets total).
- Pull the tail to close the ring.
- Slip stitch into the top of the initial chain 2 to join.
Round 2:
- Chain 2.
- Make two half double crochets in each stitch around (total of 10 half double crochets).
- Skip any extra stitch at the end.
- Slip stitch into the top of the beginning chain 2 to join.
For Round 3:
- Chain 2.
- Make 1 half double crochet in the next stitch, then 2 half double crochets in the following stitch repeat around (15 stitches total).
- Change colors as desired for different patterns on the fish.
Round 4 & 5:
- Chain 2.
- Make 1 half double crochet in each stitch around.
- For bi-color fish, change yarn colors as needed to match the design.
For Round 6:
- Chain 2.
- Make 1 half double crochet in the next stitch, then make a half double crochet decrease (combining the next two stitches into one) repeat around (10 stitches total).
- Fill the fish with stuffing before closing.
Round 7 (Closing Round):
- Chain 1.
- Make single crochet decreases all the way around (5 stitches total).
- Finish off and weave in the ends securely.
Tail:
- Chain 3.
- Make a triple crochet in the same stitch.
- Chain 2, then make a single crochet in the second chain from the hook.
- Slip stitch into the base of the triple crochet.
- Repeat the steps for a second triple crochet in the same stitch. This creates one side of the tail. Repeat these steps for the other side of the tail.
Fins (x2):
- Attach yarn at the desired location.
- Chain 2, then make 2 half double crochets in the same space.
- Finish with a slip stitch, cut the yarn, and weave in the ends.
Eyes (optional):
- You can add eyes using beads, felt, or embroider them directly onto the fish.
Final Touches:
- The video suggests using a plastic bag and a keychain ring to complete the goldfish keychain presentation.


Leave a Reply