

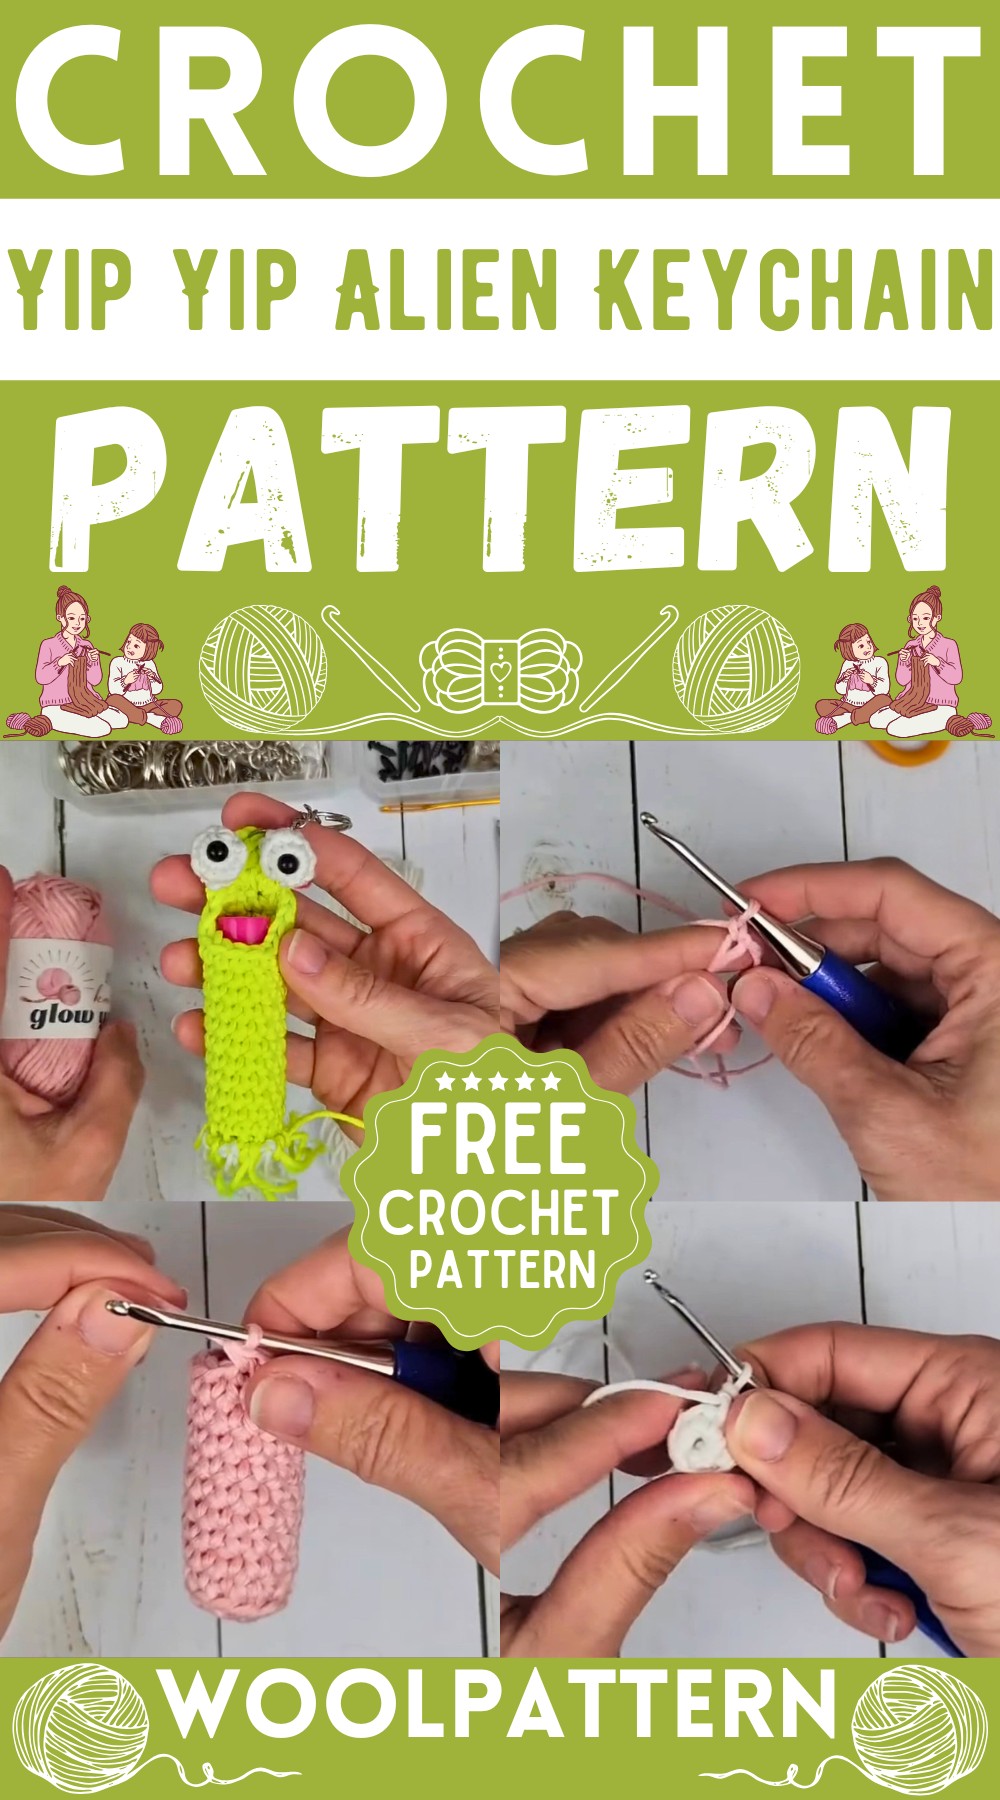
Picture a tiny crochet alien, bright and cheery, dangling from your keys - your very own Yip Yip alien keychain. It's not just a cute accessory; it's a miniature guardian for your chapstick, ready for action anytime you need a moisture boost.
Crochet Yip Yip Alien Keychain
Materials Needed:
- Worsted weight glow-in-the-dark yarn (pink and white)
- E crochet hook (3.5 mm)
- C crochet hook (2.75 mm)
- 6 mm safety eyes
- Yarn needle
- Stitch marker
- Keychain accessories and jump rings
- Scissors
- Pliers (for attaching the jump ring)
Body Pattern:
- Starting with the E crochet hook and your main color yarn, make a magic ring.
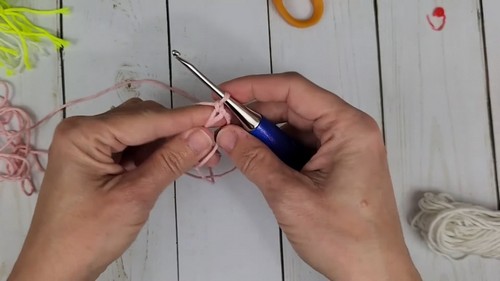
Chain 2:
- Chain one to lock it in, then chain a second one to prepare for single crochets.
First Round:
- Single crochet 6 times into the magic ring, then pull the loop tight.
Second Round:
- Make single crochet increases in each stitch around, totaling 12 single crochets.
Shape the Body:
- Continue single crocheting in rounds. After several rounds, the work will naturally begin to form a tube shape. Do 9 rows of single crochet for a total of 108 stitches.
Forming the Mouth:
- Single crochet one and place a stitch marker to note the beginning of the row. You're now working in rows, not rounds.
- Crochet 8 single crochets, chain 1, turn your work, and single crochet back across for 8 stitches.
- Begin decreasing row by row to form the tapering mouth of the chapstick holder, eventually reducing down to a single crochet decrease over three stitches.
Finishing Touches:
- Single crochet evenly all the way around the mouth's edge, making the opening neat.
Making the Eyes:

Switch to the C crochet hook and white yarn:
- Start with a magic ring.
First Round:
- Chain 1 to secure the ring, then do 6 single crochets into the ring.
Second Round:
- Perform single crochet increases and single crochets as necessary to achieve a round eye shape, ending the round with 9 stitches. Do not close the ring tightly before adding the safety eye.
Attaching the Safety Eye:
- Insert a 6 mm safety eye into the center of the work, adjust the yarn ring tightly around the base of the safety eye, and complete the eye by decreasing stitches to close off the back.
Assembly:

Attaching Eyes:
- Thread the tail of yarn through a needle and attach each eye securely to the body of the yip yip figure.
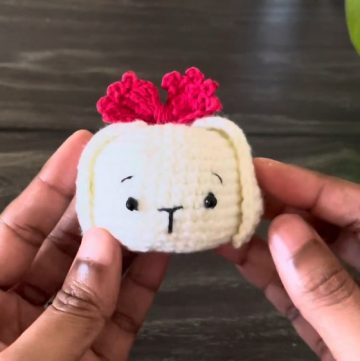
Making Tassels:
- Use remaining yarn to create tassels at the base of the figure. Cut equal lengths of yarn, fold them in half, and use a crochet hook to pull loops through the bottom edge, securing them as tassels.

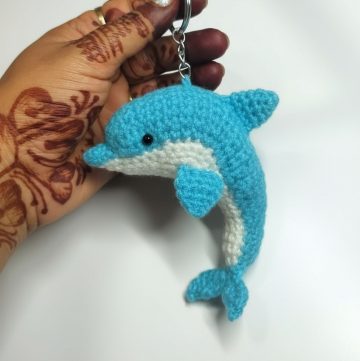
Attaching the Keychain:
- Use pliers to open a jump ring, thread it through the loop at the top of your figure, attach the key ring, and close the jump ring securely.
Finishing Up:
- Place a chapstick inside the holder, attach it to your keys or bag, and enjoy your glowing yip yip chapstick holder!
- Remember, you can customize your chapstick holder by changing colors or adding more decorations as you'd like. Enjoy your crafting!
Leave a Reply