

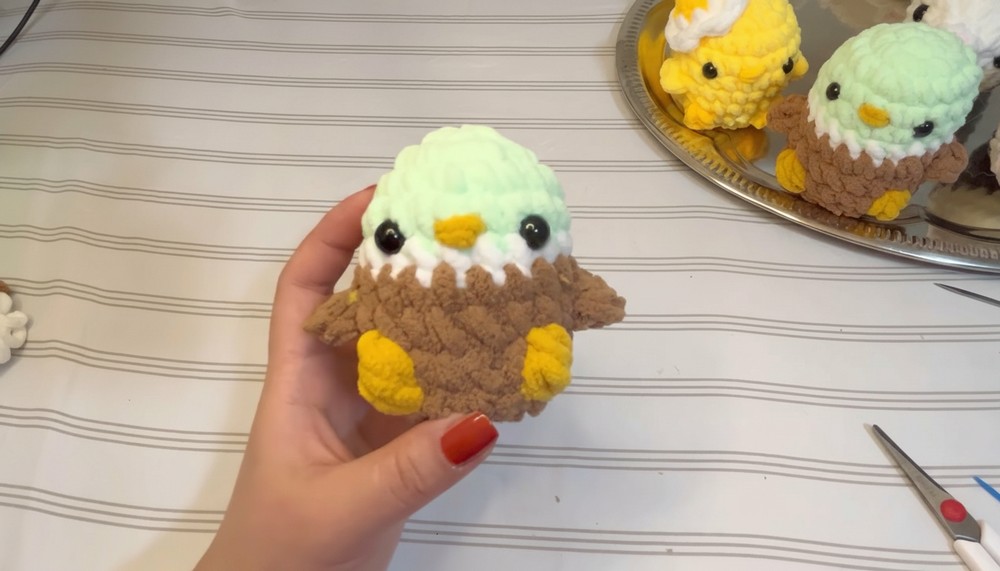
Bring warmth and charm to your space with Crochet Mallard Duck Pattern that is perfect for decoration, gifts or a unique thoughtful keepsake.
There’s something incredibly delightful about a soft and cuddly crochet mallard duck pattern that brings both elegance and joy to any space. With its vibrant colors and charming design, this little duck is a perfect addition to your home décor, a thoughtful gift, or even a playful companion for kids. Its versatility makes it ideal as a decorative piece on shelves, a unique keychain, or an adorable desk accessory that adds a touch of nature-inspired beauty to your surroundings.
Adorable Crochet Mallard Duck Pattern for Any Skill Level

The soft texture and intricate details make it a heartwarming piece that sparks smiles and warmth wherever it is placed. Its appeal lies in its simplicity and the charm of turning a simple idea into something cheerful and full of personality. Whether for yourself or a loved one, this crochet mallard duck pattern is a lovable piece that effortlessly stands out with its unique design and cozy, comforting appearance.
Materials
- Yarn Type: Chunky yarn in the following colors:
- Mint Green (for the body and part of the head)
- White (for detailing on the body)
- Brown (for the head details)
- Gold (for the beak and bobble stitches on the feet)
- Crochet Hook: 6.0 mm
- Safety Eyes: 10 mm plastic safety eyes
- Stuffing: Polyfill for shaping the duck
- Scissors
- Tapestry Needle: For weaving in ends & securing details
Key Abbreviations
- MR: Magic Ring
- Ch: Chain
- Sc: Single Crochet
- Hdc: Half Double Crochet
- Inc: Increase (2 single crochet stitches in the same stitch)
- Dec: Decrease (Sc2tog – crochet two stitches together)
- Sl St: Slip Stitch
- [ ... ]: Repeat instructions within the brackets
- (...): Stitch count at the end of the round
Special Notes
- Gauge: Maintained tension is flexible, but tighter stitches will yield a more polished look and prevent stuffing from showing.
- Use a stitch marker to track the start of each round, as the body and head are worked in continuous rounds.
- Switch colors cleanly: Pull the new color yarn through the last loop of the current row to transition seamlessly.
Pattern
Head and Body
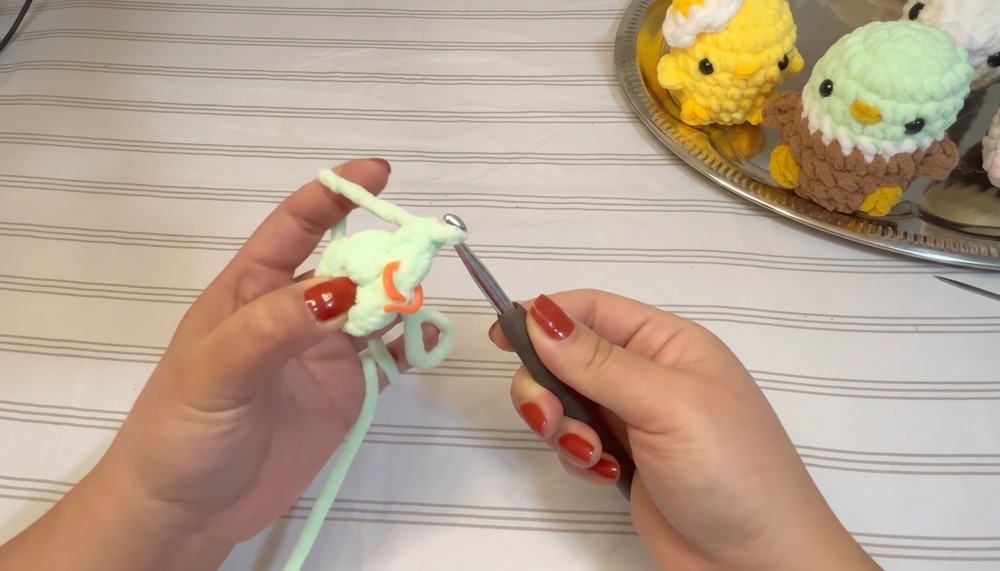
- Round 1 (MR): Make a magic ring, work 8 Sc into the ring. Pull the tail to close the loop. (8 Sc)
- Round 2: [Inc] in each stitch around. (16 Sc)
- Round 3: [Sc in the next 3 stitches, Inc] 4 times. (20 Sc)
- Round 4: Sc in each stitch around. (20 Sc)
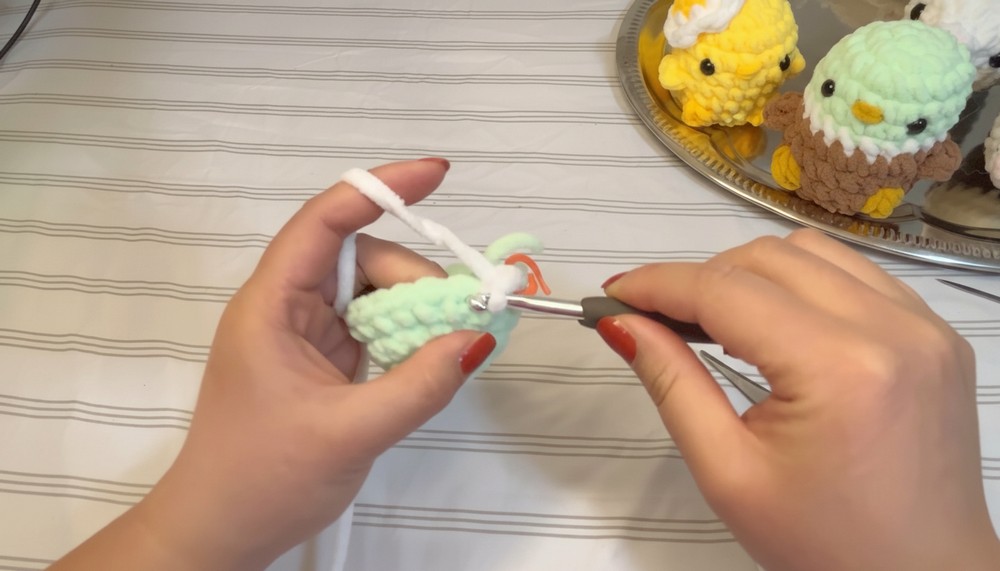
- Switch to white yarn:
- On the last stitch of Round 4, pull white yarn through the two loops to finish the stitch.
- Cut the mint green yarn, tie it securely to the white yarn, and continue with white for one round.
- Switch to white yarn:
- Round 5: Sc in each stitch. (20 Sc)
- Rounds 6-7: Using brown yarn, Sc in each stitch. (20 Sc per round)

Feet and Bobble Stitch
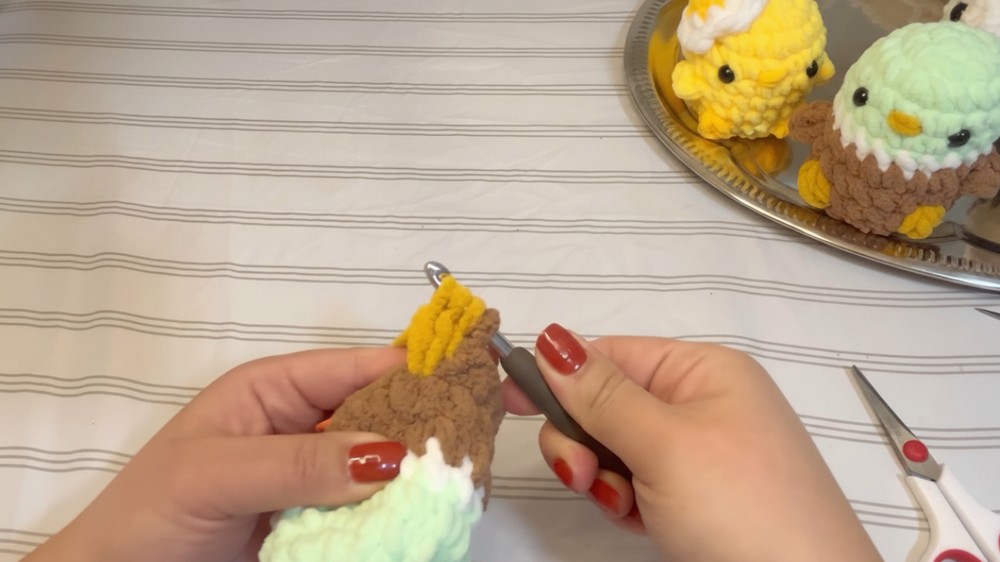
- Round 8: Work the following stitch pattern with gold yarn:
- Sc in the next 11 stitches.
- Bobble Stitch (BS) in the next stitch:
- Yarn over, insert hook into the next stitch, yarn over, pull up a loop, yarn over, pull through two loops. Repeat this process 4 times in the same stitch, and then pull through all loops on the hook at once.
- Secure the bobble by making a Sc in the next stitch.
- Work Sc in the next 4 stitches.
- Work another Bobble Stitch in the next stitch, followed by 3 Sc to finish the round. (20 stitches)
Push the bobble stitches from the wrong side (inside the fabric) to the front to make them "pop".
Add Safety Eyes (Between Rounds 4 & 5):
- Insert the safety eyes between Rounds 4 and 5, ensuring they are aligned correctly with the feet.
- Leave 4 stitches between the eyes.
- Fasten the safety eyes securely using their backings.
Shape the Body
- Round 9: Work [Sc in the next 3 stitches, Dec] 4 times. (16 Sc)
- Round 10: Work [Sc in the next 2 stitches, Dec] 4 times. (12 Sc)
- Lightly stuff the body with polyfill. Be careful not to overstuff, as it may stretch the stitches.
- Final Round (Round 11): Work [Dec] 6 times to close the top. (6 Sc)
- Cut the yarn, leaving a long tail.
- Thread the yarn through a tapestry needle and weave the needle under the outside loops of each remaining stitch around.
- Pull the yarn tightly to close the gap. Repeat to secure the closure as needed, then weave in the remaining tail.
Wings
- Start 3 stitches away from the bobble feet, on the side of the body.
- Insert your hook, attach mint green yarn, and Ch 1.
- Work in the next 3 stitches:
- In the first stitch, work 2 Hdc to create a curve.
- In the second stitch, work 2 Hdc.
- In the third stitch, Sl St to finish the wing.
- Tie off the yarn and lightly secure the end with a knot inside the body using the tapestry needle.
- Repeat the above steps for the second wing on the opposite side.
Beak (With Gold Yarn)
- Use gold yarn to embroider the duck's beak:
- Between Rounds 4-6, shape a triangular beak in the center of the face.
- Weave the ends securely and hide the remaining threads inside the body.
Conclusion
You’ve completed your beginner-friendly, Noo-Mard Duck project in only 20 minutes. You’ve now mastered fundamental amigurumi techniques, including the magic ring, increasing, decreasing, color changes, bobble stitches, and assembly. This cute creation is perfect for gifting, decorating, or using as a keychain!
Pattern Corrections
- Double-check stitch counts after each round; this is especially critical in the ** shaping rounds for both the body and head**. A mismatch can distort the shape.
- Use clean, tight color changes as demonstrated to maintain the seamless look between rounds.
Tips for Success
- Consistent Tension: Keep your stitches tight while working with chunky yarn to avoid unintentional gaps.
- Positioning Eyes: Use pins to test-eye placement before attaching safety eyes to ensure symmetry.
- Bobble Stitch Technique: Push bobbles to the right side after completing them to ensure they pop.
https://youtu.be/xooMiQEefRU


Leave a Reply