

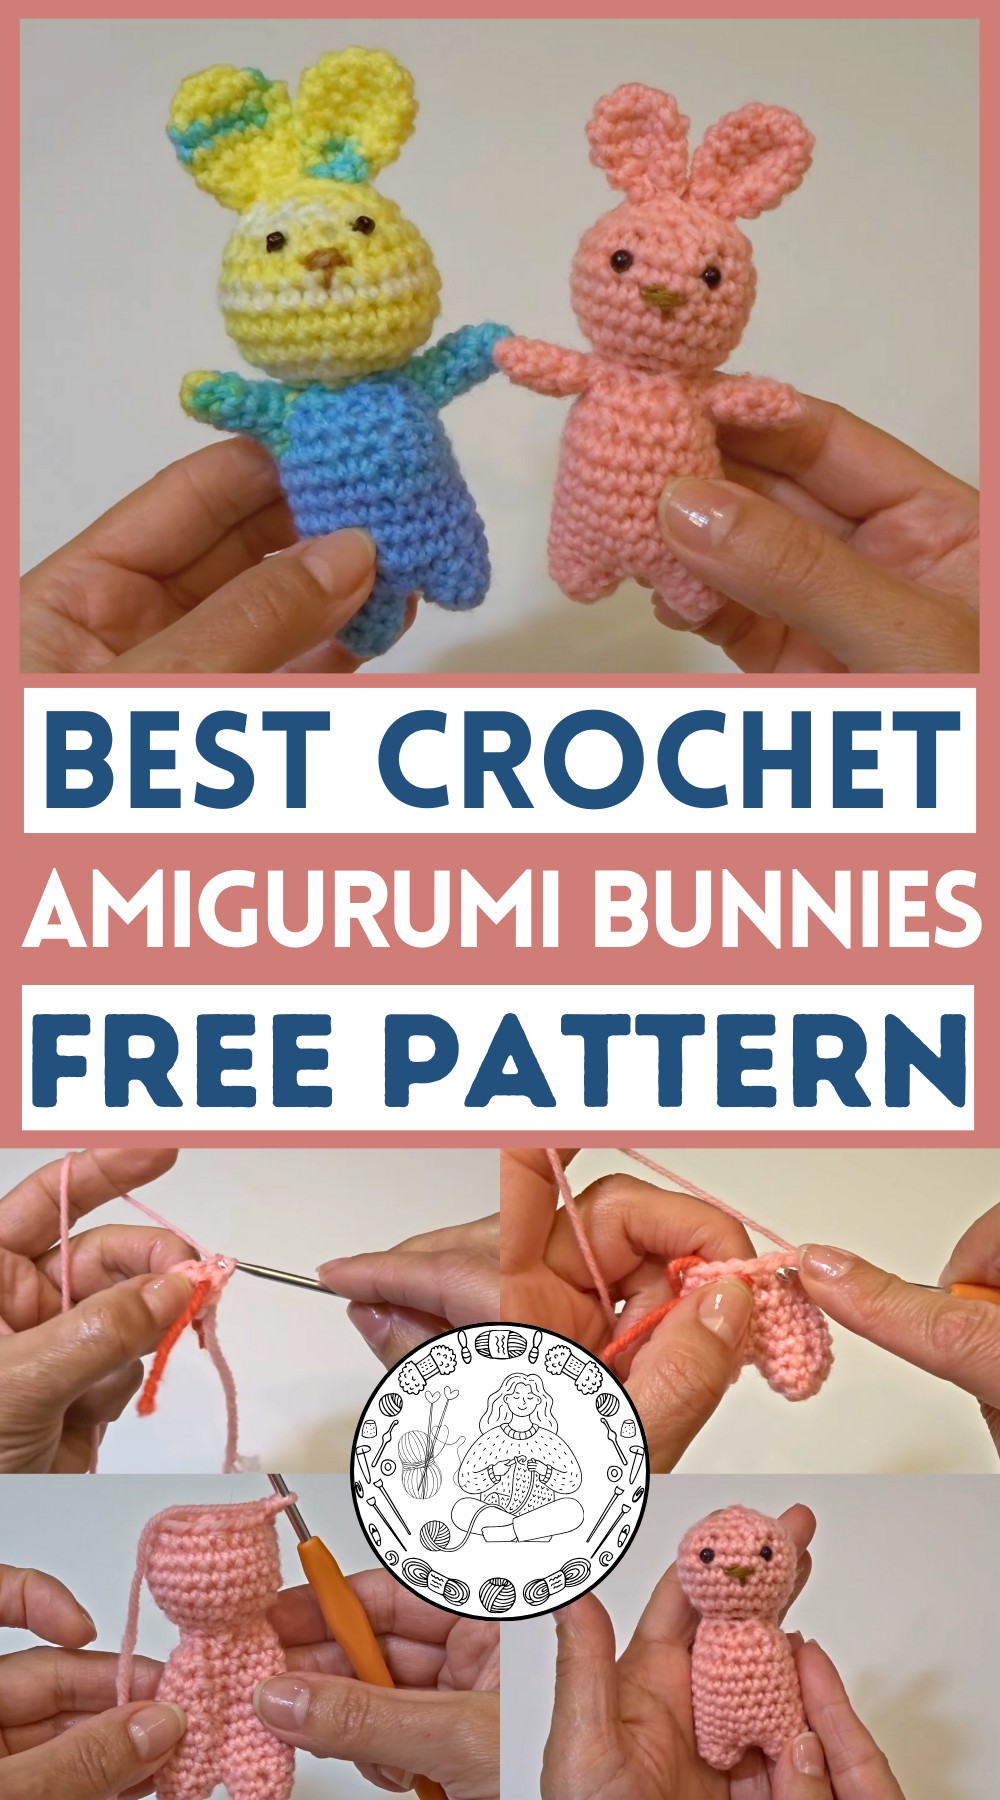
Delight in handmade charm with this Free Crochet Amigurumi Bunnies Pattern, perfect for keys, backpacks, desks, or cute gift ideas.
Miniature toys have always held a special place in homes, offering both charm and comfort in small, delightful forms. Their compact size and delicate features make them perfect companions for children, collectors, or anyone who enjoys handcrafted décor with personality. Among these, bunnies are particularly adored for their soft, whimsical appeal, instantly adding warmth and cheer to any space. This crochet project combines creativity and practicality in a tiny, engaging form.
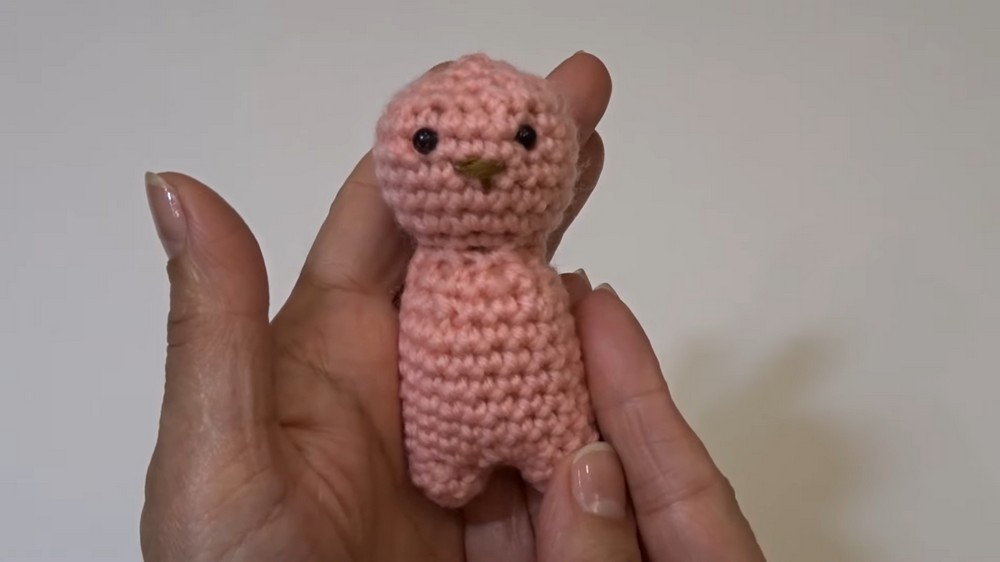
FREE Crochet Amigurumi Bunnies Pattern Ideal for Desks
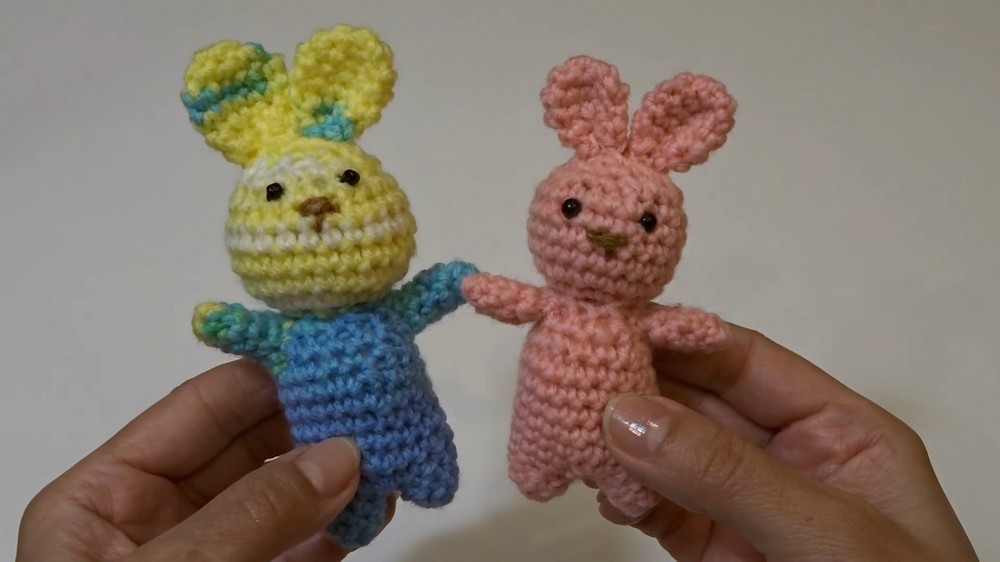
Beyond serving as decorative accents, these little companions can act as playful friends, stress-relieving squeezes, or charming touches for desks, shelves, and bedrooms. The Free Crochet Amigurumi Bunnies pattern provides clear steps to shape the body, add limbs and ears, and create facial features, resulting in a balanced, adorable figure. Their petite size makes them perfect for gifting, swaps, or personal collections while encouraging patience and attention to detail during assembly.
The process begins with forming the rounded body and head in consistent stitches. Ears, limbs, and facial details are added carefully, giving each bunny character and dimension. Once assembled, all parts are securely attached for durability. Finished bunnies not only offer visual delight but also function as keepsakes, keychain charms, or desk companions. Each figure brings handcrafted uniqueness, warmth, and playful charm, making it a sweet addition to any collection or space.
Special Features
- Beginner-Friendly Design: Uses simple stitches like single crochet, increases, and decreases.
- Customizable Size: The bunny’s size can be adjusted by choosing different hook sizes and yarn weights.
- Kit-Inclusive: The kit includes yarn, a crochet hook, stuffing, safety eyes, a plastic needle, and embroidery thread.
- Versatile Appearance: Personalize with different yarn colors and added details like pom-pom tails or embroidery.
Materials Needed
- From the Kit:
- Crochet yarn.
- 3.5 mm crochet hook (the size isn't specified in the kit but this tutorial uses 3.5 mm).
- Stuffing.
- Plastic needle.
- Embroidery thread (for facial details).
- Safety eyes.
- Optional Materials (if without the kit):
- Any medium-weight yarn (#4).
- 3.5 mm crochet hook (substituting with other sizes will adjust the bunny's size).
- A tapestry needle.
- Beads or buttons (if safety eyes aren’t available).
Level of Difficulty
Beginner to Intermediate: While the stitches are simple (magic ring, single crochet, and decreases), the assembly stage may require some practice for stitching components neatly and weaving in ends.
Step-by-Step Instructions
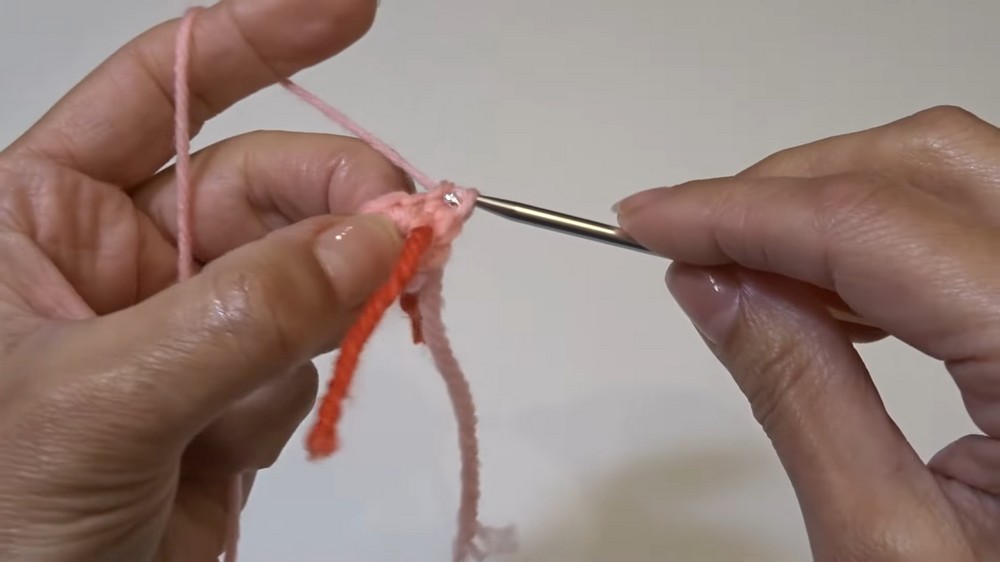
1. Crocheting the Legs
- Round 1: Start with a magic ring. Chain 1, then crochet 8 single crochets (sc) into the ring. Tighten the center.
- Round 2–3: Work one sc into each stitch around (8 sc per round).
- Make Two Legs: Finish the first leg completely, but don’t fasten off the second leg—the two legs will be joined together in the next step.
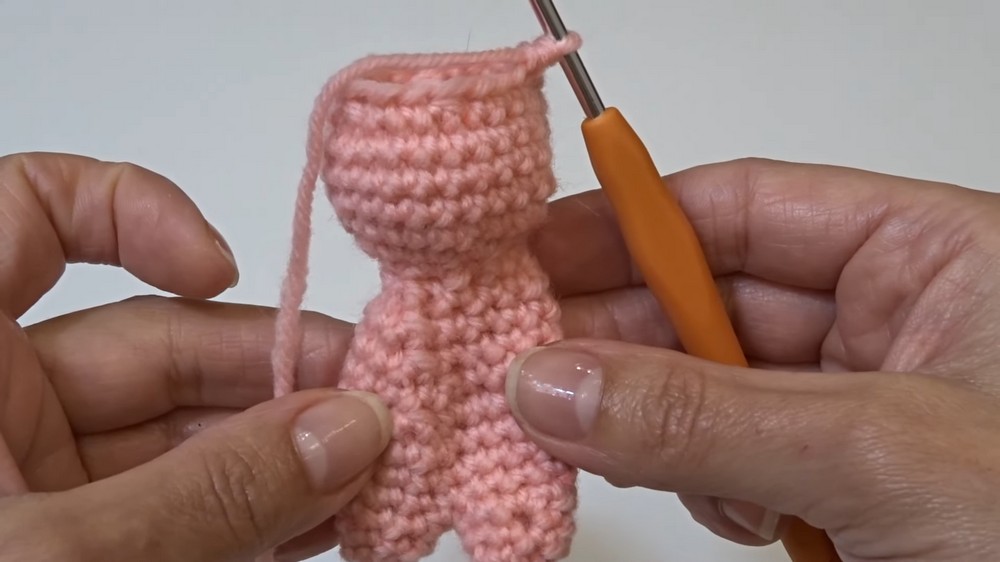
2. Crocheting the Body
- Joining the Legs: Using the unfinished round of the second leg, join it to the first leg with a slip stitch.
- Round 4–13: Build the body by working increases and decreases:
- Round 4: Chain 1 and work 18 sc around both legs (increasing from 16 to 18 stitches).
- Rounds 5–8: Gradually increase the stitch count to 24 sc.
- Rounds 9–13: Decrease stitches progressively to form the top of the body, reducing to 12 stitches by Round 13.

3. Adding Details (Face and Stuffing)
- Add safety eyes between Rounds 17 and 18, ensuring they’re spaced evenly (approximately 3 stitches apart). If no safety eyes are available, sew beads or buttons securely.
- Use embroidery thread to create the nose and mouth, following a simple cross-stitch pattern under the eyes.
- Stuff the body and head firmly using small amounts of stuffing for shaping.
4. Crocheting the Arms
- Rounds 1–6:
- Start with a magic ring. Crochet 6 sc into the ring and work 6 sc per round for 6 rounds. (No increases or decreases.)
- Finish by slip stitching, leaving a long tail for sewing.
- Make two arms using the same process.
5. Crocheting the Ears
- Round 1: Magic ring, 6 sc.
- Round 2: Work 2 sc into each stitch around (12 sc).
- Rounds 3–4: Work 12 sc around.
- Round 5: Decrease by working one sc followed by a decrease (9 sc).
- Round 6: Work 9 sc.
- Fold the ear in half and sew the base together. Make two ears.

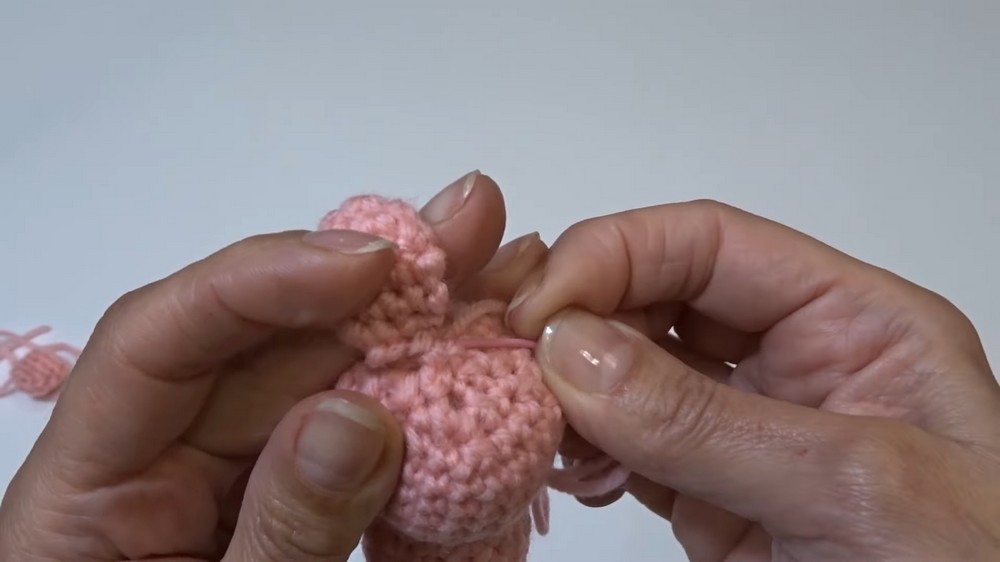
6. Assembling the Bunny
- Attaching the Ears: Fold each ear and sew them to the top of the head, keeping them close together for a cute look.
- Attaching the Arms: Fold each arm slightly and sew them to the sides of the body near the neck area.
- Finishing Touch: Add a small pom-pom or crochet a round tail to attach to the back of the bunny.
Tutor’s Suggestions
- Be Flexible with Materials: You can use any yarn and hook size you prefer, but keep in mind that the bunny's size will change.
- Use Stitch Markers: Mark the first stitch of each round to track your progress more easily.
- Stuff Gradually: Add stuffing a little at a time to avoid lumps and ensure the bunny has a smooth shape.
- Experiment with Features: Try different eye placements or use contrasting colored yarn for details like the nose.
Uses of the Amigurumi Bunny
- Decorative Piece: Perfect as a shelf decoration or cute addition to a nursery.
- Gifts: Thoughtful, handmade toys for kids, Easter presents, or baby showers.
- Stress Relief Toy: Small and lightweight, easy to carry along as a comforting object.
Tip for Success
When attaching the ears and arms, use pins to position them first. This ensures symmetry and allows you to revise the placement before sewing them permanently.
Conclusion
Crocheting this amigurumi bunny is a fun and rewarding experience, perfect for beginners or intermediate crocheters looking for a small project. With step-by-step guidance and room for customization, this project is a great introduction to amigurumi.

Leave a Reply