

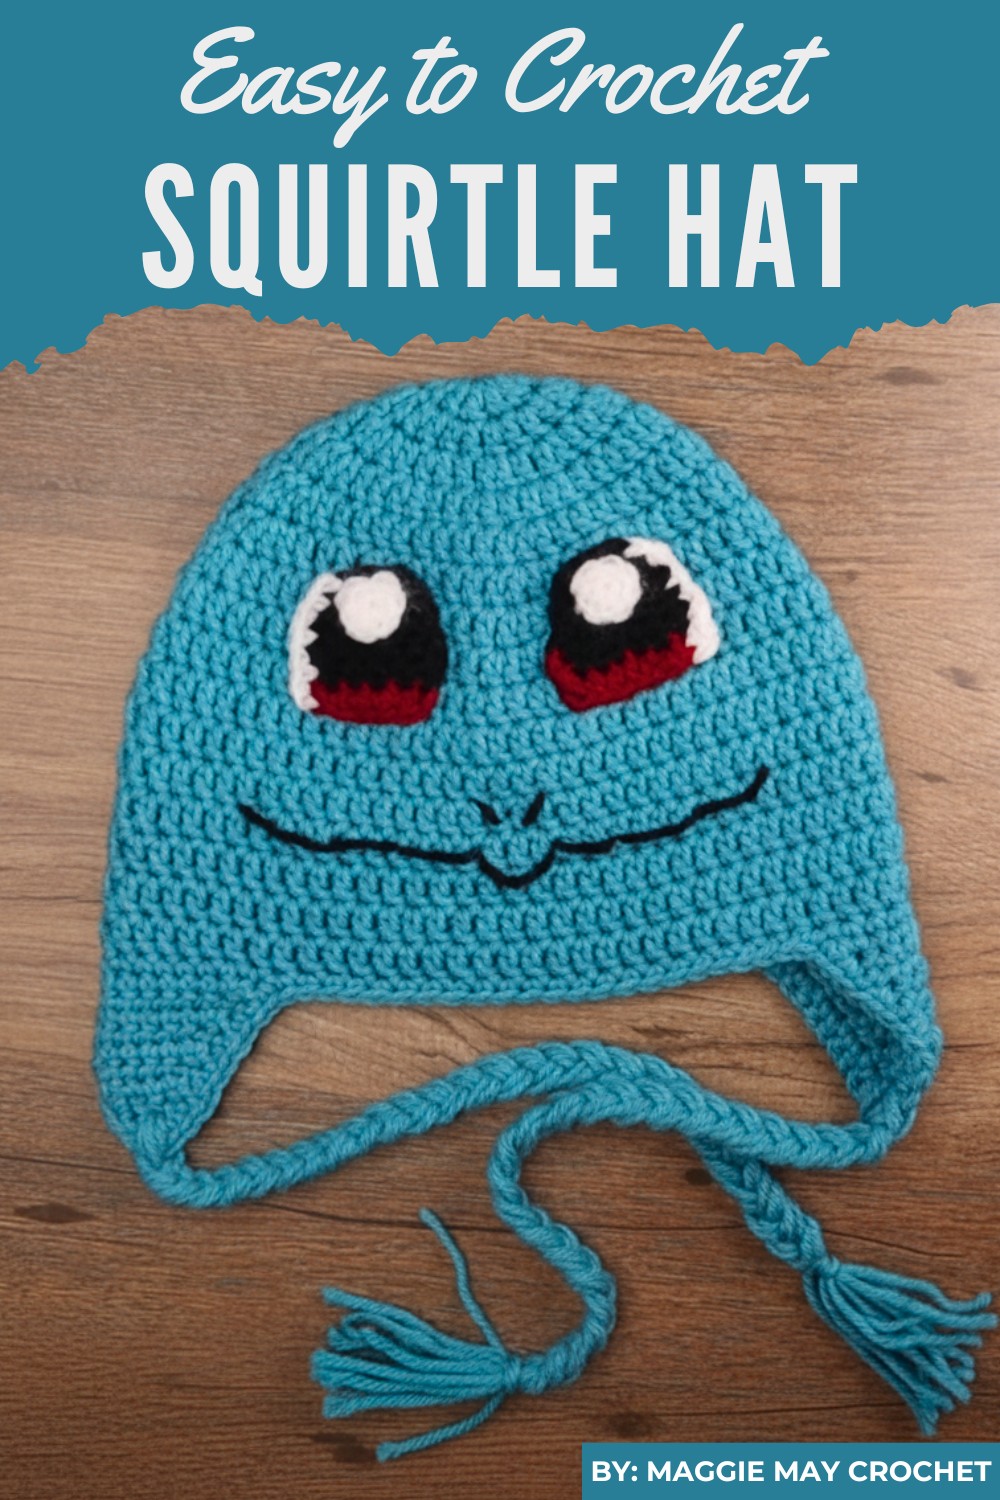
Bring your love for Pokémon to life with a fun and functional accessory that’s perfect for fans of all ages. This adorable pattern captures the playful and iconic features of Squirtle, offering both warmth and style. Whether you're preparing for a themed event, gifting a Pokémon-loving friend, or simply adding personality to your winter wardrobe, this crocheted pattern is a delightful way to combine creativity with practicality. The earflaps provide extra comfort during colder months, while the braided ends add a charming touch.
Fun Crochet Squirtle Hat Pattern for Pokémon Lovers
This pattern is beginner-friendly with straightforward instructions, making it accessible to those with basic crochet skills. The vibrant colors and bold details, like Squirtle’s distinctive eyes and smile, make the project truly special. It’s a wonderful opportunity to hone your techniques, from crocheting magic rings to assembling decorative features with precision.
Plus, the reusable, handmade pattern makes it an eco-conscious alternative to store-bought hats. Add a personal flair by customizing the size, colors, or accents to match your style. Whether for children or adults, this pattern strikes the perfect balance between fun and functionality, making it a must-try crochet project.
Materials Needed
To get started with this project, you’ll need the following materials:
- 5 mm Crochet Hook (Size H)
- Loops and Threads Yarn:
- Turquoise or Aqua (Main color for Squirtle’s body)
- Bordeaux or Claret Red (For the eyes)
- Black and White (For detailing the eyes and features)
- Darning Needle: For weaving in ends and sewing features.
- Scissors: To cut the yarn efficiently.
- Optional: Stitch markers and fabric glue to place features like eyes.
Special Features
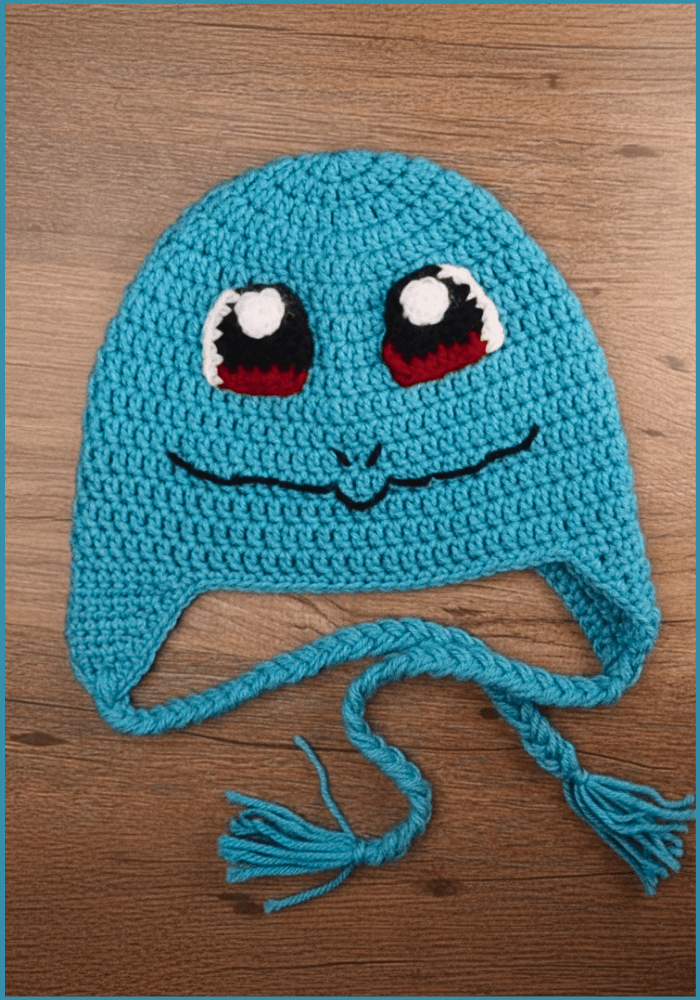
- Pokémon-Inspired Design: An adorable recreation of Squirtle’s face, ideal for fans of the franchise.
- Customization: The hat size can be adjusted to fit both kids and adults.
- Multi-Part Construction: Includes details like ear flaps, braided edges, expressive eyes, and facial features.
- Durability & Comfort: A snug, well-structured hat that keeps you warm and stylish.
Step-by-Step Instructions
Start the Base of the Hat
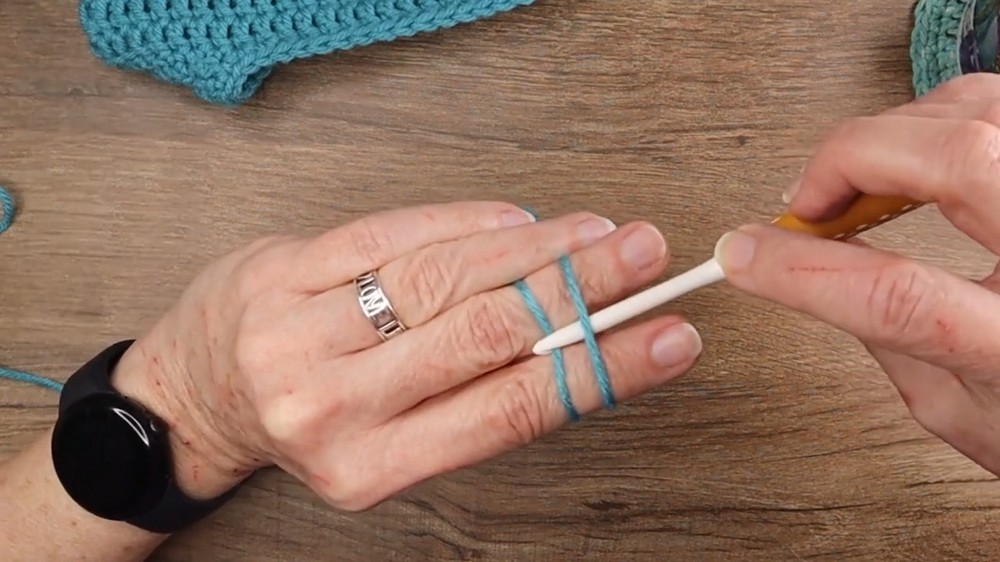
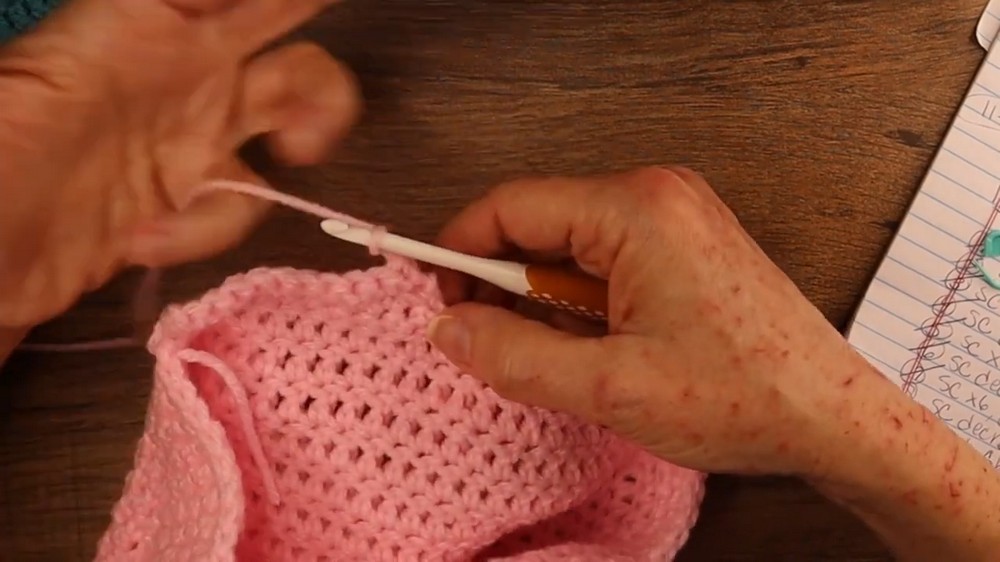
- Magic Ring (or Circle): Begin with a magic ring to eliminate gaps at the start. Wrap the yarn around your fingers to create an X, hook through, twist, and chain two to secure.
- Double Crochets in the Ring: Crochet 11 double crochets into the magic ring, working over both strands to easily cinch it closed. Pull the yarn tail tight to close the circle.
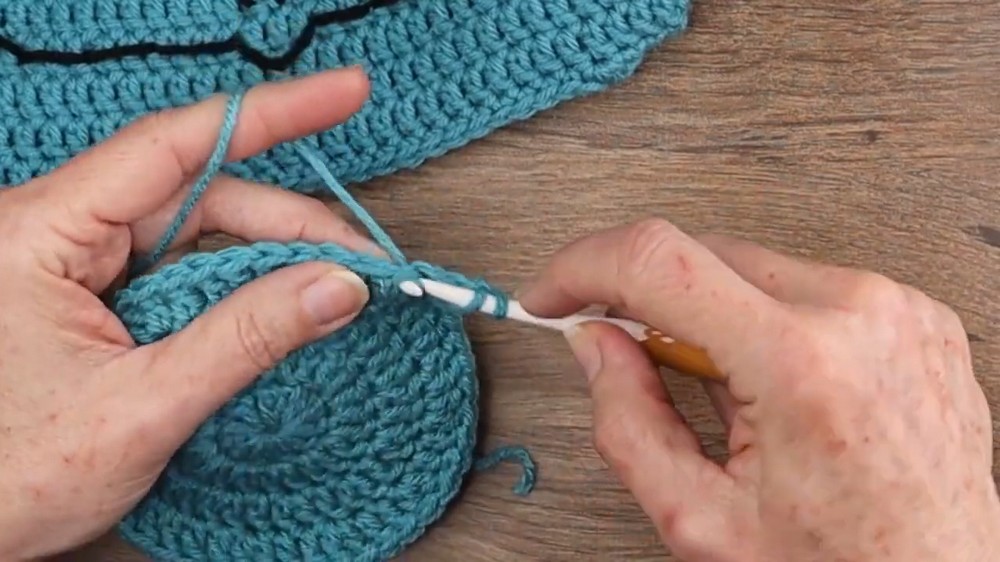
- Slip Stitch to Join: Join into the first double crochet with a slip stitch to close the circle and chain two to proceed to the next round.
Build Up the Base [Rounds 2-10]
- Round 2: Increase your stitches by placing two double crochets into each stitch (22 stitches in total).
- Round 3: Alternate between one double crochet and two in the next stitch for a total of 33 stitches.
- Round 4 to 10: Continue increasing by adding a single crochet into additional stitches between the increases on each round. By Round 10, there will be 68 total stitches.
Transition to Consistent Rows [Rounds 11-16]
For Rounds 11 through 16, stop increasing and crochet one double crochet into each stitch. This creates the body of the hat, resulting in a smooth and consistent shape. Use a stitch marker to keep track of rounds if necessary.
Crochet the Ear Flaps
- Mark the Placement: Fold the hat to find the center and mark with stitch markers where the earflaps should start, ensuring symmetry. Each earflap will consist of 12 stitches.
- Single Crochet 12 Stitches: Chain one, and single crochet 12 stitches where you’ve marked the placement.
- Decrease Rows: Alternate between rows with decreases (crocheting two stitches together at the start and end) and single crochet rows. This creates the triangular shape of the earflaps.
- Complete Both Ear Flaps: Repeat the above steps for the second earflap, ensuring the position aligns with the first.
Add Braided Ends to the Ear Flaps
- Cut Yarn for Braids: Cut 12 long strands of yarn for each earflap. Determine the length based on desired braid length.z
- Attach Strands: Fold the yarn strands in half. Insert your crochet hook through the bottom of the earflap, pull the folded strands through, and secure with a tight knot.
- Braid the Ends: Separate strands into three groups and begin braiding. Secure each braid tightly at the end.
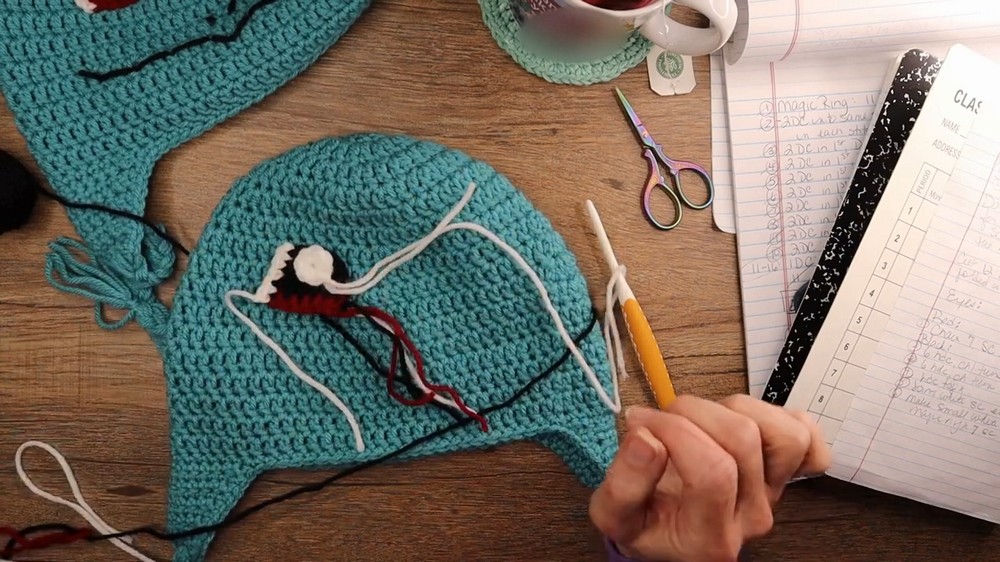
Detail the Eyes
- Red Eye Base: Use Bordeaux/Claret yarn to crochet a chain of 7 stitches. Add 6 single crochets back across this chain, forming a small oval.
- Black Eye Layer: On the last stitch of the red yarn oval, switch to black yarn. Crochet a few half-double crochets (6 total) in rows to create the main black eye section.
- Add White Accent: Add a white border along the black section by crocheting along the edges.
- Pupil: Use a magic ring with black yarn to make a small circle for the center of the eye. Secure the pupil to the black eye section.
Assemble the Hat
- Attach Eyes: Secure the finished eyes onto the front of the hat using fabric glue for initial placement, then sew them down for durability.
- Smile and Nose: Stitch a small smile on the hat’s bottom front with black yarn. Add a tiny stitched nose for extra detail.
- Border: Crochet single stitches around the edge of the hat for a clean and polished finish.

Tutor’s Suggestions
- Use fabric glue to temporarily attach facial features before sewing. This helps you reposition pieces for perfect alignment.
- Count stitches carefully to ensure symmetry during increases and when attaching earflaps.
- For beginners struggling with the eye details, consider substituting the crocheted eyes with felt pieces.
- To keep track of rounds, have a notepad handy for crossing off each completed step.
Level of Difficulty
Intermediate Level
While this project uses basic stitches, the addition of details like ear flaps, braided edges, and facial features requires some experience and technique. Beginners keen on a challenge can attempt this project with guidance.
Uses and Benefits
- For Pokémon Fans: A fun and thoughtful gift for kids or adults who enjoy Pokémon.
- Cold Weather Wear: The earflaps add extra warmth and comfort for winter weather.
- Costume Addition: Ideal for cosplay or themed parties.
- Crafting Opportunity: A rewarding challenge for intermediate crocheters looking to refine their skills.
Conclusion
This Squirtle Hat pattern merges creativity with functionality, making it a standout crochet project. Whether for cosplay, gifting, or everyday use, this hat brings Pokémon fandom to life while keeping you warm and cozy. With attention to detail, such as adorable braided edges and Squirtle’s signature features, the pattern is as fun to make as it is to wear. Perfect for intermediate crocheters, this project allows you to expand your skills while crocheting something uniquely enjoyable.
Pro Tip
Always keep your tension consistent when switching yarn colors, particularly with the details on the eyes. This ensures your finished work looks neat and polished!
Leave a Reply