

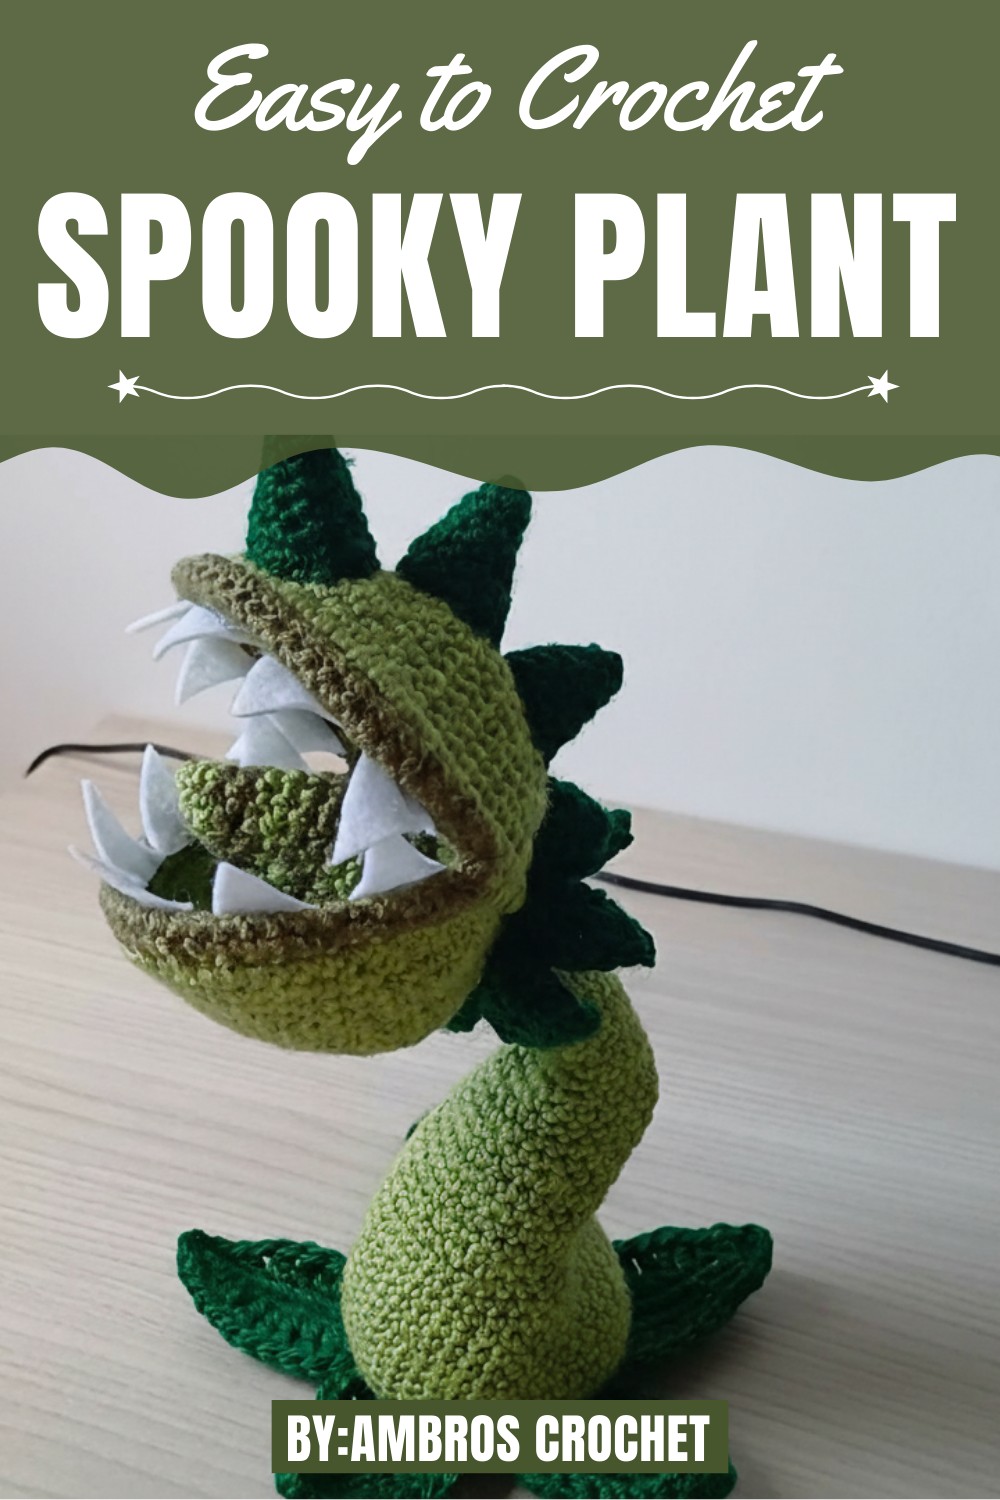
Crochet Spooky Plant Pattern for Eye-Catching Display
Maintain consistent tension throughout your work, especially on smaller parts like tendrils and leaves, to ensure they retain their proper shape and structure. Use stitch markers to prevent slipping on circular stitching.
Materials Needed
To crochet the spooky crochet plant, gather the following:
- Yarn:
- Green (for leaves and tendrils)
- Black, grey, or purple (for the plant base)
- Optional neon or orange yarn (for spooky accents)
- Crochet Hook:
- Size 4mm or 4.5mm (depending on your preferred tension)
- Stuffing: Fiberfill for adding volume to the plant base or flowerpots.
- Optional Extras: Floral wire, hot glue, beads, or felt for decorative fangs, eyes, or extras like “slime.”
- Tools: Tapestry needle, scissors, and stitch markers.
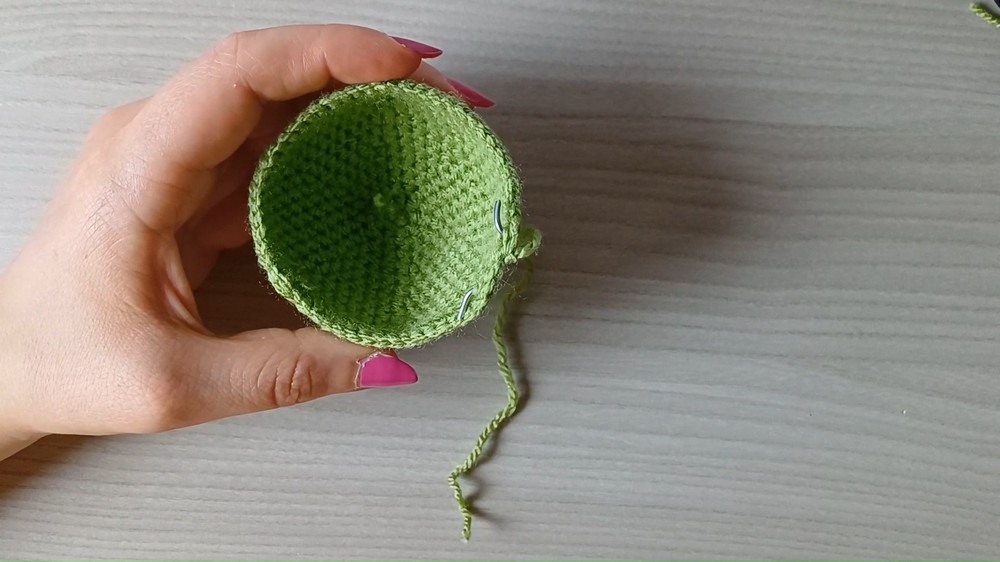
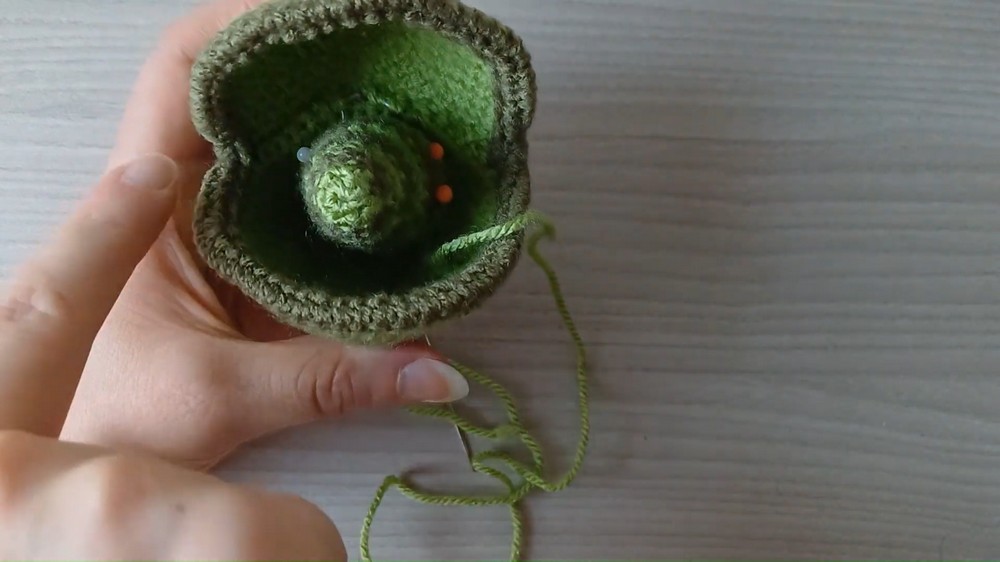
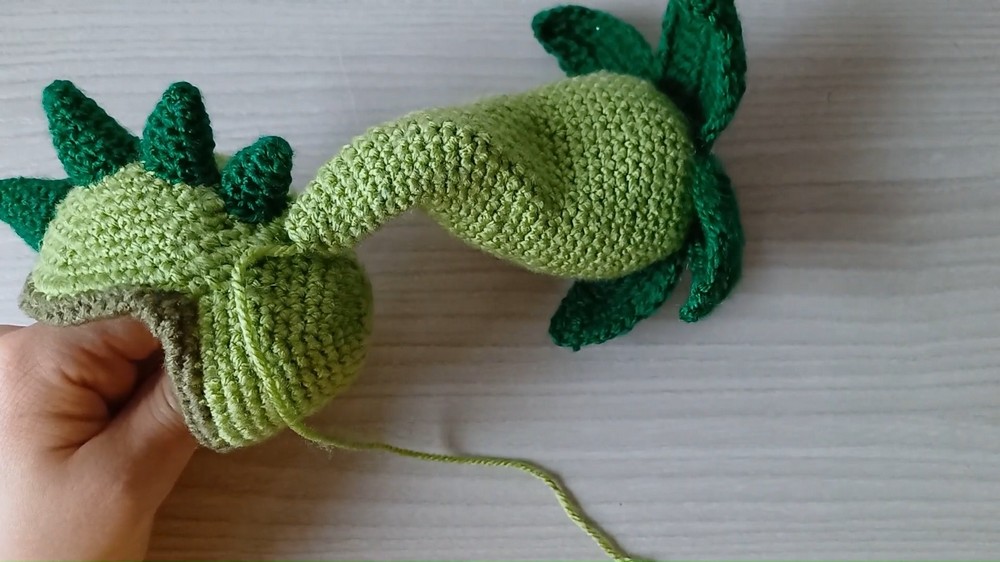
This pattern incorporates several techniques to bring the design to life. Starting with the base, crocheting in the round lays the foundation for the plant pot.
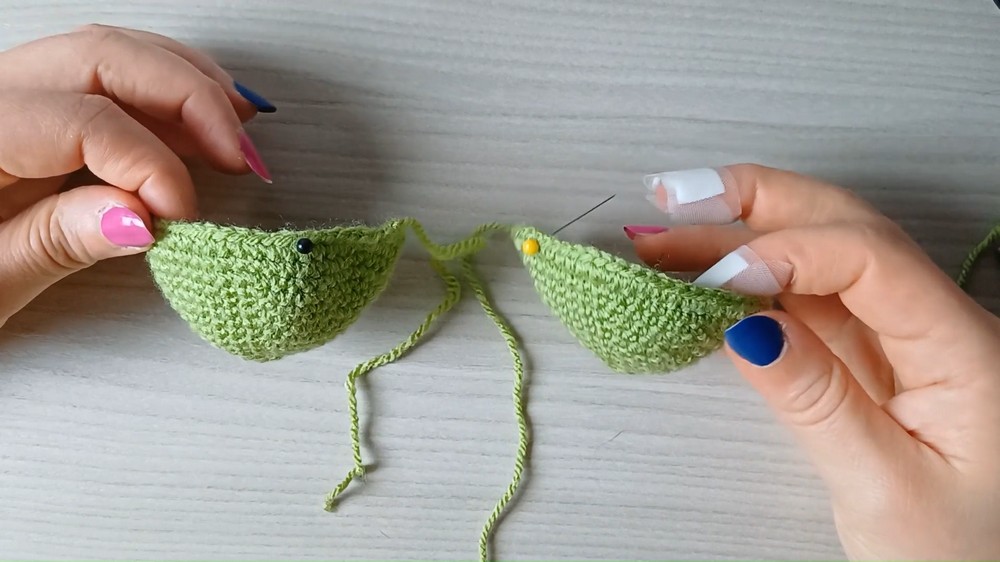
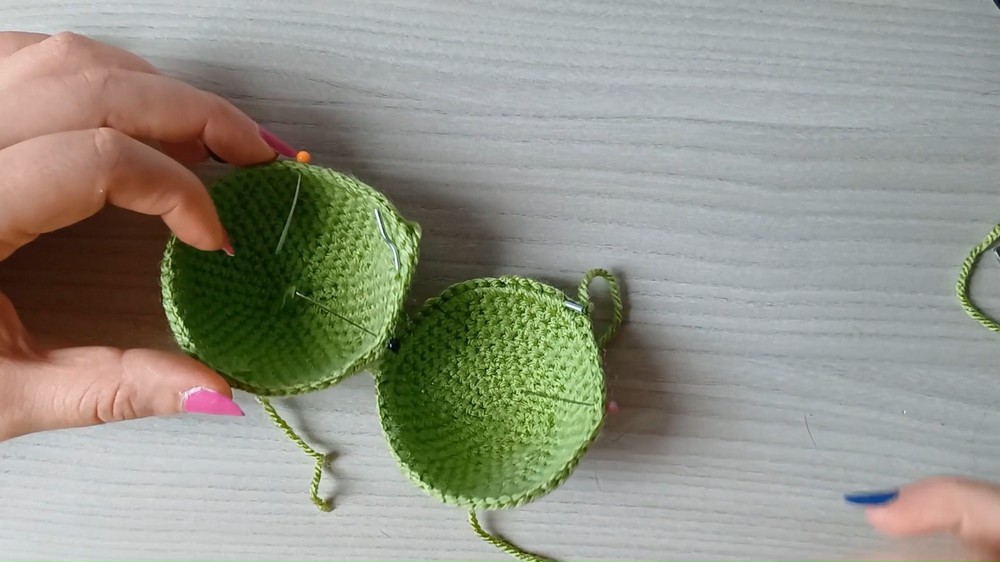
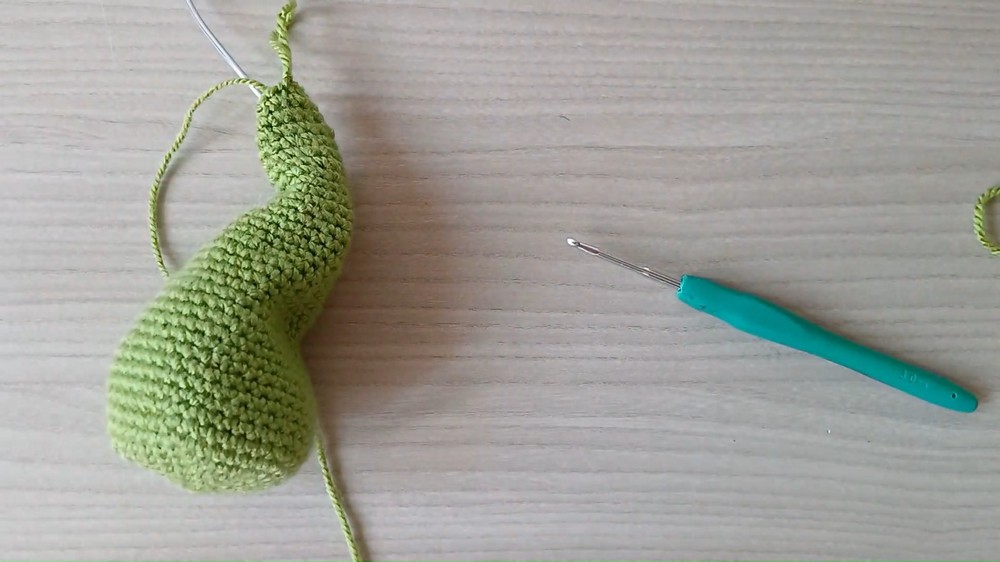
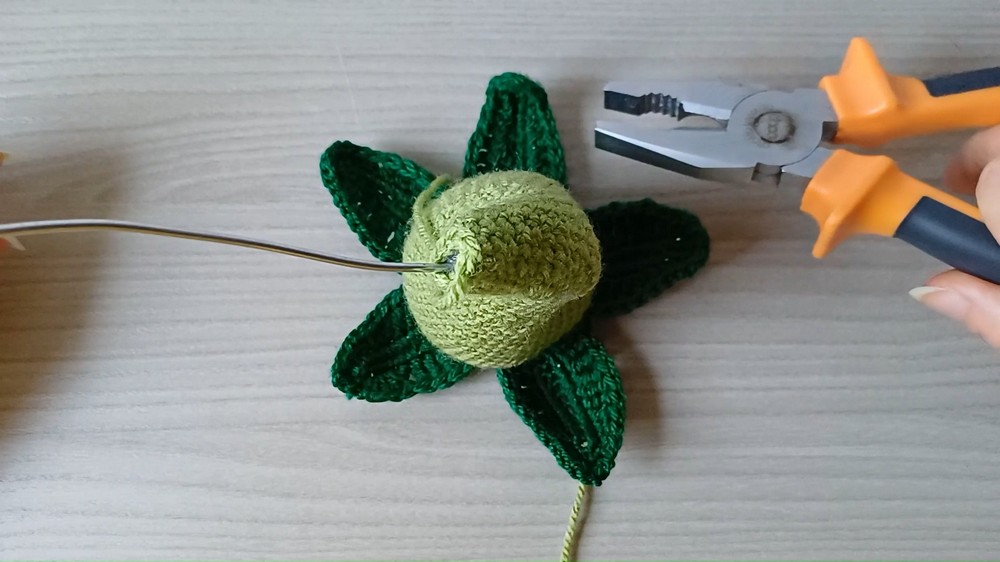
The leaves and tendrils add dimension, requiring simple stitches like single crochet, slip stitches, and increases, paired with optional wire inserts for adjustable shaping.
The spiral tendrils are formed by chaining and doubling back with multiple stitches per chain, ensuring a twisted, curled effect.
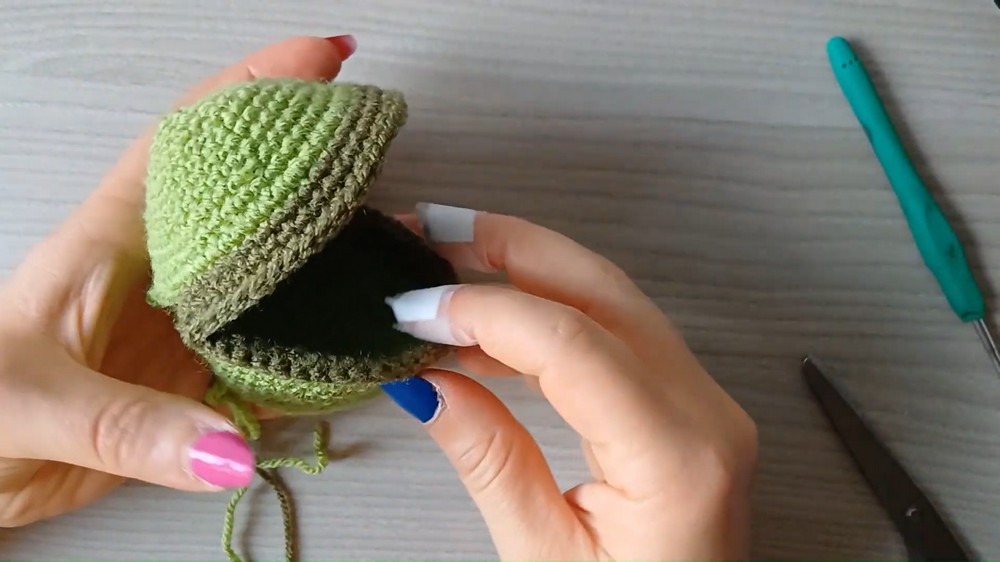
Precision is key when assembling the plant sections; the tutorial highlights the importance of proper piece placement for balance.
Optional finishing touches include adding fun extras like spooky eyes or glow-in-the-dark elements to make the plant pop even more.

Special Features
- Personalization Options: Change yarn colors to match your desired look. Add creepy features like fangs or glowing eyes to make your plant extra spooky.
- Made for Decor: The plant can be used as a centerpiece, shelf accent, or even a quirky gift for someone who loves spooky, handmade items.
Level of Difficulty
This pattern is ideal for intermediate crocheters. While the stitches themselves are not overly complex, some parts may require precision, such as assembling the plant components and adding embellishments. Beginners could also try it with patience and practice.
Tutor's Suggestions
- Take Your Time: Slow down when shaping the features (e.g., leaves or tendrils) that require finer details.
- Customize the Look: Experiment with different yarn textures (e.g., shiny, velvety, or matte) to give your spooky plant a unique vibe.
- Use Stiffening Techniques: For stiffer, more vibrant leaves and tendrils, use floral wire or pipe cleaners so the parts stay in place.
Uses
This handcrafted spooky plant is versatile in its uses:
- Perfect Halloween Decor: Place it as a centerpiece for haunted house vibes!
- Gothic Home Touch: Leave it out year-round for whimsical decor.
- Unique Gift: Surprise a gardening or crochet enthusiast with this one-of-a-kind plant.
Step-by-Step Process
Fall into the world of spooky crochets with this step-by-step tutorial to crochet an eerie and adorable plant! This project is perfect for Halloween or year-round gothic decor. The tutorial emphasizes crocheting intricate yet fun designs, ideal for intermediate-level crocheters who enjoy adding spooky charm to their spaces.
Conclusion
Crocheting the crochet spooky plant is a wonderfully imaginative project to expand your crochet skills and express your creativity. By blending unique shapes, materials, and colors, this pattern changes simple yarn into a work of spooky art.
Final Tip
When creating multiple components like leaves or tendrils, work on them in batches instead of one by one to save time and ensure consistency in size.


Leave a Reply