

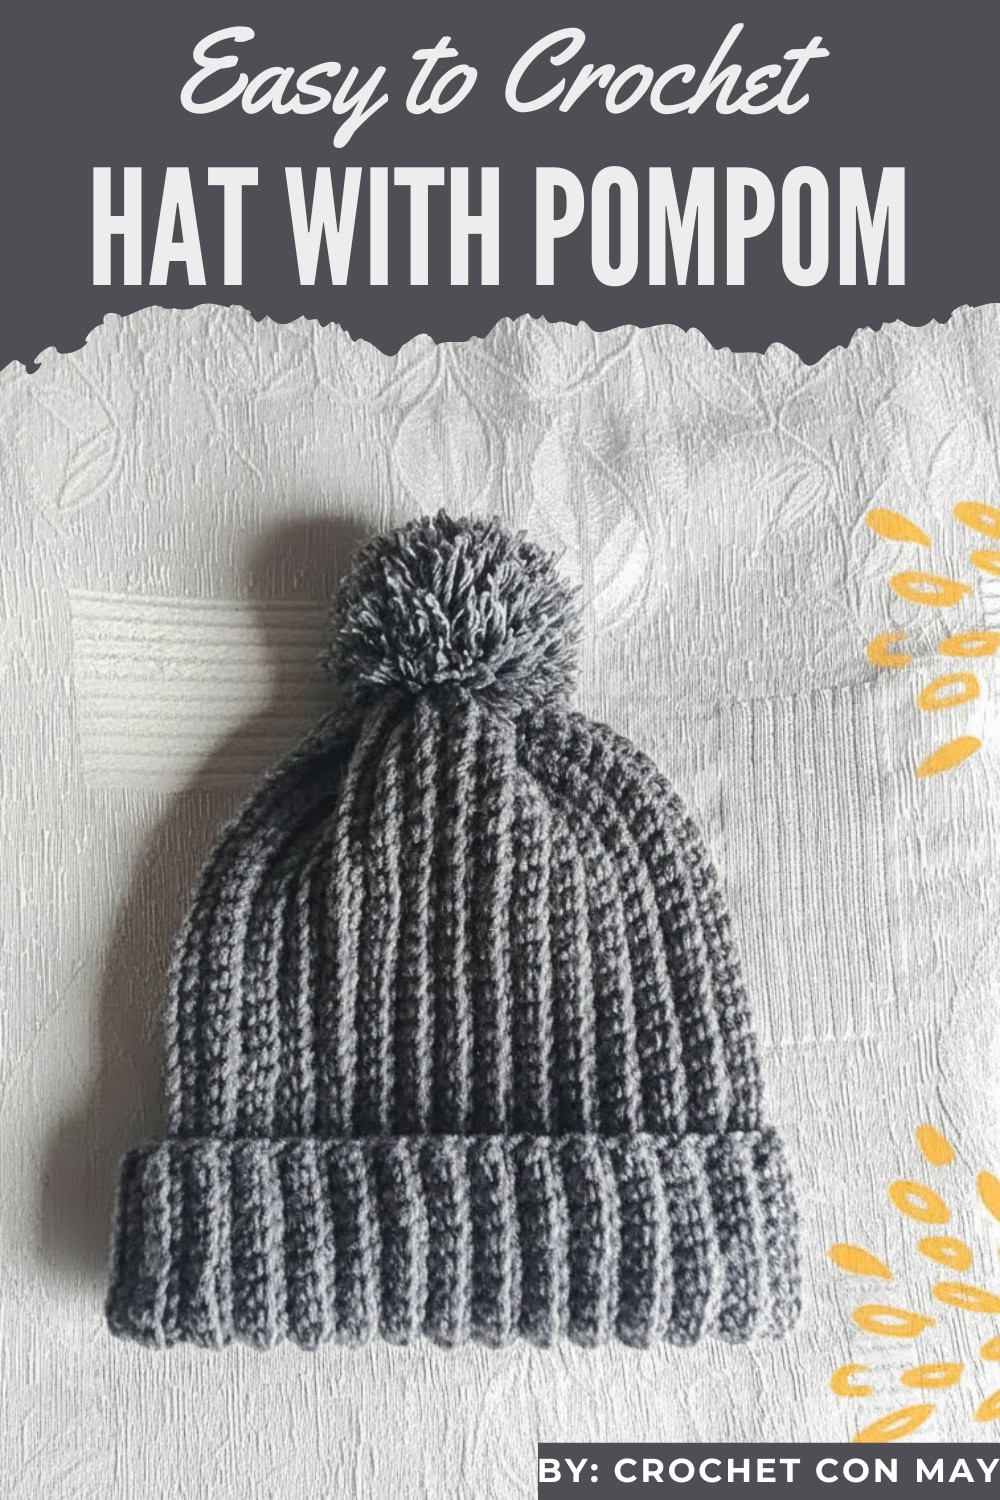
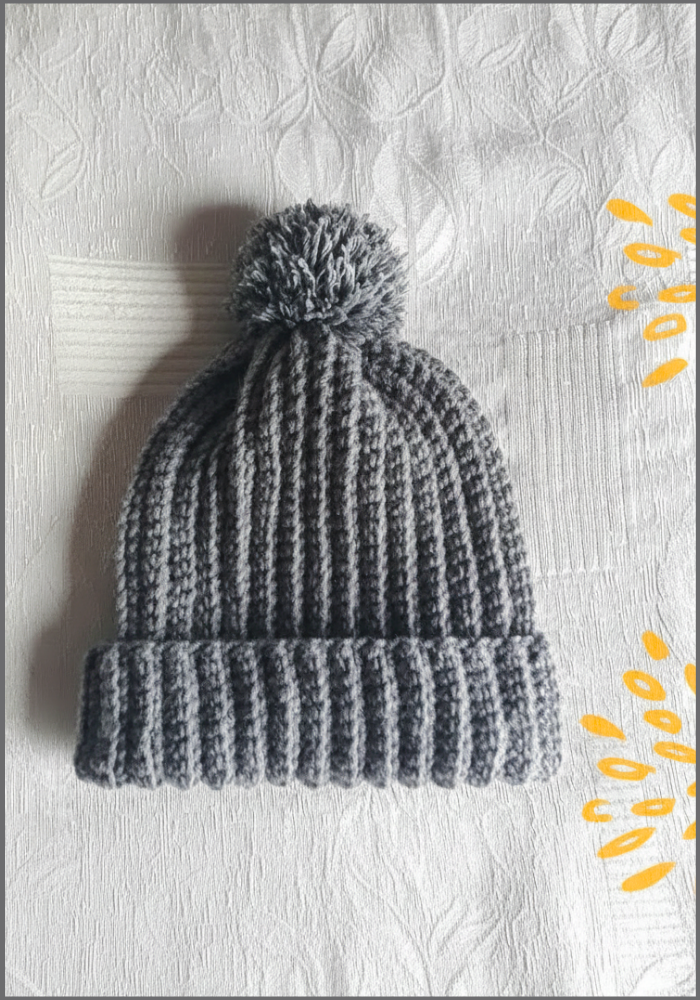
Charming Crochet Hat with Pompom Pattern for Comfortable & Stylish Vibes
When crocheting, maintain an even tension for neat stitches and a polished finish. Also, take breaks if stitching for long periods to avoid hand fatigue. This project is not just fun but also practical, resulting in a versatile and stylish piece tailored to your liking.
Materials Needed
- Medium-weight yarn: Acrylic or wool yarn is ideal for warmth and ease of use.
- Crochet hook: Check the yarn label for recommendations, as hook size no. 6.
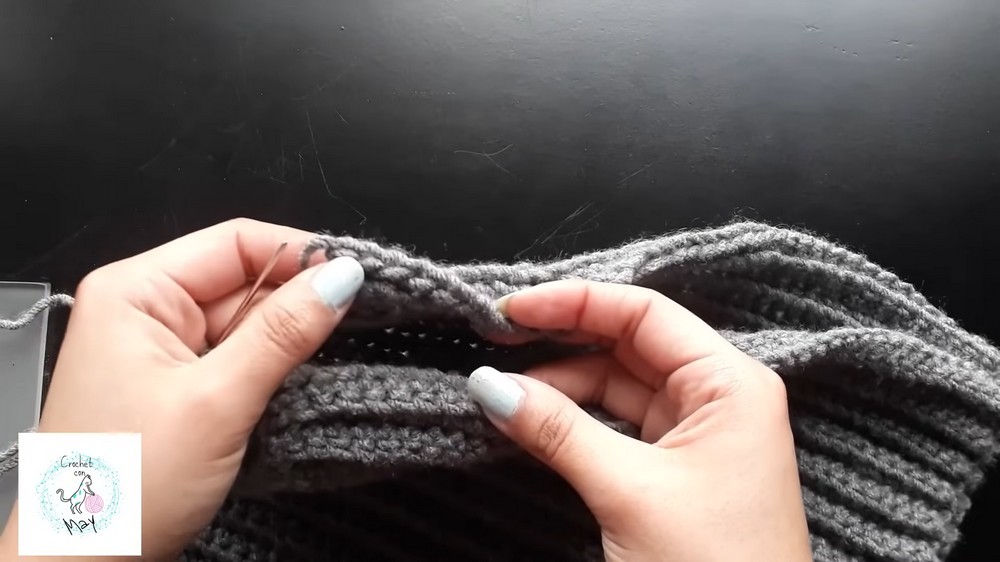
- Tapestry needle: Useful for weaving in loose ends and attaching the pompom.
- Scissors: For cutting yarn cleanly.
- Pompom maker (optional): Speeds up the process of creating a pompom, but you can also make it manually with cardboard or your hands.
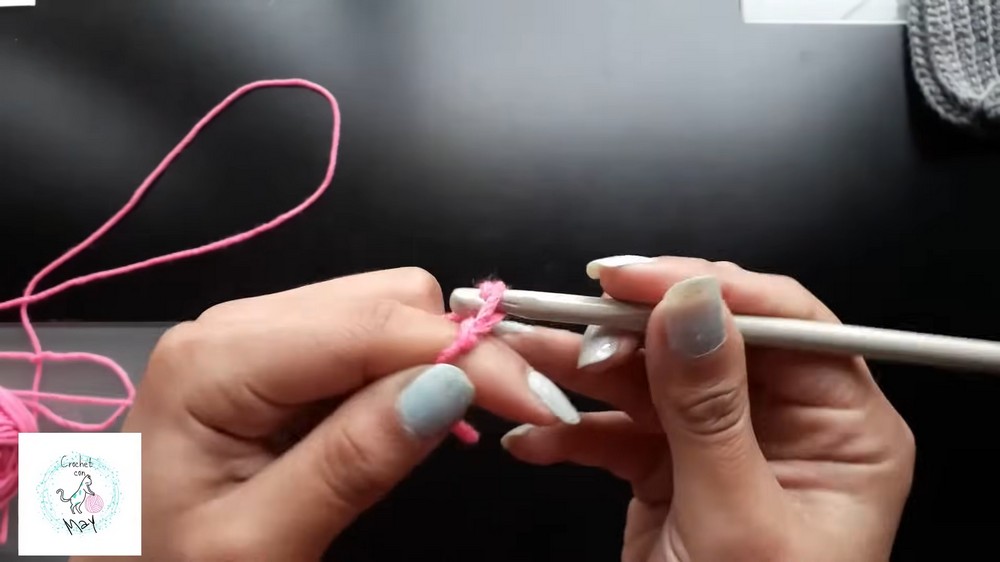
To begin, start with the hat base by using basic stitches such as single crochet or half-double crochet.
The pattern works in rounds, ensuring a seamless look and a snug fit. Begin with a magic ring for a secure starting point, ensuring the top of the hat is tightly closed. Gradually increase stitches in each round until the desired width is achieved.
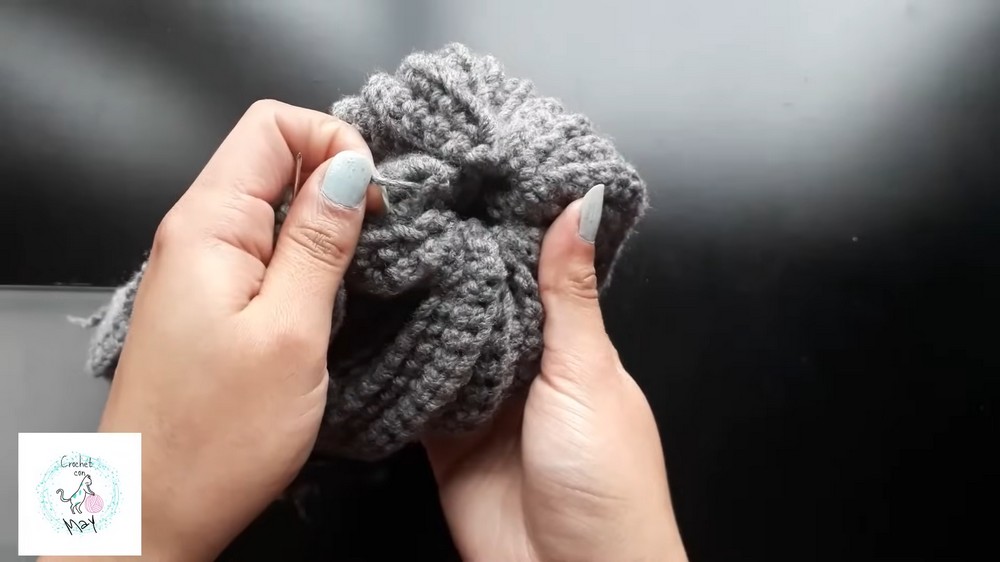
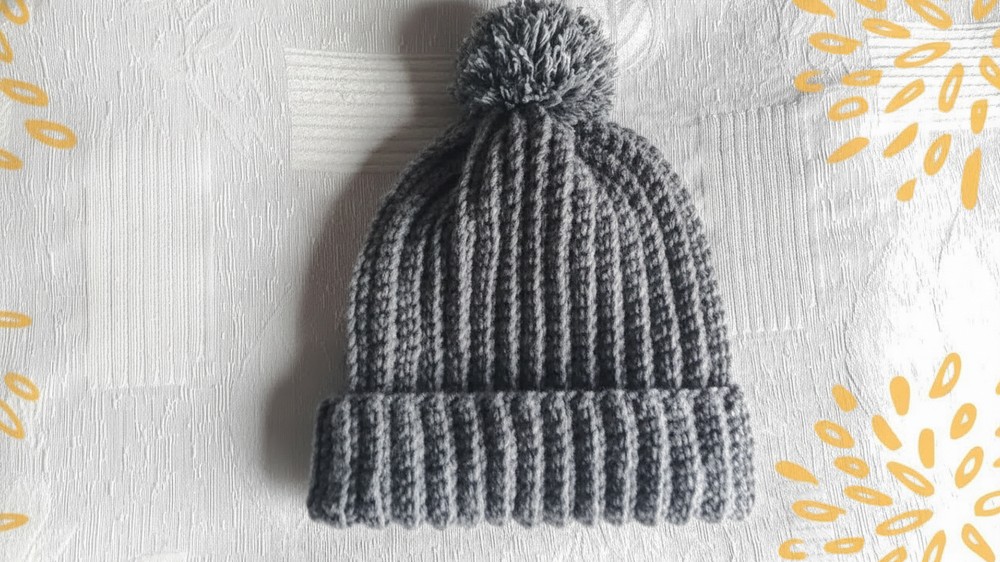
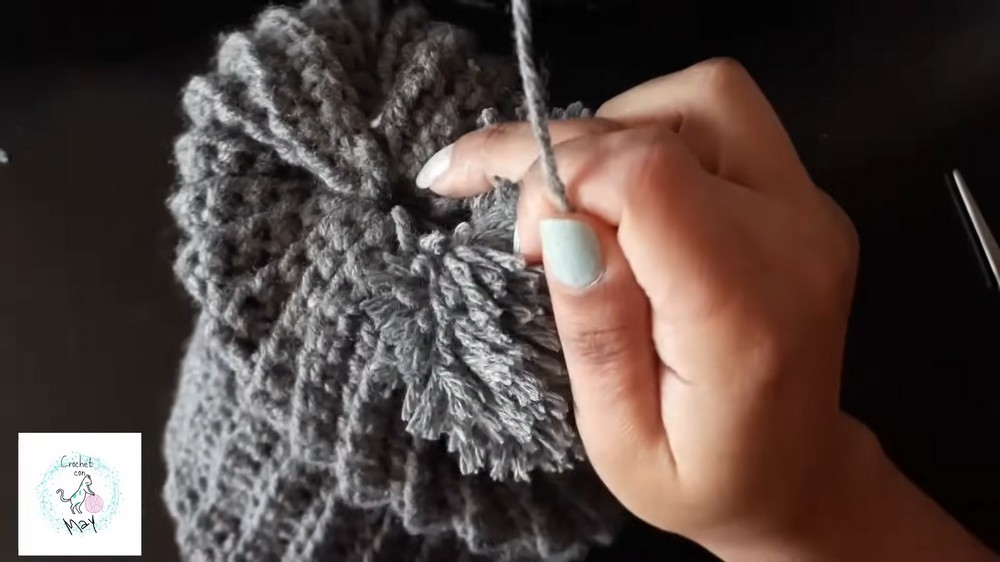
Once the base widens to fit the head size, continue working without increases to form the hat's height and shape. For a clean brim finish, ribbing with front and back post double crochet is a great option. Finally, use leftover yarn to crochet a fluffy pompom, securing it to the top of the hat with a tapestry needle.
Special Features
- Customizable Design: Easily adjust the size, color, and pompom style to fit your preferences.
- Beginner-Friendly: Designed for simplicity, focusing on foundational crochet skills.
- Lightweight and Durable: Using medium-weight yarn ensures the hat is both warm and practical for daily use.
Level of Difficulty
The level of difficulty for this crochet project is beginner to intermediate. It uses basic stitches such as single crochet and slip stitches, combined with simple shaping techniques. The pompom element adds a fun, easy final touch to the process.
Tutor’s Suggestions
- Choose the Right Yarn: Softer yarns not only feel better but also stretch nicely for a fitted hat.
- Practice Tension Control: Keeping an even tension while working helps ensure the stitch consistency throughout the hat.
- Make a Gauge Swatch: Check your gauge before starting to ensure the correct size and fit.
Uses
- Winter Wear: Keep yourself warm and stylish during chilly days.
- Gift Idea: This hat pattern makes a wonderful handmade gift for family and friends.
- Charity Projects: Perfect for donating to shelters or community groups needing warm items.
Pro Tip
When making the pompom, leave extra yarn tails that can be used for securely tying it to the hat. This prevents sagging or losing the pompom over time.
Step-by-Step Details
Crocheting a hat with a pompom can be a fun and rewarding project for both beginners and experienced crocheters. This row-by-row pattern combines style and comfort, offering a cozy accessory perfect for cold weather or as a thoughtful handmade gift.
Conclusion
This crochet hat with pompom pattern is a delightful project that combines warmth, style, and a fun touch. Whether you’re making it for yourself or someone else, it’s an opportunity to showcase your creativity and crocheting skills. Take the time to enjoy each step, and you’ll have a beautiful finished piece to cherish or gift in no time!
Leave a Reply