

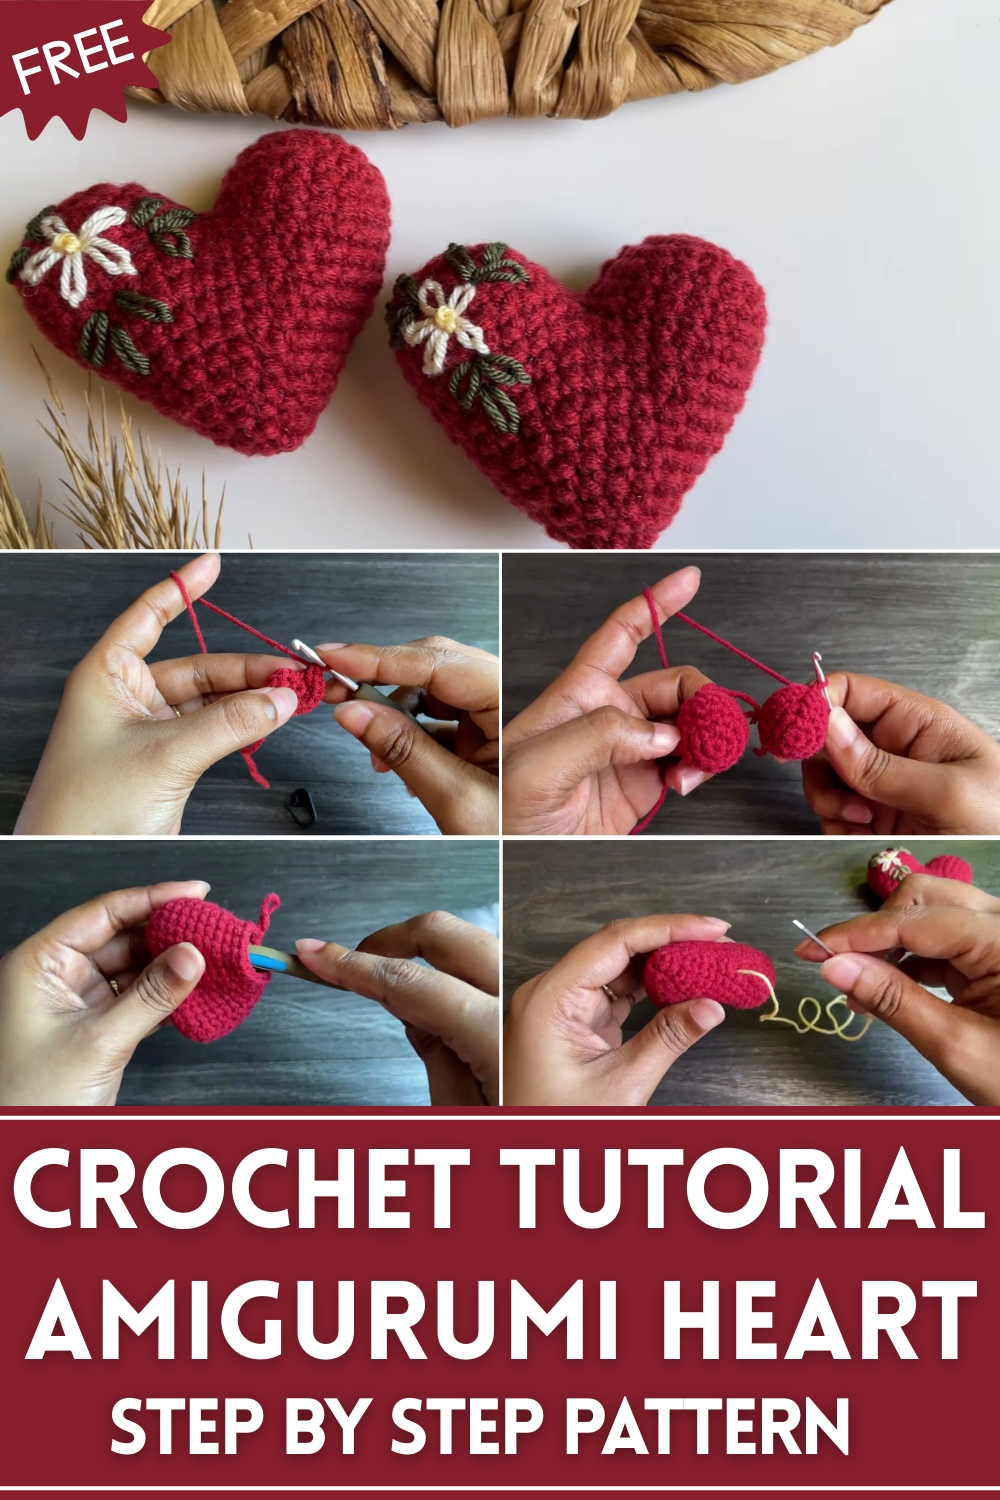
Warm hearts with the Free Crochet Amigurumi Heart Pattern, perfect for handmade gifts, charming decor, and thoughtful keepsakes anyone will treasure.
Small tokens of affection have long held the power to express emotions words sometimes cannot. A simple heart can carry warmth, gratitude, or love, making it a timeless symbol for gifts, decor, and personal keepsakes. The Free Crochet Amigurumi Heart Pattern transforms this meaningful symbol into a soft, tangible form that fits perfectly in hands, on shelves, or even as charming additions to bags, keychains, or seasonal displays. Its compact size and three-dimensional shape make it ideal for gifting during special occasions such as anniversaries, Valentine’s Day, or as thoughtful gestures to friends and family.
Adorable Crochet Amigurumi Heart Pattern That Everyone Will Love
Beyond its decorative appeal, working through the steps provides a calming and meditative rhythm, offering a sense of accomplishment and creative satisfaction. The pattern guides crafters smoothly from forming a basic shape to finishing a plump, well-proportioned heart, teaching useful crochet techniques like single crochet, increases, and decreases.
Its versatility allows customization in color and size to match any aesthetic or sentiment. By combining practical instructions with emotional resonance, this amigurumi heart becomes more than just a handmade object—it’s a meaningful keepsake that conveys care, warmth, and charm. Small in size but large in impact, it embodies creativity, mindfulness, and heartfelt intention in every stitch.
Step-by-Step Details
Step 1: Materials Needed
- Milk cotton yarn (or any yarn of your choice)
- 3mm crochet hook (adjust based on your yarn)
- Scissors
- Tapestry needle for weaving ends and embroidery
- Stuffing material (polyfill or recycled pillow stuffing)
- Optional: White yarn for embroidery
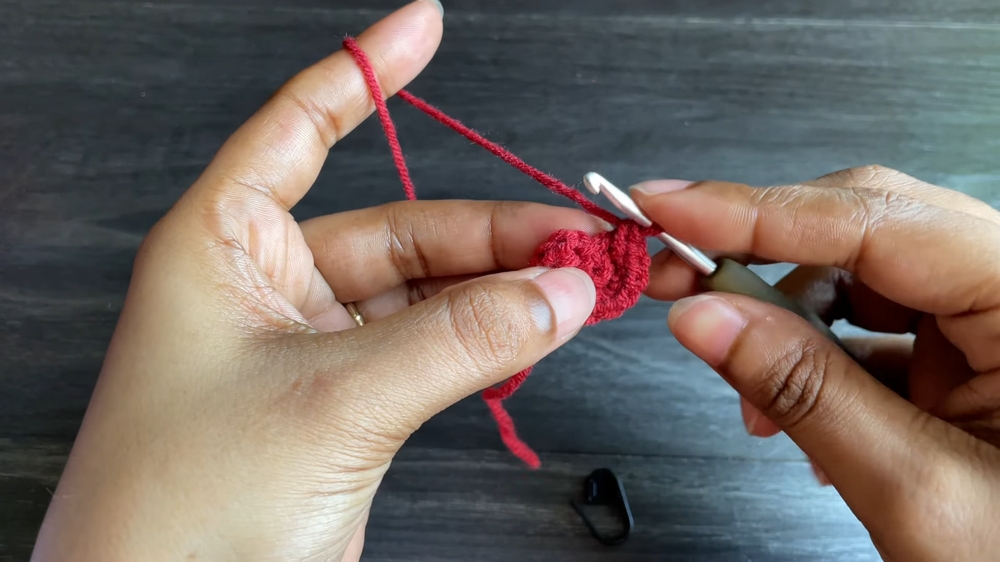
Step 2: Start with a Magic Ring
- Wrap the yarn around your finger, forming a crisscross shape.
- Insert the hook under the first loop, grab the second loop, pull through, and chain one to secure the magic ring.
- Work 6 single crochets (SC) into the ring. Tighten the ring by pulling the tail.
Join the Round
Insert the hook into the first single crochet and work a slip stitch to join the round. This completes Round 1.
Step 3: Round 2 - Increase in Each Space
- Chain 1 and work 2 single crochets (SC) into the same space.
- Continue working 2 single crochets (SC) into each stitch around the ring for a total of 12 stitches.
- Mark the first stitch of the round with a stitch marker to stay organized.
- Finish the round with a slip stitch to join.
Step 4: Round 3 - Alternating Single Crochet and Increase
- Chain 1, then work 1 single crochet (SC) into the first space and 2 single crochets (SC) into the next space (increase).
- Follow the pattern of alternating 1 SC, then 2 SC for the entire round.
- End Round 3 with 18 single crochets, joining with a slip stitch.
Step 5: Rounds 4–5 - Single Crochet Without Increases
- Chain 1 and work 1 single crochet (SC) in each space around for these two rounds.
- Finish each round with a slip stitch to join. By the end of Round 5, you’ll have 18 single crochets.
Step 6: Make a Second Identical Piece
- Repeat Steps 2 through 5 to make an identical heart piece.
- Do not fasten off the yarn on the second piece, as you’ll join both pieces in the next step.
Step 7: Joining the Two Heart Pieces
- Insert the hook into the chain space of the second piece where you stopped.
- Work single crochets all around the first piece (18 SC) and continue onto the second piece (18 SC).
- By the end, you’ll have 36 single crochets across both pieces. Join the round with a slip stitch.

Step 8: Round 7 - Continue Working Both Pieces Together
- Chain 1 and work 1 single crochet (SC) into each stitch all around the joined pieces.
- Finish the round with 36 stitches and slip stitch to join.
Step 9: Round 8 - Begin Decreasing
- Chain 1, then work 1 SC in the next 4 stitches.
- Perform an invisible decrease in the next two stitches using only the front loop of each stitch.
- Insert the hook under the front loop of two stitches, yarn over, pull through both loops, and finish the single crochet.
- Repeat the pattern (4 SC, then 1 decrease) until the end of the round.
- Finish with a slip stitch, leaving 30 single crochets total.
Step 10: Round 9 - Single Crochet Without Decrease
- Work 1 single crochet in each stitch around with a total of 30 stitches.
- Finish the round with a slip stitch.
Step 11: Round 10 - Decreasing Further
- Chain 1, work 1 single crochet in the next 3 stitches, followed by an invisible decrease across the next 2 stitches.
- Repeat the pattern (3 SC, 1 decrease) all around, ending with 24 single crochets.
Step 12: Round 11 - Single Crochet
- Work 24 single crochets without increasing or decreasing.
- End the round with a slip stitch.
Step 13: Round 12 - Decrease and Final Adjustments
- Work 2 SCs, followed by an invisible decrease, and repeat the pattern all around.
- Finish the round with 18 single crochets.
Step 14: Add Stuffing
- Begin stuffing your heart with the fiberfill. Ensure you press it into every corner to give the heart shape.

Step 15: Round 14–16 - Continue Decreasing
- Round 14: Decrease across two stitches every few spaces, leaving 12 stitches.
- Final Round: Work decreases in every stitch (6 stitches total).
Close the Opening
- Thread the tail through the remaining loops using a tapestry needle. Pull gently to close the gap, knot securely, and hide the remaining yarn by threading it through the inside of the heart.
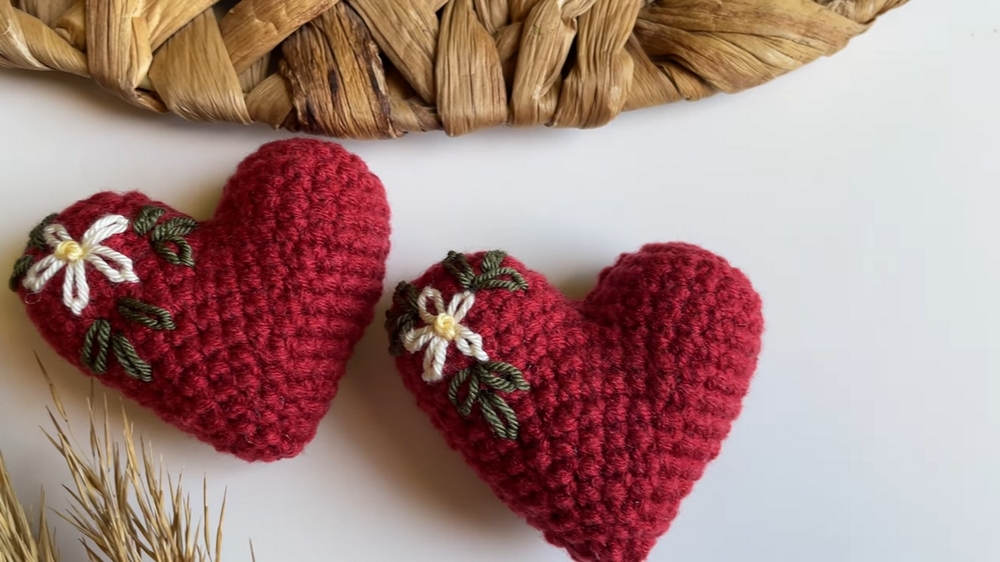
Optional: Embroider a Design on Your Heart
- Use white yarn to embroider a Lazy Daisy Flower pattern or any design you like.
- For leaves, work small stitches, and center the flower with one French knot.

Special Features
- Beginner-Friendly: Follows simple crochet techniques like single crochet, increase, and decrease.
- Customizable Designs: Add embroidery or leave the heart plain for minimal decor.
- Great for Small Gifts: Perfect for Valentine’s Day, anniversaries, or decoration.
Level of Difficulty
Easy to Intermediate – The heart uses basic stitches, but requires attention to invisible decreases and joining two separate pieces. Beginners can master it with practice, especially the magic ring technique.
Tutor’s Suggestions
- Use a stitch marker to track the first stitch of every round, especially for beginners.
- Experiment with different yarn colors and sizes for creative results.
- For embroidery, feel free to add personalized patterns instead of flowers to make it unique.
Uses
- Keychains: Attach a keyring to make a unique accessory.
- Decor: Use these hearts for table decorations, Christmas tree ornaments, or garlands.
- Gifting: Great as small tokens of love and appreciation.
Tip
To ensure your heart looks even and symmetrical, don’t rush the decreases. Add stuffing gradually as you crochet closer to the end.
Conclusion
Crocheting an amigurumi heart is a fun and fulfilling project that is perfect for crocheting gifts or decorations. This guide offers clear instructions, making it ideal for beginners who want to learn basic techniques like the magic ring and invisible decreases.

Leave a Reply