

Personalize your accessories with this Crochet Cat Keychain Pattern as a delightful and easy idea that adds playful character to your style.
Made with care and full of personality this delightful piece brings charm and character to your everyday belongings. It’s perfect for decorating keys, bags, or gifting to someone special, offering a combination of style and functionality that stands out. Featuring a Crochet Cat Keychain pattern, this handmade item isn’t just an accessory—it’s a meaningful keepsake that celebrates a creative spirit and individuality.
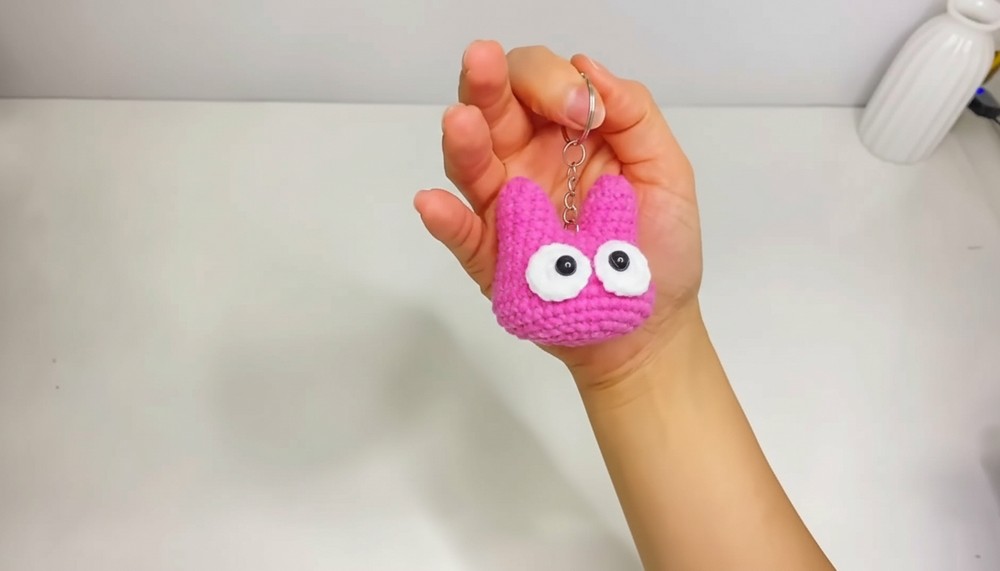
Easy Crochet Cat Keychain Pattern That’s Purr-fectly Lovely

Its lightweight and versatile design make it easy to carry and practical to use, while its unique appearance adds a personal touch wherever it’s displayed. Whether you’re looking for a heartfelt gift or something to express your personal style, this piece is a wonderful way to bring joy and originality into your daily life. Simple yet captivating, it transforms ordinary items into something special. Ideal for any occasion, it’s the perfect reminder that even the smallest pieces can brighten your day in unexpected ways.
Materials:
- Yarn Type: Cotton (Ply: Medium, Weight: 4)
- Color 1: Pink (for head)
- Color 2: White (for eyes)
- Crochet Hook: Size 2.5 mm
- Tapestry needle (for weaving ends and sewing parts together)
- Scissors
- Stuffing (Polyester Fiberfill)
- Safety eyes (1 pair)
- Hot glue gun (optional, for attaching safety eyes)
- Keychain ring
Key Abbreviations:
- Ch: Chain
- Sc: Single Crochet
- Inc: Increase (2 Sc in one stitch)
- Dec: Decrease (Sc2tog - single crochet two together)
- Sl st: Slip Stitch
Special Notes:
- The pattern is written in US crochet terminology.
- Work in continuous rounds unless otherwise stated.
- Use a stitch marker to keep track of the beginning of each round.
Pattern
Head:
-
Ear (Make 2):
- Create a magic ring.
- Round 1: Ch 1 (does not count as a stitch). Make 6 Sc in the ring. Pull the ring tight. (6 Sc)
- Round 2: [2 Sc in each st around] 3 times, 1 Sc in next st, 1 Sc in last st. (8 Sc)
- Round 3: Sc in each st around. (8 Sc)
- Round 4: [Sc in next st, 2 Sc in next st] 3 times, 1 Sc in next st, 1 Sc in last st. (10 Sc)
- Round 5: Sc in each st around. (10 Sc)
- Round 6: Sl st in the first st and fasten off.
- Do not fasten off on the second ear. Leave a tail to continue joining the head.
-
Joining Ears to Form the Head:
- With working ear, Ch 2, join with Sl st to any st on the first ear.
- Round 7: Work around the first ear, across the 2 foundation Chs, then around the second ear. (24 Sc)
-
Shaping the Head:
- Round 8-17: Sc around (24 Sc per round).
- Begin stuffing firmly before closing.
-
Decreasing to Close the Head:
- Round 18: [Sc in next 2 sts, Dec] 8 times. (16 Sc)
- Round 19: [Sc in next 1 st, Dec] 8 times. (10 Sc)
- Round 20: Dec around. (5 Sc)
- Fasten off and weave in the end.


Eyes (Make 2):
- Create a magic ring using white yarn.
- Round 1: Ch 1, 6 Sc in the ring. Pull the ring tight. Sl st to the first Sc.
- Round 2: [2 Sc in each st around]. (12 Sc)
- Fasten off, leaving a long tail for sewing.
Assembly:
- Attach safety eyes to the crocheted eyes or use glue gun.
- Position the eyes on the face and sew them using the long tails.
- You may embroider a small nose and mouth if desired, using black yarn or thread.
- Attach the keychain ring around the head or through the middle of the ears for stability.
Conclusion
With this detailed step-by-step pattern, you should be able to create a beautiful Hello Kitty head keychain. Each instruction is designed to ensure crocheters have a seamless and enjoyable experience. Remember to pay close attention to the shaping, increasing, and decreasing parts to maintain the head's shape.
Pattern Corrections:
- Ensure that each round involving sc is clearly marked, especially as the pattern evolves from the ears to the head.
- When creating the face, check mirror images or symmetry to ensure a perfect, balanced look.
Tips:
- Keeping stitches tight and consistent will help the kitty head retain its shape.
- Use a stitch marker for every new round to avoid mistakes.
- For an added touch of detail, you can add whiskers using black embroidery thread.


Leave a Reply