

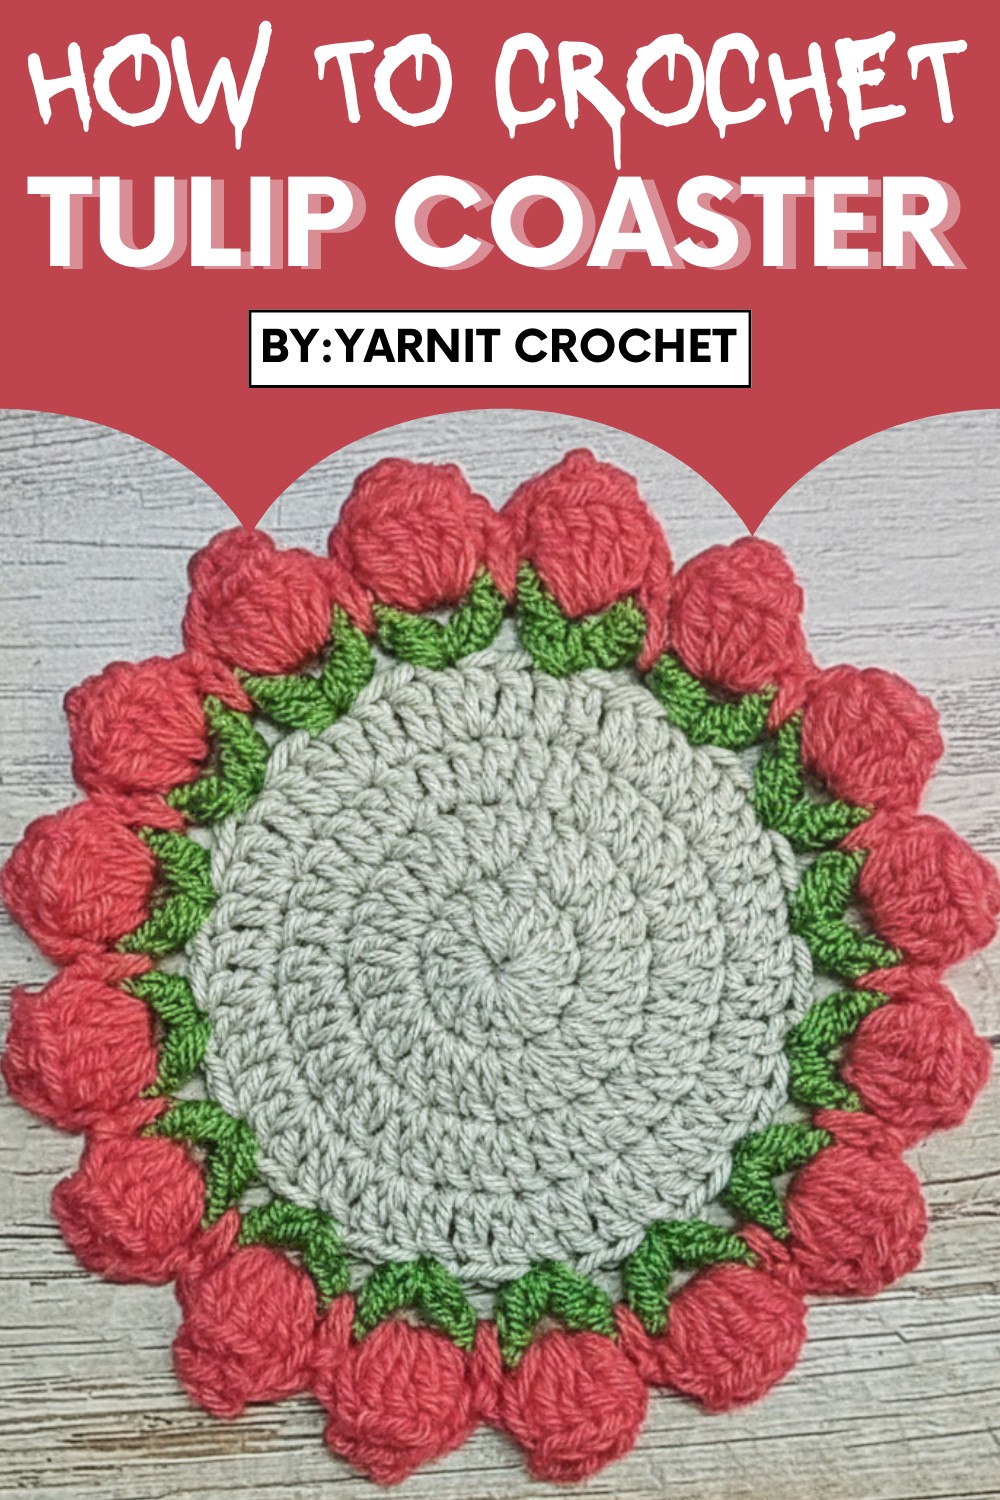
Spruce up your table with this Crochet Tulip Coaster Pattern perfect for giving any drink setting a pop of color and bright cheerful style.
Bring joy and creativity to your home with something beautiful and functional. A crochet tulip coaster pattern is the perfect way to combine artistic design with everyday practicality. Inspired by the elegance of tulip flowers, this coaster brightens any dining table, kitchen counter, or coffee corner with its vibrant charm. Whether you’re hosting a tea party, enjoying family mealtime, or looking for a unique gift, this coaster fits every occasion and brings a refreshing touch to your space.
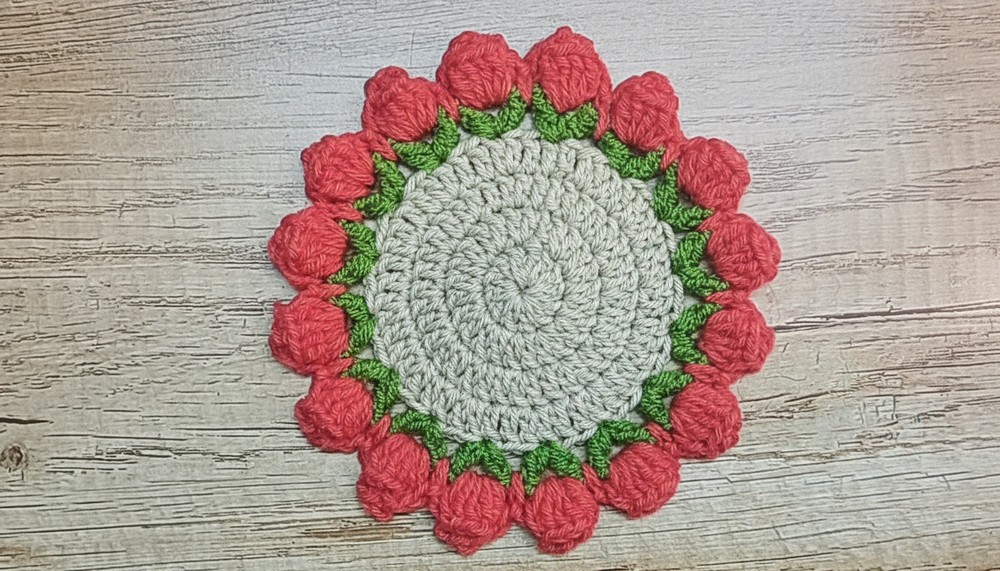
Charming Crochet Tulip Coaster Designs for Every Table
It is simple to make and makes any setting feel warm, stylish, and welcoming. You don’t just protect your furniture with this design; you also add a sense of beauty and uniqueness to your home décor. Perfect for those who enjoy working with their hands, this pattern is a delightful way to celebrate creativity, nature, and functionality in one. Make something meaningful that everyone will admire and enjoy.
Materials List
Yarn:
- 3-ply yarn in three colors:
- Beige: For the base of the coaster.
- Green: For the leafy border.
- Pink (or any choice): For the tulips.
Crochet Hook:
- 3 mm hook
Tools:
- Yarn Needle: For sewing and weaving in ends.
- Scissors: For cutting yarn.
Key Abbreviations
- MR – Magic Ring
- ch – Chain
- sl st – Slip Stitch
- sc – Single Crochet
- dc – Double Crochet
- st – Stitch
- inc – Increase (2 stitches in the same stitch)
Special Notes
- Customization: You can increase the base size of the coaster by continuing the pattern of increases in additional rounds.
- The popcorn stitch is used to form the shape of the tulips.
- Always join rounds with a slip stitch unless specified otherwise.
- Use a stitch marker for tracking the first stitch of each round, especially if you are a beginner.
Step-by-Step Pattern
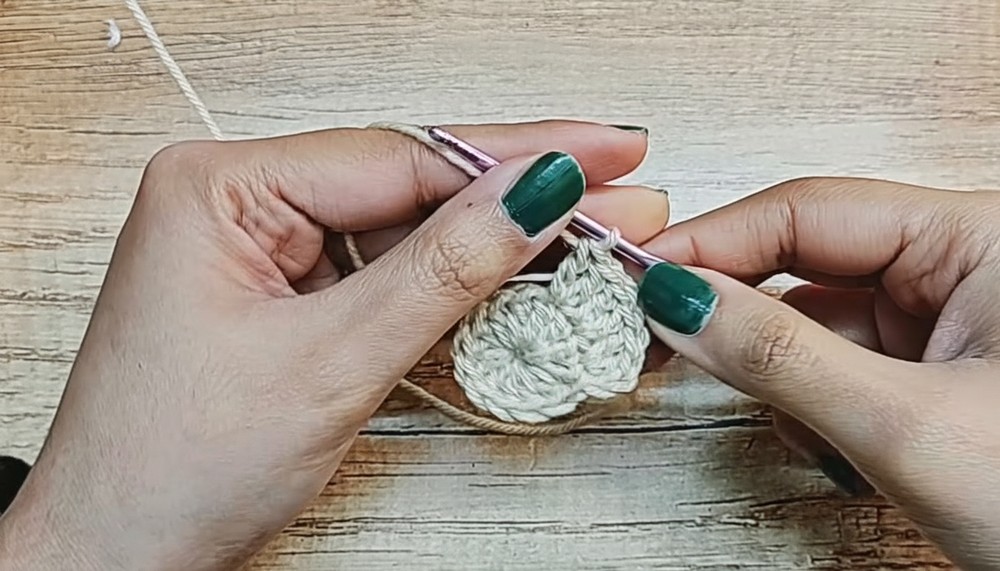
Step 1: Coaster Base (Beige Yarn)
Round 1:
- Start with a Magic Ring (MR).
- Ch 2 (does not count as a st).
- Work 12 dc into the MR, evenly spaced.
- Pull tight to close the ring.
- Join with a sl st to the first dc. (12 sts)
Round 2:
- Ch 2 (does not count as a st).
- Work 2 dc in each st around (inc in each st).
- Join with a sl st to the first dc. (24 sts)
Round 3:
- Ch 2.
- Alternate 1 dc in the first st, 2 dc in the next st (inc) all the way around.
- Join with a sl st to the first dc. (36 sts)
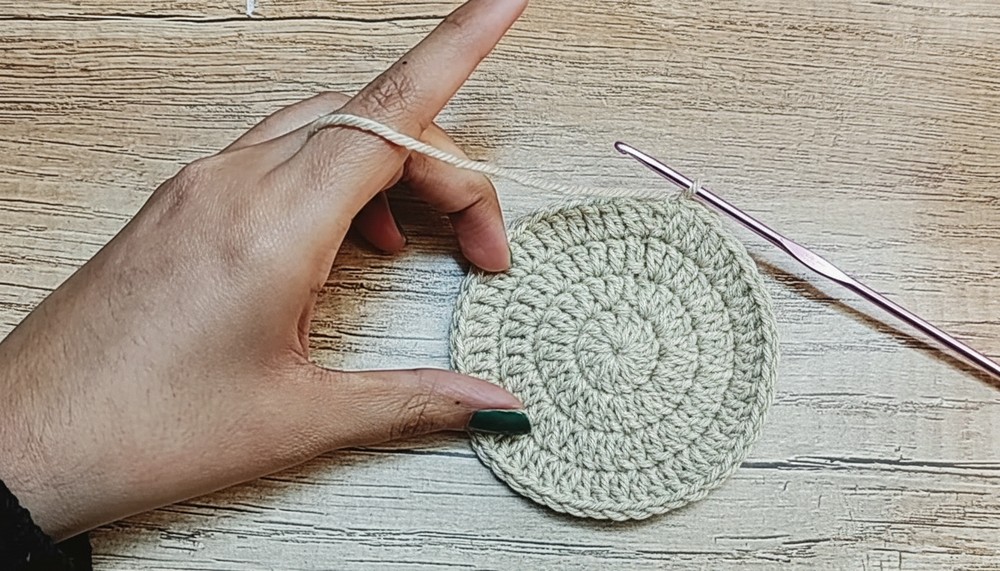
Round 4:
- Ch 2.
- Alternate 1 dc in the first 2 sts, 2 dc in the next st (inc).
- Repeat around. (48 sts)
- Join with a sl st to the first dc.
Optional:
- You can continue to add more rounds by increasing the number of single dc stitches between each increase. For example:
- Round 5: 1 dc in the first 3 sts, 2 dc in the next st (inc).
- Round 6: 1 dc in the first 4 sts, 2 dc in the next st (inc), and so on.
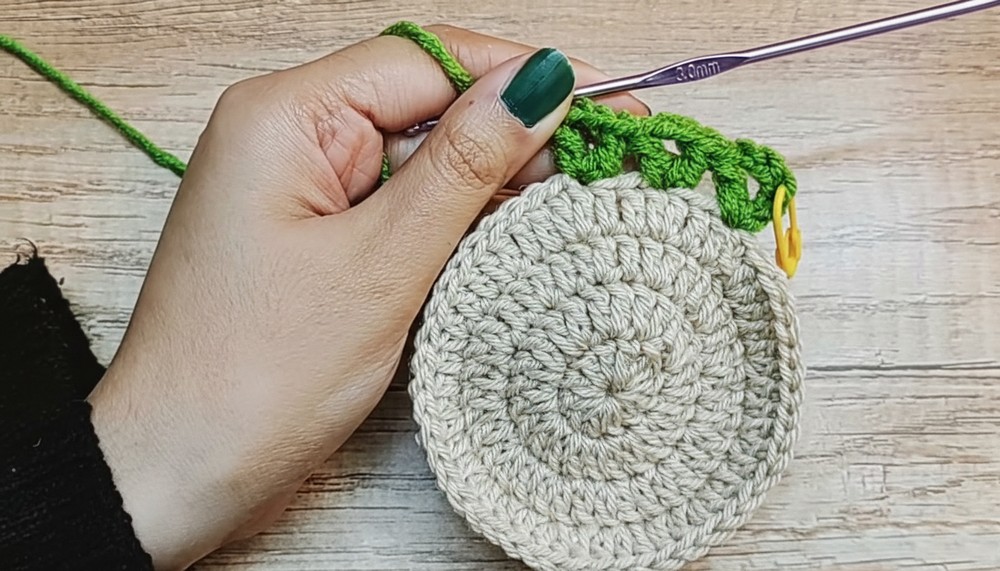
Step 2: Leaf Border (Green Yarn)
- Attach Green Yarn:
- Join green yarn to any st around the edge of the beige base using a sl st.
- Round 1 – V Stitches:
- Ch 3 (counts as the first dc), then ch 2 (separating chains).
- Dc in the same st where the yarn was attached. This forms the V stitch.
- Skip 2 sts, work [dc, ch 2, dc] in the next st. Repeat until the end of the round.
- Join with a sl st to the top of the starting ch-3.
- Fasten Off:
- Cut the yarn, leaving a tail for weaving in.
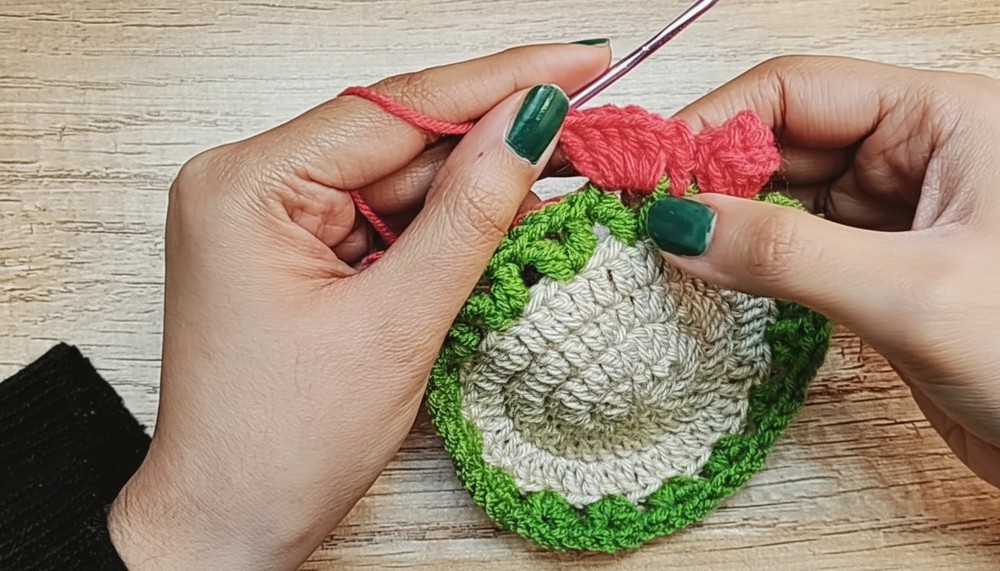
Step 3: Tulip Flowers (Pink Yarn)
- Attach Pink Yarn:
- Using pink yarn, attach it to any ch-2 space of a V stitch arm.
- Create Tulip:
- Ch 3 (counts as the first dc). Work 5 more dc into the same ch-2 space (total: 6 dc).
- Remove your hook from the working loop, insert it into the top of the first dc (or the ch-3) of this cluster.
- Pick up the dropped loop and pull it tightly through the first dc. This creates a popcorn stitch.
- Add Crowning on Tulip (Optional):
- Ch 2. Insert the hook into the center (hole between stitches at the base of the tulip) and work a sl st. Repeat this one more time for an enhanced crown look.
- Chain and Transition:
- After finishing the tulip, Ch 2. Insert the hook into the space between the two V stitches below.
- Work 1 sc into this space to anchor.
- Repeat Around:
- Repeat the tulip pattern in each V stitch: Ch 2, 6 dc popcorn, ch 2, sl st for crown (optional), ch 2, sc between V stitches.
- Finish the Round:
- After the last tulip, Ch 2. Work a sc between the last V stitches.
- Ch 2, sl st into the top of the starting ch-3 from the first tulip.
- Fasten Off:
- Cut the yarn, leaving a small tail. Weave in all loose ends.
Final Steps
- Weave in all ends using a yarn needle to secure the coaster neatly.
- Block the coaster to ensure flatness, if necessary.
Conclusion
Congratulations on completing your Tulip Coaster! This elegant design, complete with a base, leafy border, and vibrant tulips, makes for a beautiful decorative addition to any home. Pair it with other floral crochet designs to create a matching set.
Pattern Corrections
- Ensure the popcorn stitch is snug. If it loosens, undo and retighten by pulling the working loop taut before attaching it back.
- Maintain the proper stitch count in the base rounds to avoid curling or distortion.
Tips
- Color Matching: For variety, you can alternate tulip colors for a multi-colored floral design.
- Blocking: Lightly wet and block the completed coaster to ensure a flat and neat shape.
- Beginner Friendly: Use a stitch marker for the first stitches in each round to prevent confusion.

Leave a Reply