

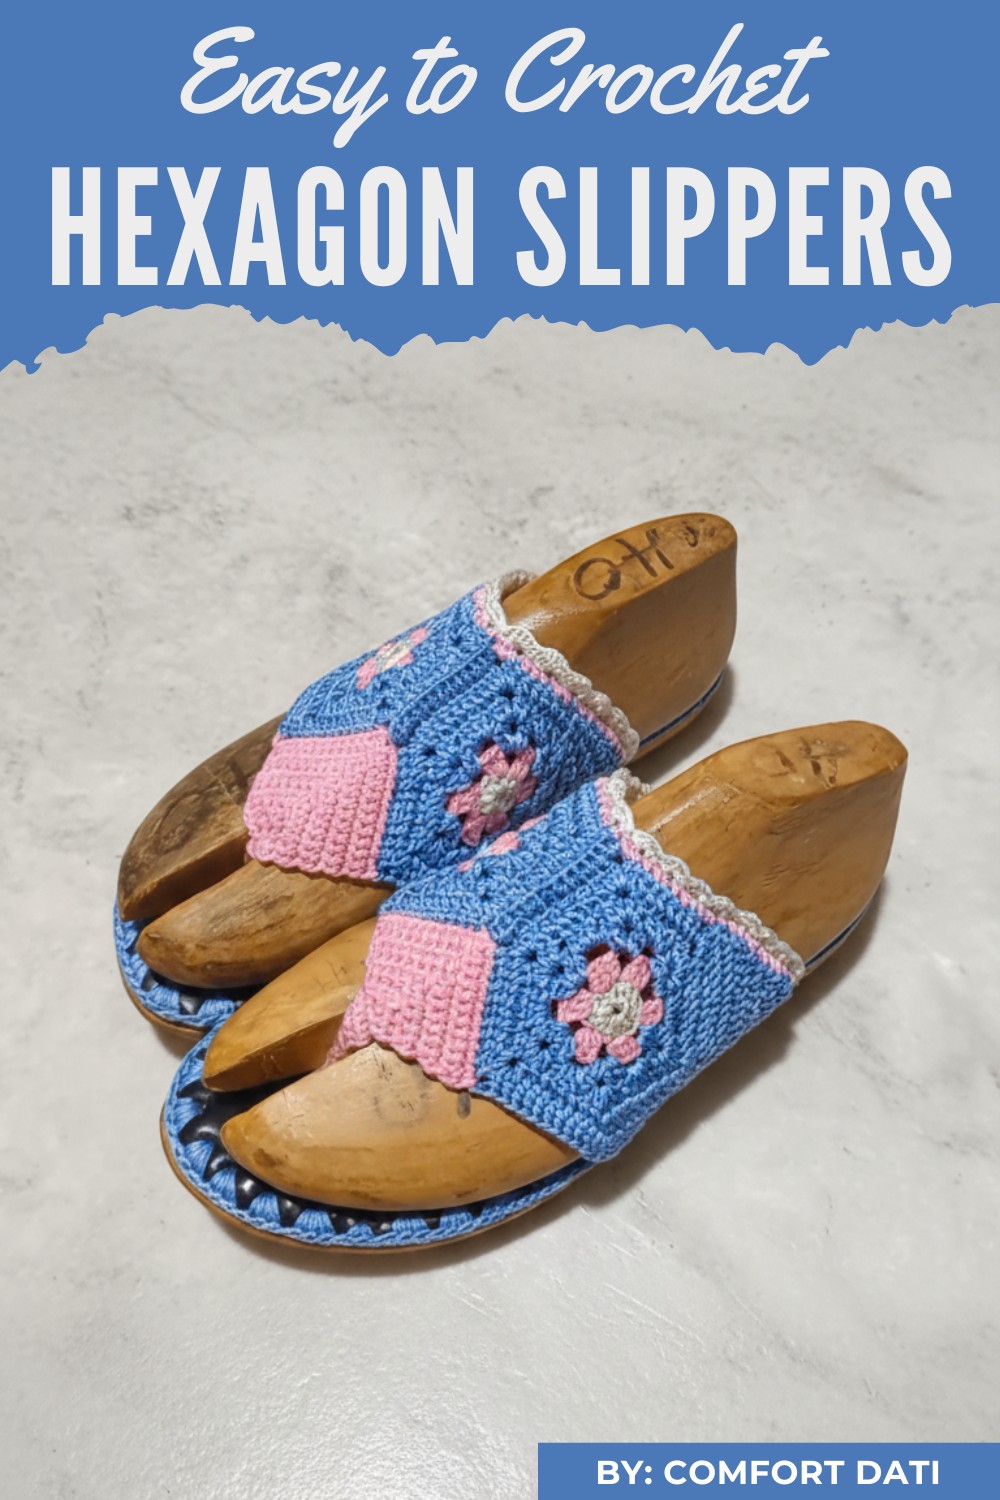
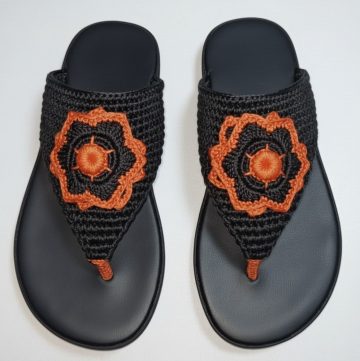
Step into the world of cozy elegance with crochet hexagon slippers, a perfect blend of creativity, functionality, and charm.
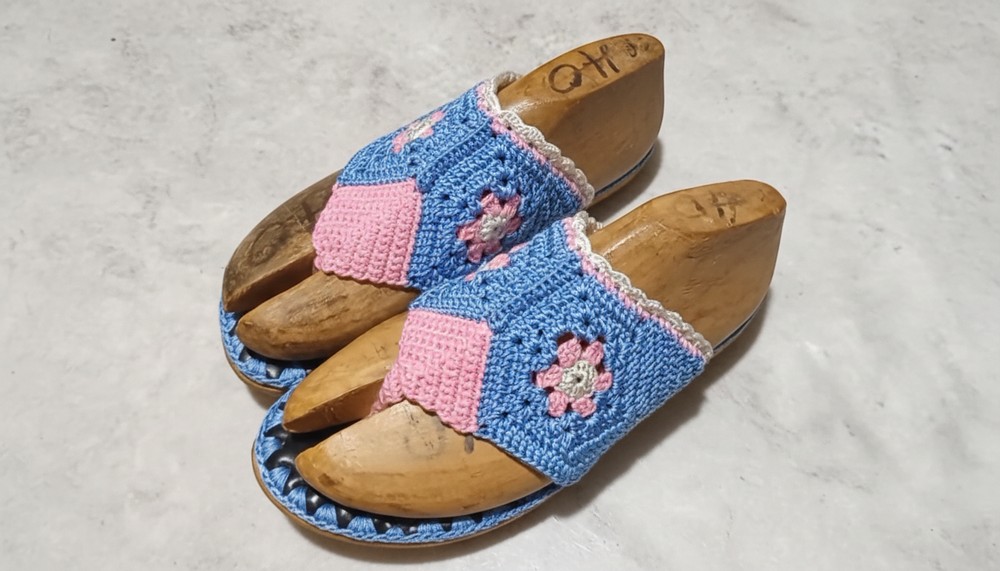
These handmade slippers showcase the beauty of geometric design, effortlessly combining modern aesthetics with timeless craftsmanship. Each slipper begins with intricately crocheted hexagons that form the foundation of their unique structure and design. From vibrant color combinations to delicate ruffles along the edges, the possibilities for customization are endless, making every pair a true reflection of your personal style.
Free Crochet Hexagon Slippers Pattern to Spark Your Creativity
Not only are these slippers visually stunning, but they also offer remarkable comfort and versatility. Perfect for lounging at home or gifting loved ones, their soft yet durable construction ensures long-lasting use. Crocheted with yarn and enhanced with pre-made insoles and soles, they provide support and coziness for daily wear.
Whether you’re spending quiet evenings in or looking to impress with a thoughtful handmade gift, these slippers combine practicality with artistic flair. Beyond the immediate benefits of beauty and comfort, crocheting hexagon slippers sparks creativity while promoting mindfulness.
The step-by-step process allows both beginners and experienced crocheters to immerse themselves in an enjoyable and rewarding project. With every stitch, you not only create footwear but also weave moments of relaxation and self-expression into your daily life.
Materials Needed
To complete this crochet hexagon slippers project, you need:
- Yarn (two colors recommended, e.g., white and pink)
- Crochet hook
- Scissors
- Stitch markers (optional for accurate measurements and alignment)
- Needle and thread
- Pre-made insole and outsole
- Chemical glue
- Mallet (optional for attaching the sole)
- Heat gun (optional for securing the glue)
Step-by-Step Instructions
1. Start with the Hexagon Base
- Create a magic ring: Wrap the yarn around two fingers, cross it, insert the crochet hook, and pull through, then start with one chain.
- Make chain 3, followed by 11 double crochets into the magic ring.
- At the end of the round, slip stitch into the top of the first chain 3.
- Before finishing the slip stitch, introduce the second yarn color (pink in this example). Pull the thread to secure the new color.
2. Create Hexagon Corners
- Start with chain 3 (stands as the first double crochet).
- Work 2 more double crochets in the same space, followed by chain 2.
- Skip the next stitch, and in the following stitch create 3 double crochets.
- Repeat chain 2, skip one stitch, and work 3 double crochets until the round is complete.
- At the end of the round, slip stitch into the top of the chain 3, and continue with the new rows to build the hexagon.
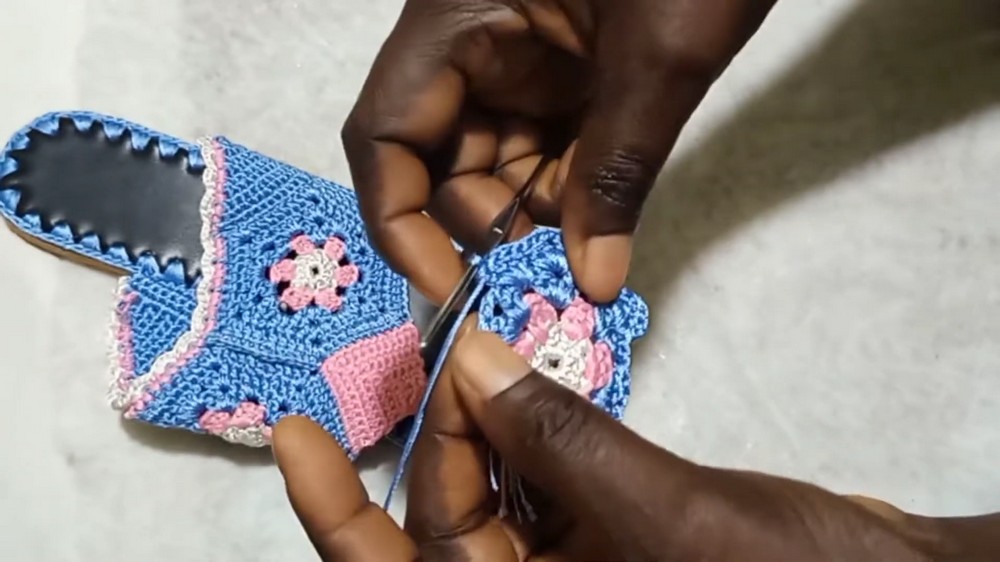
3. Join Two Hexagons Together
- Position both hexagons with their right sides facing each other and join them by working single crochets along the edge.
- After completing the join, cut off the yarn and slip stitch to secure the piece.
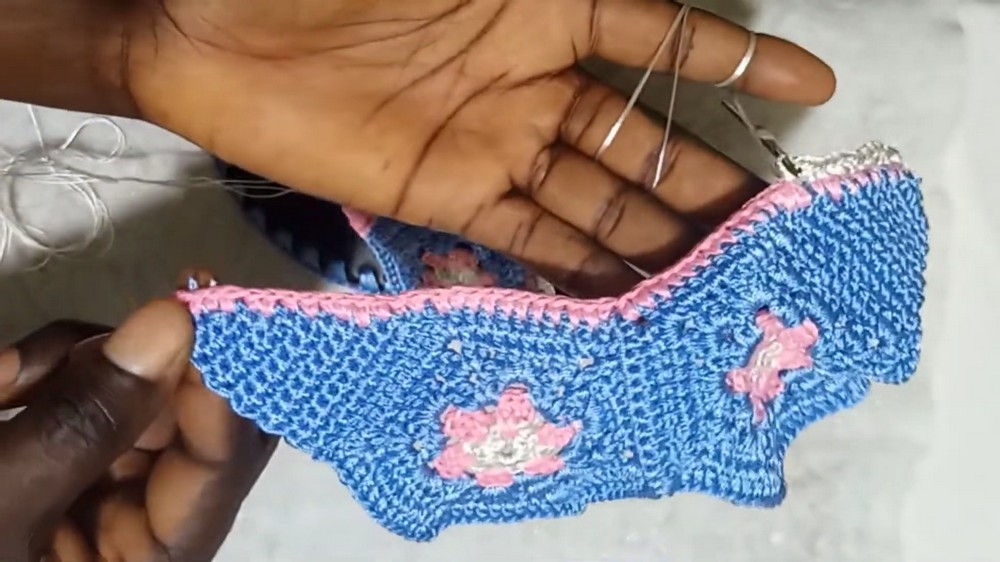
4. Create Side Panels
- Attach yarn to one side of the hexagon and begin working single crochet rows.
- Only decrease on one side to make the panel slant.
- Work up to 10 rows on each side, repeating the slanting process.
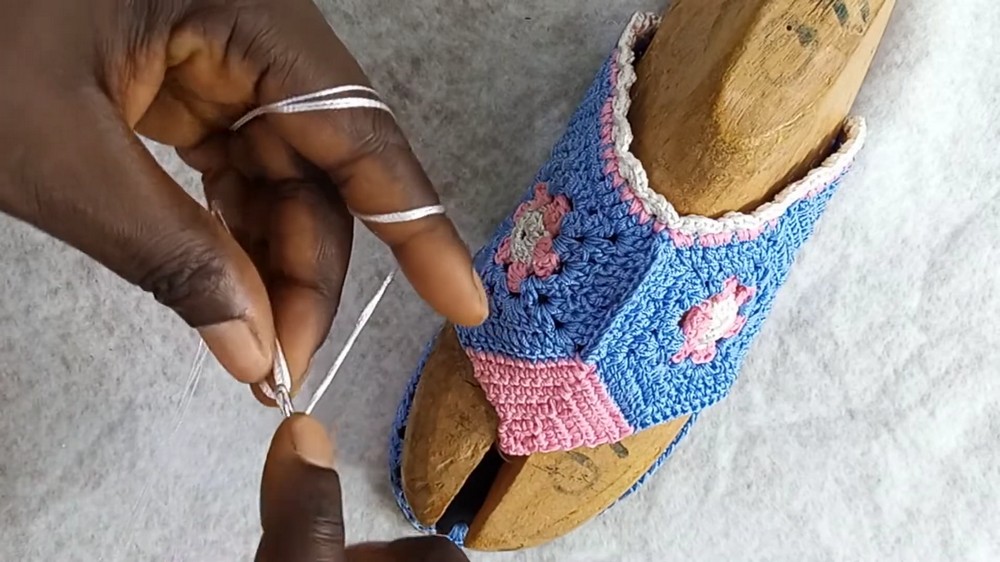
5. Add Ruffled Edges
- Insert the crochet hook at the edge and create a decorative ruffle. This involves five single crochets in one stitch, skipping the next stitch, and then repeating along the edge.
6. Work Single Crochet Rows Around the Edges
- Crochet three rows of single crochet along the slipper’s edges to create clean and sturdy sides.
- Repeat the process for all edges to complete the foundation.
7. Fill the Sole Area
- Attach yarn and work single crochet rows, reducing three loops in the middle of each row until the sole is entirely covered.
- At the end, complete 10 rows of reduction for a neat finish.
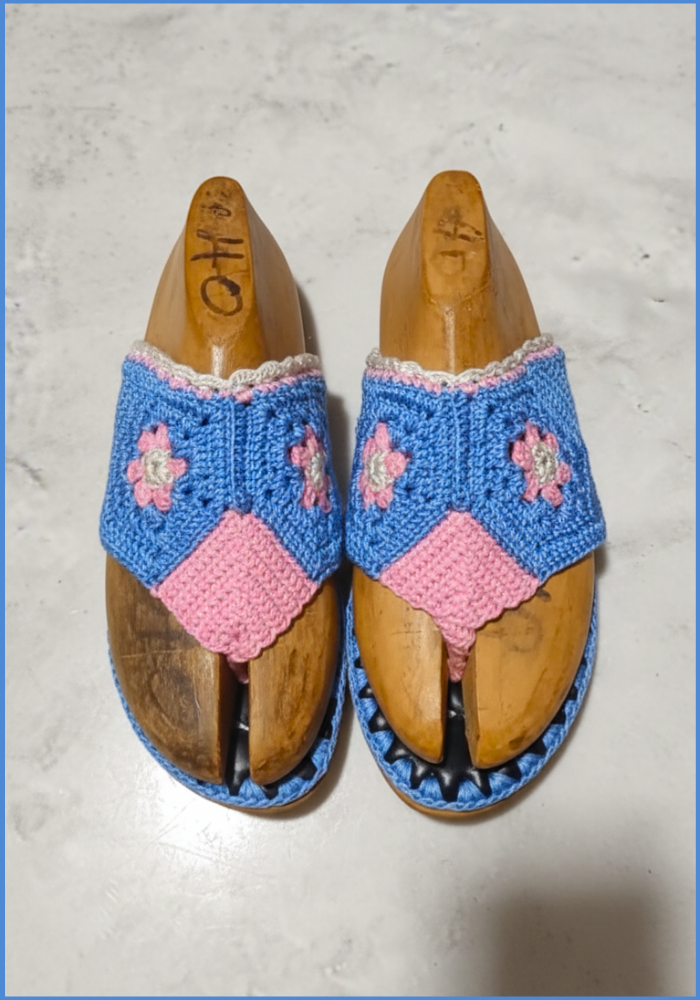
8. Create the Tongue (Top Panel)
- Without reducing, crochet single crochet rows across the top area of the slipper (tongue).
- Continue until you reach 14 rows for the tongue section.
9. Create the Shoe Structure
- Cut one-inch fabric tubing and position it along the back edge, attaching it securely with glue and yarn stitches.
- Insert the pre-made insole into the crochet piece.
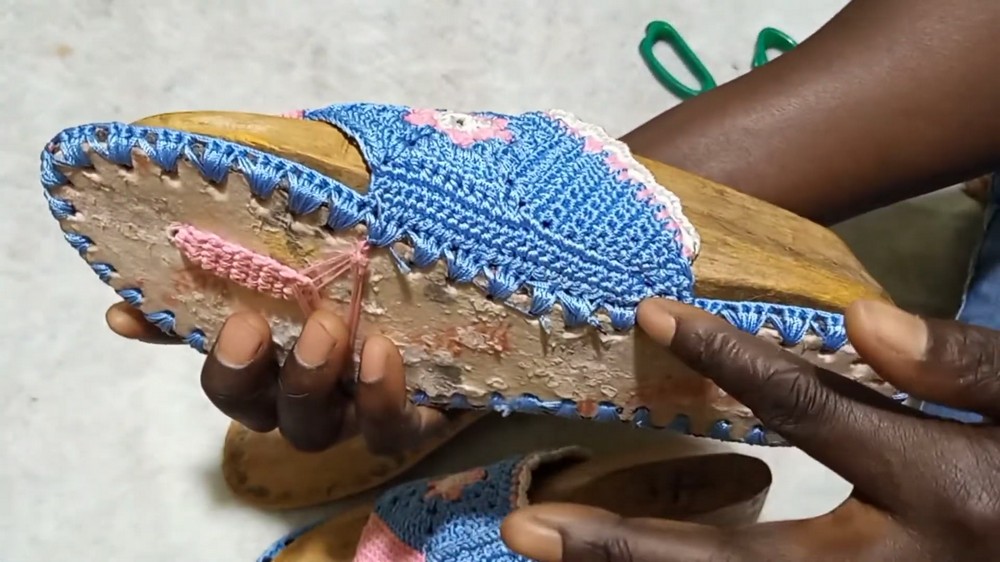
10. Attach the Sole
- Apply chemical glue to both the insole and outsole and let it dry.
- Use a heat gun to heat the glue, then press the insole and outsole together firmly.
- Use a mallet (if desired) to ensure maximum adhesion.
Special Features
- Hexagon Design: The foundation hexagon gives the slippers a unique and stylish look.
- Durable Structure: Incorporates an insole and outsole for added comfort and longevity.
- Customizable: The use of multiple colors and decorative ruffles gives the project a personal touch.
- Eco-Friendly: Encourages recycling insoles for sustainability.
Level of Difficulty
This tutorial is beginner to intermediate-friendly. Fundamental techniques like double crochet, single crochet, chain stitches, and slip stitches are used. Accurate counting and attention to shaping corners and edges are essential but still accessible for those with basic crochet skills.
Tutor’s Suggestions
- Pay close attention to decreases when creating the slanted panels and sole to ensure the proper shape.
- Use stitch markers to divide and measure sections for better accuracy.
- Introduce additional decorations, such as adding bows or buttons, for further customization.
Uses
- Daily Footwear: Stylish, lightweight slippers ideal for indoor use.
- Gift Idea: Perfect handmade gift for friends and family.
- Creative Hobby: A fun and engaging DIY project that promotes self-expression.
Tip
When joining the hexagons or working along the edges, maintain consistent stitch tension to prevent gaps and uneven rows. This ensures the slipper looks neat and professional.
Conclusion
The hexagon crochet slippers tutorial is a fantastic way to combine creativity with functionality. By following the clear instructions, you’ll craft a pair of unique and durable slippers with decorative ruffles and a sturdy interior. The thoughtful incorporation of recycled materials and simple designs makes this project approachable and elegant—perfect for both beginners and experienced crocheters. Share your creations proudly while enjoying the comfort of handmade footwear!


Leave a Reply