

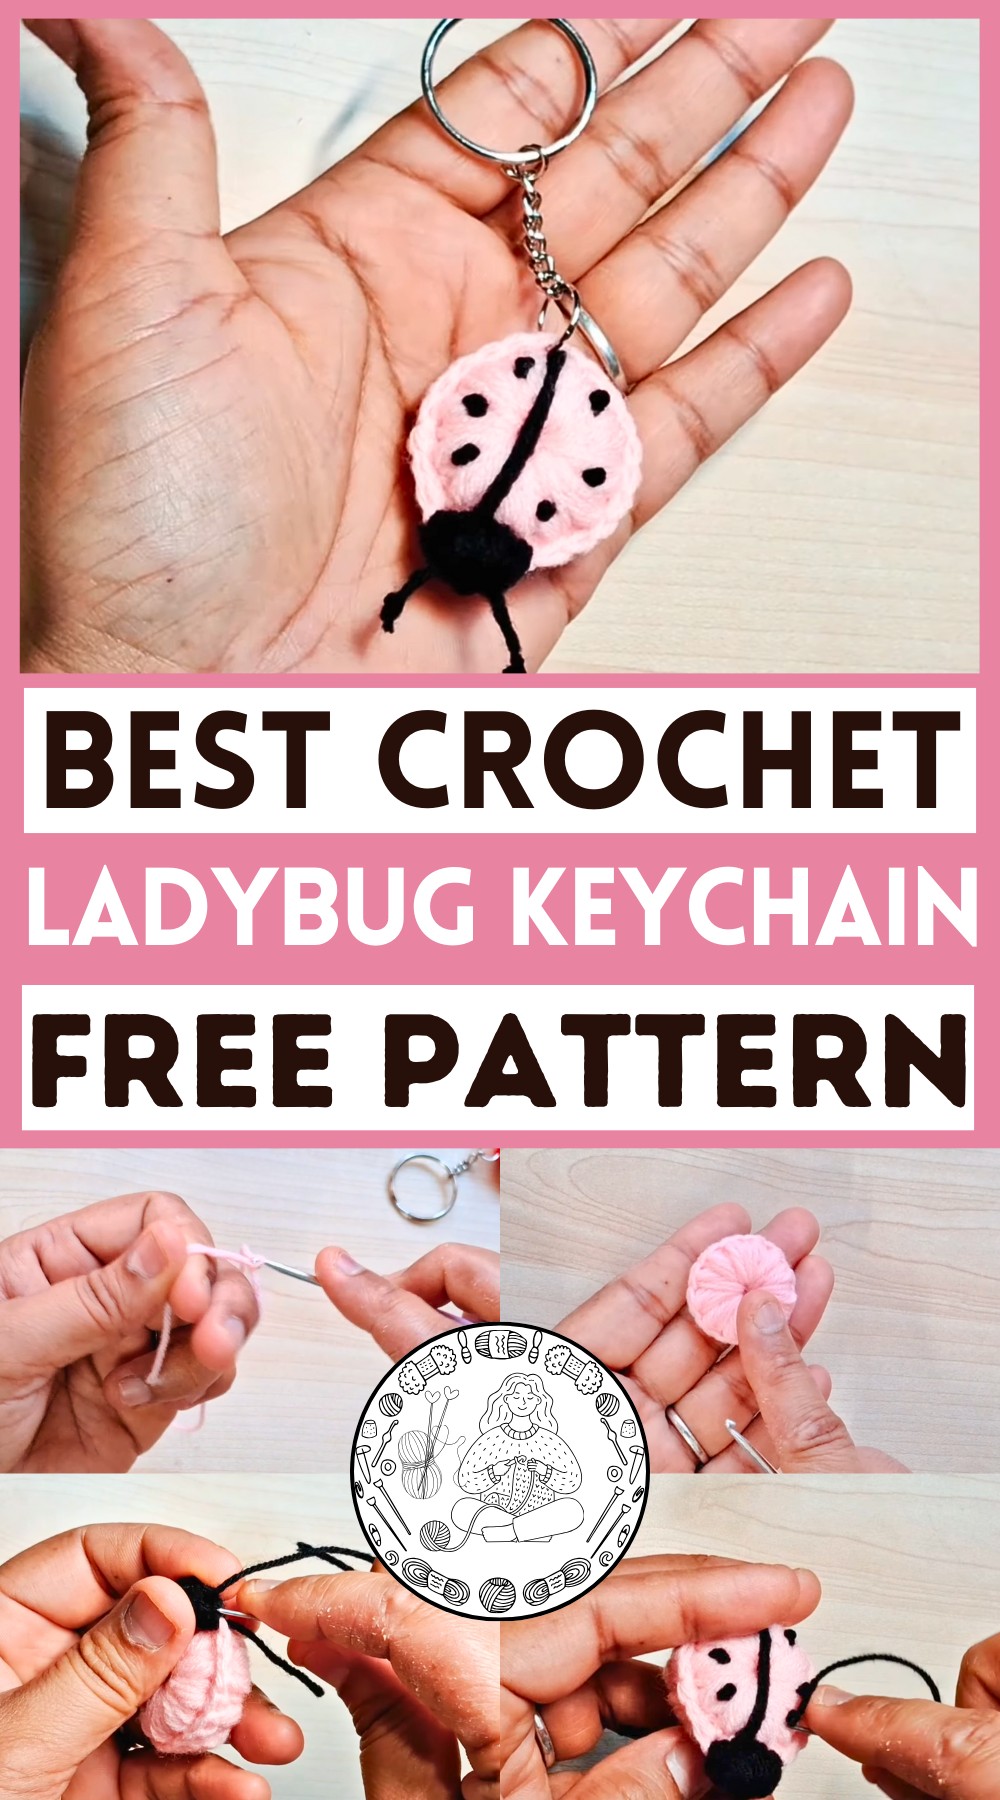
Keep your keys organized with the Free Crochet Ladybug Keychain Pattern, forming a cute, durable, and whimsical handmade accessory for everyday use.
A bright morning in a bustling town brings small joys in unexpected places, like spotting a ladybug resting on a windowsill. This tiny creature has inspired a charming accessory that combines practicality with playful elegance: a crochet ladybug keychain. Compact yet eye-catching, it keeps keys organized while adding a whimsical touch to bags, backpacks, or purses. Its vivid red body, dotted wings, and tiny black accents capture the cheerful essence of a real ladybug, making it both a functional item and a delightful decoration. The keychain is lightweight, durable, and portable, making it ideal for daily use, travel, or as a thoughtful gift for friends and family.
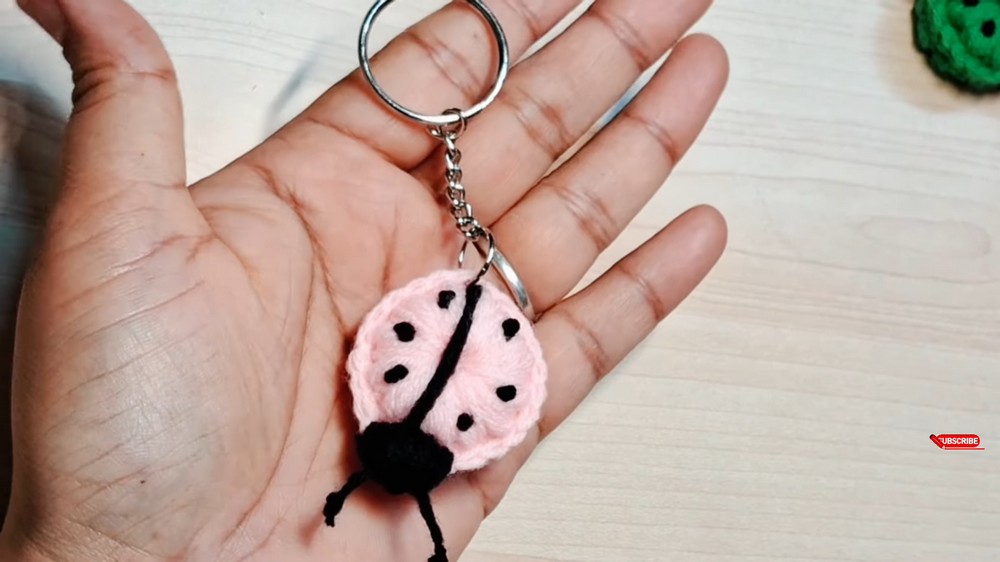
Crochet Ladybug Keychain Pattern Perfect for Handmade Gifts
Following the crochet pattern allows enthusiasts to practice basic amigurumi techniques, including forming a spherical body, attaching wings, and embroidering tiny details for personality. This project also encourages precision in stitching, counting, and finishing, enhancing overall crochet skills.
Beyond its aesthetic appeal, the ladybug keychain serves a practical purpose by keeping keys easily accessible while brightening everyday routines with its playful charm. Whether used as a personal accessory, a cute bag charm, or a gift, this petite creation combines usefulness and cheerful design, transforming ordinary keys into something memorable and delightful.
Special Features of the Ladybug Keychain
- Beginner-Friendly:
- This tutorial is specially designed for absolute beginners, with detailed step-by-step instructions.
- Quick Crafting:
- The ladybug can be completed in 5–10 minutes, making it ideal for last-minute projects.
- Versatile Use:
- The finished ladybug can be used as a keychain, hair clip, clothes pin, or decorative item.
- Customization Options:
- You can experiment with different thread colors to personalize your ladybug.
Level of Difficulty
- Beginner:
- Absolutely no prior experience in crochet is necessary. The tutor explains slowly and in easy-to-understand language, making this project accessible for new crafters.
Materials Needed
- Threads:
- Pink thread for the body.
- Black thread for detailing and antennae.
- Hook:
- 2.5 mm crochet hook (adjust according to yarn thickness).
- Additional Tools:
- Needle
- Scissors
- Key ring (optional)
- Yarn Type:
- 4-ply acrylic yarn is used in the tutorial.
Step-by-Step Instructions
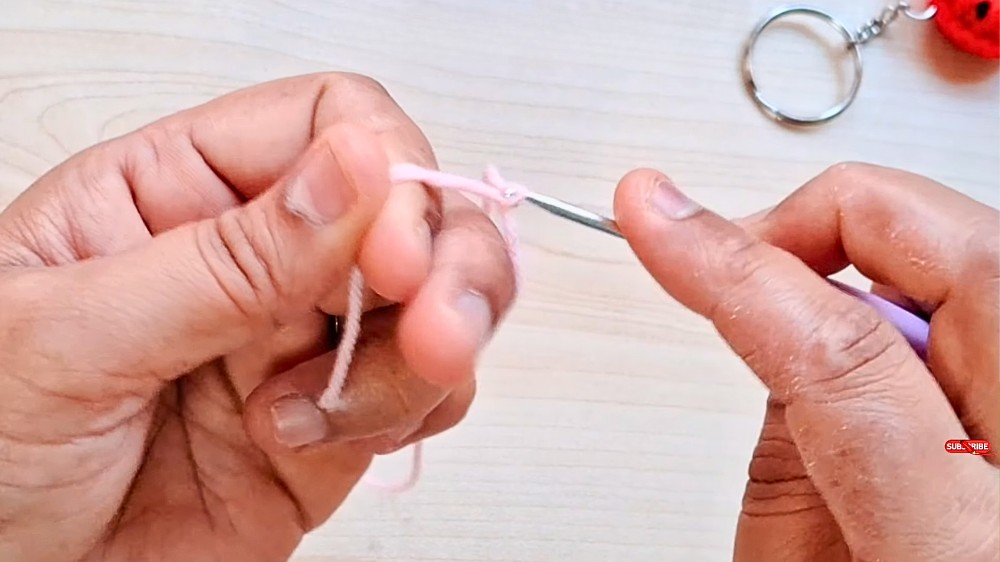
1: Making the Ladybug's Body
- Use pink thread to create a magic ring:
- Wrap the thread twice around your fingers.
- Cross the thread and insert the hook to pull the cross thread through.
- Secure with a chain stitch and remove fingers from the ring.
- Puff Stitches:
- For each puff stitch, wrap the yarn over the hook 5 times, inserting the hook into the magic ring and pulling the yarn. There should be 11 loops total.
- Pull the yarn through all loops and secure with a chain stitch.
- Repeat the puff stitch process 12 times inside the magic ring to complete the circle.
- Secure the Magic Ring:
- Pull the thread carefully to close the ring without making it loose. Tie a knot on the backside to secure.
- Make another part of the body using the same method, but do not cut the thread.

2: Joining the Two Body Parts
- Stack one part (with thread) below the other part.
- Insert the hook into stitches on both parts, starting from the top part. Pull the thread through and secure it with a chain stitch.
- Work around the edges, joining both parts with single crochet stitches through respective stitches on both parts.
- Complete the single crochet line, then join with a slip stitch. Cut and tie the thread securely, hiding the extra thread inside the stitches.

3: Adding the Head
- Use black thread to create puff stitches for the head:
- Work puff stitches on four adjacent stitches of the body.
- For each puff stitch, yarn over 3 times in each stitch.
- Pull yarn through all loops and secure with a chain stitch.
- Shape the head into a rounded form using a needle:
- Pull the thread gently through the middle of the puff stitches to tighten the shape.
- Tie knots to secure the head and hide the extra thread inside.
4: Adding the Black Detailing (Line and Dots)
- Straight Line:
- Use black thread and needle to create a straight line running along the ladybug’s body.
- Double the thread for a thicker line and tie knots to secure it in place.
- Dots:
- Use the black thread to create three small dots on each side.
- For each dot, tie 3 small knots tightly at the same spot to form the circular shape.

5: Adding the Antennae
- Use black thread to create three tight knots for each antenna.
- Insert the needle into the puff stitches of the head and pull the thread to the opposite side, leaving a loose loop for the antenna's length.
- Tie knots on the other end to secure. Cut off the excess thread above the knots to form the antennae tips.
6: Attaching a Key Ring (Optional)
- Attach the key ring to the back, near the head or stomach, depending on your preference.
Tutor’s Suggestions
- Follow the Steps Slowly:
- Beginners should pay close attention to the slow and detailed explanations for puff stitching and assembly.
- Secure the Magic Ring:
- Tying knots after closing the ring ensures the shape doesn't loosen over time.
- Work with Tension Control:
- Ensure the thread is neither too tight nor too loose to keep the finished ladybug neat and symmetrical.
- Finishing Touches:
- Secure all threads tightly and hide excess pieces inside the puff stitches to avoid unraveling.
Uses of the Ladybug Keychain
- Keychain Decor: Attach it to keys, bags, or backpacks.
- Hair Accessory: Use it as a clip or pin for children.
- Clothes Pin: Add it to garments or costumes for unique styling.
- Gift: Ideal as a small, cute handmade gift for friends and family.
Conclusion
This super cute crochet ladybug is an excellent project for beginners, offering an enjoyable creative outlet while producing a functional and adorable keychain. With simple materials and straightforward steps, crafting the ladybug is both fun and satisfying. Whether for personal use or as a gift, this small project proves that creative crochet knows no limits.
Final Tip
Double Check Your Work: Before tying off threads or cutting excess yarn, review each detail—such as puff stitches, lines, and dots—for neat finishing touches. This ensures your ladybug turns out symmetrical and polished.

Leave a Reply