

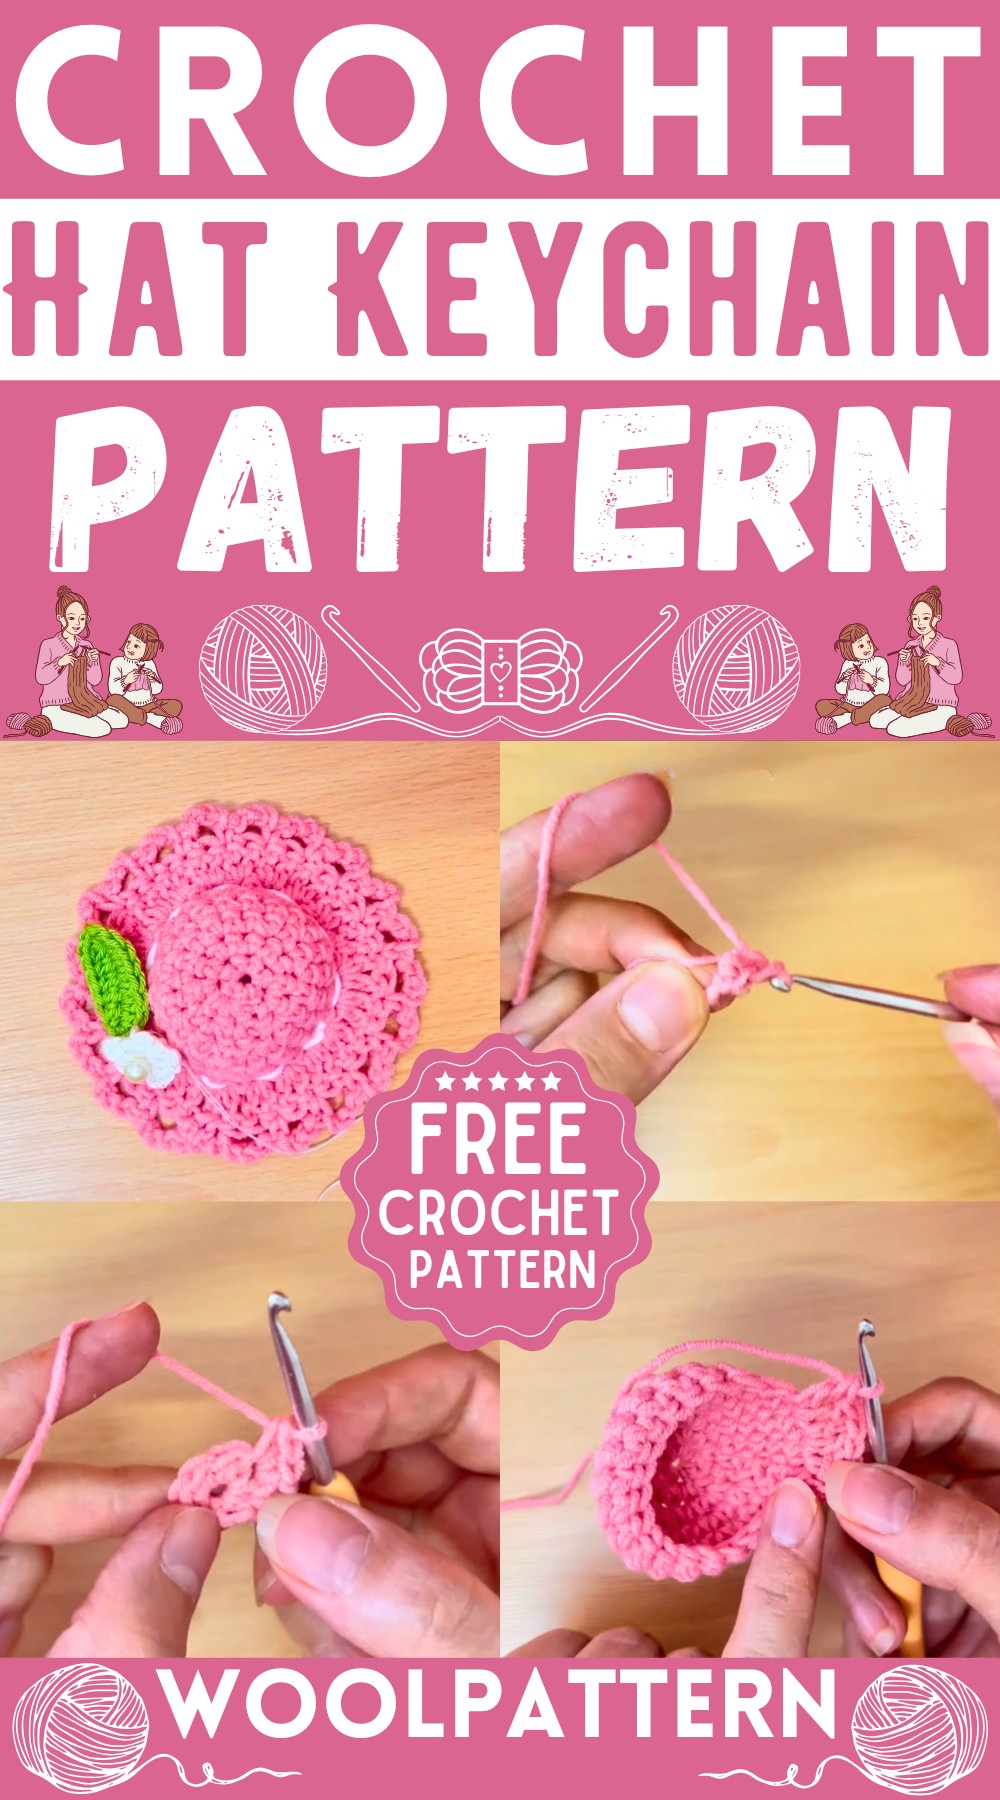
Adorable crochet hat that fits in the palm of your hand, perfect as a cute keychain. This little accessory brings a pop of color and a touch of whimsy to your everyday items. Whether it's brightening up your keys or adding personality to your bag, this crochet hat keychain is a charming way to add flair to your day.
How To Crochet Hat Keychain
Materials Needed:
- Thin yarn (cotton yarn recommended) for the hat
- Silk yarn for the flower and leaf (smaller size than the yarn used for the hat)
- Crochet hook (3.0 mm suggested)
- Needle
- Scissors
- A keychain loop for attaching to the hat
Crochet Hat Pattern:
Starting the Hat:
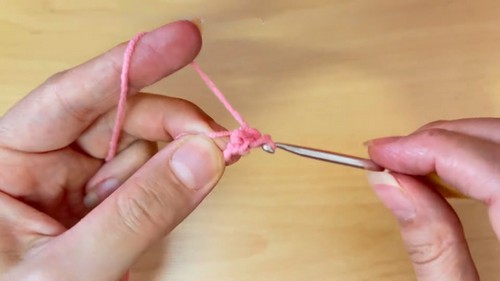
Magic Ring:
- Start by making a magic ring.
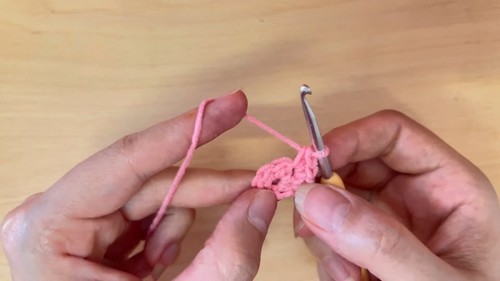
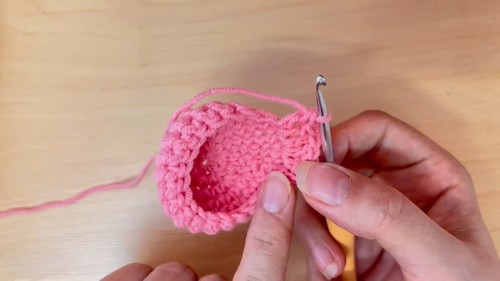
Round 1:
- Work 6 single crochets (sc) into the magic ring. Join with a slip stitch to the first sc.
Round 2:
- Chain 1 (ch 1), then make 2 sc in each stitch around for a total of 12 sc. Join with a slip stitch to the first sc.
After Round 3:
- Ch 1, 1 sc in the next stitch, 2 sc in the following stitch. Repeat from to around. Join with a slip stitch.
Round 4:
- Ch 1, make 5 sc, then increase in the next stitch by making 2 sc in the same stitch. Repeat this pattern (5 sc, increase in the next stitch) around. Join with a slip stitch.
Round 5-7:
- Ch 1, then work 1 sc in each stitch around (maintaining the 21 stitches). Join with a slip stitch at the end of each round.
Shaping the Hat:
Round 8:
- Ch 3, work double crochets (dc) around, making two dc in each stitch to increase the hat's size. By the end of this round, you should have 42 dc.
Round 9:
- Ch 1, 1 sc, ch 2, skip a stitch, 1 sc in the next. Repeat from to around. This creates a lacy edge effect. Join with a slip stitch.
Finishing the Hat:
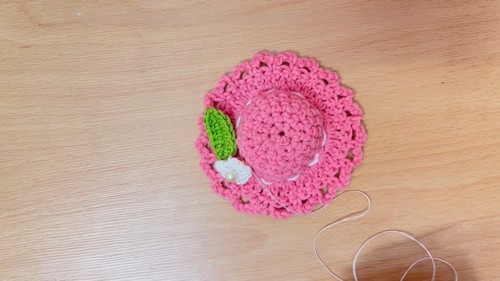
- Cut the yarn, leaving a long tail. Use a needle to weave in the ends securely into the inside of the hat.
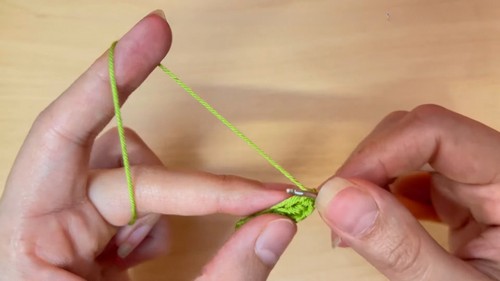
Crochet Flower:
Start:
- Chain 3, then make a slip stitch in the first chain to form a ring.
Petal:
- Chain 2, yarn over, and pull through all loops on the hook. Slip stitch in the ring. Repeat to make five petals. Fasten off and weave in ends.
Crochet Leaf:
Start:
- Chain 7.
Leaf Pattern:
- Skip the first chain from the hook, 1 single crochet in the next, 5 half double crochets (hdc) over the next stitches, 1 single crochet in the last chain. Chain 2 and work on the other side of the chain with 4 hdc and finish with a single crochet. Fasten off and weave in ends.
Assembly:
- Sew the flower and leaf onto the hat where desired, typically off to one side for aesthetic balance.
- Attach the keychain loop to the top or side of the hat as a decorative hanging loop, if desired.

Leave a Reply