

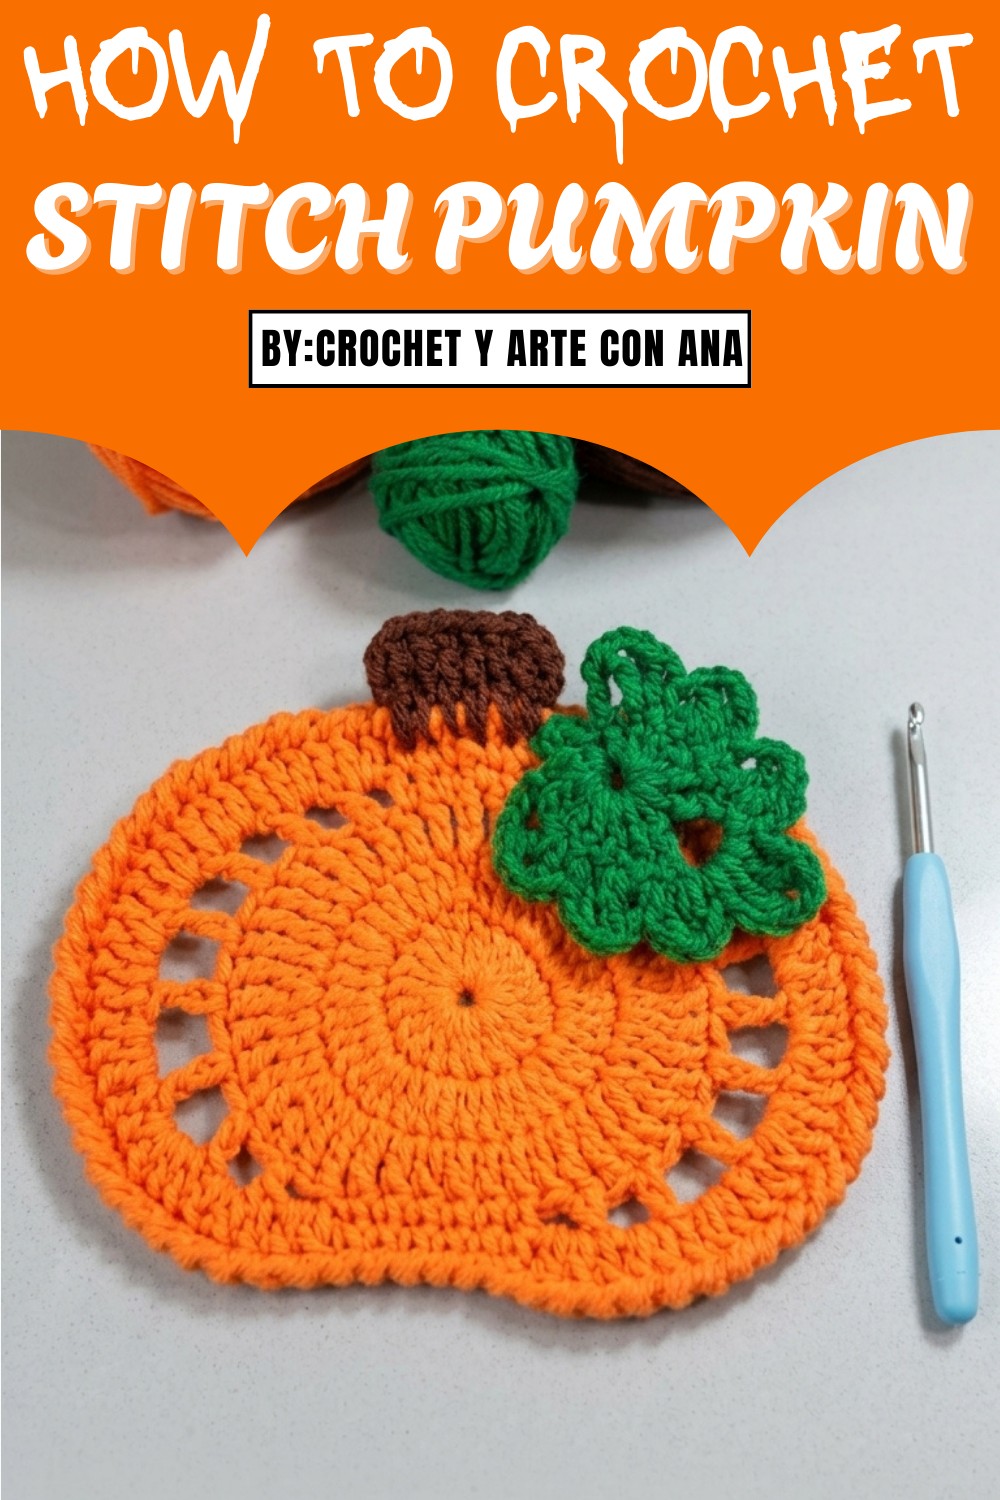
Revamp your seasonal decor with a Crochet Pumpkin Pattern that’s simple, customizable, and perfect for adding charm to your home or gifting this fall.
As the crisp autumn breeze rolls in and cozy vibes fill the air, there’s no better time to bring seasonal charm into your home. One fun and creative way to do this is with a crochet pumpkin pattern! Perfect for adding a handmade, rustic touch to your fall decor, these adorable pumpkins can be styled on shelves, dining tables, or even as part of a festive centerpiece.
Cute Free Crochet Pumpkin Pattern for Seasonal Vibes
From neutral tones that blend seamlessly with modern aesthetics to classic orange hues for a traditional fall feel, you can customize them to match your space. Crochet pumpkins are also a great stash-buster, allowing you to use leftover yarn in creative ways. Plus, they make thoughtful gifts or decorations for Thanksgiving gatherings, weddings, and seasonal celebrations. With their versatility and charm, crocheting pumpkins is a rewarding project for every crocheter.
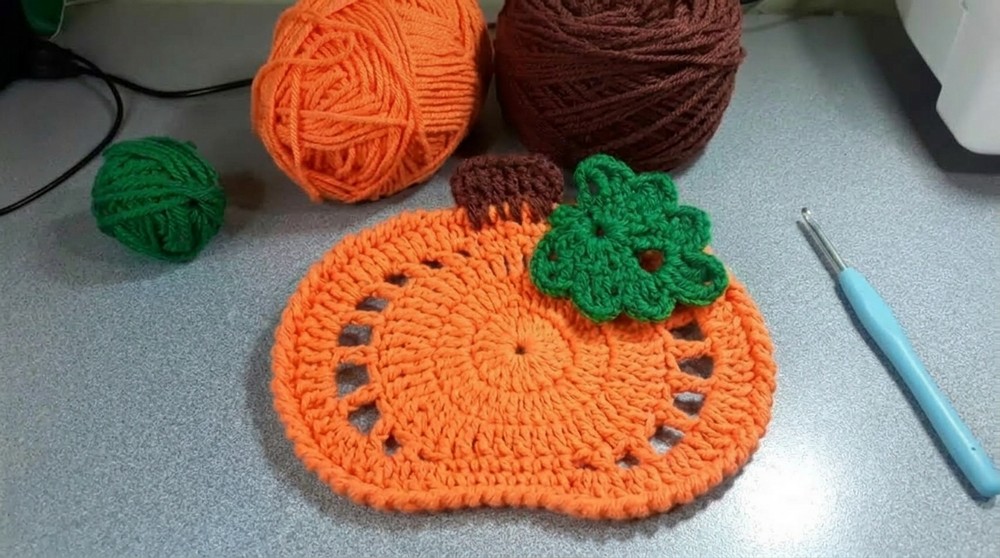
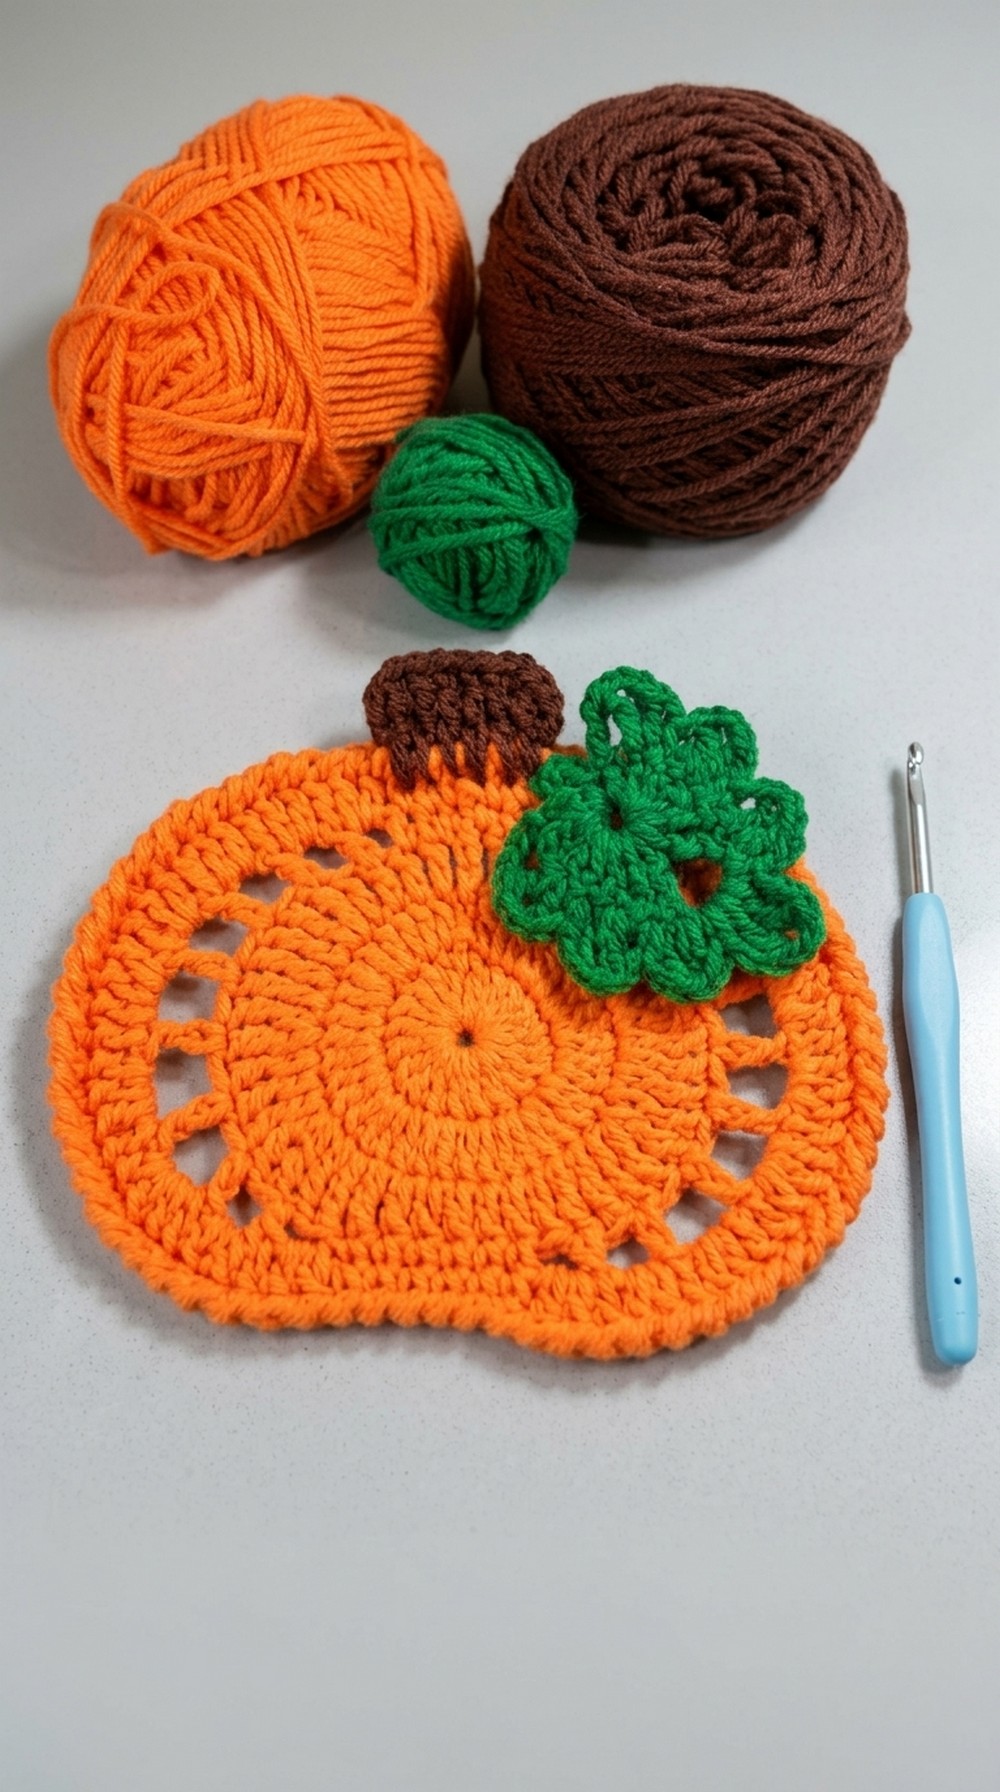
Crochet Pumpkin Pattern with Leaf
Skill Level
Intermediate-to-Advanced
The pattern uses a combination of magic ring, basic stitches (single crochet, double crochet, treble crochet), and crab stitch (for decorative edging), making it suitable for crocheters with experience in structured patterns.
Materials
Main Materials
- Yarn:
- Orange yarn: For the pumpkin body (medium weight, worsted yarn recommended like acrylic or cotton).
- Brown yarn: For the stem.
- Green yarn (optional): For the leaf embellishment.
- Hook Size:
- Use a 4 mm crochet hook for this pattern.
- Fiberfill Stuffing: To fill the pumpkin for a plump, round shape.
Optional Items
- Tapestry Needle: For weaving in ends and attaching the leaf if desired.
- Scissors: To cut the yarn.
- Thinner yarn and smaller hook: For smaller pumpkins (e.g., DK weight and 3 mm hook).
- Thicker yarn and hooks for larger pumpkins.
Gauge
This project does not require a specific gauge since the size depends on personal preference.
Key Abbreviations (US Crochet Terminology)
- ch: Chain
- sc: Single crochet
- dc: Double crochet
- tr: Treble crochet
- sl.st: Slip stitch
- MR: Magic Ring
- crab stitch: Reverse single crochet
Special Techniques
- Magic Ring: Creates a tight, seamless start for circular crochet rounds.
- Crab Stitch (Reverse Single Crochet): Used for decorative edging, worked backward instead of forward.
Step-by-Step Instructions
Pumpkin Body
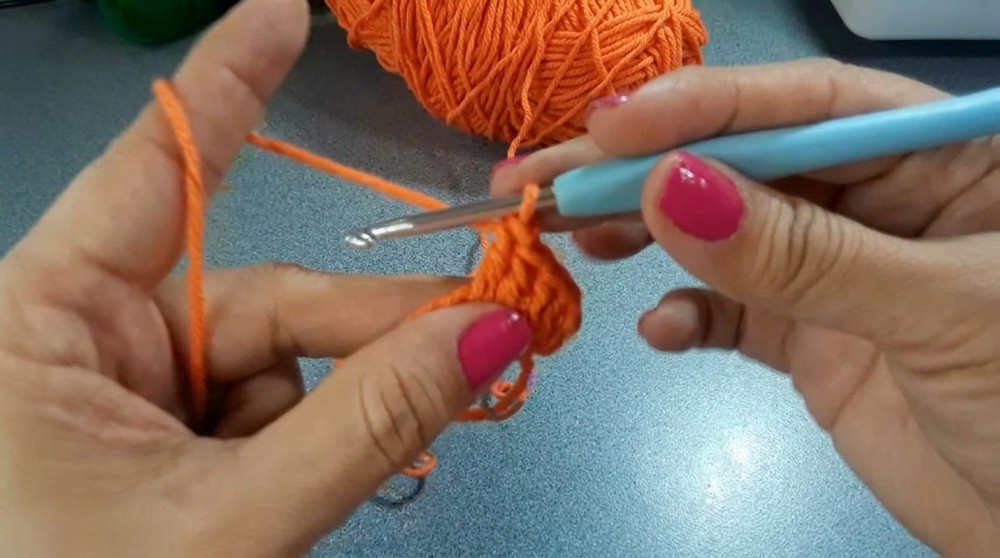
Step 1: Magic Ring Foundation
- Create a magic ring:
- Loop the yarn around two fingers, insert your hook, and pull up a thread creating a base loop.
- Round 1:
- Chain 3 (counts as first dc).
- Work 19 dc into the magic ring (20 dc total: 19 dc + ch 3).
- Close the round:
- Pull the magic ring tightly to close the circle.
- Join to the third chain of the starting ch 3 with a sl.st.
Step 2: Increase Round
- Round 2:
- Chain 3 (counts as first dc).
- Work 2 dc into each stitch from the previous round.
- Total stitches: 40 dc (2 dc per stitch).
- Join to the third chain of the starting ch 3 with a sl.st.
Step 3: Building the Pumpkin
- Round 3:
- Chain 3, then follow the sequence:
- In every stitch with 2 chains from the previous round: Work 2 dc.
- In every single stitch: Work 1 dc.
- Continue the pattern by following the sequence of stitches until the round is complete.
- Note: The sequence alternates between singles and doubles based on the chain count of the previous round.
- Chain 3, then follow the sequence:
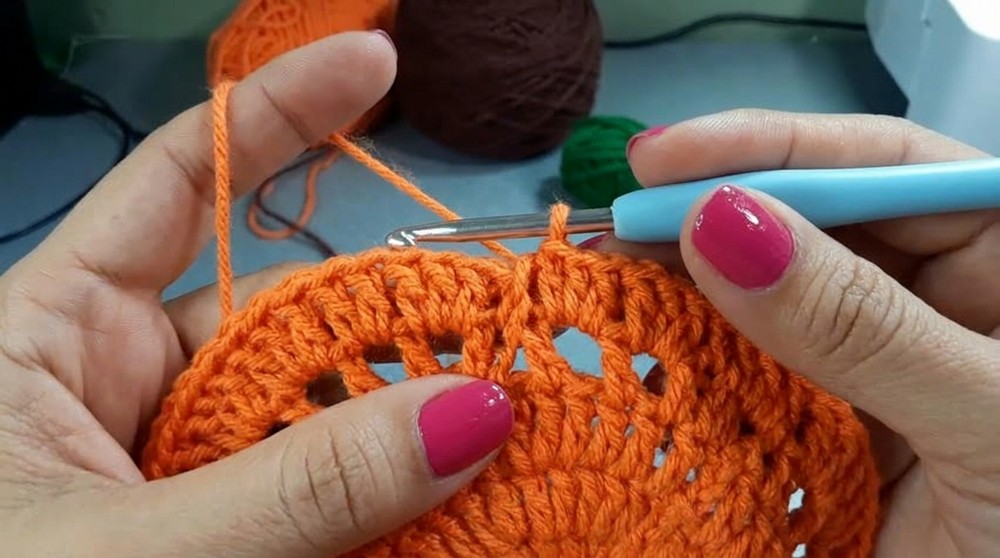
Step 4: Edging with Crab Stitch
- Round 4:
- Begin with the crab stitch (reverse single crochet):
- Insert the hook into the previous stitch (backward).
- Pull up a thread, yarn over, and pull through both loops.
- Repeat this backward single crochet for every stitch around the edge of the pumpkin.
- Begin with the crab stitch (reverse single crochet):
- This creates a textured edge and completes the body of the pumpkin.
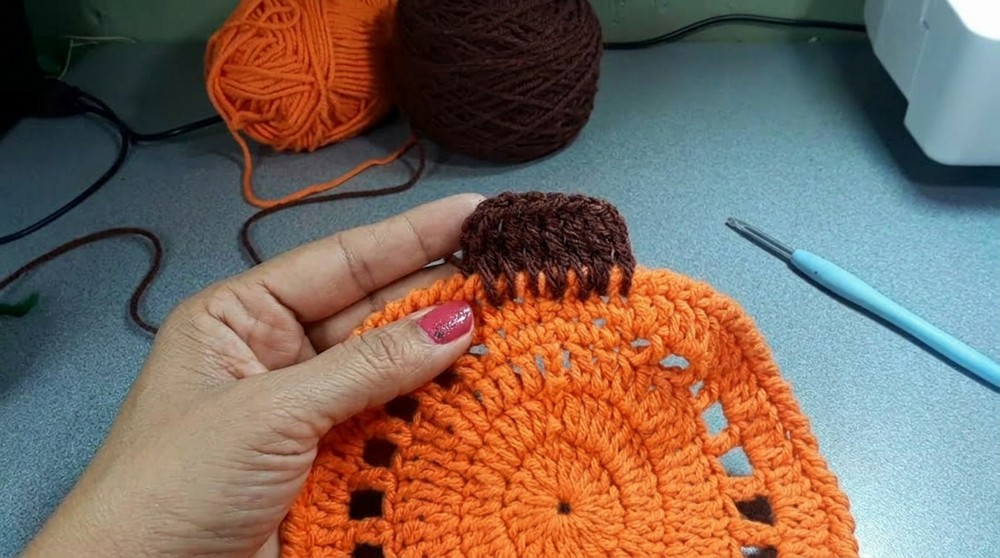
Pumpkin Stem
- Attach brown yarn to the top center stitch of the pumpkin.
- Stem:
- Chain 4 (counts as first treble crochet).
- Work 6 treble crochet stitches into the center to form the column-like stem.
- Finish with sl.st at the base of the stem, fasten off, and weave in ends.
Optional Leaf
Leaf Instructions
- Foundation Chain:
- Chain 9.
- Row 1:
- Work into the fourth chain from the hook:
- 1 dc, 2 dc, chain 2, 2 dc.
- Work into the fourth chain from the hook:
- Row 2: Mirror the design:
- Chain 2, turn.
- Work 3 dc, then work 2 treble crochet stitches at the tip for shaping.
- Final Edging:
- Chain 5, sl.st into base. Fasten off and weave in ends.
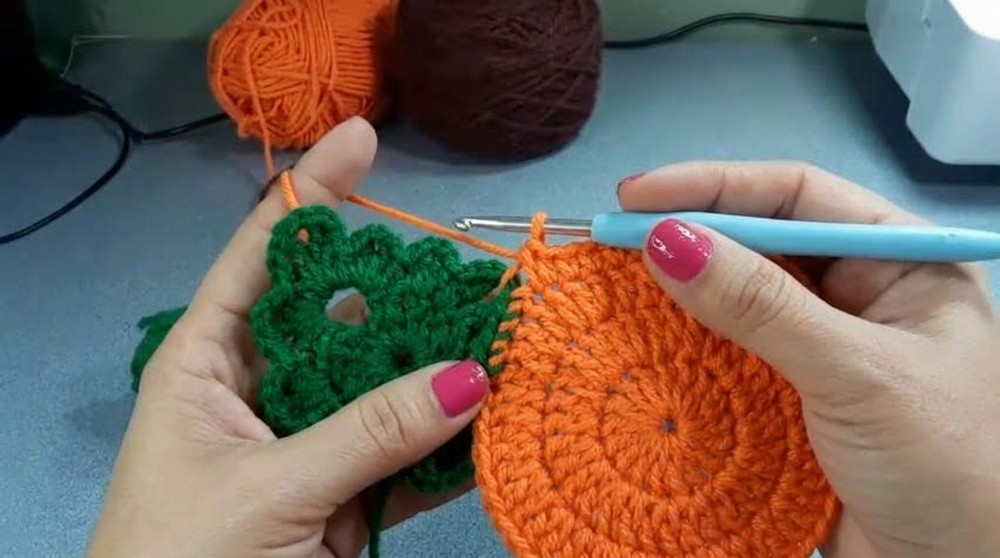
Assembly
Attaching the Leaf
- Use the brown or green leftover thread to sew the leaf onto the side of the pumpkin stem.
- Tapestry Needle: Secure the leaf with small stitches.
- Alternatively, use the hook and weave the leaf in.
- Adjust the position to hang naturally for visual appeal.
Conclusion
You’ve completed this beautiful crochet pumpkin with optional embellishments! Perfect for fall decor, this versatile project can be adapted into coasters, centerpieces, or even towel rack tops.
Final Observations:
- If a smaller pumpkin is preferred, simply use thinner yarn and hooks. Likewise, larger pumpkins can be made with chunky yarns.
- The crab stitch offers a lovely edging, with practice making it easier to execute gracefully.
Pattern Correction & Tips
Corrections
- Ensure accurate stitch count for increase rounds; each step builds the final shape.
- Crab Stitch Trouble? Practice going backward slowly—it's just reverse single crochet.
Tips for Success
- Customize Size:
- Use thread weight and hook size variations for personalization.
- Additional Embellishments: Add beads or embroidery to the pumpkin for a unique look.
- Repurpose the Pattern: Combine smaller pumpkins into a decorative garland or wreath.


Leave a Reply