

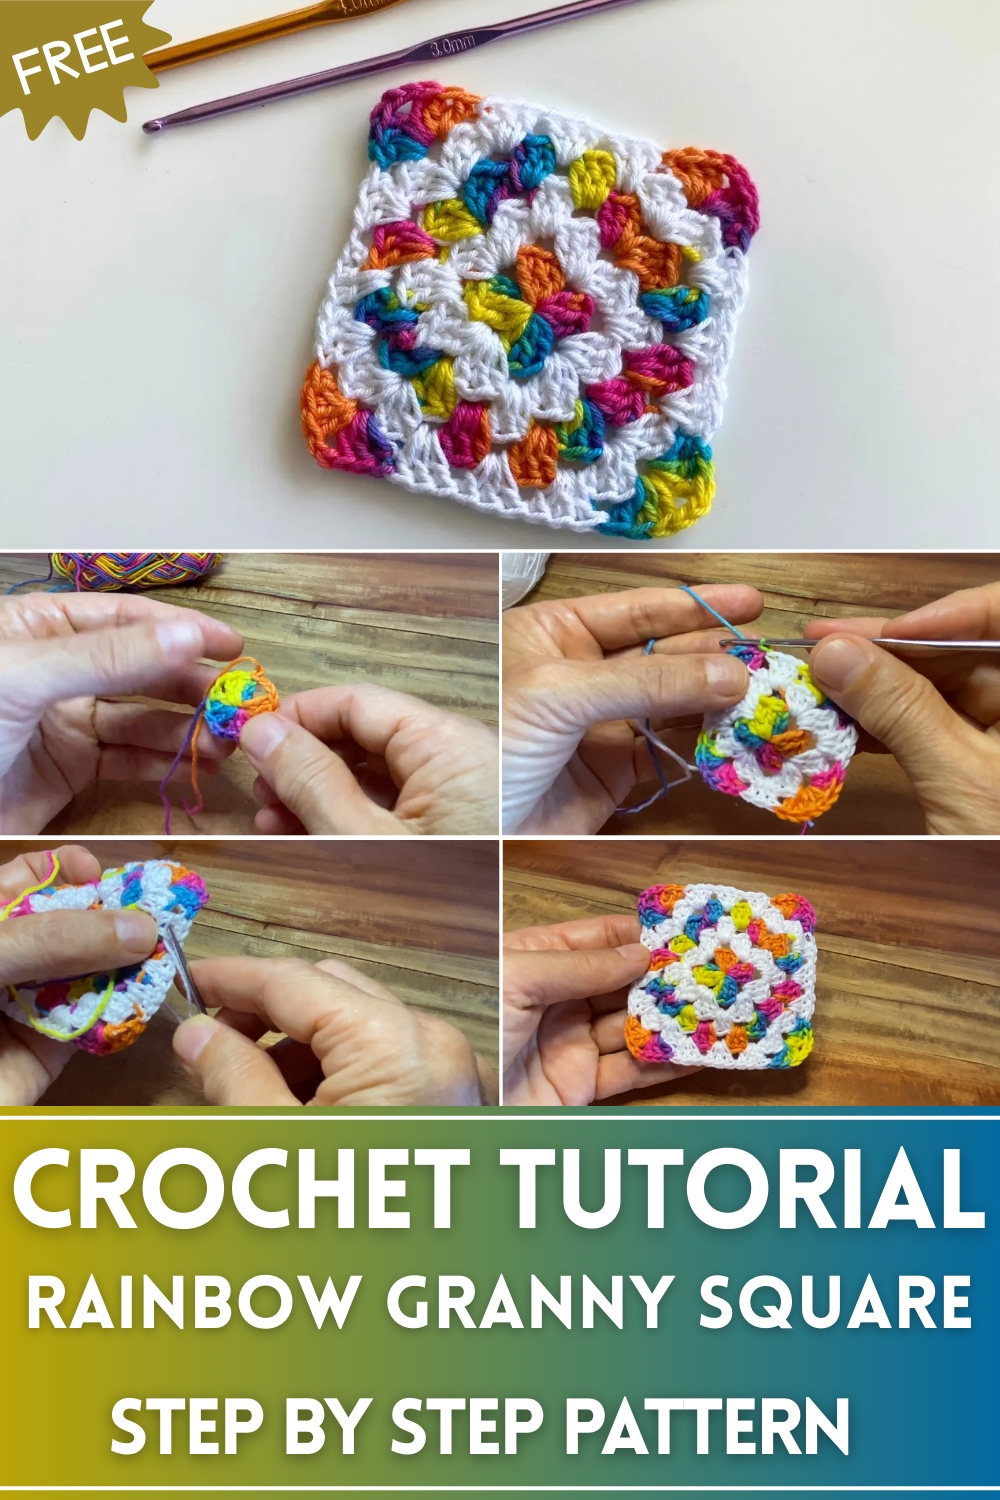
Brighten your space with the Free Crochet Rainbow Granny Square Pattern, creating colorful, cozy, and versatile pieces for home or gifting joy.
On chilly afternoons, many people seek small, colorful projects that bring warmth and cheer to their living spaces. The Rainbow Granny Square is more than just a decorative element—it serves as a versatile piece that brightens any room while offering a sense of accomplishment for makers. Perfect for cozy throws, playful pillows, or charming table accents, these granny squares combine vibrant hues that harmonize beautifully in a single creation. Using simple stitches, the project encourages relaxation and mindfulness, making it an ideal companion for quiet evenings or casual crocheting sessions.
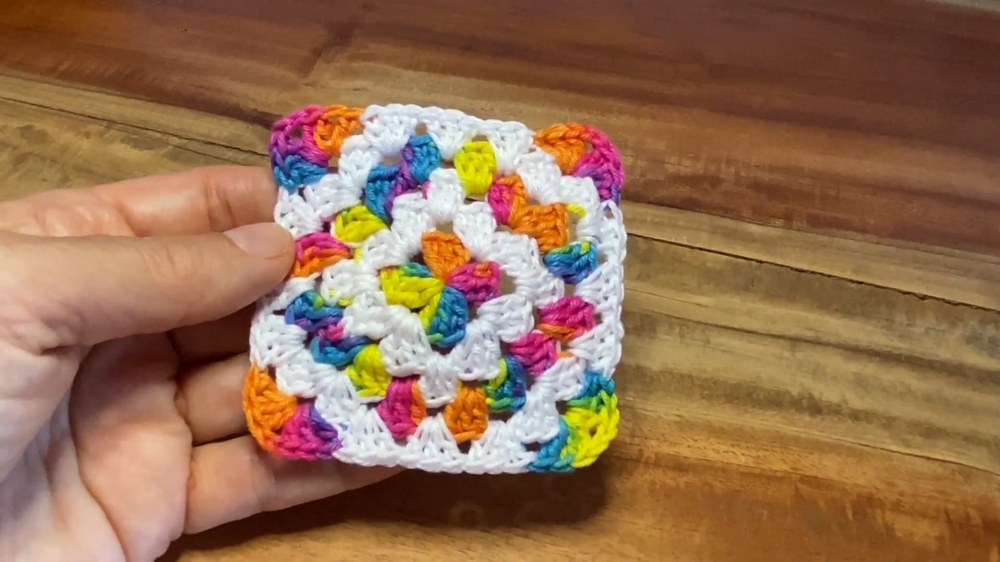
Trendy Crochet Rainbow Granny Square To Light Up Your Space
Its modular nature allows customization in size and color combinations, letting makers tailor the final result to personal taste or seasonal themes. Beyond visual appeal, the textured fabric adds gentle insulation when incorporated into blankets or cushions, creating functional and attractive household items. Beginners can enjoy building confidence while working through each square, whereas experienced crocheters can experiment with color transitions and unique arrangements.
Displaying a completed Rainbow Granny Square collection can transform a room’s ambiance, infusing it with playful charm and cozy energy. Overall, this project balances utility, beauty, and creative satisfaction, making it a delightful addition to anyone’s crochet repertoire while celebrating the joy of colors in everyday life.
Special Features
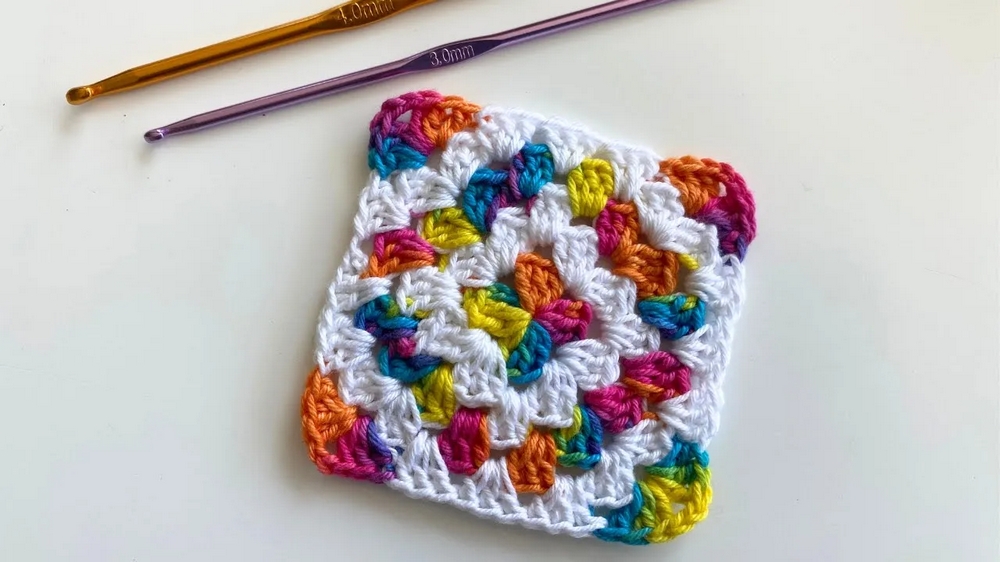
- Colorful Design: The alternating use of rainbow and white yarn creates a striking visual contrast that makes the square stand out.
- Classic Granny Square Style: Includes familiar crochet techniques ideal for creating foundational pieces in larger projects.
- Buildable Pattern: This square can be expanded to a larger size by following the same stitch and color pattern.
- Portable Project: The small size of the granny square makes it a portable craft you can work on anywhere.
Materials Needed
- Rainbow Yarn (multi-colored): For the main color of the granny square.
- White Yarn: For the accents, primarily in corners and the middle portions.
- Crochet Hook: Choose a hook size that matches the weight of your yarn (e.g., 4.0mm or 4.5mm for worsted-weight yarn).
- Scissors: To cut the yarn ends.
- Tapestry Needle: For weaving in the tails after finishing the square.
Level of Difficulty
Beginner to Intermediate:
- Familiarity with basic crochet stitches (slip knot, chain, double crochet, slip stitch) and working in rounds is required.
- Intermediate skills are needed to manage color changes and carry yarn along the edges.
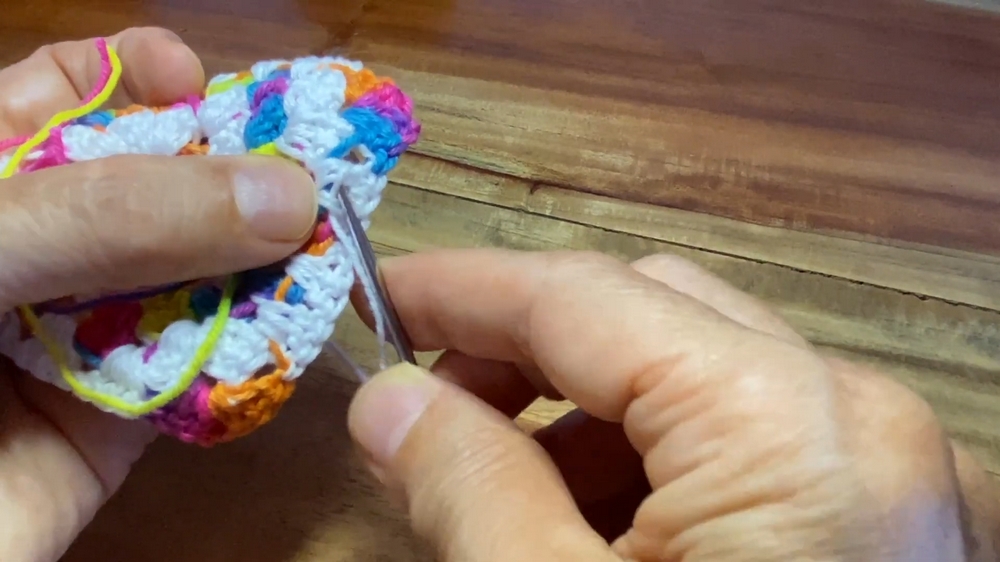
Step-by-Step Instructions
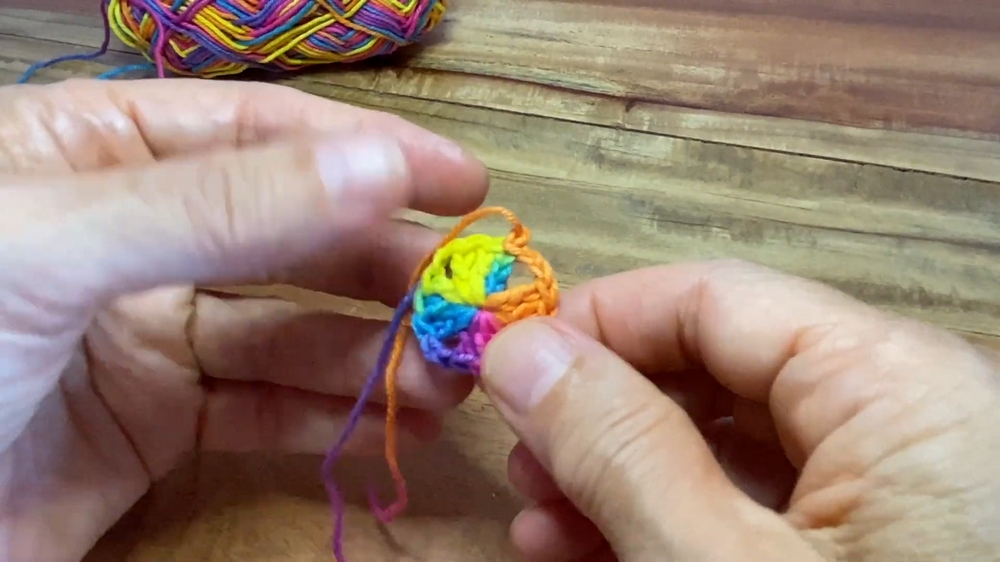
Round 1 – Starting with the Rainbow Yarn
- Slip Knot and Foundation Chain:
- Start with a slip knot and chain (ch) 4.
- Join the ends using a slip stitch (sl st) to create a ring.
- Begin the First Corner:
- Chain 3 (counts as a double crochet [dc]), then work 2 dc into the ring.
- Making the Corners:
- Chain 2, then work 3 dc into the ring.
- Repeat this process two more times, ensuring that you make four groups of 3 dc clusters separated by ch-2 spaces for the corners.
- Close Round:
- Join the round with a slip stitch at the top of the ch-3, then pull and cut the yarn.
Round 2 – Adding the White Yarn
- Insert New Color:
- Attach the white yarn into one of the corner chain-2 spaces by using a slip knot.
- Start Each Corner:
- Chain 3 (counts as 1 dc), then work 2 double crochets (dc), chain 2, and 3 double crochets in the same space. This creates the corner.
- Repeat the Corner:
- Move to the next chain-2 space from Round 1. In every corner space, work 3 dc, ch 2, 3 dc.
- Close Round:
- Slip stitch to join at the top of the ch-3 where the round began.
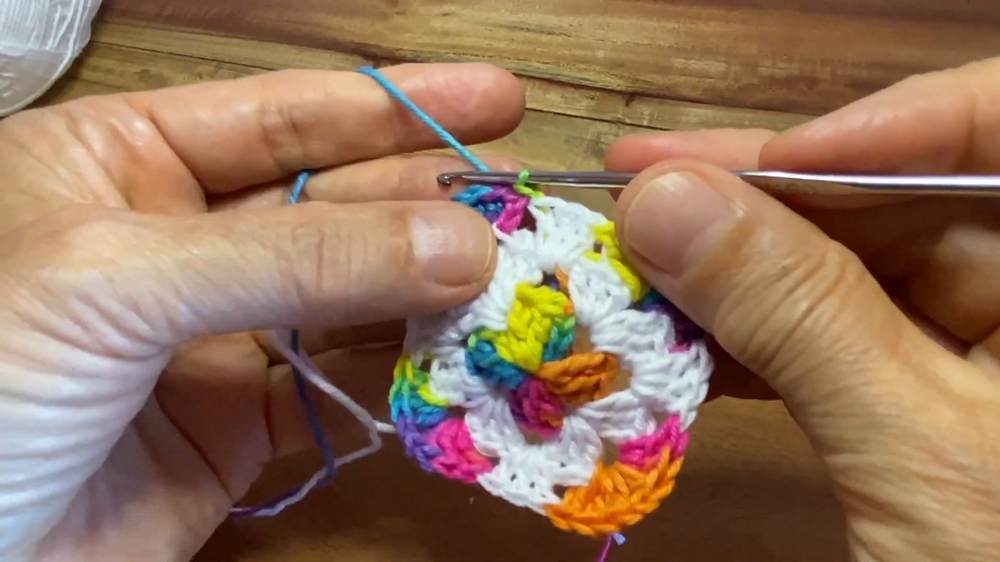
Round 3 – Reintroducing the Rainbow Yarn
- Slip Stitch and Add Rainbow Yarn:
- Slip stitch in the next two stitches to prepare for another round, and reattach the rainbow yarn into a corner.
- Work in the Corners:
- Start by chaining 3 (counts as a dc), then work along the edge.
- For each corner, work 3 dc, ch 2, 3 dc using the rainbow yarn.
- Alternate with White Yarn:
- Work with the white yarn along the sides to create a pop of brightness. Carry the yarn tail as you move.
- Finish the Round:
- Complete this round by maintaining the rainbow yarn in the corners and the white yarn between.
Round 4 – Adding White Yarn Only in the Corners
- Repeat the same granny square corner design:
- Chain 3, 2 dc in white in the corners (3 dc, ch 2, 3 dc).
- Use rainbow yarn for the remaining sections between the corners.
- This creates alternating splashes of color, with the white concentrated in corners only.
Round 5 – Final Details
- White Yarn Between Corners:
- Work with white yarn exclusively between the corners to give the square a balanced look.
- Rainbow Yarn in the Corners:
- Use rainbow yarn in the corners to maintain the colorful focal point.
- Finishing:
- Slip stitch, pull to secure, and cut the yarn.
- Trim any loose tails and use a tapestry needle to weave them in securely.
Tutor’s Suggestions
- Keep Your Tension Consistent: Ensure that your tension remains even throughout, especially when switching between yarn colors.
- Weave In As You Go: Carrying and weaving tails along the edge ensures a neater finish and reduces finishing time.
- Use Stitch Markers: For beginners, stitch markers can help identify corners so you don’t lose track of your pattern.
- Expand the Square: To create larger squares, simply continue alternating the rainbow and white yarn in the established pattern.
Uses of the Granny Square
- Blankets: Create multiple squares and sew them together for a vibrant throw or bedspread.
- Cushions: Use one square (or several small ones) to design colorful cushion covers.
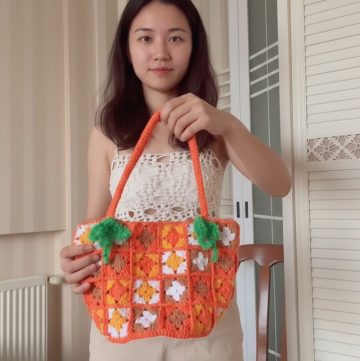
- Bags: Sew squares into panels to craft unique, handmade bags.
- Wall Décor: A single decorative square can be used for framing or as part of a hanging display.
Tip
To avoid visible gaps when switching yarn colors, work the unfinished stitch of the rainbow or white yarn before completing the stitch with the new color. This trick will create a seamless transition.
Conclusion
The Rainbow and White Granny Square is a fun, colorful project perfect for crochet enthusiasts of all skill levels. With its straightforward pattern, customizable color combinations, and versatile use, this granny square is both enjoyable to create and functional for various projects.
Leave a Reply