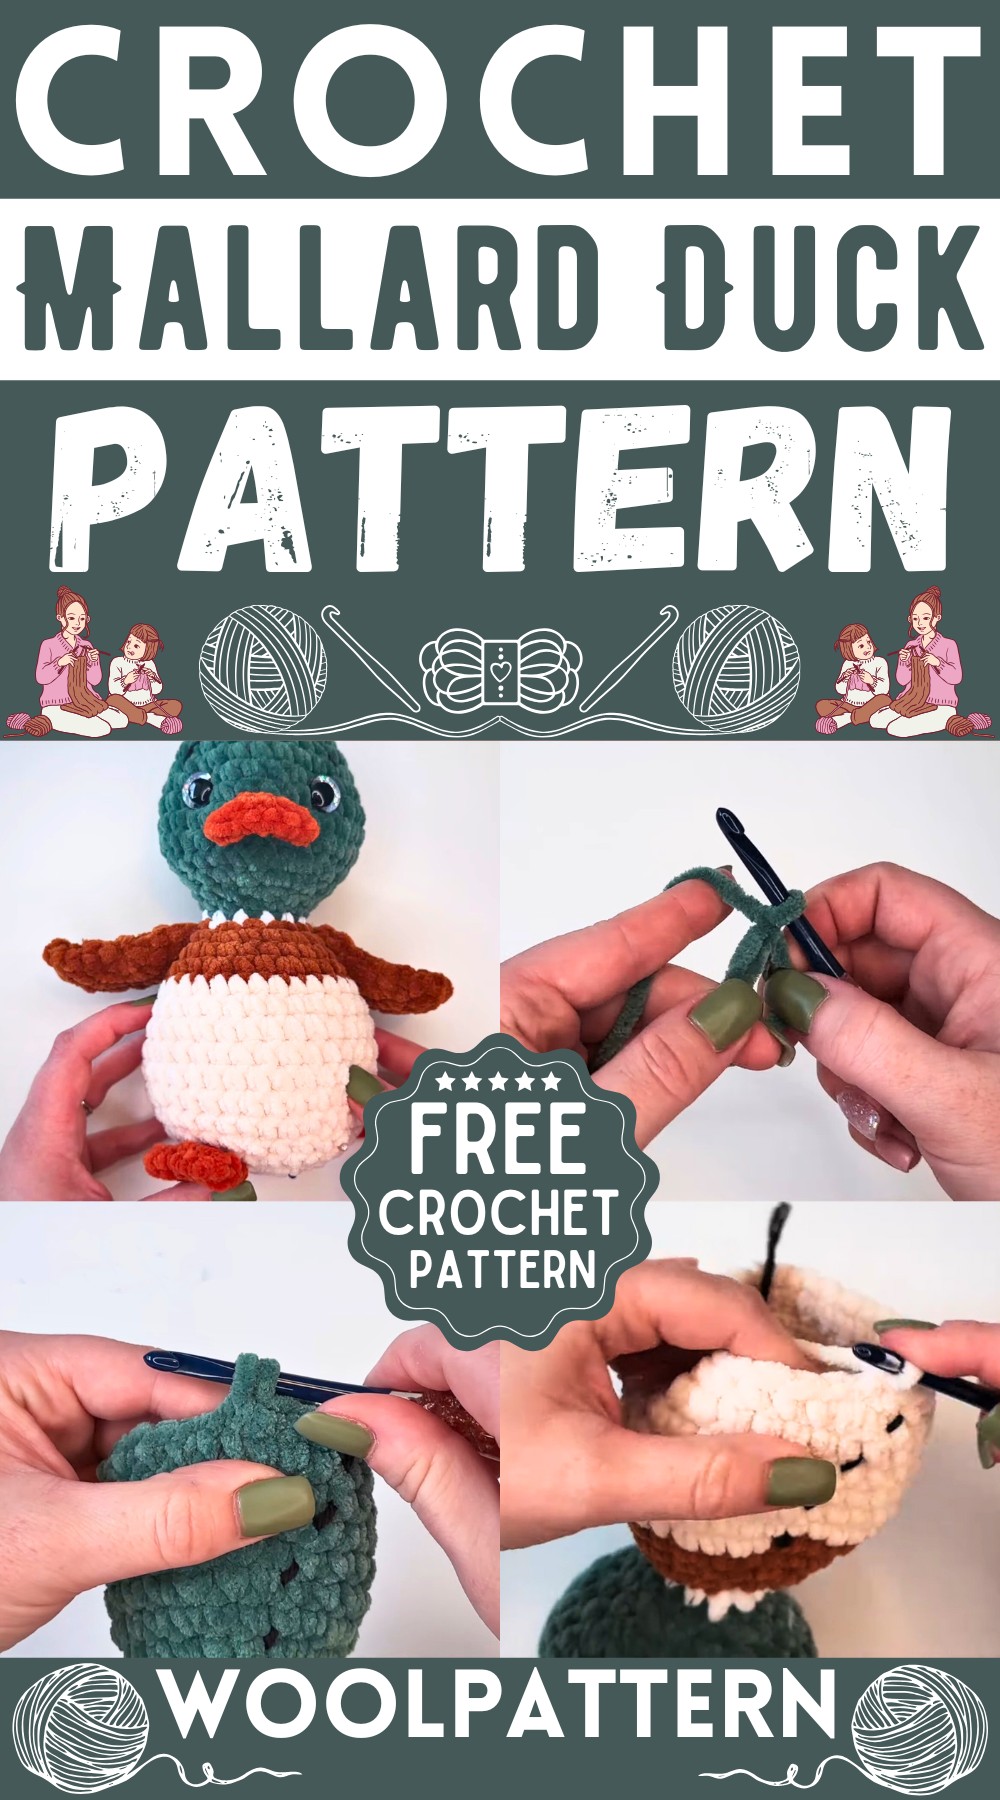
How to make a charming Crochet Mallard Duck Amigurumi with this fun and easy tutorial. This project uses cozy yarn in beautiful earthy colors to bring a cute little duck to life. Whether you're a beginner or a seasoned crocheter, you'll enjoy putting together this adorable duck, perfect as a delightful gift or whimsical decor for your home.
Crochet Mallard Duck Amigurumi
Materials Needed:
- Yarn: Baby Snuggle yarn in green, white, brown, beige, and orange colors. Black worsted yarn for facial features.
- Crochet Hooks: 5.5 mm hook for the main body and a smaller 4.5 mm hook.
- Others: Safety eyes (16 mm with glitter), a darning needle, scissors, stitch markers, fabric pins, and fiber fill for stuffing.
Pattern Steps
Head:
Round 1:
- Start with a magic ring using green yarn. Work 8 single crochets (sc) into the ring and pull the ring closed. Place a stitch marker to mark the end of the round.
Round 2:
- Increase around by working 2 sc in each stitch (16 sc total).
After Round 3:
- 1 sc in the next stitch, then 2 sc in the next stitch; repeat from to around (24 sc total).
Rounds 4-6:
- 1 sc in each stitch around (24 sc each round).
For Round 7:
- Face shaping. Repeat the pattern 1 sc, increase three times, 6 sc, repeat the pattern 1 sc, increase three times again, then finish with 6 sc (30 sc total).
Rounds 8-10:
- 1 sc in each stitch around (30 sc each round).
Body:
Change to body colors:
- Switch to white yarn and begin body construction seamlessly from the head.
Round 11:
- 3 sc, decrease; repeat from to around (24 stitches).
Round 12:
- 2 sc, decrease; repeat from to around (18 stitches).
In Round 13 - 26:
- Continue with 1 sc in each stitch around, changing colors appropriately to white, brown, and beige as you proceed. Each segment varies in round count so refer to the specific instructions in your pattern notes for when to switch colors and any additional shaping required.
Final Assembly:
Stuff the head and body:
- Begin stuffing the head after Round 12 before it gets too narrow. Continue stuffing lightly as you progress through the body.
Facial Features:
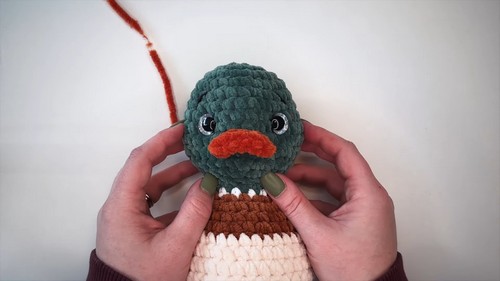
- Add safety eyes between Rounds 7 and 8 of the head. Use black yarn to stitch the eyebrows and to pull the eyes slightly inward for definition.
Beak and Feet:
- Using orange yarn, crochet an oval shape for the beak and feet following the method described for creating an oval and then shaping it accordingly.
Wings:
- Crochet wing shapes using brown yarn. Fold the crocheted piece over and sew the sides to create a wing shape.
Sew on the Beak, Feet, and Wings:
- Attach the beak around Rounds 9 and 10 of the head. Attach the feet around Rounds 27 to 30 of the body. Sew the wings onto the sides of the body.
Final Touches:
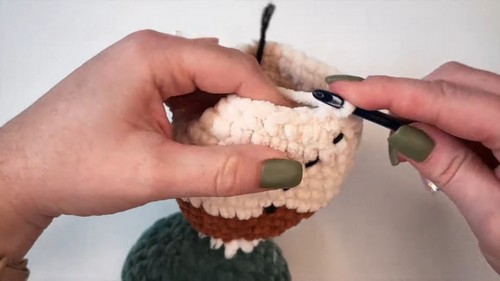
- Secure all parts firmly. Continue stuffing if necessary before closing up the duck. Weave in all ends securely.
Additional Notes:
- Adjustments can be made for different sizes or color variations.
- Make sure to check stitches and counts frequently to ensure the right shape and proportions.
Closing the Project:
- The pattern described finishes with sewing all the parts together and making sure everything is well-attached and stuffed. These details will help ensure that your crochet duck has a professional and cuddly finish.




Leave a Reply