

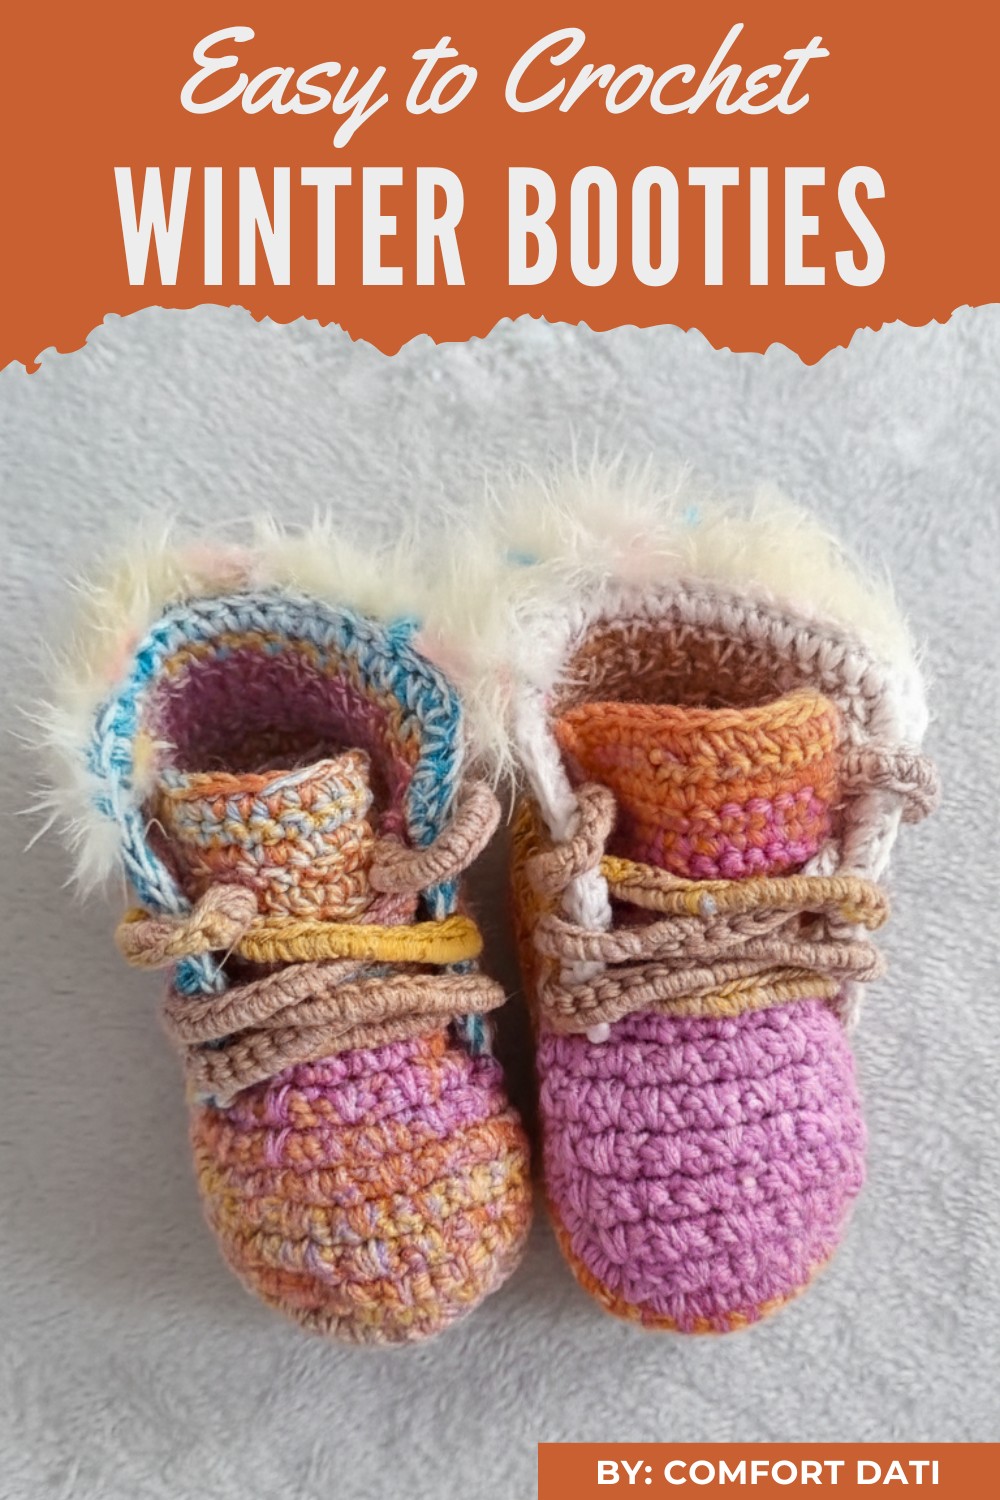
Keep your feet warm and stylish this winter with this free crochet winter booties pattern, perfect for beginners and a thoughtful handmade gift idea.
Cold winter days call for something cozy, effortless, and stylish to keep you warm, and crochet winter booties are the perfect solution. These charming and practical booties are not only a source of comfort but a testament to the timeless appeal of handmade pieces. With their unique textures and soft, luxurious feel, they make an ideal companion for chilly mornings or quiet evenings by the fire.
Charming Crochet Winter Booties Pattern Keep Feet Toasty
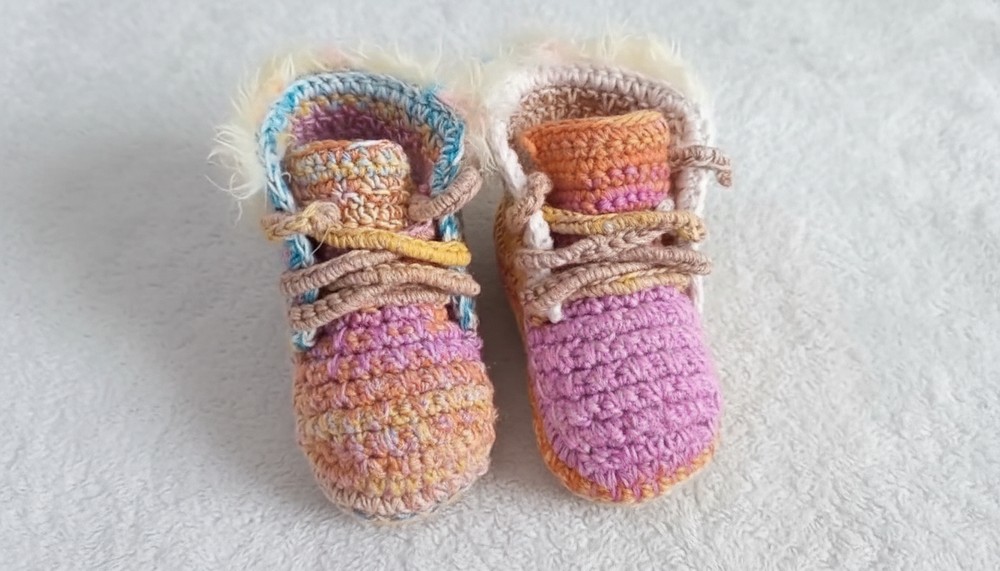
Their warmth and snug fit ensure that your feet stay protected, while their graceful symmetry and subtle details add a touch of elegance to your everyday look. These booties are perfect for gifting, especially during the holiday season when thoughtful, heartfelt presents mean so much more. Easy to customize with colors, yarn types, and materials, they suit anyone’s taste and provide a sense of personal connection.
Additionally, they are eco-friendly and budget-conscious, making it possible to repurpose leftover yarn into something both practical and beautiful. Whether making them for yourself or loved ones, crochet winter booties are a timeless way to combine comfort and charm. Their versatility ensures they remain a favorite for all ages and occasions, proving that staying warm doesn’t have to mean sacrificing style.
Materials Needed
To start this project, gather the following items:
- Crochet hook (3.5mm) – Suitable for delicate baby crochet designs.
- Knitting yarn – Any color or texture you prefer, especially soft yarn for babies.
- Scissors – For trimming excess thread.
- Measuring tape – To ensure the correct size of the sole (approx. 4 inches).
- Big eye needle – For finishing touches and weaving edges.
- Stitch marker – Helps track progress on specific loops.
Special Features of the Baby Boots
- Customizable Design: Adjust yarn colors and decorations to suit your taste.
- Perfect Size: The sole measures around 4 inches, making it comfortable for babies aged 0-6 months.
- Beginner-Friendly: Uses basic crochet stitches like slip knot, single crochet, and double crochet.
- Functional and Stylish: These boots are both practical for babies and aesthetically pleasing.
Level of Difficulty
The level of difficulty is beginner to intermediate, as the video focuses on simple crochet techniques and repetitive patterns. However, understanding reductions and alternating single crochet patterns may require intermediate knowledge.
Step-by-Step Instructions
Step 1: Creating the Sole
- Make a slip knot to start.
- Crochet 13 chains and add 3 extra chains for the first double crochet.
- Insert a stitch marker at the point where the chains end to avoid confusion.
- Yarn over, return to the marked stitch, and make 3 double crochets in the same chain.
- Continue with one double crochet in each chain until the last one.
- In the last chain, make 6 double crochets (this creates the curve of the sole).
- Crochet 11 double crochets in the middle section. Repeat the process to add 6 double crochets in the other end.
- Slip stitch to the top of the first stitch to complete Row 1. You should have 34 double crochets in total.
Step 2: Expanding the Sole
- Chain 1 to start Row 2.
- In the area where you made 6 double crochets, crochet 2 single crochets into each loop for an increase.
- Crochet 7 single crochets down one side, followed by 2 half double crochets in the next loops.
- In the next loops along the curve, crochet 6 double crochets, followed by single crochets down the opposite end.
- Slip stitch to complete the row.
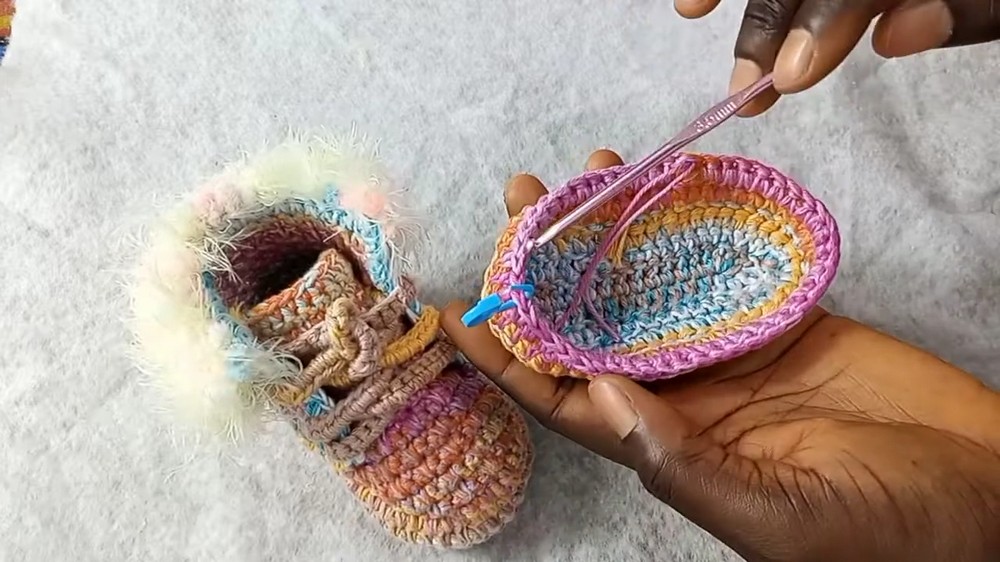
Step 3: Adding Depth to the Sole
- Begin Row 3 with a chain stitch.
- Create one double crochet in each loop around the entire sole.
- At the end of the row, slip stitch to finish.
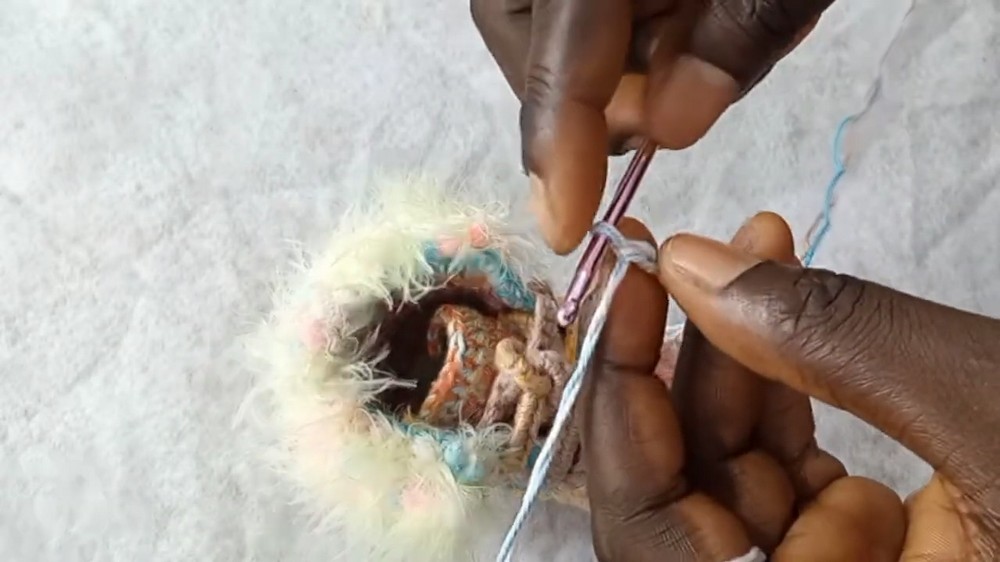
Step 4: Adding Slip Stitch Edging
- Crochet a slip stitch edge around the sole to make it neat and firm.
- Use your crochet hook with a knot at the end to pull through each loop in the sole.
- Repeat this around the sole for added stability.
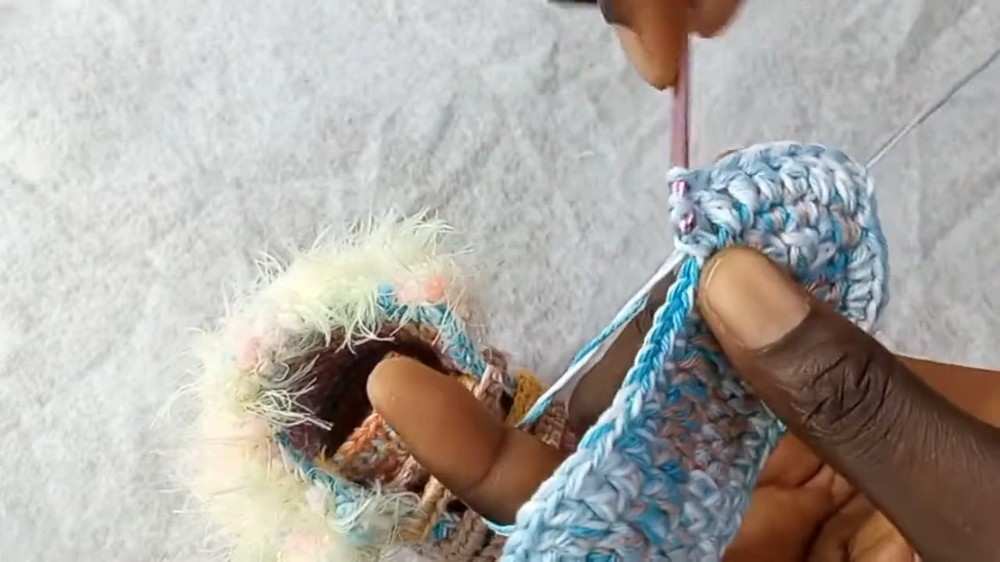
Step 5: Building the Top Section
- Tie a knot and use single crochet stitches to create the base around the top of the sole.
- Repeat rows of single crochet, adding long single crochets alternated with short single crochets for texture.
- At this stage, the tutor recommends ignoring surrounding noise like the rain (mentioned to lighten the mood).
Step 6: Reductions
- Reduce stitches in sections to create shape (reduce 25 stitches across).
- Find the middle of the boot by folding it lengthwise. Mark both sides for reductions with stitch markers.
- Follow the reduction technique by pulling three loops through and completing with a single crochet.
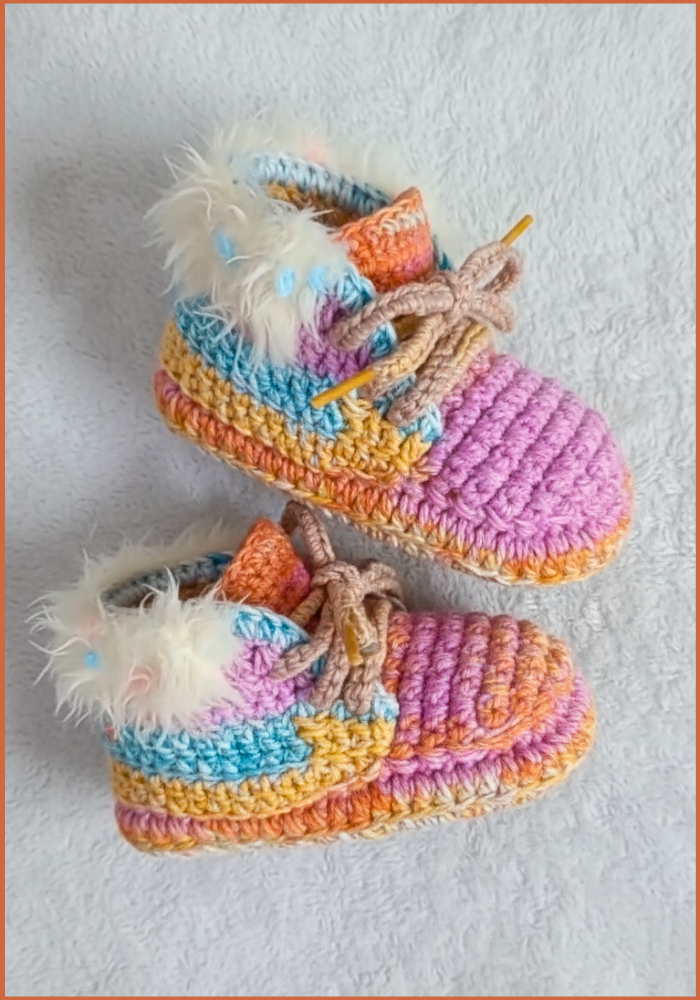
Step 7: Adding Decorative Patterns
- Create alternating long and short single crochets for a unique texture.
- Continue adding rows, alternating every stitch to enhance the boot’s look.
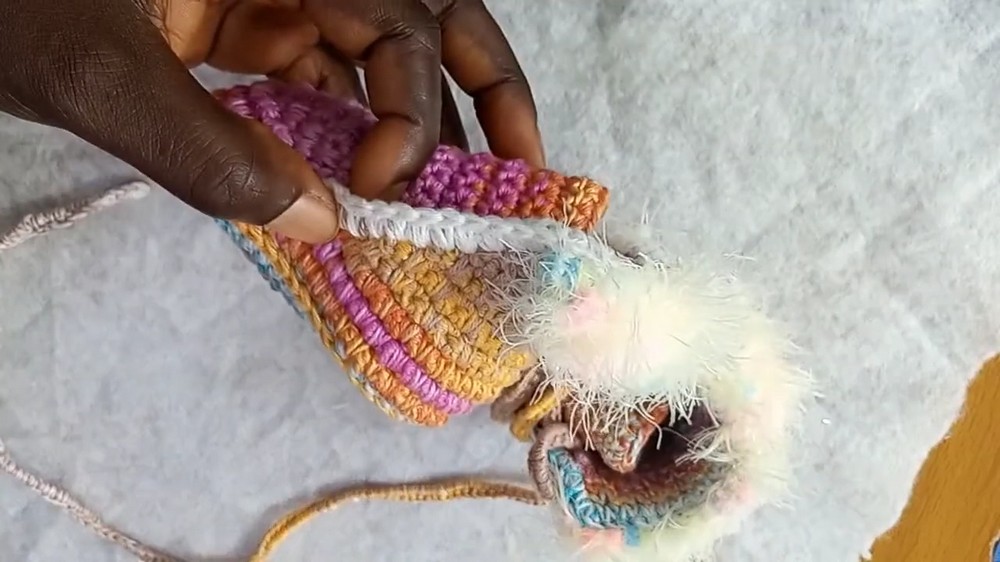
Step 8: Creating the Flip Side
- Add additional single crochet rows to create the flip side of the boots (approximately 12 rows in total).
- Start from the middle and alternate stitches to create the curved shape.
Uses of the Baby Boots
- Everyday Wear: Comfortable footwear for infants aged 0-6 months.
- Gift Idea: Handmade gifts for baby showers or new parents.
- Creative Outlet: Perfect for practicing crochet techniques while creating something useful.
Tutor’s Suggestions
- Use Fuse Yarn: The tutor suggests using premium yarn for an elegant finish (she mentions purchasing hers online without a specific link).
- Measure Accurately: Always measure the sole to ensure a perfect fit for the baby (approximately 4 inches).
- Practice Alternating Stitches: Beginners should practice alternating long and short single crochets to master the technique.
Tip for Success
Use a stitch marker to avoid confusion when adding rows and reductions. This ensures symmetrical patterns and saves time during complex portions.
Conclusion
This crochet baby boots tutorial is perfect for crafting adorable, functional footwear for infants. By following the step-by-step instructions, you can create cozy boots with a professional finish, even as a beginner. With a few tools, patience, and creativity, you’ll love the results of this project.


Leave a Reply