

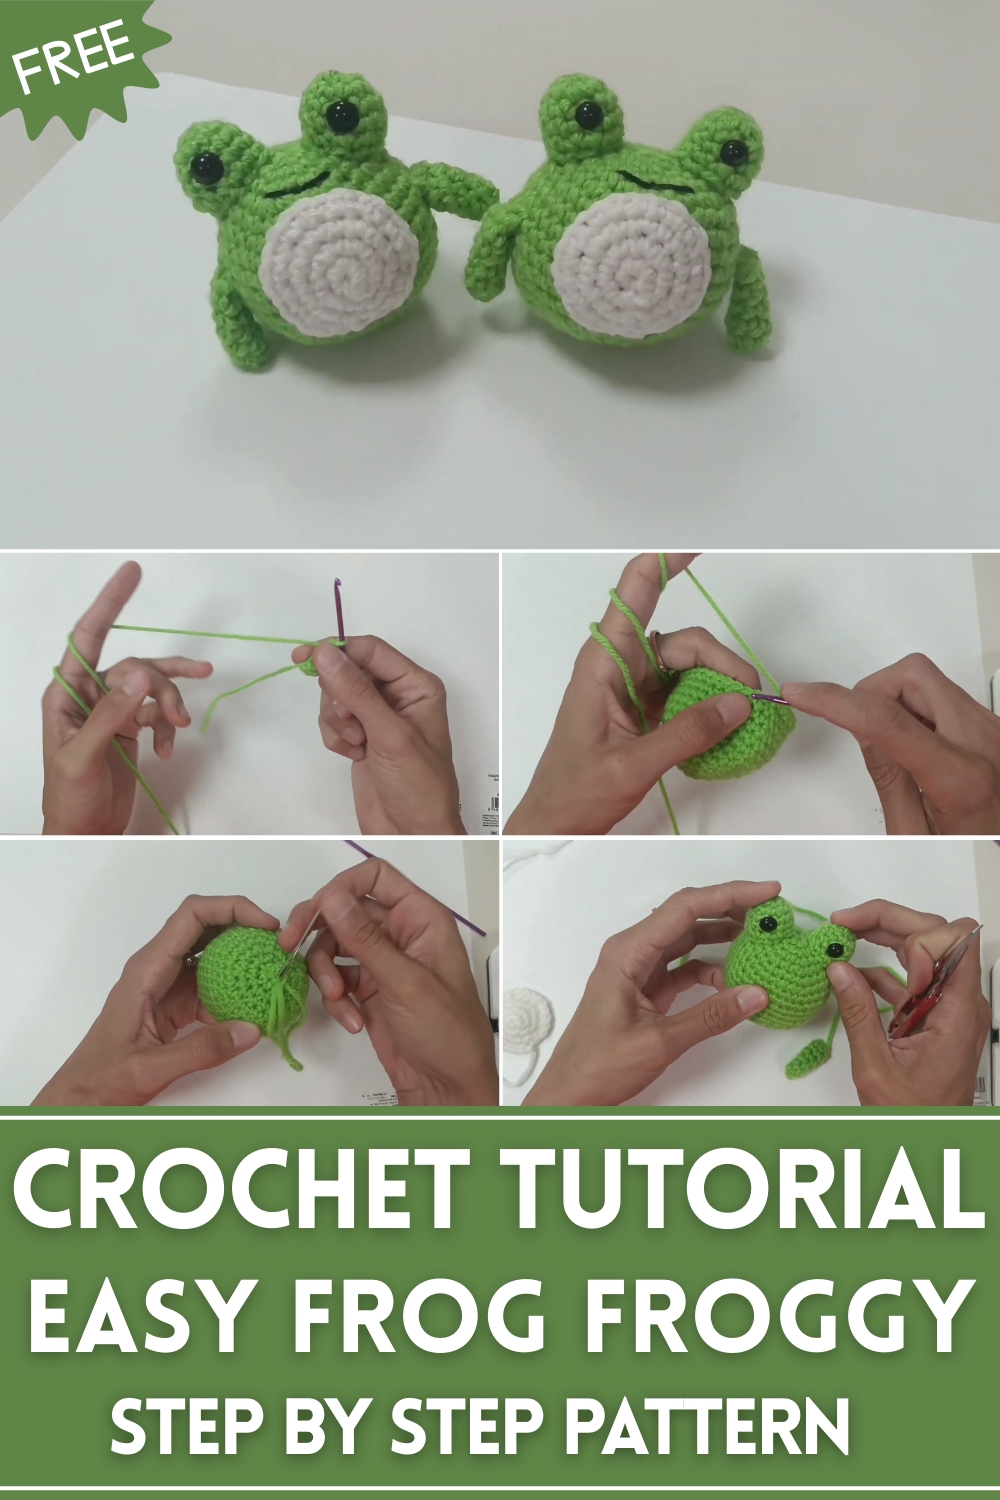
Hop into fun with the Free Crochet Frog Froggy Pattern, a charming project perfect for toys, décor, and delightful handmade gifts.
On quiet pond banks, frogs have long been admired for their playful leaps and cheerful croaks, bringing a sense of liveliness to serene waters. This Crochet Frog Froggy captures that spirited charm, transforming it into a soft, huggable figure that delights both children and collectors. Its rounded shape, vibrant green hues, and expressive features make it a whimsical addition to any collection, shelf, or play area.
How a Crochet Frog Froggy Pattern Can Become a Gift
The project begins with simple foundation rounds forming the body, gradually building a plump, balanced shape. Careful stitch placement shapes the limbs, eyes, and subtle facial expressions, giving the frog personality and charm. Midway, adjustments and small details like leg positioning and gentle curves enhance its lifelike appearance, while the final rounds secure all parts and add finishing touches that ensure durability.
Beyond its cheerful look, this froggy figure offers multiple benefits. It serves as a comforting toy for children, a playful décor accent, or a thoughtful handmade gift. Working on this project encourages focus, patience, and fine motor skill development, making the crafting process as rewarding as the finished piece. The completed Free Crochet Frog Froggy brings a sense of joy, playfulness, and handcrafted warmth to any space it inhabits.

Special Features
- Compact and Adorable Design: The finished frog is small and perfect for autumn-themed decorations or gifting.
- Detailed Embroidery: Features a cute, embroidered mouth that gives the frog its unique personality.
- Beginner-Friendly Presentation: Despite being detailed, the instructions are clear and the project is broken into easy steps.
- Customizable Colors: While the original uses green and white, you can customize the colors to suit your preference or match a specific theme.
Materials Required
- Yarn:
- Green yarn for the body, arms, and eyes.
- White yarn for the belly.
- Black thick yarn for the mouth.
- Crochet Hook: 3 mm crochet hook.
- Safety Eyes: Two 7 mm safety eyes.
- Needle and Scissors: To sew the pieces together and add details.
- Fiberfill: For stuffing the frog.
Level of Difficulty
- Beginner to Intermediate: The tutorial is suitable for those who have basic crochet knowledge (e.g., single crochet, increases, decreases, magic circle, and slip stitches). A unique technique for invisible decreases is also explained, making it an excellent opportunity for beginners to improve their skills.
Tutor's Suggestions
- Adjust Yarn Colors as Needed: The tutor encourages using any yarn you prefer, allowing for customization.
- Invisible Decrease Technique: The instructor demonstrates how to make an invisible decrease for a neater and more professional finish.
- Stuffing: Avoid overstuffing the body and parts, as it might affect the shape and alignment during sewing.
- Pinning: Make use of pins to secure the pieces before sewing to ensure proper placement.
Step-by-Step Instructions
1. Creating the Body
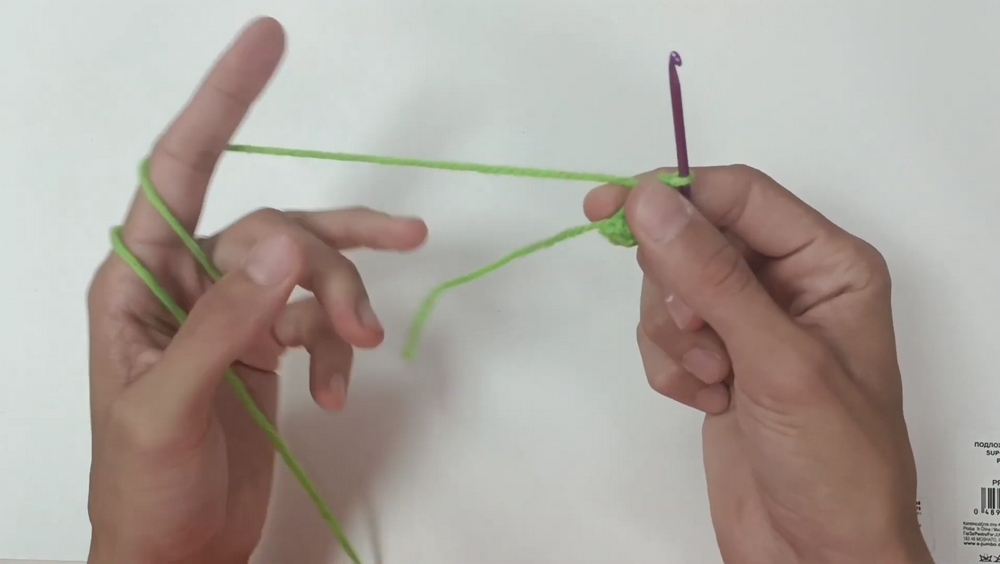
- Start with a magic circle with six single crochets (Row 1).
- Gradually increase the size with rows of single crochets and increases:
- Row 2: Six increases.
- Row 3: Single crochet, then an increase (repeat 6 times).
- Row 4: Two single crochets, then an increase (repeat 6 times).
- Rows 5–6: Continue increasing in the pattern of three and four single crochets, followed by an increase.
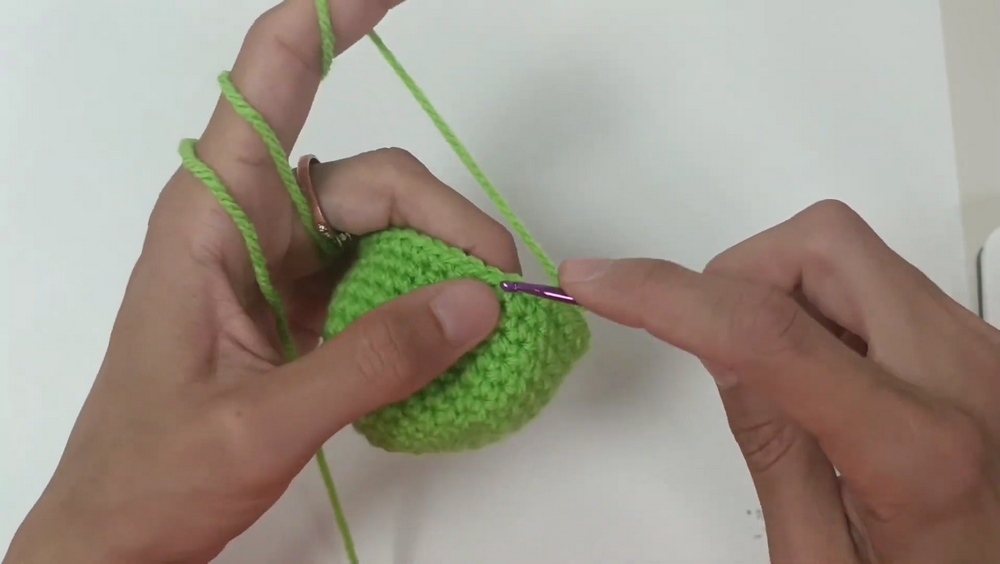
- Rows 7–12: Make single crochets around (36 stitches per row).
- Begin decreasing for the head:
- Row 13: Four single crochets, then a decrease (repeat 6 times).
- Row 14: Three single crochets, then a decrease.
- Row 15: Two single crochets, then a decrease.
- Stuff the body with fiberfill, ensuring it's not overstuffed.
- Row 16: Single crochet, then a decrease.
- Row 17: Continue decreasing until the opening is closed. Sew the final hole shut neatly.

2. Making the Eyes
- Create a magic circle with six single crochets (Row 1).
- Row 2: Six increases.
- Rows 3–5: Create three rows of 12 single crochets around.
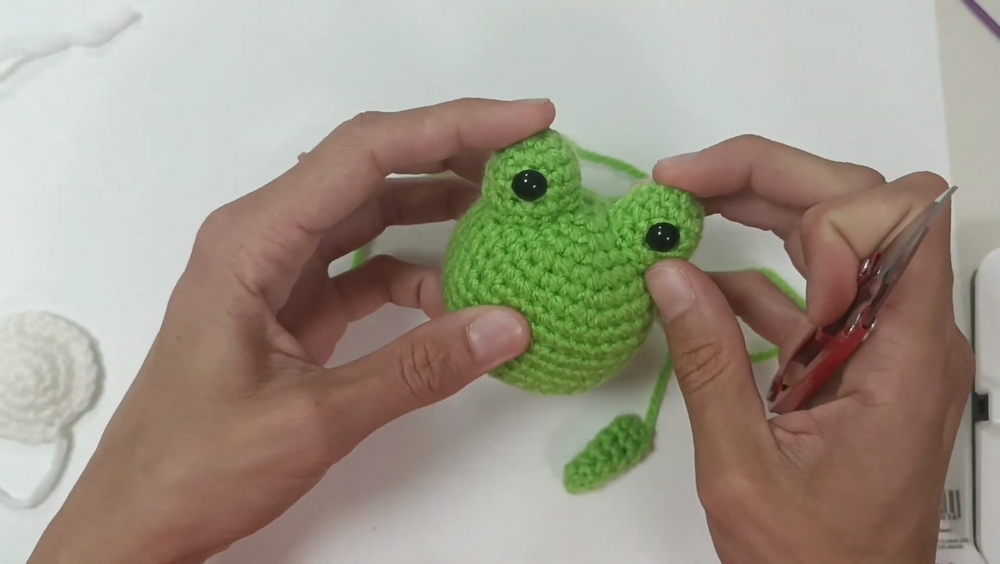
- Attach the safety eyes and finish off (leave a long tail for sewing to the body).
- Repeat the process for the second eye.
3. Crafting the Arms
- Start with a magic circle and six single crochets.
- Rows 2–5: Crochet single crochets around (6 stitches per row).
- Do not stuff the arms. Flatten them and sew the opening shut with slip stitches. Make two arms in total.
4. Making the Belly
- Create a magic circle and six single crochets (Row 1).
- Row 2: Make six increases.
- Row 3: Single crochet, then an increase (repeat 6 times).
- Row 4: Two single crochets, then an increase (repeat 6 times).
- Finish off and leave a long tail for sewing.
5. Assembly
- Use pins to secure pieces before sewing:
- Sew the eyes on the head section of the body.
- Attach the arms on the sides.
- Center the belly on the lower part of the body and sew it on.
- Add details:
- Use black yarn to embroider a small smile between rows three and four. Adjust the expression as per your preference.
Uses
- Seasonal Décor: Perfect for fall or autumn-themed crochet collections.
- Gifts: A handmade gift for friends, family, or children.
- Hobby Projects: A fun way to practice and improve crochet skills.
Tip for Success
Take extra time with assembly to ensure proper alignment of the features (eyes, arms, belly). Following the placement suggestions carefully will give your frog a symmetrical and balanced appearance.
Conclusion
This fall frog amigurumi project perfectly balances simplicity with detail, making it approachable for beginners and enjoyable for seasoned crocheters. By following the clear instructions provided, you can bring this playful and charming character to life. With its vibrant look and adorable expression, it’s not just a crochet project—it’s a rewarding experience that allows you to add a personal, handmade touch to your craft collection.

Leave a Reply