

Nothing beats the satisfaction of turning small, straightforward designs into larger, eye-catching projects, and this one is no exception. Perfect for both beginners and experienced crocheters, this pattern is easy to build individual squares that can be used to assemble stunning blankets, table runners, accessories, or even fashionable wearables. One of its biggest perks is the modular format—making it simple to work on small pieces and gradually join them together for larger creations. The adaptability in size and color means you can design something truly unique, suited for gifts or personal use.
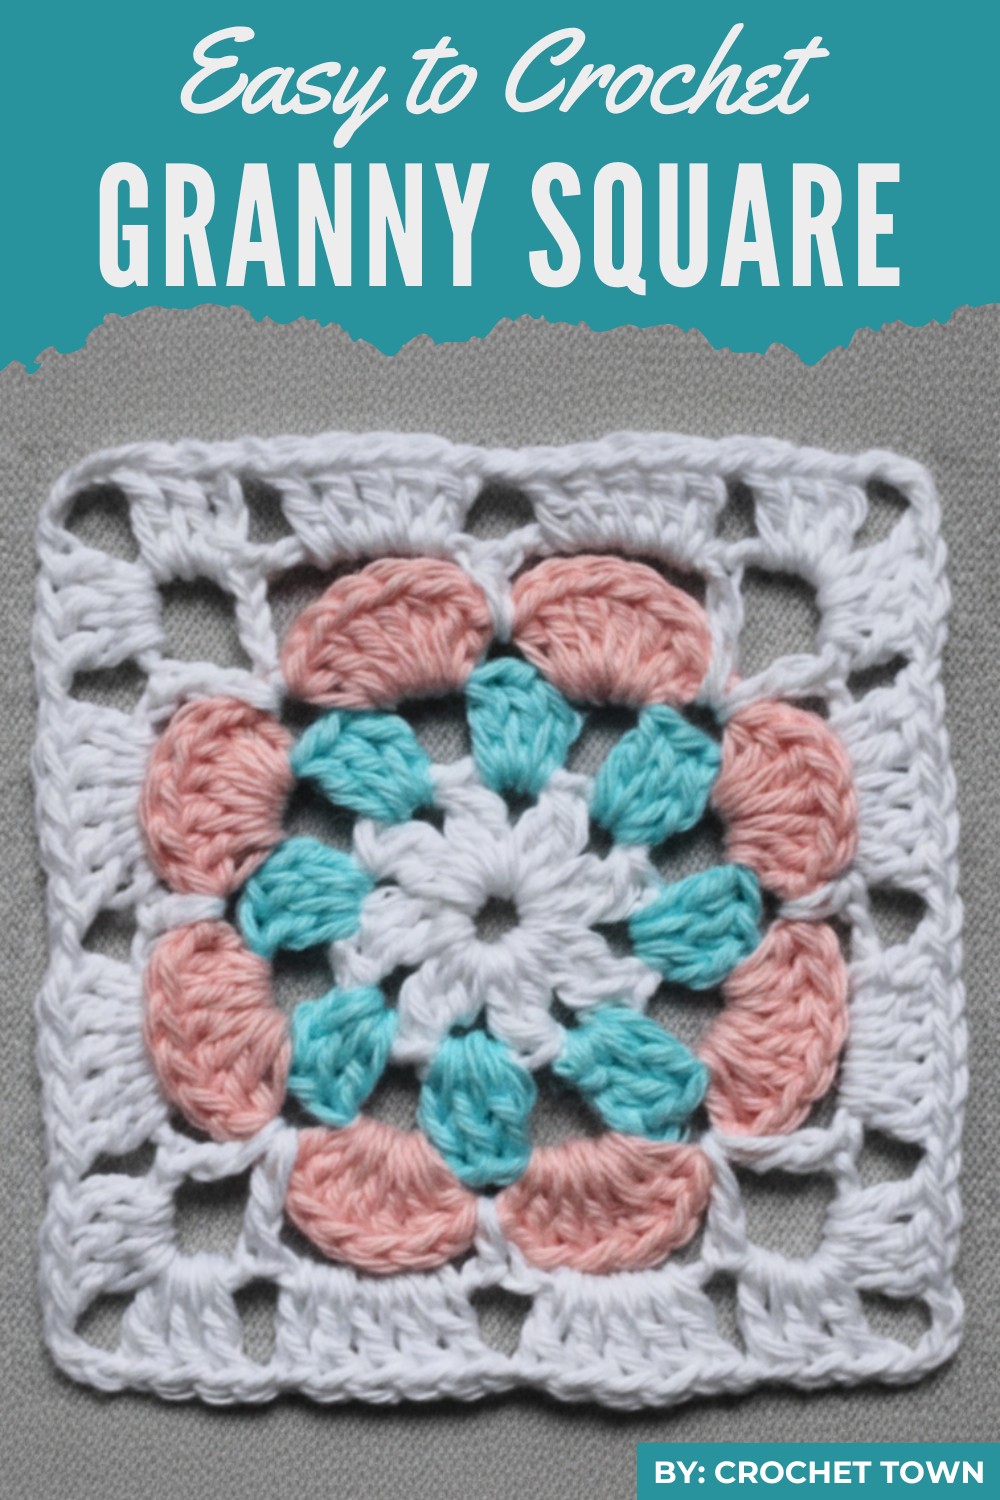
Learn Stunning Crochet Granny Square Pattern for Perfect Home Aesthetics
This pattern doesn’t just offer beauty—it provides a wonderful sense of accomplishment with minimal difficulty. With just a few basic stitches and techniques, you can make something lasting and practical. Plan your color combinations and practice joining square pieces for seamless results.
Materials You’ll Need
- Yarn: Choose lightweight or medium yarn (e.g., DK or worsted weight) in one or more colors for variety.
- Tutor suggestion: Use cotton or acrylic yarn depending on your preference and project type.
- Crochet hook: Refer to your yarn’s label for the recommended hook size (generally 4mm-5mm for medium yarn).
- Scissors: For trimming yarn ends.
- Tapestry needle: To weave in ends for a neat finish.
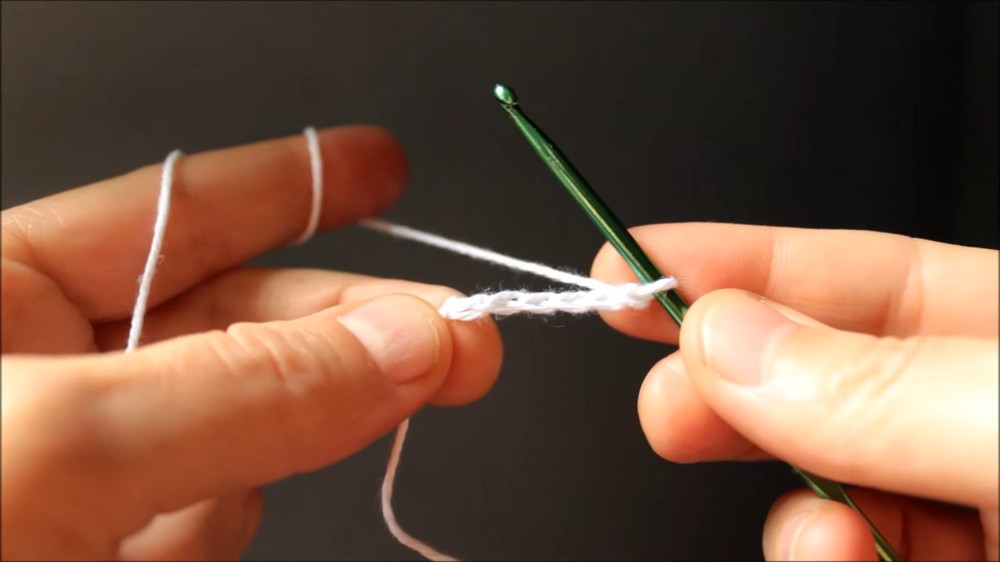
To begin, start with a slip knot and chain four stitches, joining them to form a ring. The first round consists of three double crochet stitches in clusters, separated by chain spaces to define four corners of the square.
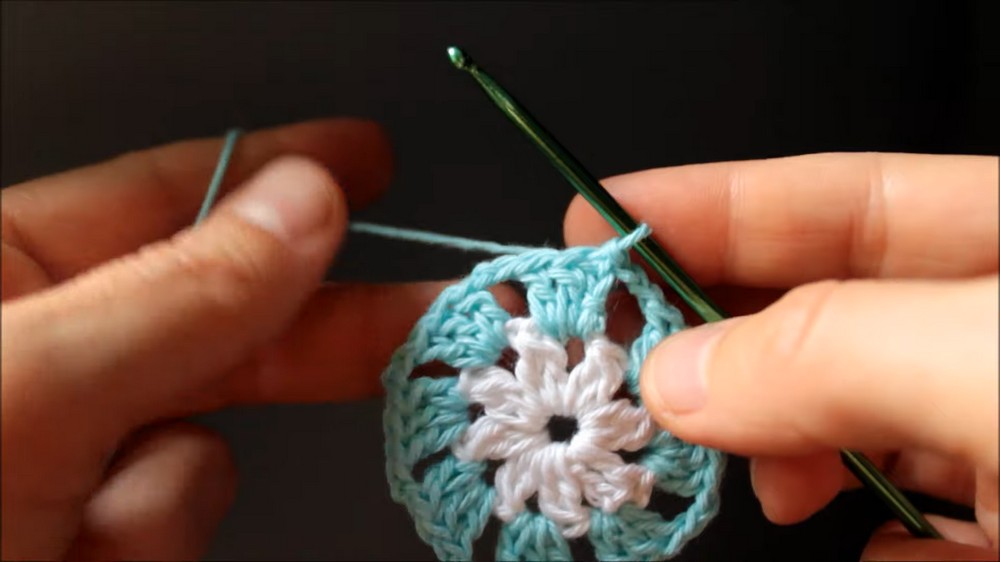
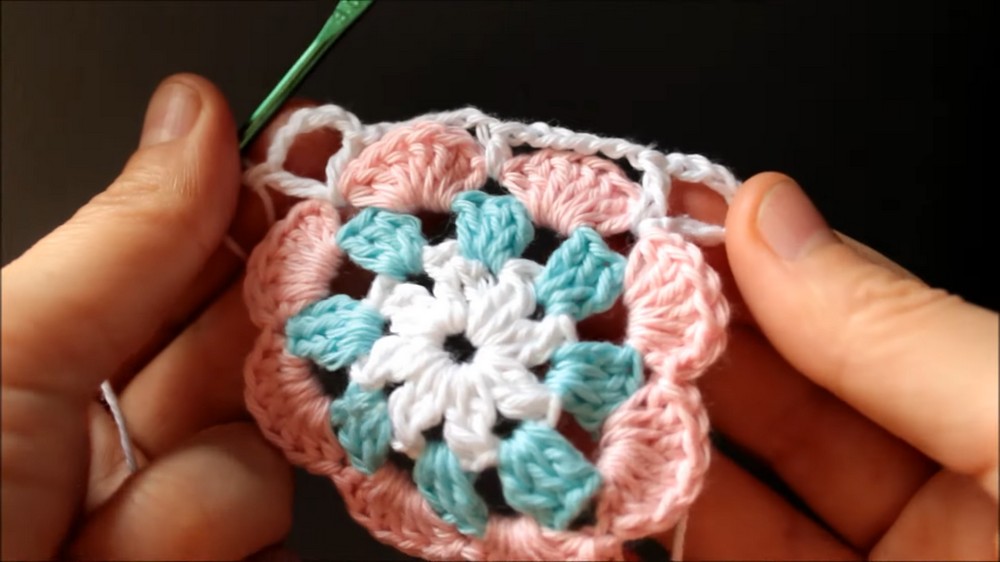
As you continue, additional rounds are added by working three double crochet clusters into larger spaces and chaining to maintain gaps. Always chain two at the corners to give the square a defined edge and allow for smooth expansion.
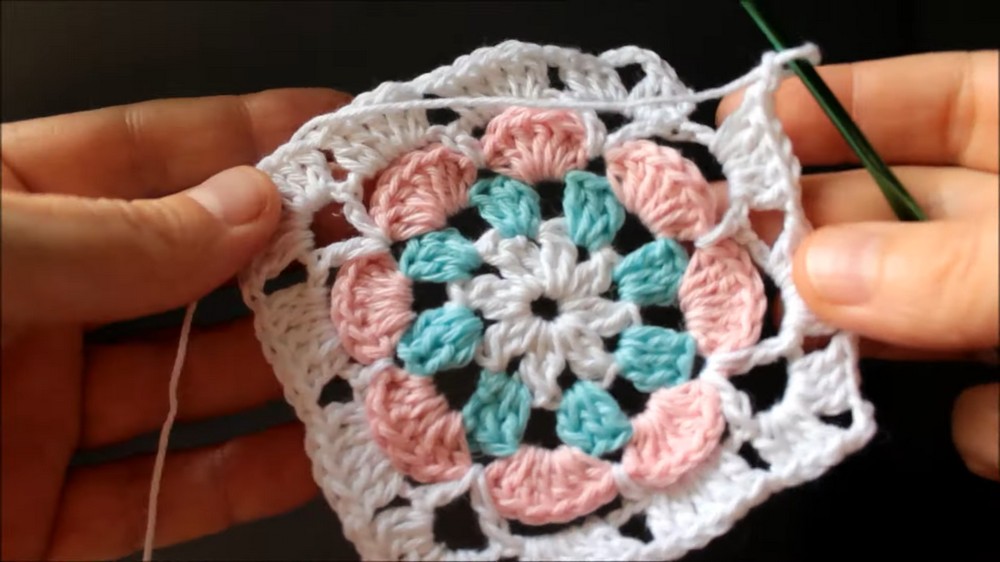
Pro tips for stitching include ensuring consistent tension and counting stitches each round to avoid uneven edges. End by fastening off the yarn securely and weaving loose ends with a needle for a tidy finish.
Special Features
- Simple Stitch Techniques: Uses basic stitches like chain (ch), slip stitch (sl st), and double crochet (dc).
- Customizable Design: Add more rows for larger squares or opt for vibrant color combinations.
- Easy to Join: Perfect for assembling into larger pieces like blankets or garments.
- Quick Creation: Ideal for beginners or for anyone looking for a relaxing crochet project.
Difficulty Level
The granny square pattern is beginner-friendly, making it a great introduction to learning basic crochet stitches. For advanced crocheters, it offers room for creativity, allowing variations like decorative edging and intricate color schemes.
Uses
- Home Décor: Perfect for crocheting blankets, table runners, cushions, or wall hangings.
- Clothing and Accessories: Convert your squares into bags, shawls, tops, or scarves.
- Gift Ideas: Handmade presents like crochet quilts or coasters for special occasions.
Tutor Suggestions
- Experiment with different color combinations to create unique designs.
- Use a contrasting border for added flair around your squares.
- If you’re joining multiple squares, block them to ensure uniform shape and size.
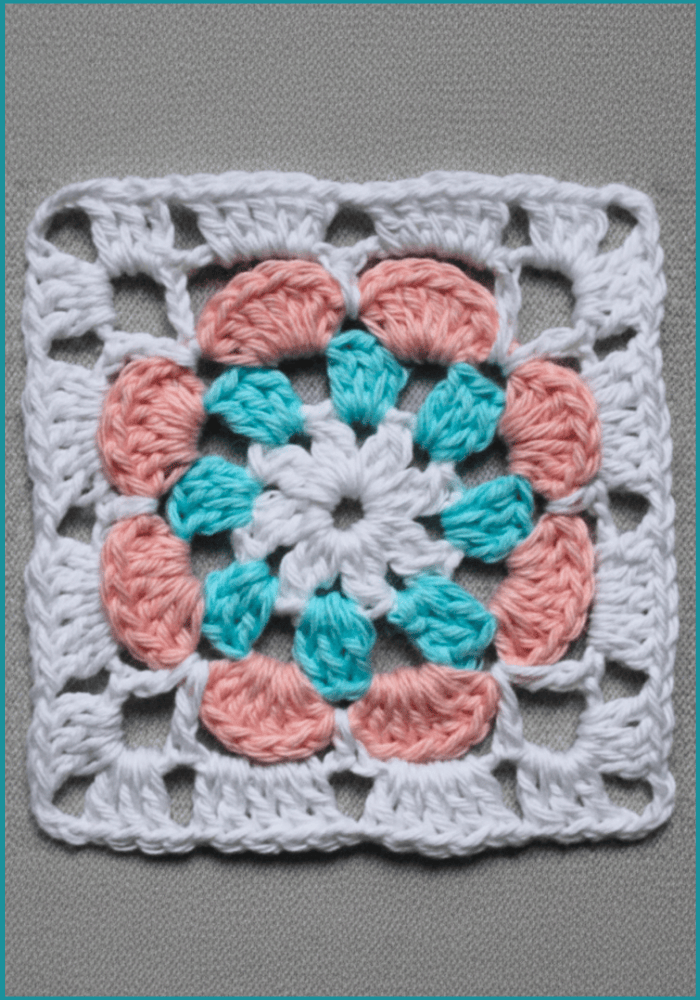
Step-by-Step Instructions
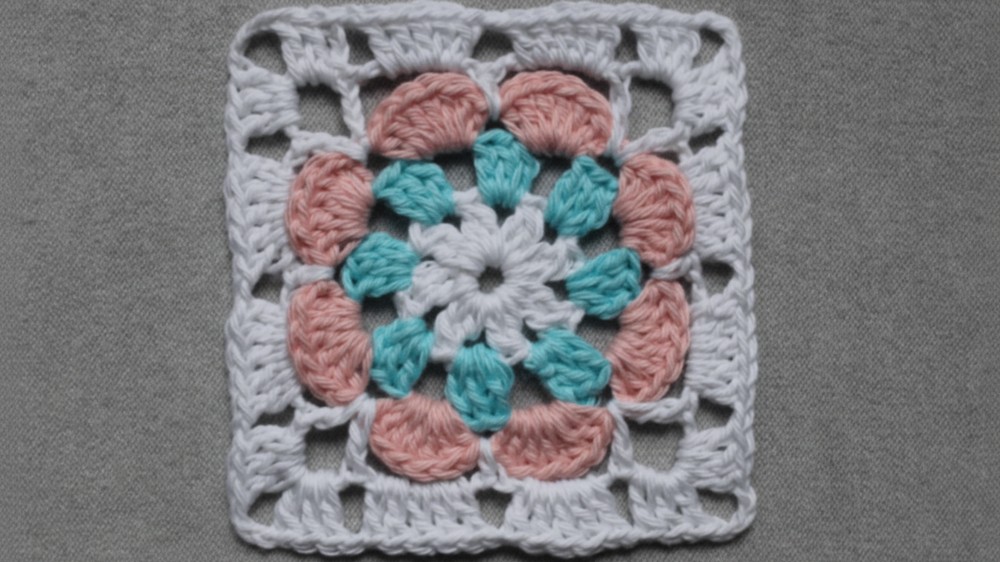
Crochet granny squares are a timeless and versatile project, loved by both beginners and experienced crocheters. They are easy to make, customizable in design and color, and can be joined to crochet stunning creations like blankets, tops, bags, or home décor pieces. This tutorial provides a step-by-step pattern of the crochet granny square and essential tips for success.
Conclusion
Crochet granny square patterns are an incredible way to fall into the basics of crochet while crocheting something truly beautiful and functional. Whether you’re crocheting a cozy blanket, stylish accessory, or vibrant décor piece, granny squares offer endless possibilities. With practice, patience, and creativity, this beginner-friendly pattern can evolve into impressive works of art.
Final Tip
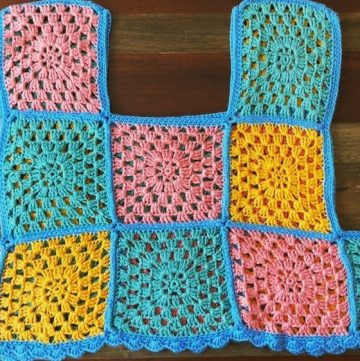
When assembling multiple granny squares for a project, plan your layout first to ensure an appealing arrangement of colors and patterns. This extra step will elevate the finished look and help you achieve a cohesive design.
Leave a Reply