

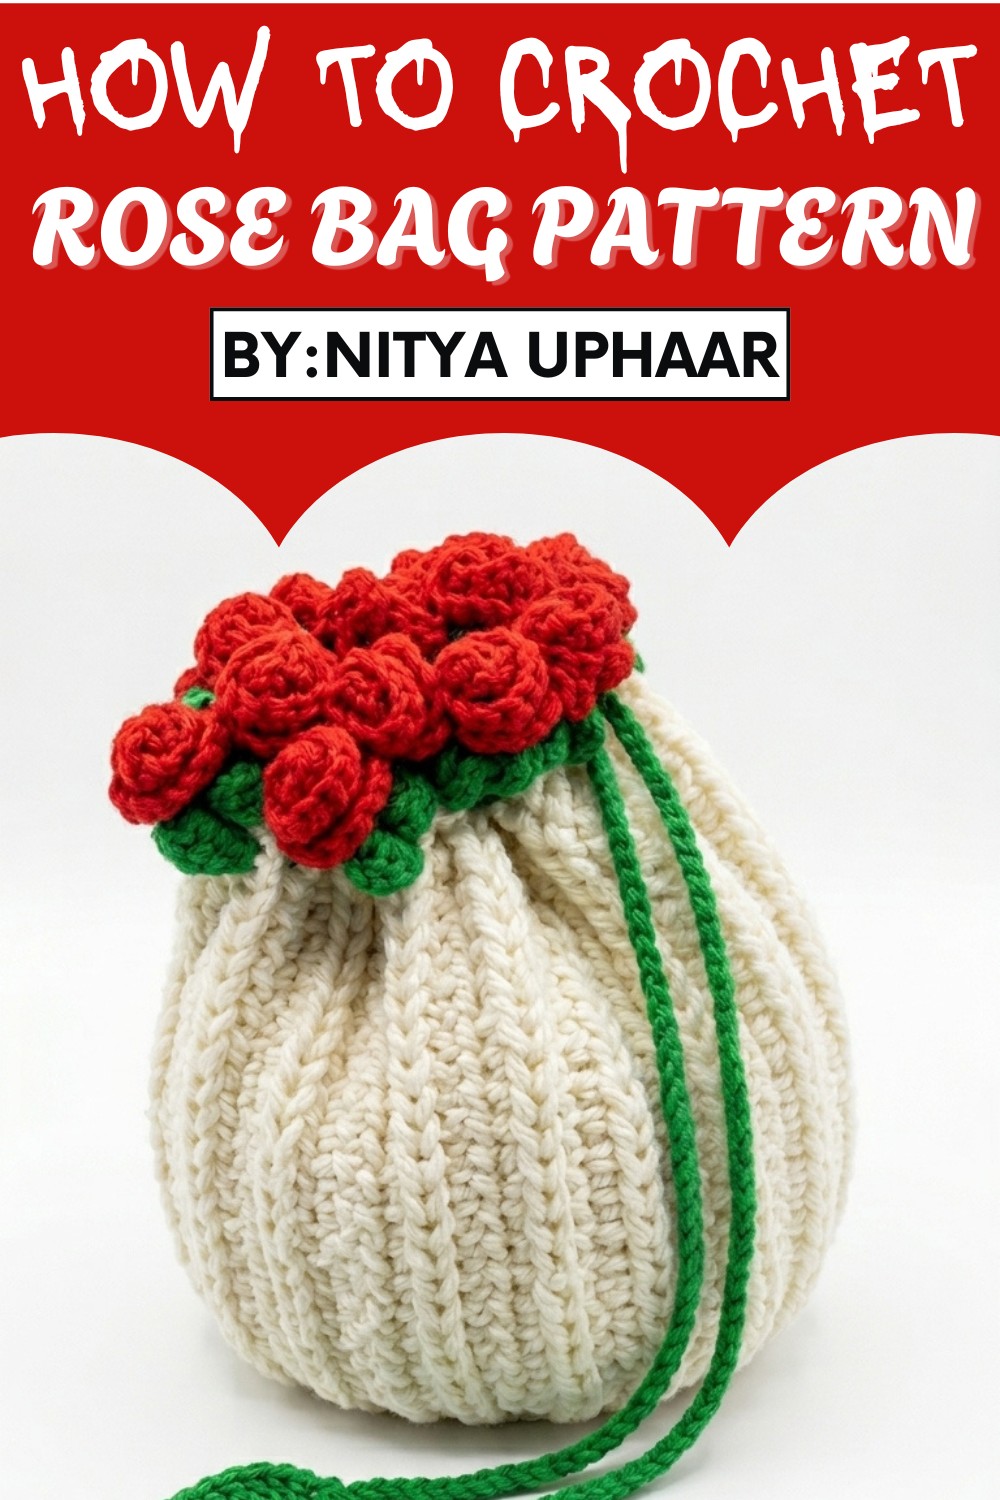
Carry elegance and creativity with this Free Crochet Rose Bag Pattern, perfect for stylish storage & showcasing your handmade skills easily.
Nothing enhances a simple accessory quite like personal touches, and this handmade rose bag pattern perfectly captures that idea with its elegant floral design. Designed with soft yarn and adorned with delicate crochet roses and leaves, it’s a delightful combination of style and practicality. Whether you’re heading out for a casual outing or looking for a unique handmade gift, this pattern offers endless charm and usefulness.
Simple & Stunning Handmade Crochet Rose Bag Pattern
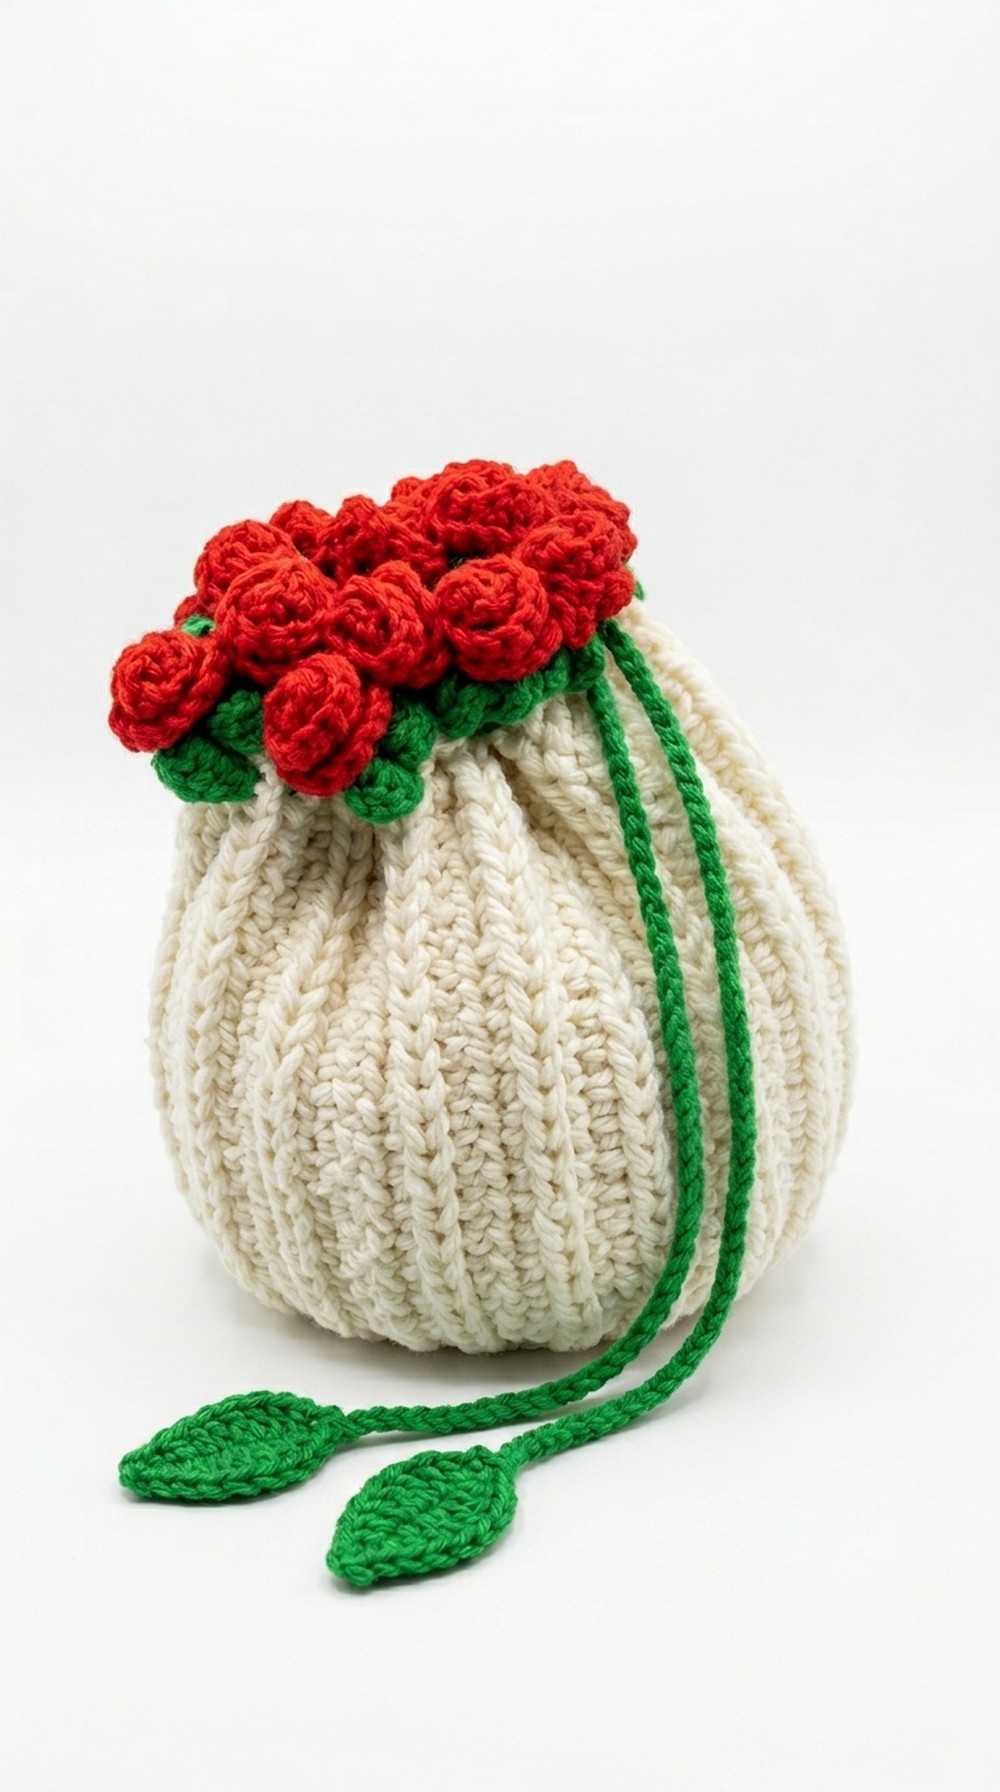
With a spacious interior and a secure drawstring closure, it’s ideal for storing everyday essentials like phones, wallets, or small cosmetics. The intricate floral details add a vibrant pop to your outfit, making it a standout piece in any setting. The pattern is beginner-friendly, making it accessible even if you’re new to crochet, while its versatility ensures experienced makers will enjoy the creative possibilities.
The thoughtful pattern brings both style and durability into one package. Add a touch of your personality to brighten your wardrobe, or gift someone a heartfelt, handmade surprise. With easy instructions and a timeless look, it’s a project that combines joy, function, and beauty into one crochet masterpiece.
Materials Required
- Yarn:
- Off-White: Cotton yarn (Ganga brand, shade number 032)
- Maroon: Acrylic yarn (5-ply)
- Green: Acrylic yarn (5-ply)
- Crochet Hook: 3.5 mm (US size 6)
- Needle: For finishing and hiding yarn tails.
- Scissors: For cutting yarn.
- Lobster Clasps: For attaching the bag's strap to the body.
Special Features
- Roses and Leaves Detail: Adds elegance and volume to the bag.
- Spacious Design: Can carry essential items like mobile phones.
- Beginner-Friendly: Uses basic stitches with easy-to-follow steps.
- Personalizable: Easily customize the size and colors.
Level of Difficulty
Beginner-friendly, but it requires attention to detail during the rose and leaf-making process.
Step-by-Step Instructions
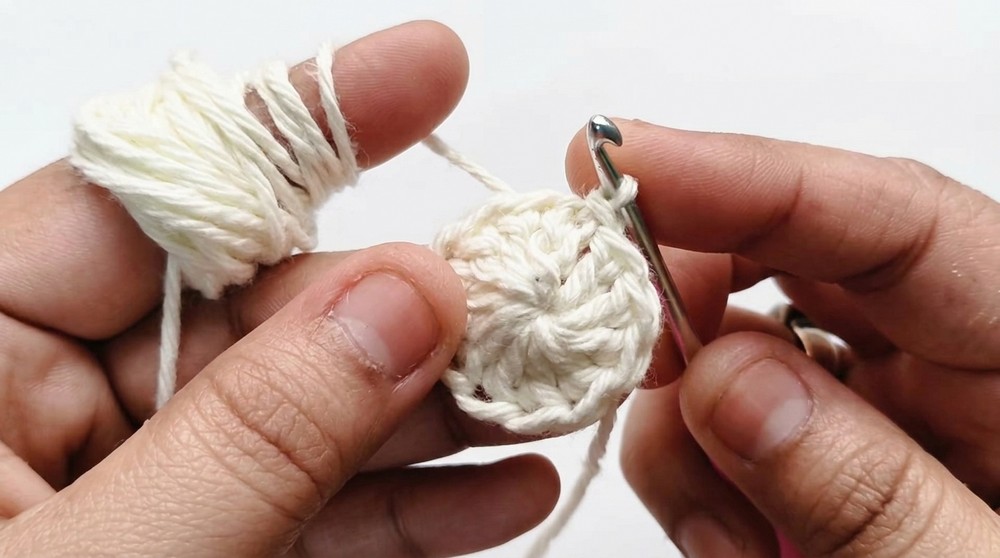
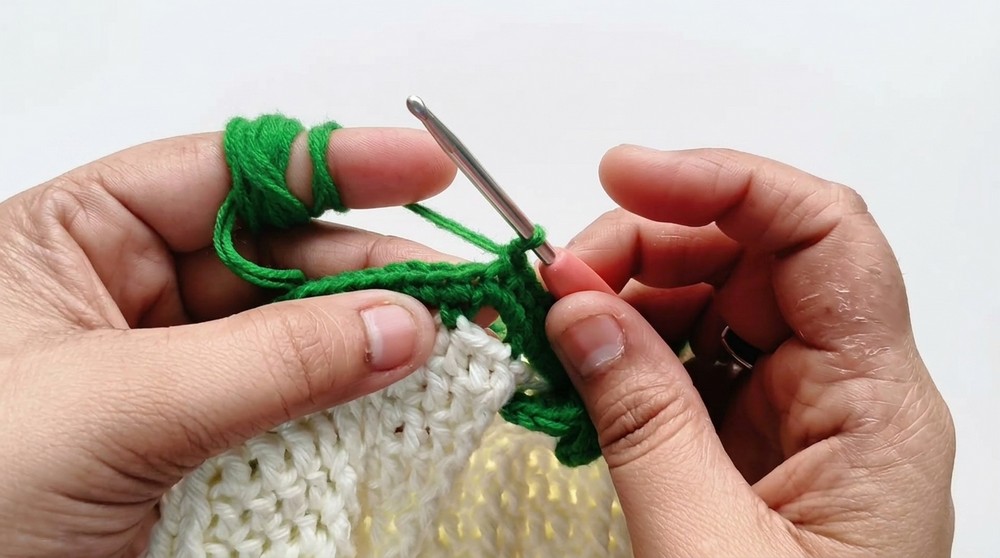
Step 1: Making the Base
- Magic Ring:
- Wrap the yarn twice around two fingers. Cross and insert the hook through the loops.
- Secure with a chain stitch and pull tight to create a fixed ring.
- Make two additional chains to start the double crochet (DC).
- Round 1 (12 Double Crochet):
- Inside the magic ring, make 12 double crochets (DC).
- Join the round with a slip stitch into the first double crochet.
- Round 2 (Increase - 24 Double Crochet):
- Start with 2 chains (do not count as a stitch).
- Add 2 double crochets into each stitch (total 12 increases). This results in 24 DC.
- Round 3 (1 Double Crochet, 1 Increase):
- Follow the pattern: 1 DC, 2 DC in next stitch. Repeat for 12 times around the circle.
- In the third round, there will be 36 double crochets.
- Round 4 (2 Double Crochet, 1 Increase - 48 Total):
- Repeat the pattern: 2 DC, then 2 DC in the next stitch (increase).
- This forms a flat circle.
- Round 5 (3 Double Crochet, 1 Increase - 60 Total):
- Repeat: 3 DC, then 2 DC in the next stitch.
- Round 6 (4 Double Crochet, 1 Increase - 72 Total):
- Repeat: 4 DC, then 2 DC in the next stitch.
- The resulting base will measure approximately 5 inches in diameter. To create a larger bag, increase rounds to expand the size of your base.
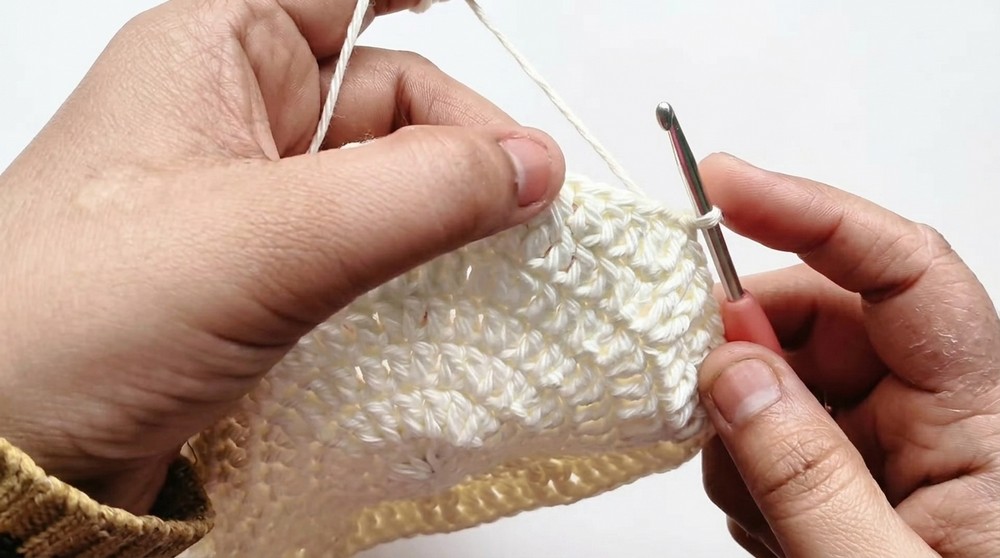
2: Building the Bag’s Height
- Switch to working in rounds without increasing the stitches.
- Round 7-24:
- Pattern: Follow: 4 DC, 2 Front Post Double Crochets (FPDC).
- FPDC: Insert your hook around the post of the previous double crochet from the front, and complete a DC stitch.
- This pattern creates a beautiful textured design as the FPDC stitches stand out.
- Repeat for 18 rounds or until your desired height is achieved.
- The height will be approximately 8.5 inches.
- Pattern: Follow: 4 DC, 2 Front Post Double Crochets (FPDC).
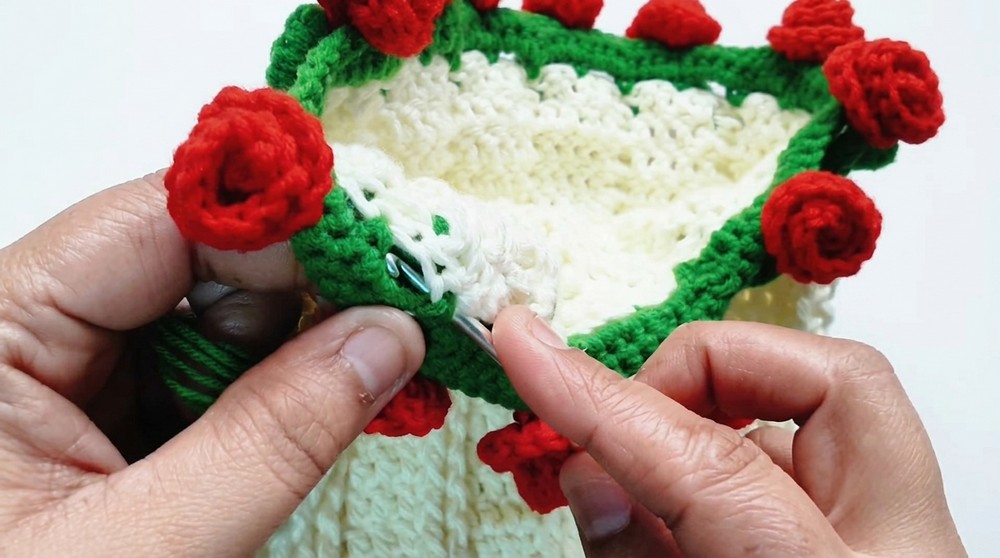
Step 3: Adding Leaf and Rose Details
3.1: Making the Green Leaf Border
- Round 25 (Picot Base):
- Pattern: 1 Single Crochet (SC), 3 chains, skip 2 stitches, SC in the 3rd.
- Create a picot effect by repeating this pattern entire round.
- Round 26 (Filling Picot Border):
- Pattern: Over each 3-chain gap, make 3 SC.
- SC on every single crochet of the previous round as well.
3.2: Adding Leaf Pairs (Round 27)
- Create Leaf Pairs (on the picots):
- For each leaf:
- Chain 4.
- Make these stitches back on the chains in order: 1 SC, 1 HDC, 2 DC, 1 HDC, and 1 SC.
- Secure with a slip stitch back into the base of the leaf.
- Each pair will have 2 leaves. Repeat for all picots.
- For each leaf:
3.3: Making Roses (Round 28)
- Create a chain of 12 stitches (or adjust based on rose size).
- In every chain, add 3 DC to create a ruffled effect.
- Roll this strip naturally into a rose shape and sew it together.
- Attach the roses over each leaf pair at the base.
Step 4: Making the Drawstring and Adding Straps
Drawstring
- Make a long chain stitch (approximately 100 chains).
- Add a leaf to each end using earlier steps.
- Weave the chain into the bag (round 24 or 25).
Strap
- Follow typical strap-making patterns with a cord length of 42 inches.
- Add Lobster Clasps to the strap ends and attach them to the bag at well-balanced points.
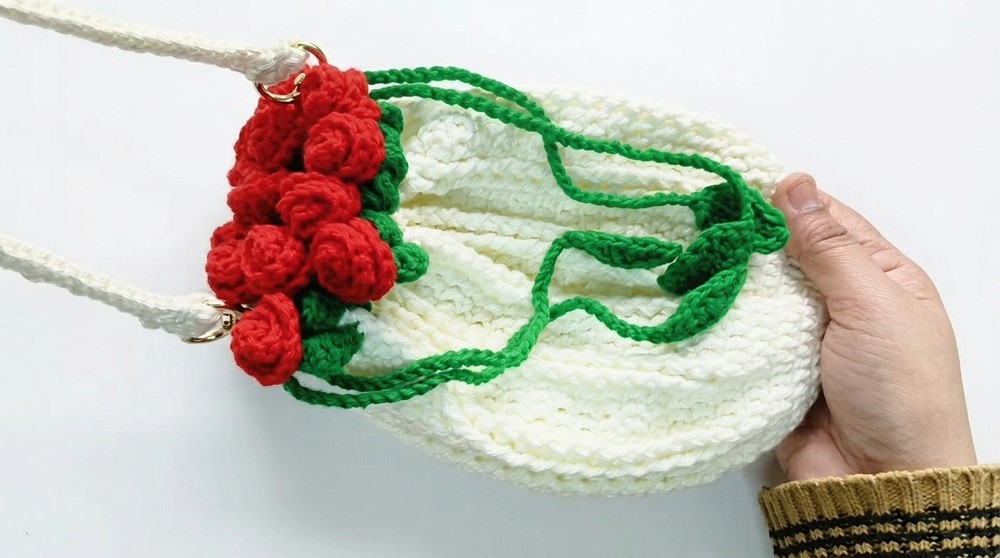
Bag Dimensions
- Height: 9 inches
- Width: 8 inches
- Capacity: Mobile phones + small accessories.
Suggestions and Uses
- Uses: Ideal for small storage, a gifting option, or a stylish accessory.
- Customization: Adjust size, colors, and design to suit personal preferences.
- Gifting: Makes a perfect handmade present!
Tip of the Day
To avoid uneven crochet tension, take regular short breaks while working on larger projects.
Conclusion
The Rose Bag is a beautiful, beginner-friendly crochet project that combines functional design with stunning aesthetics. Its detailed leaf and rose pattern make it truly unique and special. With easy-to-follow steps, this crochet bag is perfect for personal use or as a thoughtful gift.

Leave a Reply