

Enjoy your sunny days effortlessly with this Crochet Checkered Bucket Hat perfect for casual outings vacations and showcasing your unique fashion flair.
It’s a sunny day, and you’re out running errands or lounging at the park, effortlessly pulling off a stylish handmade accessory. A Crochet Checkered Bucket Hat pattern is your go-to project for combining functionality and fashion in the most creative way. This hat not only shields you from the sun but also instantly elevates any casual outfit with its trendy, checkered design.
Summer-Ready Crochet Checkered Bucket Hat for Every Outfit

Perfect for daily wear or summer vacations, it pairs beautifully with denim jackets, maxi dresses, or even beachwear. The charm of this pattern lies in its versatility, you can customize the colors to match your aesthetic or create bold contrasts for a playful look. Great for beginners and experienced crocheters alike, this project lets you explore colorwork techniques while creating a fun, wearable piece you’ll love showing off all year long.

Crochet Checkered Bucket Hat Pattern
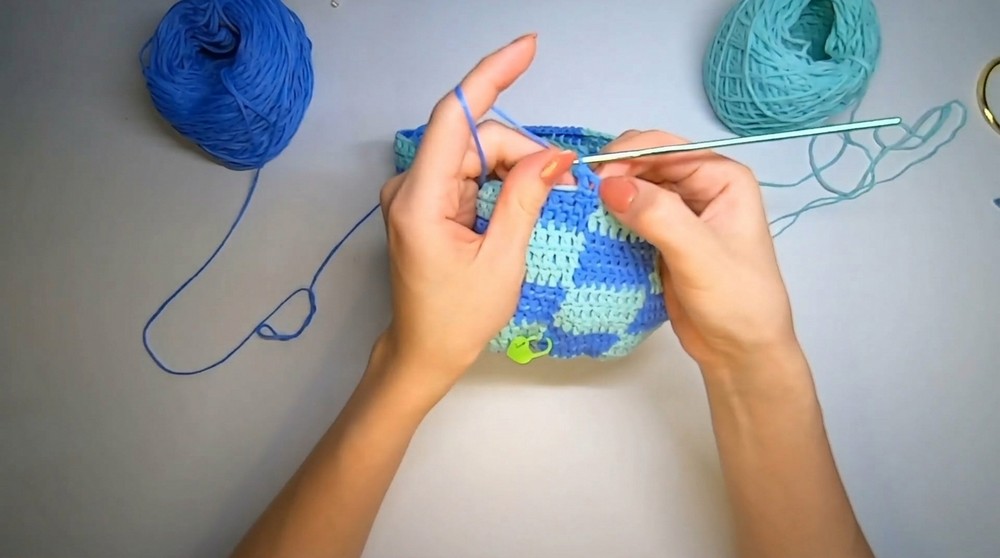
Skill Level
Intermediate.
This pattern involves techniques such as color changes, working in rounds, and forming gradual increases.
Finished Size
- Hat Circumference: Standard adult/teen size (~56–58 cm).
- Crown Diameter: 16 cm.
- Height: Approximately 9.5 cm, plus brim.
Gauge
With 3mm hook and 2mm cotton yarn:
10 cm x 10 cm = 16 double crochet (dc) stitches x 10 rows.
Materials
- Yarn:
- Two different colors, 2mm thickness, 100% cotton.
- Approx. 90 grams of each color (aqua and light blue used in sample).
- Hook Size: 3mm crochet hook.
- Scissors: For trimming ends.
- Darning Needle: For weaving in ends.
- Measuring Tape: To ensure proper measurements.
Customization Ideas
- Color Combinations: Choose bold complementary colors or neutral shades for a versatile look.
- Sizing: For larger sizes, continue increasing rounds until the crown diameter is larger. Adjust brim rounds accordingly.
- Uniform Design: Use one color instead of a checkered pattern for a minimalistic look.
- Playful Design: Add a pom-pom or a decorative band for a unique touch.
Pattern Instructions
Special Techniques
- Magic Ring:
- Form a loop with the yarn, insert hook, pull up a loop, and chain 1 to secure.
- Work stitches into the loop and pull the yarn tail to close the ring.
- Color Change Technique:
- When switching colors, do not finish the last yarn over of the stitch with the current color. Instead, introduce the new color to complete the stitch. Carry the alternating color along on the inside to keep it hidden.
- Outer Loop Crochet:
- For the brim, only work into the outer loop of the stitches to create a defined edge.

Step 1: Crown of the Hat
Round 1: Magic Ring
- Using Color 1 (Aqua), create a magic ring.
- Ch 2 (counts as first dc).
- Work 11 dc into the ring (12 dc total, including the starting chain).
- Pull the yarn tail to close the ring tightly.
- Join with a sl st into the second ch of the starting ch-2.
- Switch Color: Do not finish the slip stitch with aqua; change to Color 2 (Light Blue) to begin the next round.

Round 2: Increase Round
- With Color 2, ch 2 (counts as first dc).
- 1 dc in the same stitch (increase made).
- Repeat 2 dc in each st around.
- You should have 24 dc total.
- Switch Color toward the end with Color 1 before completing the last stitch.
Round 3: Alternating Colors
- Work 1 dc, 1 increase (2 dc in next st) alternately around:
- Start with Color 1: Ch 2, 1 dc in next st.
- Continue adding 1 dc (Color 1), 1 increase (Color 2) for the checkered pattern.
- Ensure to properly alternate colors for a seamless transition.
- By the end of the round, you should have 36 dc.
- Carry the unused color yarn along on the inside.
Round 4:
- Work 2 dc, 1 increase pattern all the way around.
- Total: 48 dc, maintaining alternating colors.

Rounds 5–8 (Final Increases):
- Round 5: 3 dc, 1 increase (60 dc total).
- Round 6: 4 dc, 1 increase (72 dc total).
- Round 7: 5 dc, 1 increase (84 dc total).
- Round 8: 6 dc, 1 increase (96 dc total).
Step 2: Body of the Hat
Rounds 9–18:
- Work 10 straight rounds of 1 dc in each st, alternating colors every 3 rows.
- Ensure to carry the unused yarn neatly inside for a clean finish.
Outcome: The body of the hat will measure about 9.5 cm in height.
Step 3: Brim of the Hat
Round 19:
- Change to Color 1 or either single color for the brim if desired.
- Work 1 dc, 1 increase (2 dc in next stitch) around the edge to slightly flare out the brim.
- Total: 144 dc.
Rounds 20–22:
- Work 2–3 straight rounds of dc in each st.
- If you want a wider brim or extra flair, add more increase rounds (e.g., 2 dc in every 3rd st).
Step 4: Finishing
- Fasten Off: Once the brim is complete, cut the yarn and secure.
- Weave in Ends: Use the darning needle to hide all loose ends securely.
Conclusion
Congratulations! You’ve completed your Checkered Bucket Hat. The alternating colors bring out a stylish checkered pattern, and the flared brim adds a fun touch. This design is versatile, lightweight, and perfect for sunny days at the beach or a casual outing!

Important Notes
- Blocking: Lightly block the hat to shape the crown and brim neatly.
- Tension Adjustment: Ensure consistent tension throughout, especially when carrying the yarn for seamless color changes.
- Sizing: You can adjust the circumference by adding or reducing increase rounds.
Tips for Enhanced Customization
- Additions: Attach a decorative flower or brooch for a unique touch.
- Color Variation: Experiment with multicolor yarns or gradients to create a variety of styles.
- Fabric Lining: Sew a lightweight fabric lining inside for additional stability and comfort.


Leave a Reply