

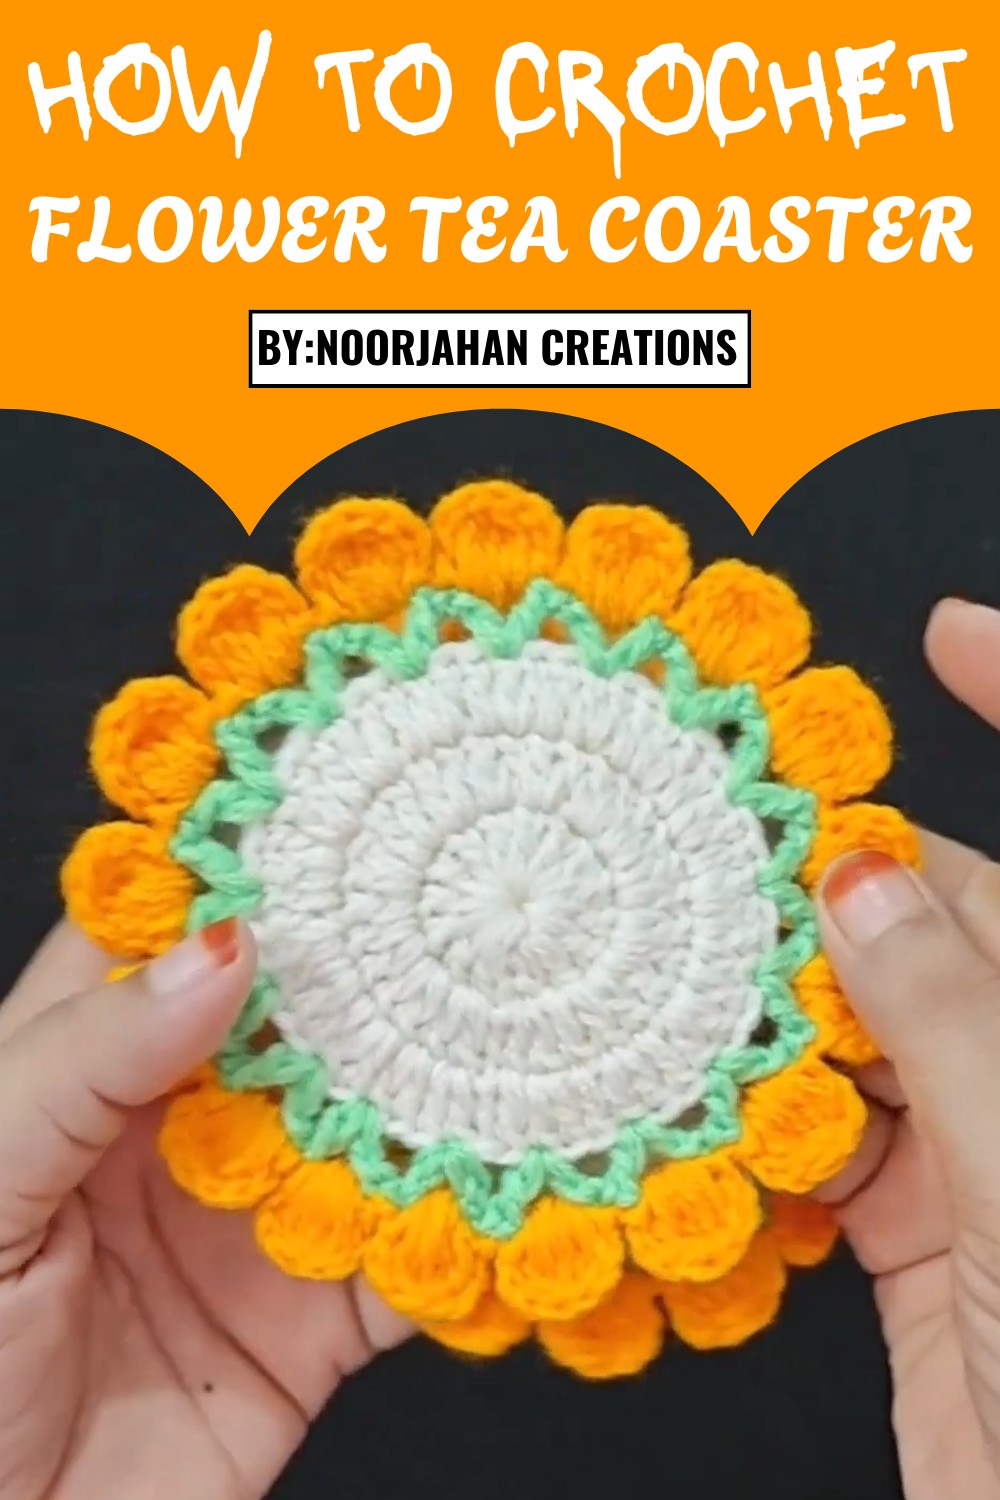
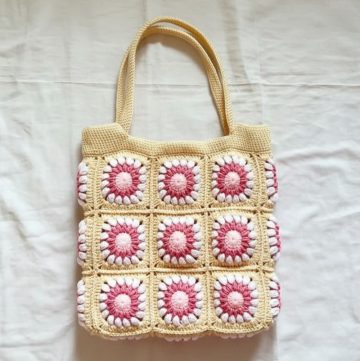
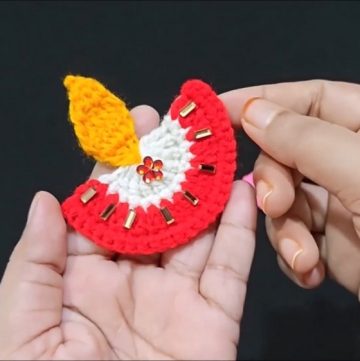
Protect your table in style with colorful crochet flower tea coaster that add a cozy touch to tea time and make every moment feel special.
Bring the beauty of flowers into your home with these lovely handmade coasters. This is don’t just protect your table; they make everything look more cheerful and cozy. You can use them during tea time, for family meals, or to decorate your room. The crochet flower tea coaster pattern is a wonderful way to show care and creativity. Its great for adding color and happiness to your table, giving as a special gift, or even just making your kitchen pretty.
Vibrant Crochet Flower Tea Coaster Pattern for Tea Gatherings
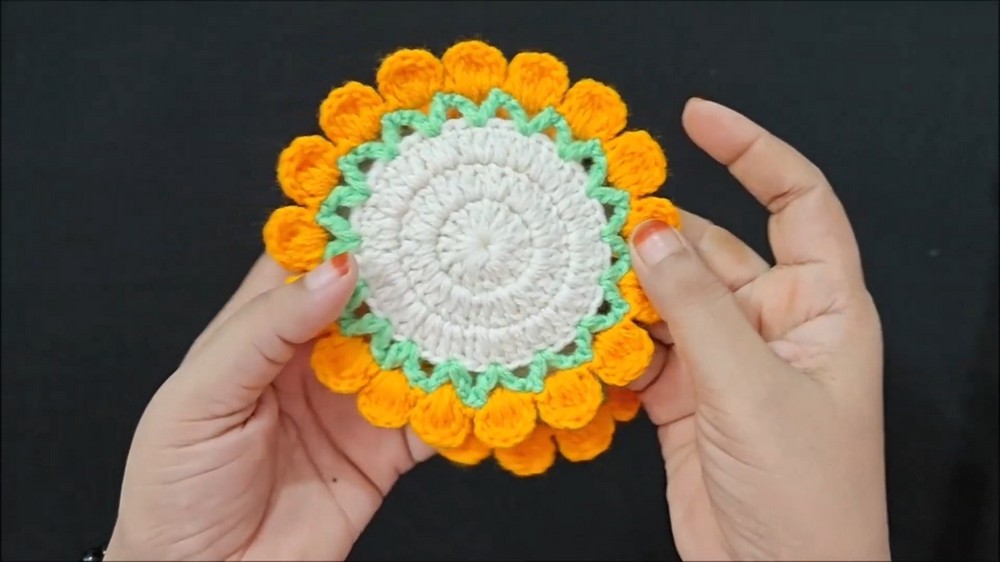
Each one is soft, colorful, and full of love. This coaster make your tea moments extra special and your home full of beauty. If you want something simple, colorful, and beautiful, this floral design are perfect for you. Keep your table safe and enjoy the little joys of handmade art every day.
Materials List
Prepare the following materials before starting:
- Yarn:
- Two-ply yarn doubled or medium-weight yarn (#4).
- Colors:
- Primary color for the circular center.
- Contrasting colors for the border and leaves (e.g., red, green, yellow).
- Crochet Hook: US 3.0 mm (Size D) or size recommended for your yarn.
- Tapestry Needle: For weaving ends and securing loose threads.
- Scissors: For cutting yarn.
Optional Embellishments:
- Pearls, beads, or stones for additional decoration.
Key Abbreviations
This pattern uses US crochet terminology:
- ch: Chain
- sc: Single Crochet
- dc: Double Crochet
- sl st: Slip Stitch
- yo: Yarn Over
- st(s): Stitch(es)
- rep: Repeat
- [ ]: Work instructions in brackets within the same stitch or sequence as specified.
Special Notes
- Skill Level: Beginner to intermediate-friendly. Perfect for learning increasing and layering techniques.
- Adjustments: You can change the number of leaves, rows, or colors to suit your design preferences.
- Joining Technique: Slip stitches are used to seamlessly connect rows and decorative layers.
- Shape Note: The motif naturally curves as a bowl. Spread and flatten as needed during assembly.
Step-by-Step Instructions
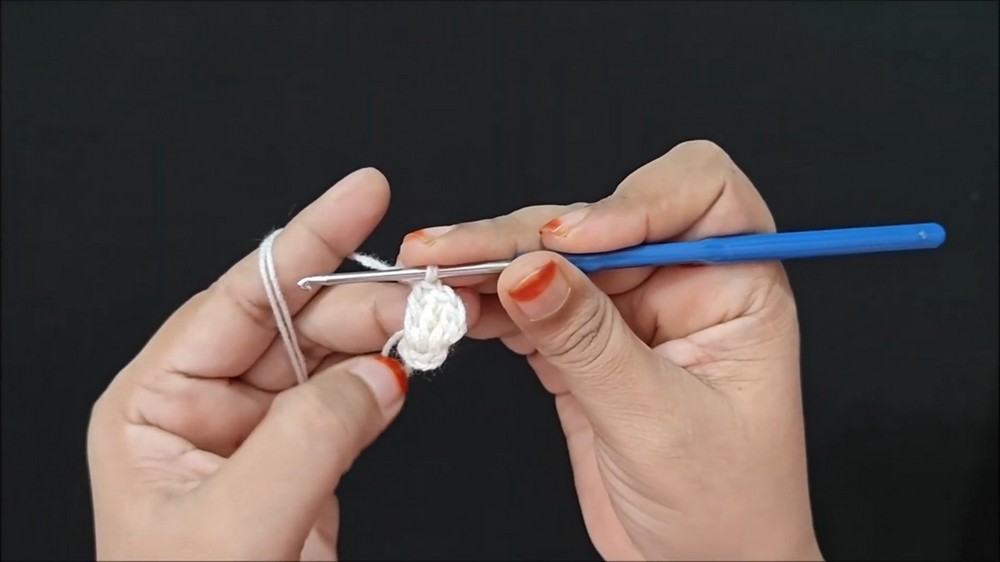
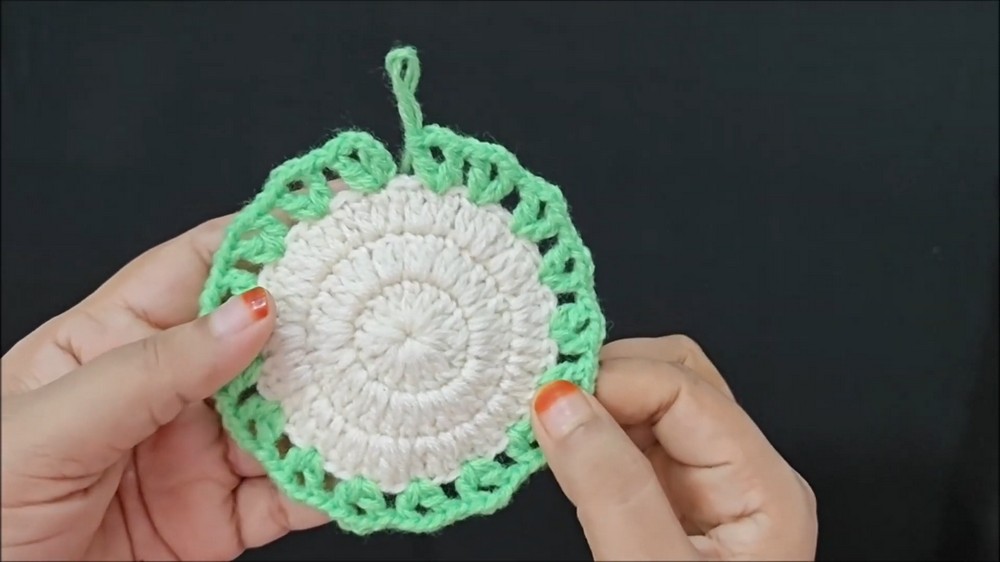
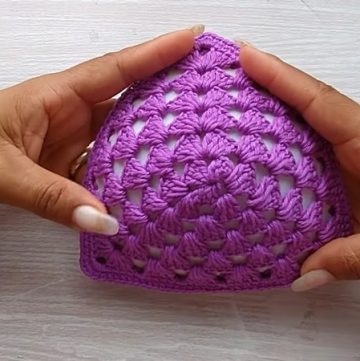
1. Create the Foundation Circle
Round 1:
- Begin with a slip knot or create a magic ring. Alternatively, make 4 chains and sl st into the first chain to form a loop.
- Ch 2 (counts as the first dc).
- Work 15 dc into the loop.
- Including the starting ch-2, you should have 16 stitches in total.
- Pull the yarn tail to tighten the loop, and close the round with a sl st into the top of the initial ch-2.
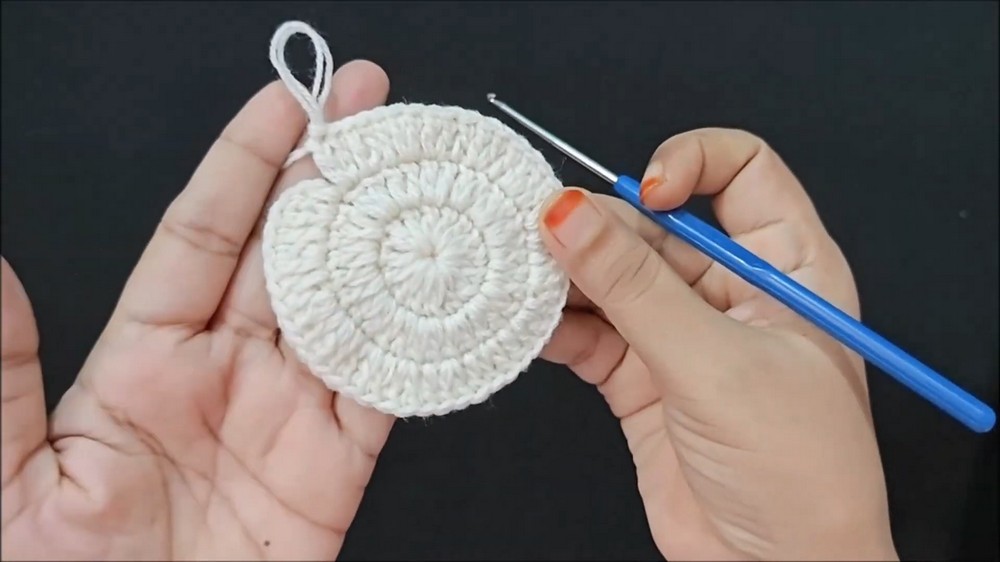
2. Second Row: Increase
Round 2:
- Ch 2 (counts as the first dc).
- Work 2 dc into each stitch around the circle:
- Insert your hook into the first stitch, work 2 dc into the same st.
- Repeat for all sts in the round.
- Total stitches: 32 dc.
- Join the round with a sl st into the top of the initial ch-2.
3. Third Row: Expand for Width
Round 3:
- Ch 2 (counts as the first dc).
- Alternate between 1 dc in the next stitch and 2 dc in the next stitch:
- Work 1 dc into the first st.
- In the next st, work 2 dc.
- Repeat this pattern around the circle for even expansion.
- Total stitches: 50 dc.
- Join the round with a sl st into the top of the initial ch-2.
4. Add Decorative Green Border
Setting up the Green Border:
- Attach green yarn with a sl st to any stitch in the outer edge of the 3rd row.
- Ch 1, work two sc in every stitch around the circle:
- Insert the hook into the next stitch, work 1 sc.
- Repeat, adding two sc per stitch to maintain even coverage.
- After completing the round, sl st into the starting point.
Lacy Border (Optional):
- Ch 2, skip 1 stitch, and work sc into the next stitch.
- Repeat the process to create alternating spaces for a decorative effect.
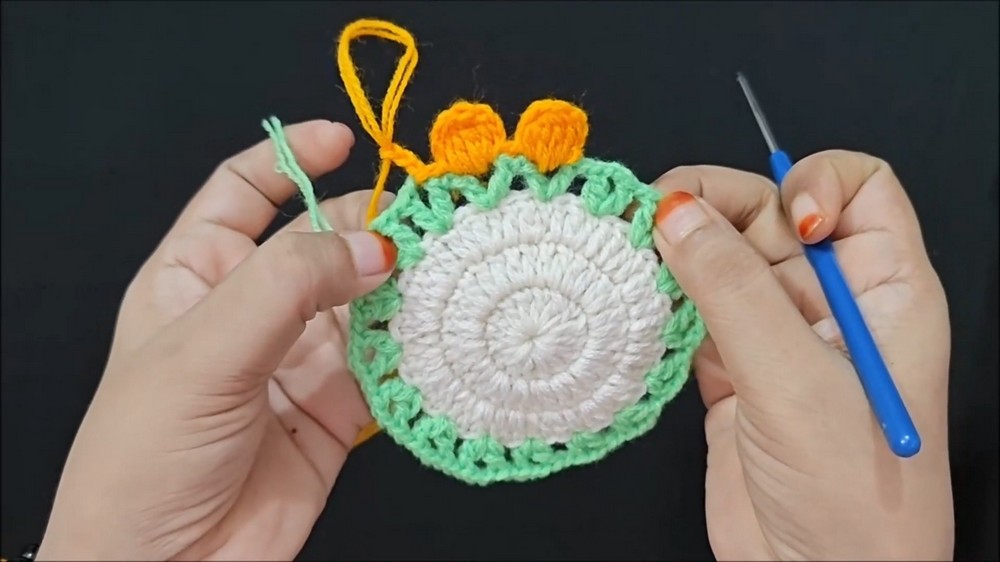
5. Add Flower Leaves
Setting up the Leaves:
- Attach yellow yarn with a sl st to the green border at any desired point.
- Ch 3, and create a double crochet leaf cluster in the same stitch:
- Yo, insert your hook, and pull up a loop.
- Yo, pull through two loops.
- Repeat this step four more times in the same stitch. You will have multiple loops on the hook.
Complete a Leaf:
- Yo and pull through all loops at once to close the leaf cluster.
- Ch 3, and sl st into the next space in the green border.
- Repeat this process for a total of 17 leaves, spaced evenly around the motif.
6. Finishing Touches
- After completing the last leaf, sl st into the starting point.
- Fasten off and leave a tail of approximately 3 inches.
- Use a tapestry needle to weave in the loose ends securely at the back.
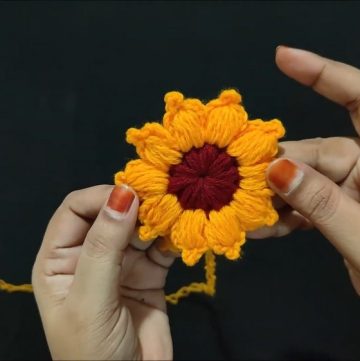
Conclusion
Your Decorative Flower Motif with Leaves is now complete! This versatile crochet design is perfect for enhancing home décor, garments, or accessories. Its colorful layers and textured leaves create a unique appeal that can be further customized with embellishments.
Pattern Corrections
If the motif appears misaligned or uneven:
- Ensure that the increases in the second and third rows are distributed evenly to maintain the circular shape.
- For missed counts in the leaves, adjust spacing but ensure a total of 17 leaves as specified.
Bonus Tips
- Customization: Use metallic, gradient, or textured yarns for a unique design.
- Blocking: Lightly steam block the motif to relax the stitches and flatten the edges.
- Embellishments: Sew pearls, mirrors, or beads onto the center or edges for an elegant finish.
Leave a Reply