

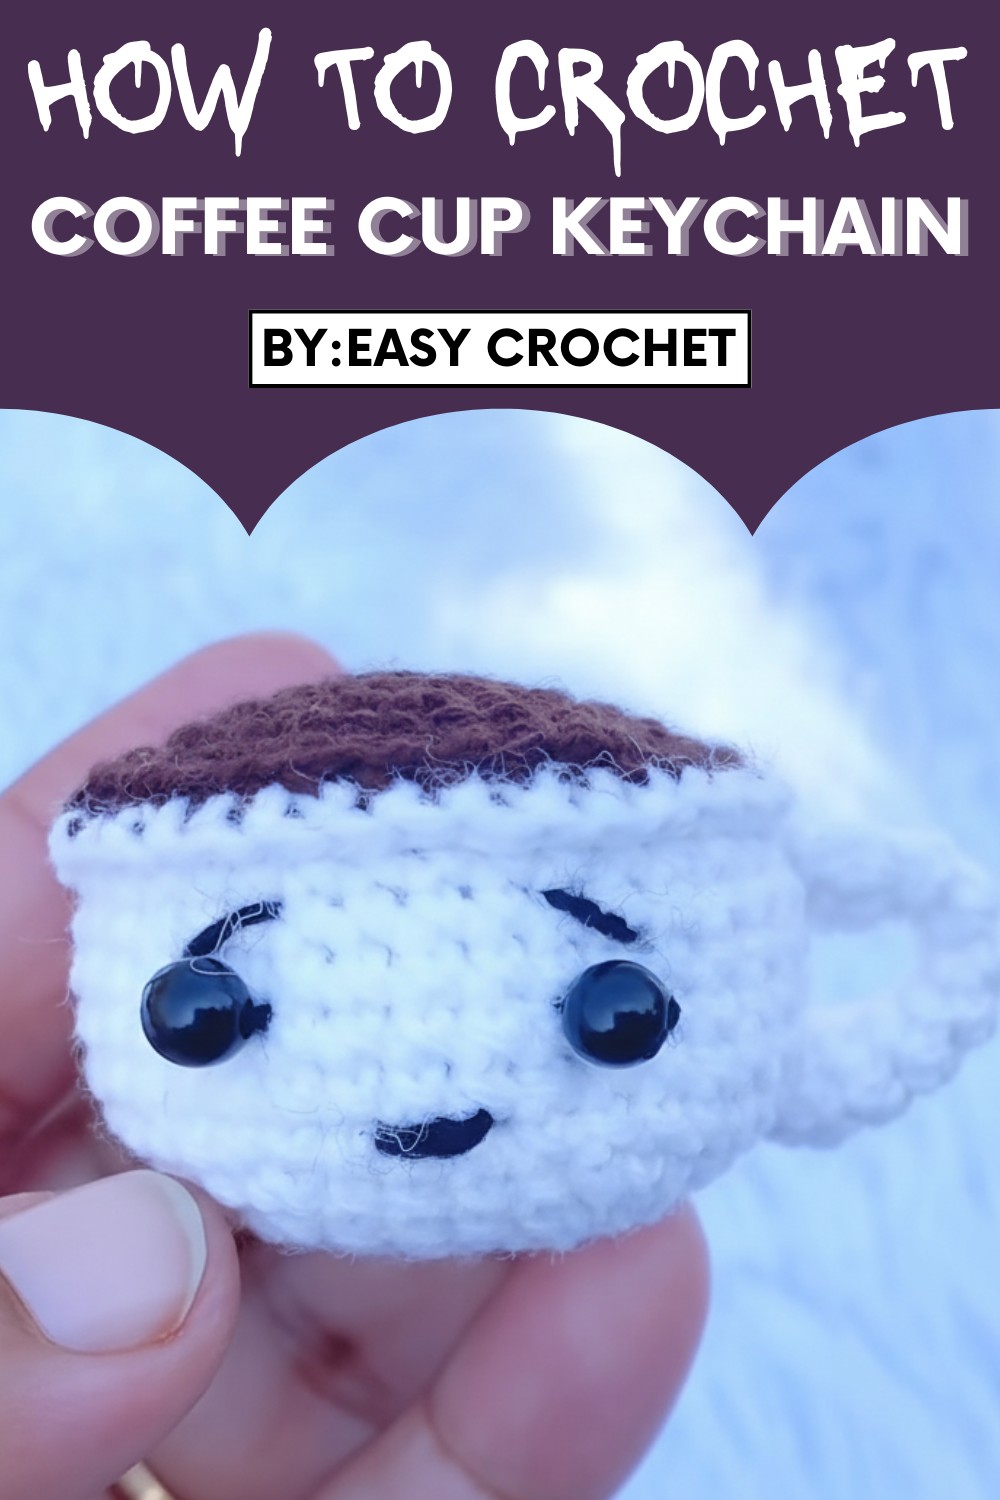
Give your keys a coffee twist with Crochet Coffee Cup Keychain Pattern that turn them into a cute accessory full of personality for everyone.
Get ready to dive into a fun and fabulous project with the Crochet Coffee Cup Keychain Pattern! This little gem is absolutely irresistible, just like your favorite cup of coffee. With its tiny, adorable design and fantastic detailing, it’s hard not to fall in love with this cute creation. Imagine the joy of turning a regular ball of yarn into a miniature coffee cup that you can proudly show off on your keys, bag, or backpack! It’s like carrying a piece of your favorite coffee shop wherever you go.
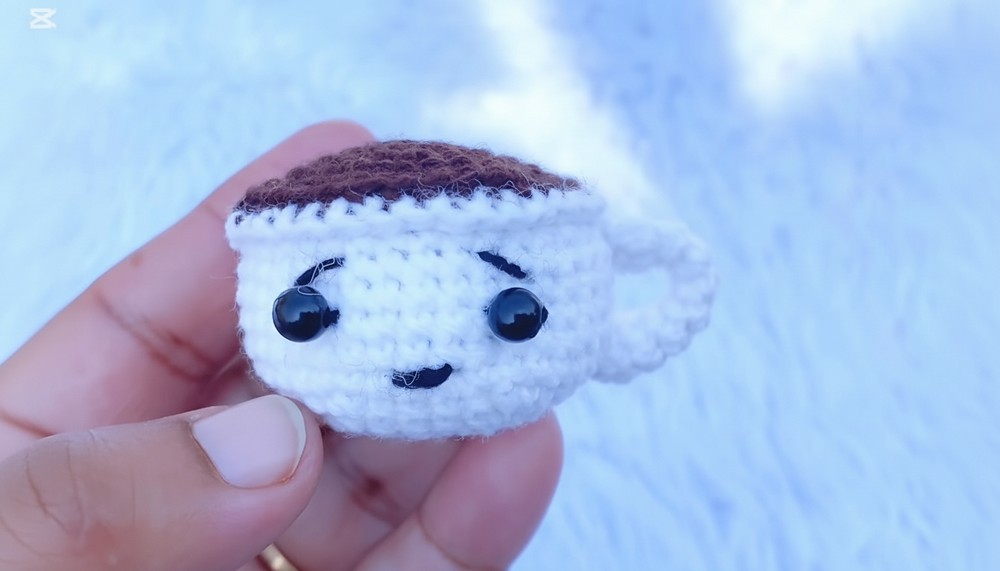
Fun Crochet Coffee Cup Keychain Pattern Perfect Bag or Purse Accent
You can make it as quirky and colorful as you like, adding a sprinkle of personality with vibrant yarns or playful accents. Perfect for gifts, party favors, or just keeping for yourself, this keychain combines creativity, usefulness, and cuteness in a way that makes every stitch feel totally worth it!
Materials List
Yarn:
- 3-ply yarn in three colors:
- White (cup body)
- Brown (lid)
- Black (optional detailing or embroidery)
Crochet Hook:
- 2.5 mm hook
Other Tools:
- Stuffing (Cotton or Fiberfill): For shaping the cup.
- Stitch Marker: Highly recommended for keeping track of rounds.
- Needle: For sewing parts together and weaving in ends.
- Scissors: For cutting yarn.
Key Abbreviations
- MR: Magic Ring
- ch: Chain
- sl st: Slip Stitch
- sc: Single Crochet
- inc: Increase (two single crochets in the same stitch)
- blo: Back Loop Only
- flo: Front Loop Only
Special Notes
- The cup is made in multiple parts: the white body, brown lid, and a handle. Assemble at the end.
- Work continuous rounds unless otherwise noted. Use a stitch marker for accuracy.
- Fill the cup with stuffing gradually as you crochet the body to achieve the right shape.
Pattern Instructions
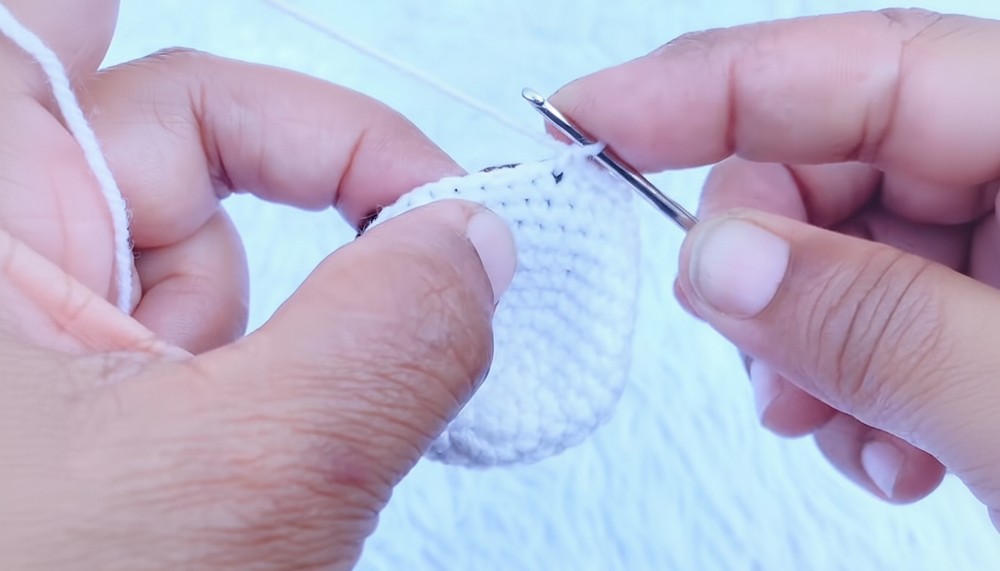
1. Cup Body (White)
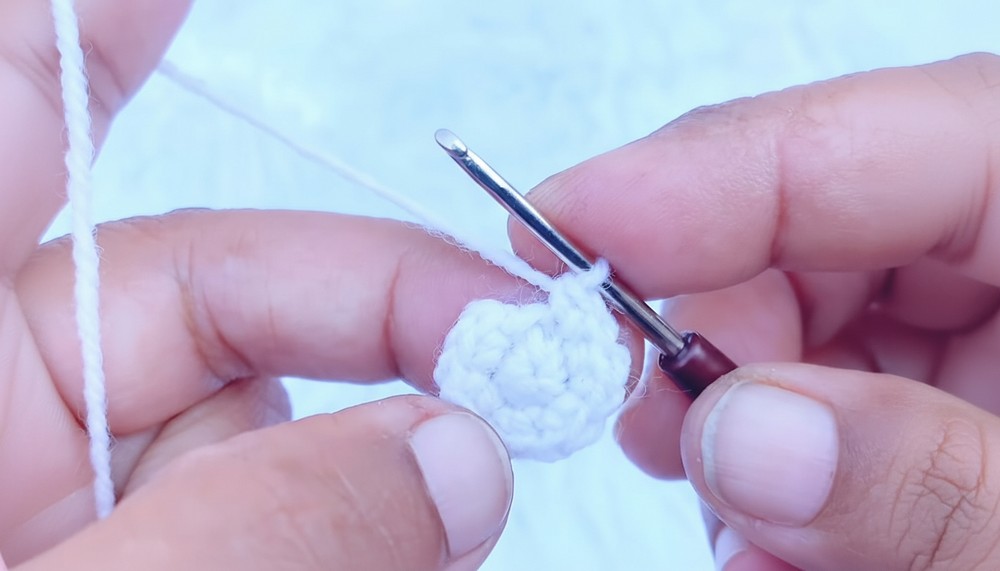
Base of the Cup
- Round 1:
- Start with a Magic Ring (MR).
- Work 6 sc into the MR, and pull tight. (6 sts)
- Round 2:
- Ch 1, 2 sc in each stitch around. (12 sts)
- Round 3:
- Ch 1, alternate 2 sc in one stitch, 1 sc in the next stitch around. (18 sts)
- Round 4:
- Ch 1, alternate 2 sc in one stitch, 1 sc in the next 2 stitches around. (24 sts)
- Round 5:
- Ch 1, alternate 2 sc in one stitch, 1 sc in the next 3 stitches around. (30 sts)
- Round 6:
- Ch 1, alternate 2 sc in one stitch, 1 sc in the next 4 stitches around. (36 sts)
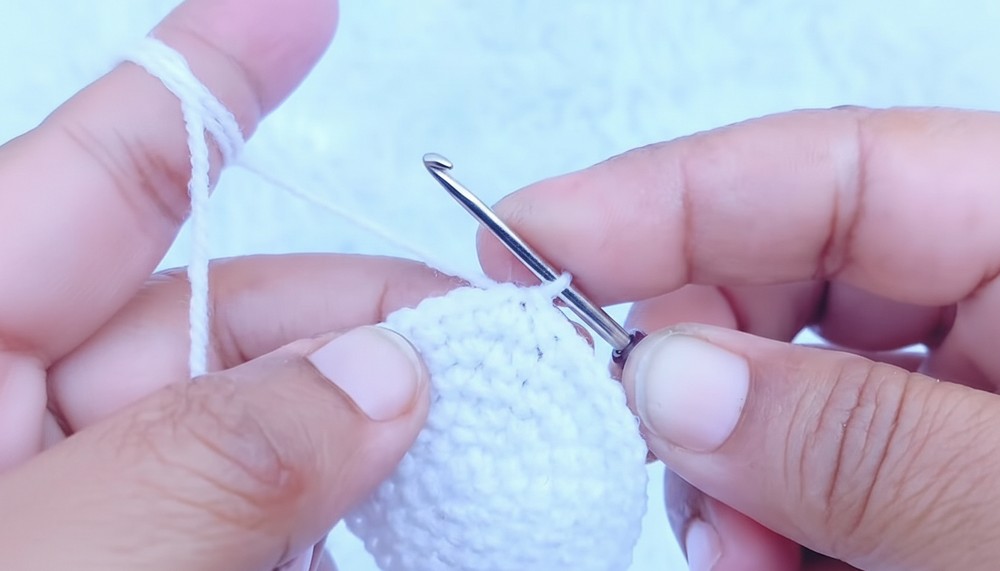
Height of the Cup
- Rounds 7–12:
- Work 1 sc in each stitch around. (36 sts per round)
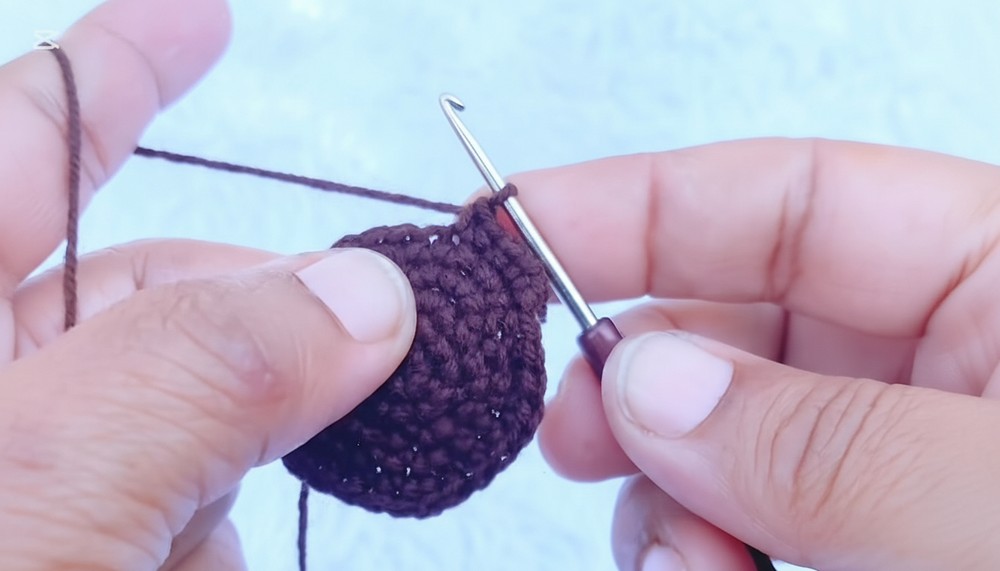
2. Lid (Brown)
The lid is worked just like the cup body base, up to Round 6:
- Round 1:
- Start with a MR, work 6 sc into the MR, and pull tight. (6 sts)
- Round 2:
- Ch 1, 2 sc into each stitch around. (12 sts)
- Round 3:
- Ch 1, alternate 2 sc into one stitch, 1 sc in the next stitch around. (18 sts)
- Round 4:
- Ch 1, alternate 2 sc into one stitch, 1 sc in the next 2 stitches around. (24 sts)
- Round 5:
- Ch 1, alternate 2 sc into one stitch, 1 sc in the next 3 stitches around. (30 sts)
- Round 6:
- Ch 1, alternate 2 sc into one stitch, 1 sc in the next 4 stitches around. (36 sts)
- DO NOT cut the yarn here if you want to join the lid directly to the cup.
3. Joining the Lid and Cup
- Front Loops for Joining:
- Place the lid on top of the cup body. Ensure both are perfectly aligned.
- Insert your hook through the front loop (flo) of the lid and the complete stitch of the cup.
- Work 1 sc in each stitch around to attach the lid.
- Stuffing:
- Before closing completely, stuff the cup with cotton or fiberfill to retain its shape.
- Fasten Off:
- Once the lid is securely attached, fasten off and weave in the ends.
4. Handle (White)
- Round 1:
- Start with a Magic Ring (MR).
- Work 5 sc into the MR, and pull tight. (5 sts)
- Rounds 2–8:
- Work 5 sc in continuous rounds. (5 sts per round)
- Fasten Off:
- Leave a long tail for sewing.
5. Assembly
- Attaching the Handle:
- Position the handle on the side of the cup.
- Sew it securely at both ends to the cup using a tapestry needle. Ensure it is firmly attached for durability.
- Optional Detailing:
- Use black yarn or embroidery thread to embroider decorative designs (e.g., coffee steam, smiley faces) on the cup for added charm.
Conclusion
Congratulations! You’ve successfully made a crochet coffee cup. It’s a fantastic project suitable for gifting or decoration. Experiment with colors to create cups for various themes (e.g., holiday colors or vibrant tones).
Pattern Corrections
- Stitch Count: If you notice a mismatch in stitch count during the rounds, double-check the increases. Adjust by adding or removing stitches as needed to stay on track.
- Joining Lid and Cup: Ensure the lid and cup are aligned perfectly for a clean, polished look.
Tips
- Consistent Tension: Keep your stitches consistent to achieve a smooth, uniform finish.
- Color Variation: Use different yarn colors for the lid and cup to create additional fun designs (e.g., whipped cream lids or latte art).
- Customize the Handle: If you want a thicker handle, increase the number of stitches in the MR to start with more than 5.


Leave a Reply