

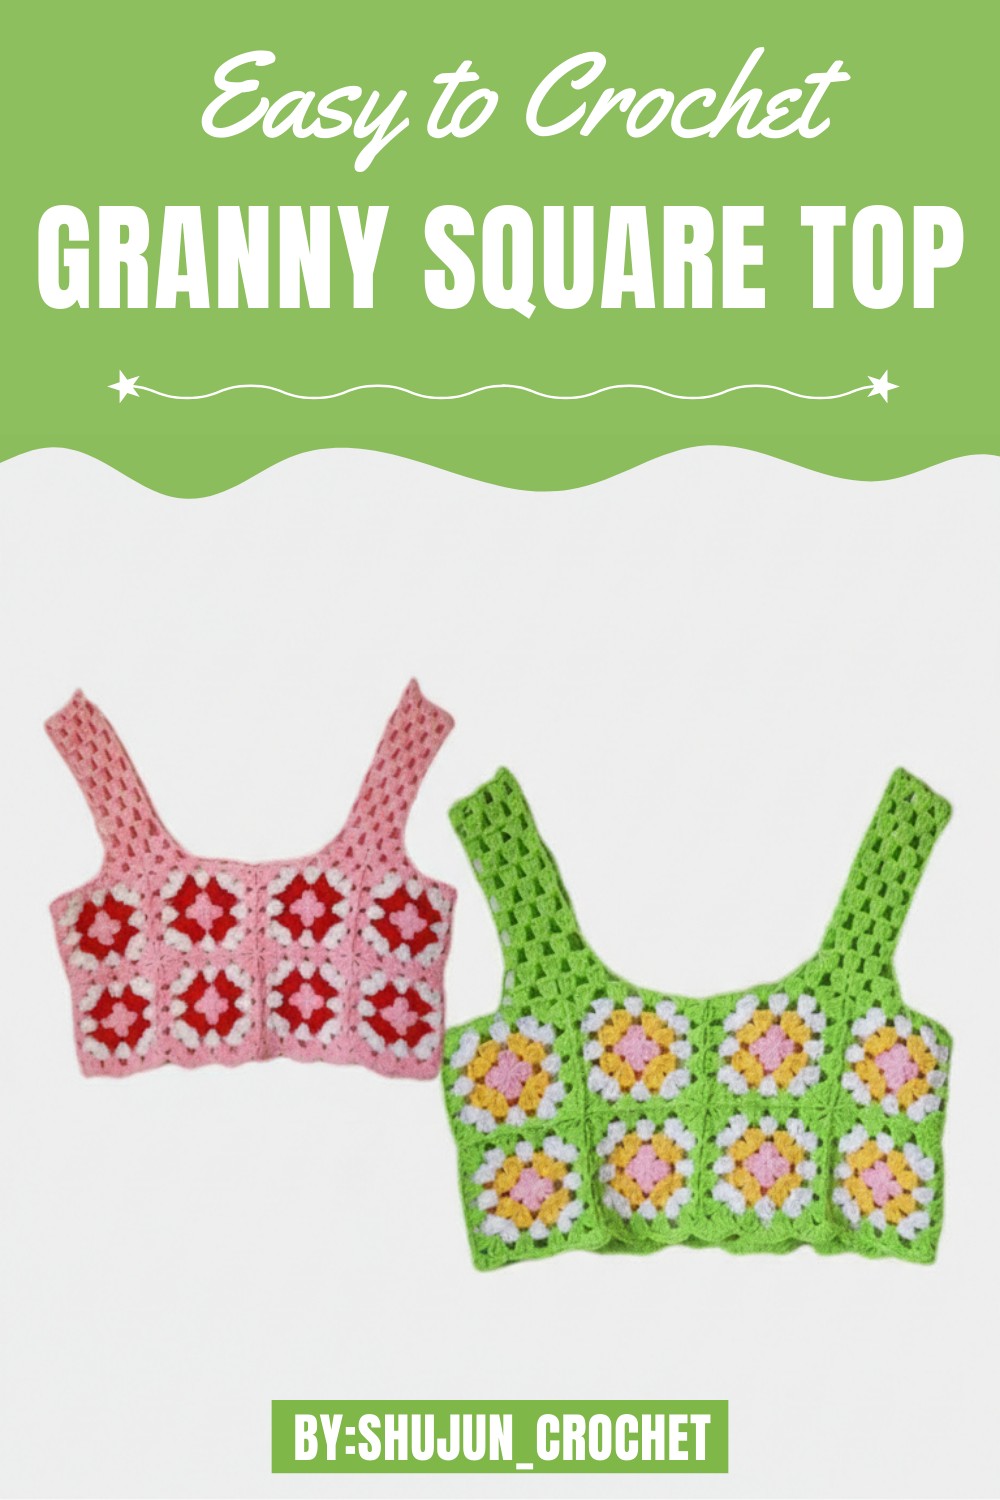
Nothing brings a touch of individuality to your wardrobe like a handmade crochet top. Designed with vibrant granny squares, this versatile pattern is ideal for sunny days, casual outings, or layering over your favorite outfit. Lightweight yet stylish, it allows you to express your personality with playful color combinations and unique design choices. Perfect for beginners and seasoned crocheters alike, this pattern is both a creative outlet and a functional addition to your clothing collection. Not only does it provide a modern boho-chic vibe, but it also ensures comfort and breathability, making it an excellent choice for warmer weather.
Easy Crochet Granny Square Top Pattern for Vibrant Summer Outfits
This pattern stands out for its adaptability—you can easily adjust the number of squares or modify strap lengths to fit any size or style. Its decorative scalloped edging adds an elegant touch, making the finished piece look polished and professional. Beyond being a fun project, it’s a wonderful way to refine your crochet skills, such as mastering double crochets, slip stitches, and color changes.
Whether you wear it as a statement summer top or a stylish layer, this pattern is sure to draw compliments and boost your crochet confidence. Versatile, beautiful, and customizable, it’s a must-try for crochet enthusiasts looking for wearable projects.
Materials Needed
- Yarn in multiple colors (pick your preferred color palette for the granny squares)
- Crochet hook (matching the yarn weight)
- Scissors
- Stitch markers (optional for organization)
- Tapestry needle for weaving ends
Step-by-Step Crochet Pattern
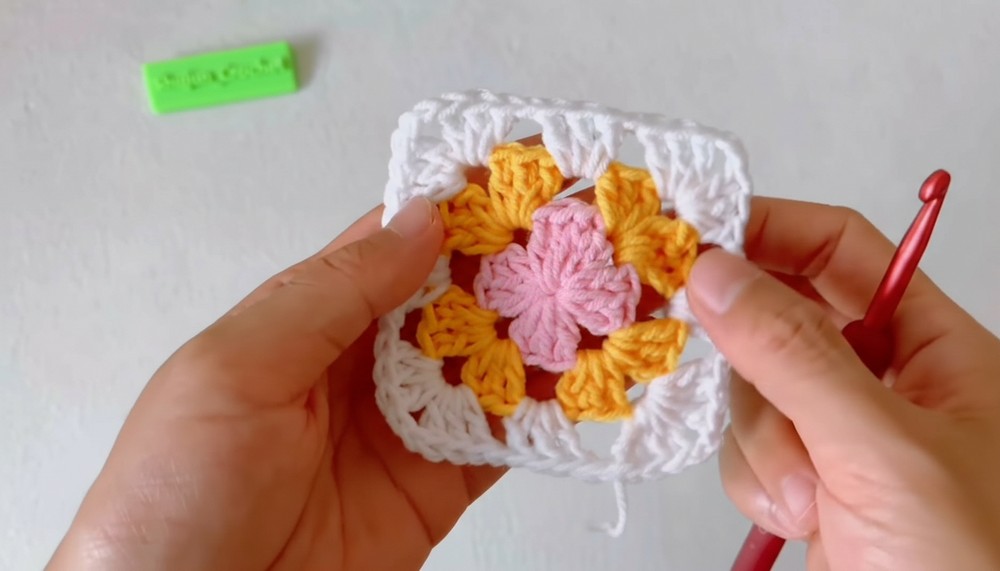
Granny Square Base
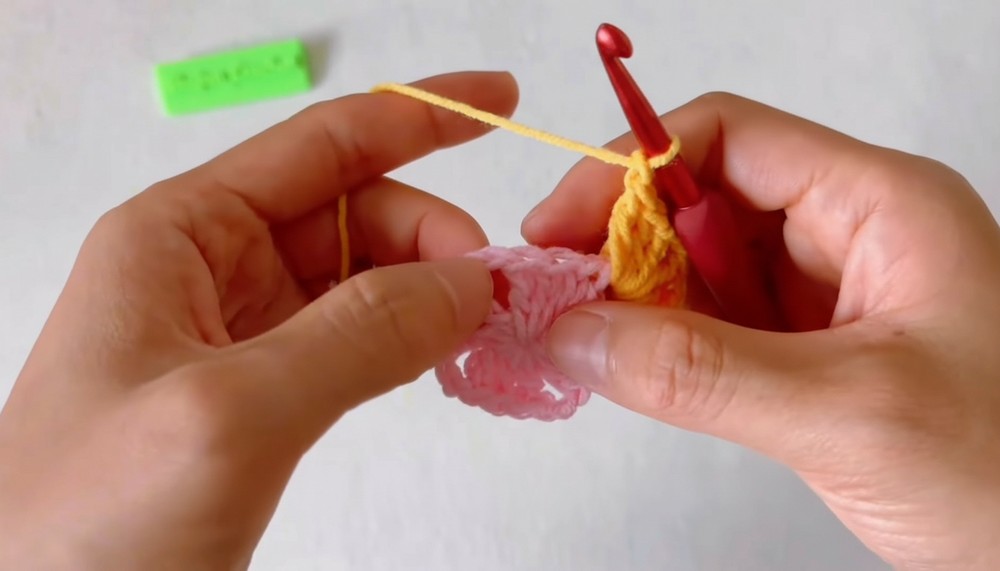
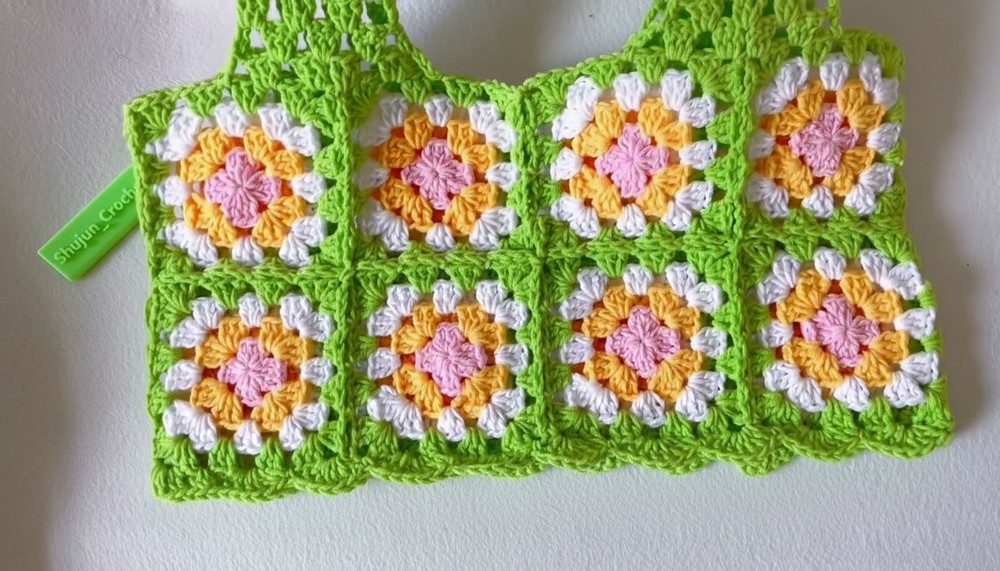
- Row 1: Begin with a magic circle. Chain 3, then crochet 3 double crochets into the circle. Chain 2, repeat the pattern (3 double crochets followed by chaining 2) three more times to form 4 corners. Close the loop with a slip stitch in the first stitch. Chain 1 and cut the yarn.
- Row 2: Attach a new yarn color at any corner. Chain 3, make 3 double crochets in the corner, chain 2, then add 3 more double crochets in the same corner. Chain 1, move to the next corner, and repeat (3 double crochets, chain 2, 3 double crochets). Continue for all corners in the square. Close with a slip stitch, cut the yarn.
- Row 3 & Row 4: Repeat the same steps as row 2, alternating colors for each row. Build each square into a full-sized granny square.
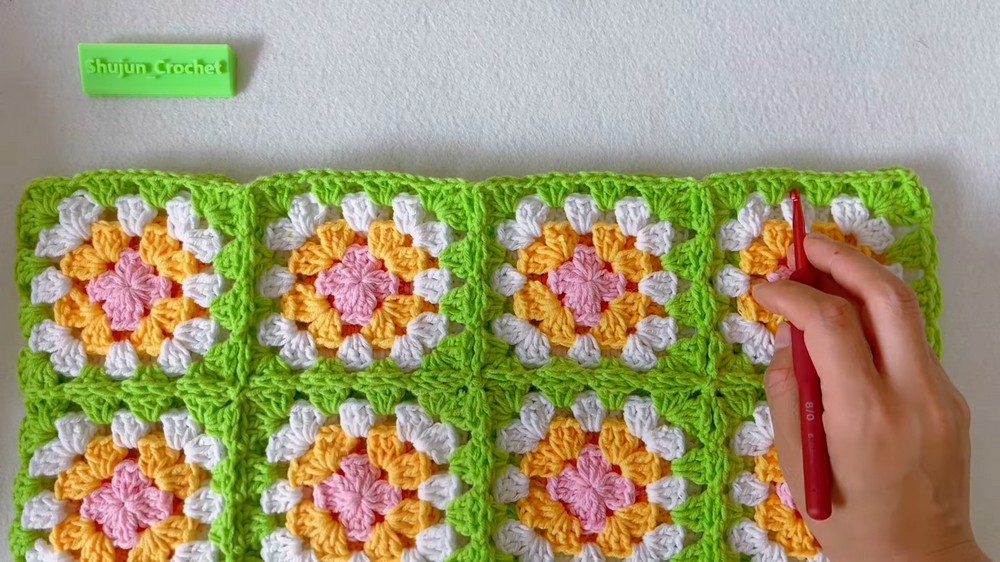
Connecting Granny Squares
- Work on the final row (Row 4) of your second granny square, aligning it with your first completed square.
- In the first corner of the new square, crochet 3 double crochets. Align the back sides of both squares and make a slip stitch into the corner of the first square. Then continue to crochet 3 double crochets back into the corner of the second square.
- Repeat the process: slip stitch into the chained spaces of the first square, then crochet back into the second one with 3 double crochets, creating a seamless connection.
- Once connected, stretch all your granny squares gently to flatten them. You will need 16 squares for the full top.

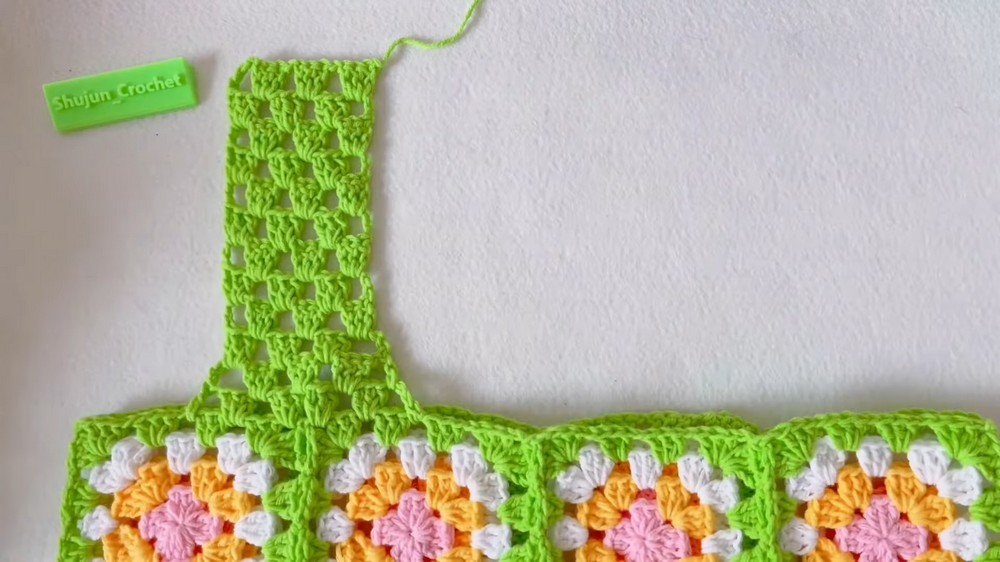
Straps
- Attach yarn to a corner of the assembled squares to start the strap. Make a single crochet into the corner, chain 3, then crochet 3 double crochets into the next chained space. Chain 1, and repeat (3 double crochets and chain 1) until the end of the first row.
- For Row 2: Chain 4, turn your work, then crochet 3 double crochets into the previous chained space. Chain 1 and repeat until the end.
- Continue adding rows until you achieve the desired strap length for your top. The straps for both the front and back are made separately and later connected by repeating the same stitching technique with slip stitches.
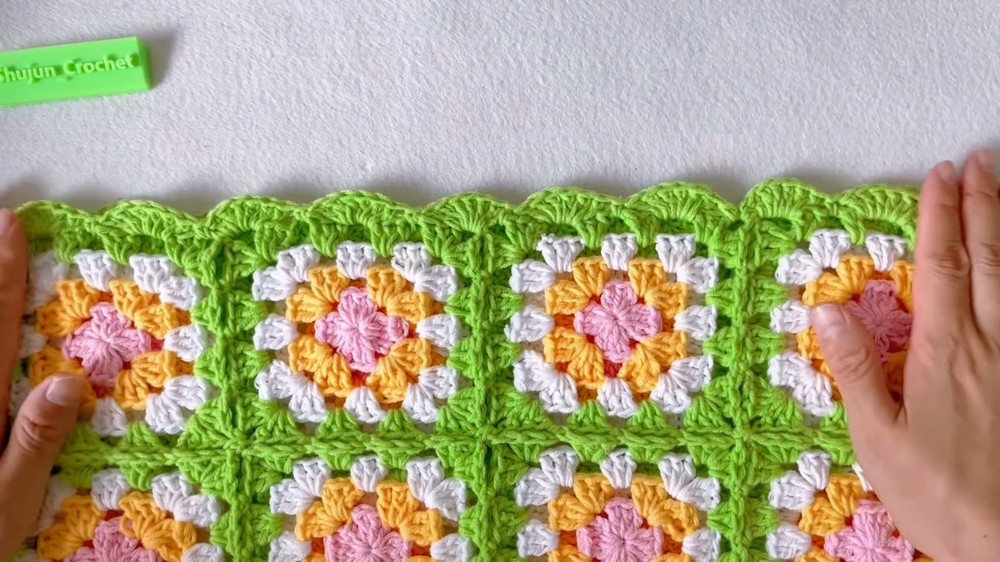
Bottom Decoration
- Start at the bottom edge by attaching yarn at a corner. Crochet 1 single stitch, followed by 6 double crochets into the next chained space.
- Repeat the pattern (1 single crochet followed by 6 double crochets) until you’ve completed the bottom edge.
- Finish with a slip stitch, cut the yarn, and weave in any remaining loose ends for a clean finish.
Special Features
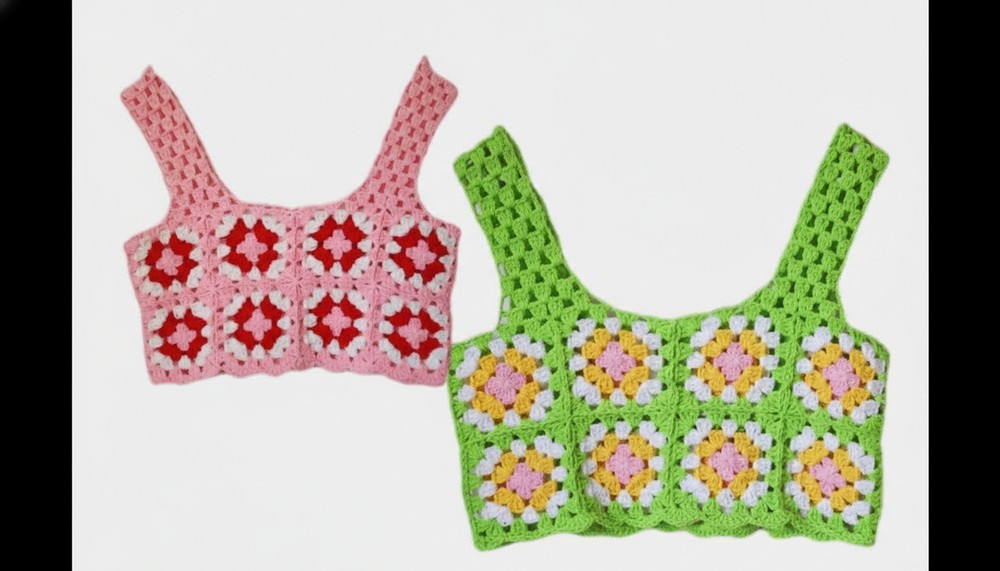
- Uses alternating rows of colors to make vibrant granny squares that pop.
- Adjustable: You can add or remove granny squares depending on the fit or desired look.
- Includes decorative details like straps and a scalloped bottom edge for a polished design.
Level of Difficulty
The project is beginner-friendly but requires a basic understanding of techniques like double crochets, chains, slip stitches, and attaching yarn between squares. The tutor simplifies the process by breaking the steps into manageable sections, making it easy even for intermediate crocheters.
Tutor’s Suggestions
- Keep the tension consistent: When crocheting rows or connecting squares, ensure your stitches are evenly spaced for a smoother finish.
- Stretch and flatten the squares after connecting: This ensures the top lies flat and looks symmetrical.
Uses
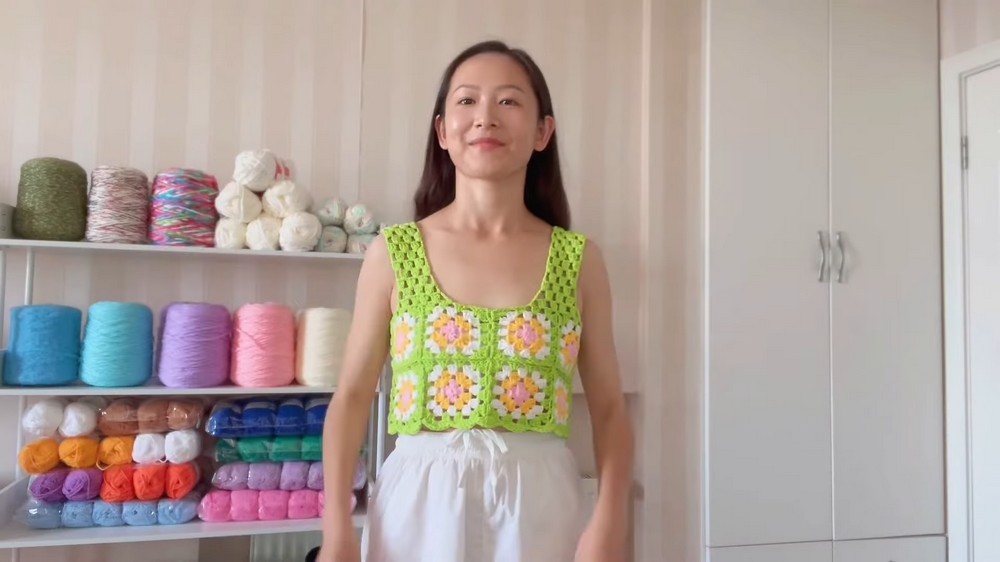
The granny square top is perfect for casual wear, summer outings, or layering over other outfits. It can also be styled up with accessories for a boho-chic look! The project allows for creativity, making it a personalized fashion item.
A Handy Tip
When making the straps, measure the length against your shoulder before finalizing, ensuring they won’t slip off or feel too tight. For a stronger hold, you can double-stitch the connections when attaching the straps to the top.
Conclusion
This granny square top is a blend of whimsy and timeless crochet techniques, giving you a stylish handmade addition to your wardrobe. The clear instructions from the tutorial make the process straightforward, with room for customization in colors and sizing. Whether you’re gifting it or wearing it yourself, this crochet top is sure to bring comfort and joy!

Leave a Reply