

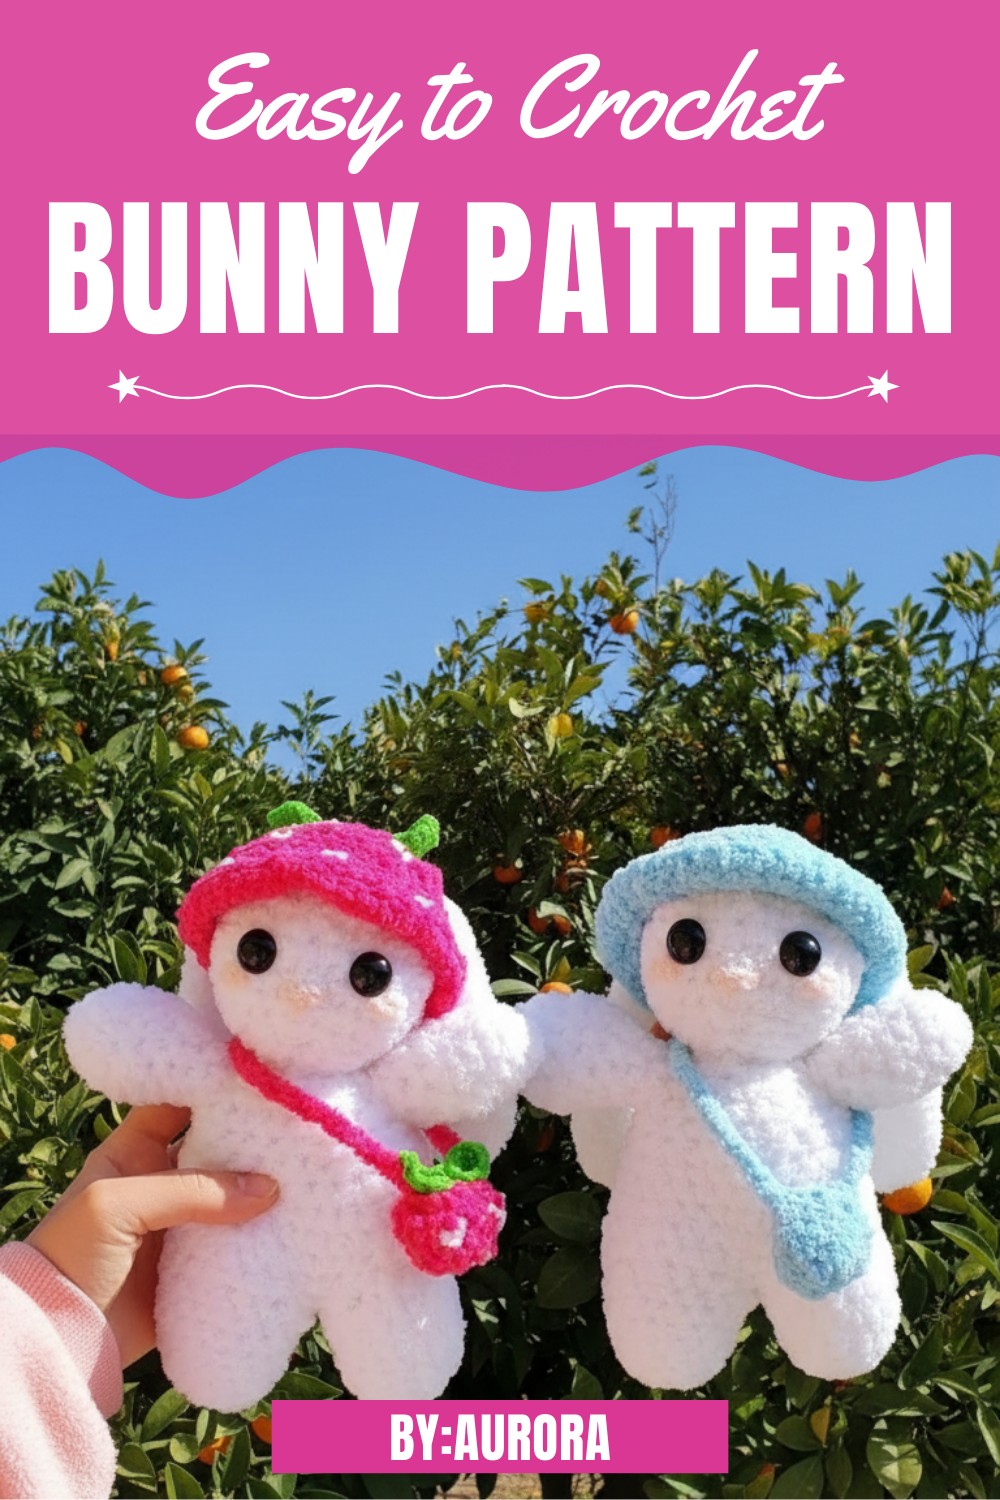
Crocheting a charming bunny complete with adorable details can be a delightful and rewarding experience for those who enjoy making handmade gifts or decorations. A completed crochet bunny pattern can serve as a thoughtful present for kids, a delightful keepsake for loved ones, or even as a charming piece to enhance seasonal decor, such as Easter or springtime displays. With the addition of swappable mini accessories, like hats and bags, the bunny’s look can be personalized for various occasions, making it a versatile and heartwarming project to bring smiles for years to come.
Simple Crochet Bunny Pattern Steps for Lovely Home Decor
To achieve the best results, ensure your stuffing is evenly distributed, and sew the components carefully for balanced placement. This crochet bunny pattern is perfect for those with intermediate skills who are looking to crochet an unforgettable keepsake.
Materials
- Yarn in different colors (main color, pink for a hat, green for leaves, etc.)
- Crochet hook (size suitable for your yarn)
- Fiberfill for stuffing
- Safety eyes
- Plastic sewing needle
- Stitch markers (bobby pins can also work)
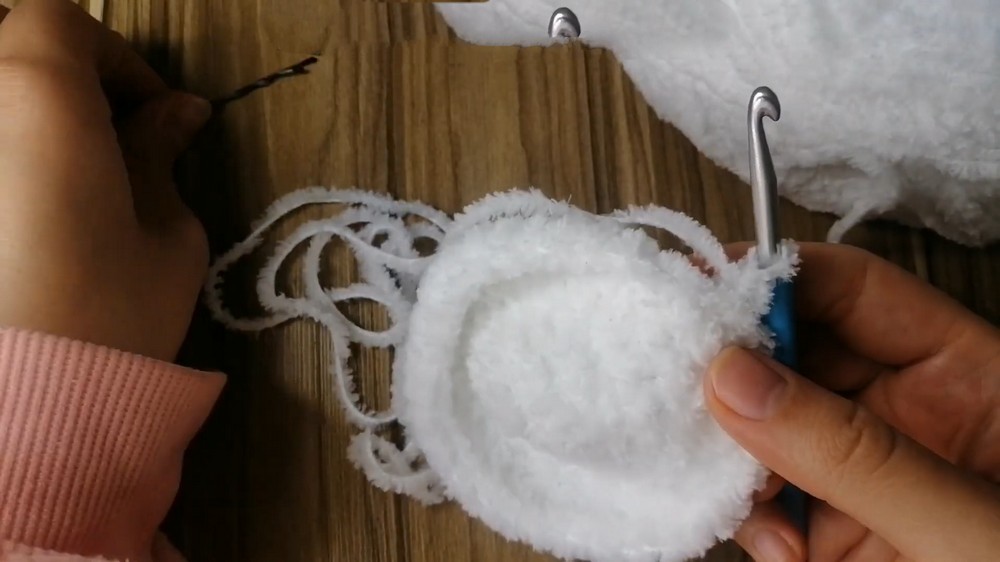
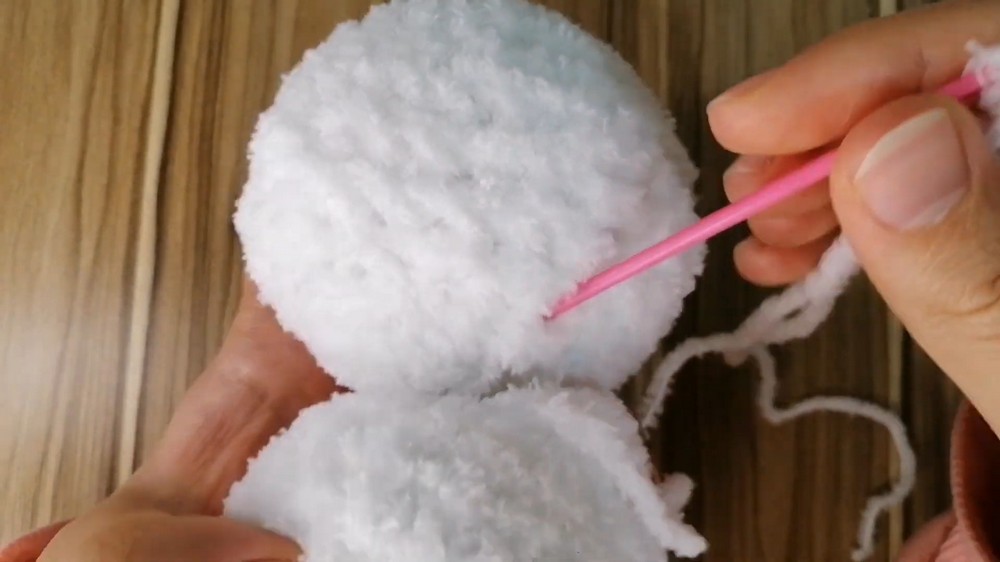
To begin, the head is worked using basic techniques starting with a magic ring and increasing stitches in each round to achieve the desired size.

If the magic ring is tricky, a “fake” magic ring can be used, where you begin with a slip knot and chain two before working single crochets into the first chain.

The body starts with two identical legs crafted separately and then combined to form the lower part of the bunny.
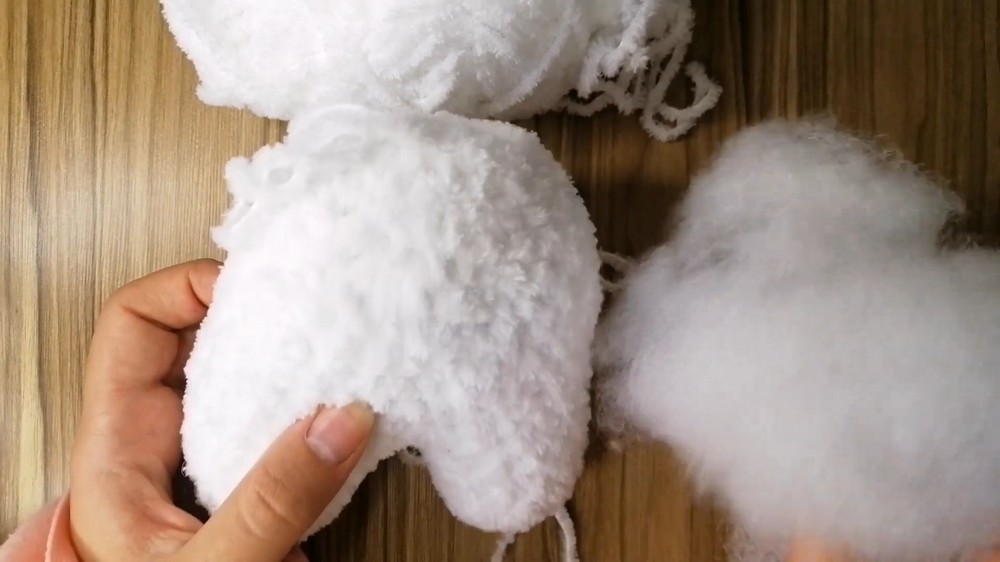
Once joined, the pattern continues with rows of single crochet stitches to shape the torso.
For the ears, arms, and accessories, similar foundational techniques are used—gradual increases, consistent single crochet stitches, and stuffing to give the parts structure and volume.
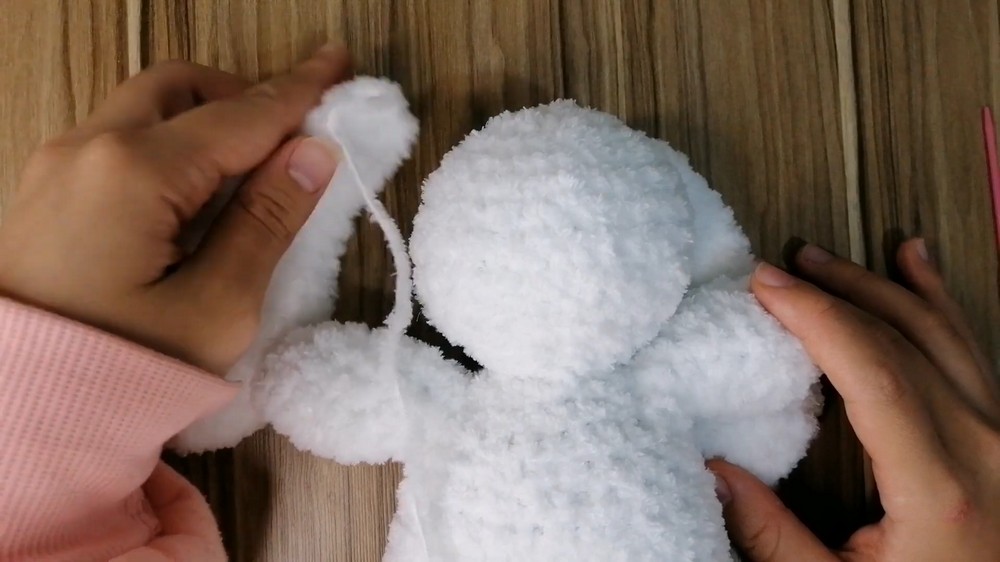
Attention to detail is essential, especially when sewing the parts together.
The tutor advises using markers to keep track of stitches and aligning each piece before attaching to ensure symmetry.
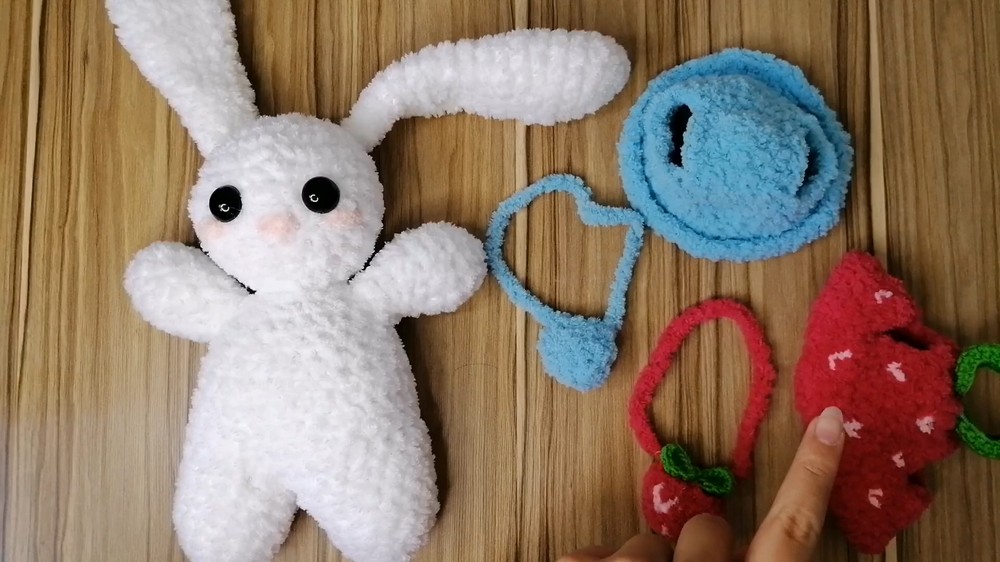
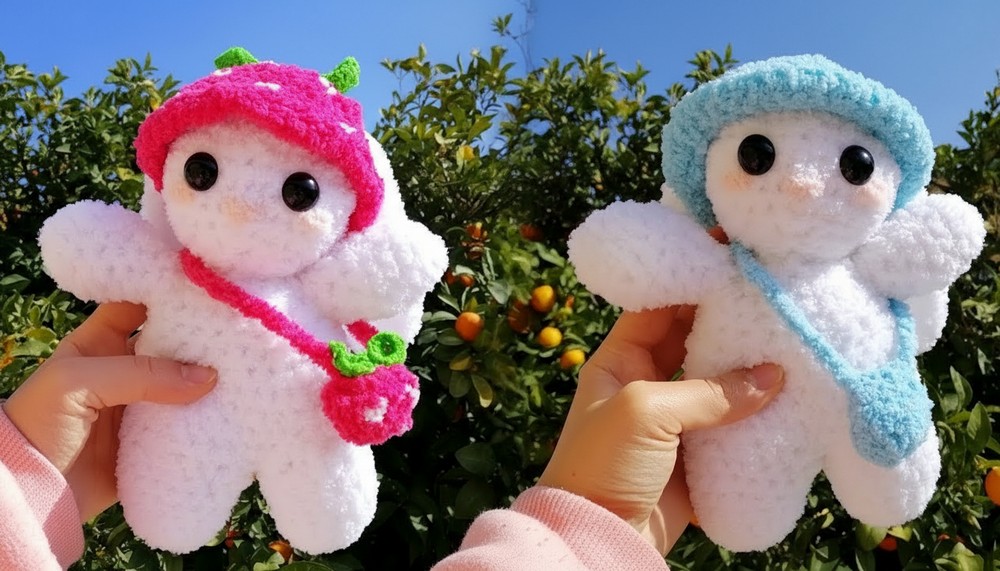
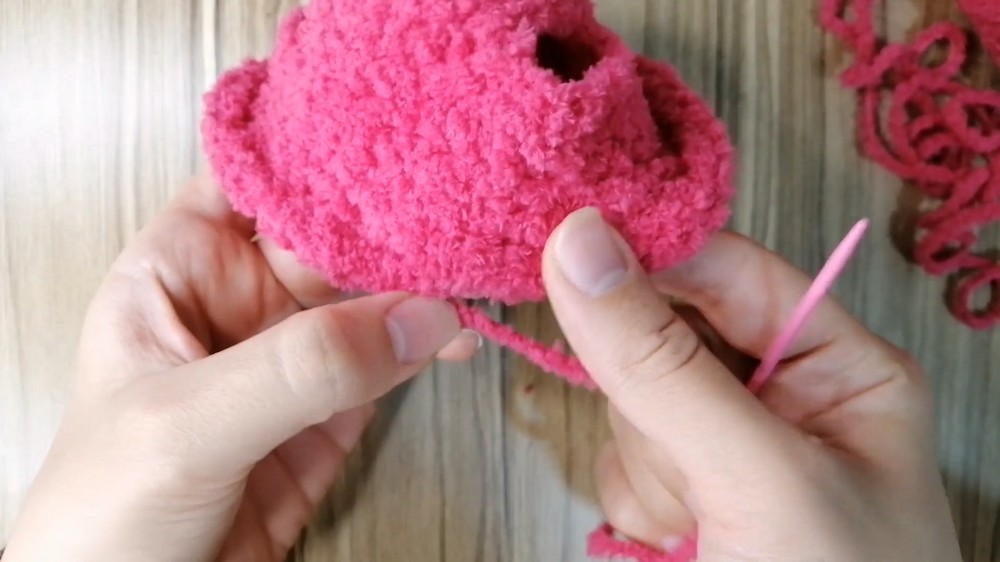
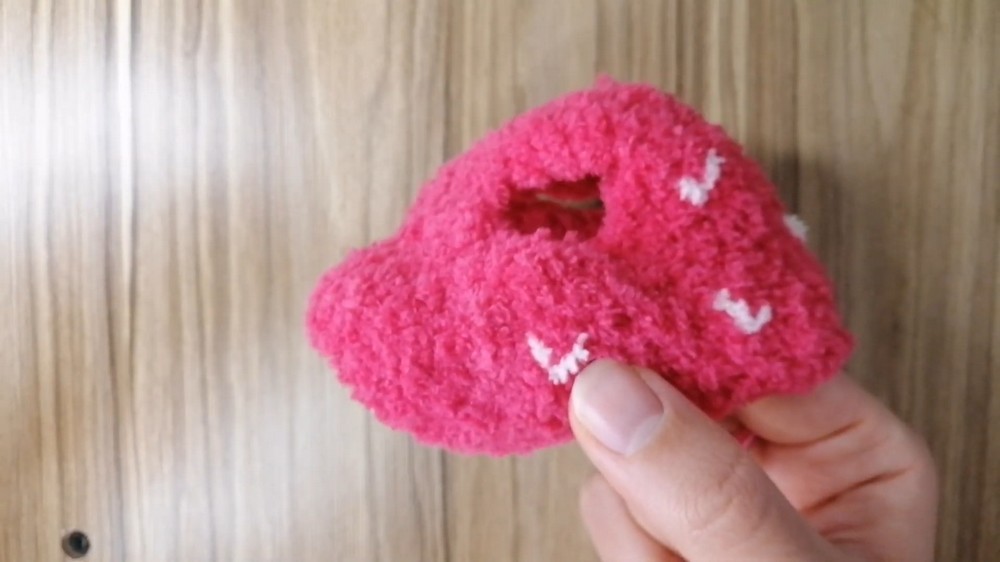
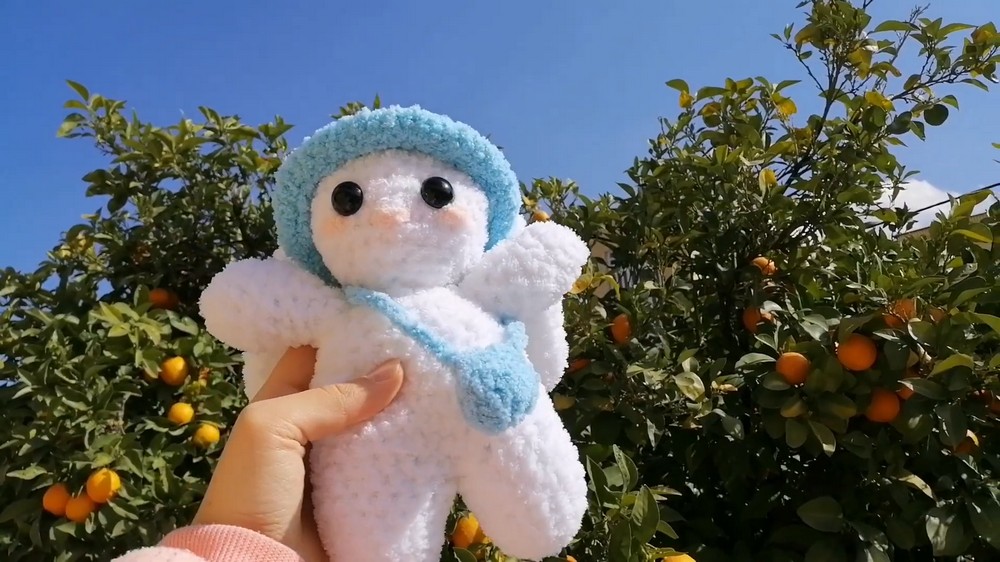
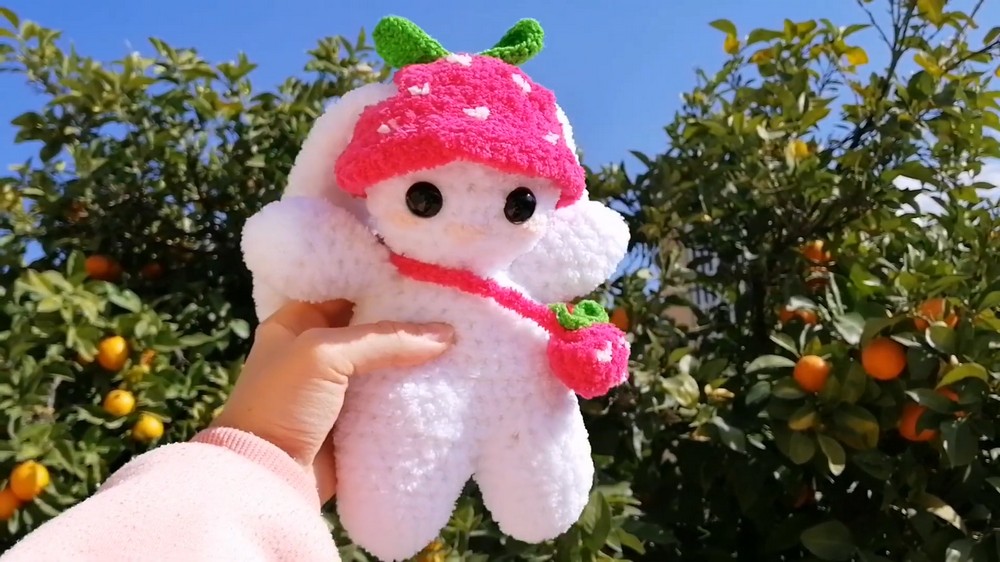
As the finishing touches, you can add intricate extras like strawberry seeds on the bunny's hat or a leaf applique on its bag. These elements, though tiny, enhance the project’s charm.
Special Features
- Personalized Accessories: You can make additional hats and bags for the bunny, allowing you to customize its look.
- Realistic Design: Adding details like the strawberry seeds and the leaf shapes elevates the design.
- Intermediate Level: The project includes more complex techniques, such as connecting legs and making accessories, which are ideal for improving crochet skills.
Tutor’s Suggestions
- Use Toys as a Guide: The tutor suggests stuffing the body and head before closing each shape for better form.
- Mark Stitches: Use a stitch marker or pin after every increase to avoid losing track of your rounds.
- Practice the Magic Ring: If you struggle with the regular technique, try the slip-knot-based fake magic ring method.
Uses
- This bunny serves as a toy for children or a charming handmade gift for loved ones.
- It can also be a decorative piece for seasonal displays, such as Easter-themed decor.
Tip for Better Results
When sewing the parts together, position each piece (head, arms, and ears) before attaching, ensuring symmetry and balance for a polished look.
Step-by-Step Details for the Bunny
This adorable crochet bunny project is a delightful option for intermediate crocheters looking to try something fun and challenging. With its intricate details, such as a removable hat, a small bag, and a cute strawberry design, this step-by-step pattern adds charm and personalization to your handmade bunny.
Conclusion
This crochet bunny pattern is a versatile and creative project that allows you to explore intermediate-level techniques while crafting a delightful and customizable figure. With its thoughtful details and playful design, this little bunny is sure to bring joy to anyone who sees it!
Leave a Reply