

Fun and Easy Crochet Ice Cream Cone Plush Pattern for Creative Play

To refine your stitching, always use a stitch marker to track rounds and apply tight tension to avoid gaps in the design. For the final assembly, use a tapestry needle for clean, invisible joins. A last-minute embellishment—like embroidered sprinkles or a tiny yarn cherry—can elevate the plush's whimsical vibe. This delightful project is a quick and satisfying way to put your crochet skills to enjoyable use.
Materials You Will Need
- Yarn: Soft yarn in at least two colors (one for the cone, one for the ice cream); cotton or acrylic yarn works well.
- Crochet Hook: Size suited to your chosen yarn (common sizes: 3.5mm-5mm).
- Stuffing Material: Polyfill or similar stuffing for the plush texture.
- Tapestry Needle: To sew pieces together and weave in ends.
- Scissors: For cutting yarn cleanly.
- Stitch Markers (Optional): To keep track of rounds or stitches.
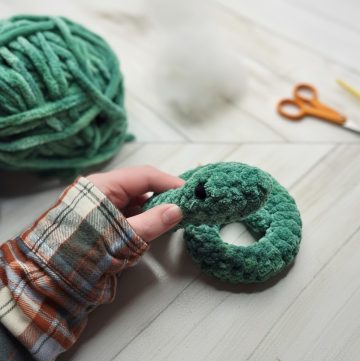
Begin with the cone base using a magic ring, gradually building the shape with single crochet stitches and evenly spaced increases. Use a tan or light brown yarn to mimic the waffle cone texture.

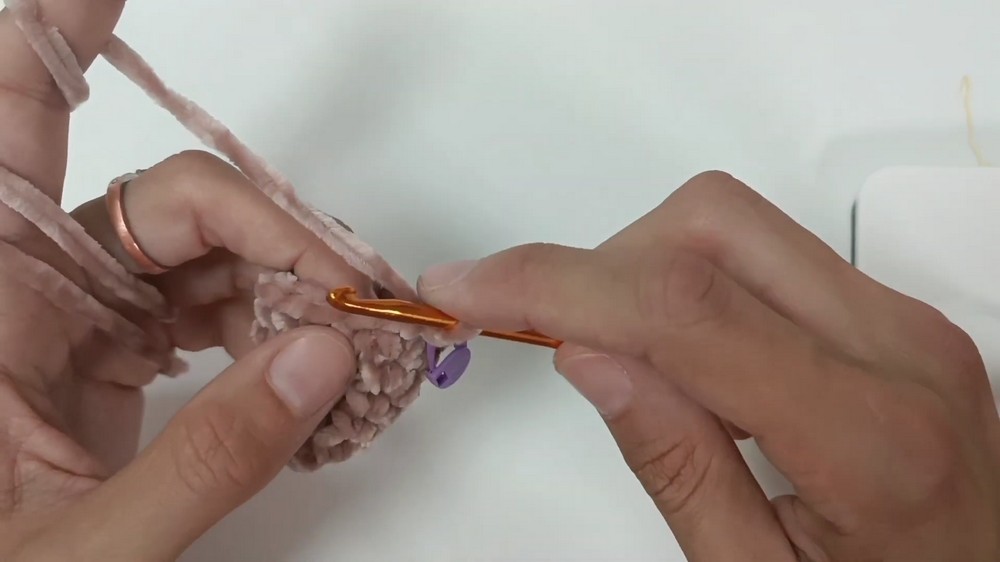
Once the cone is ready, switch to your chosen scoop color. The ice cream section involves rounds of increases followed by steady stitching to create a smooth, rounded top. A scalloped edge stitch adds the finishing touch to mimic drips of melting ice cream.

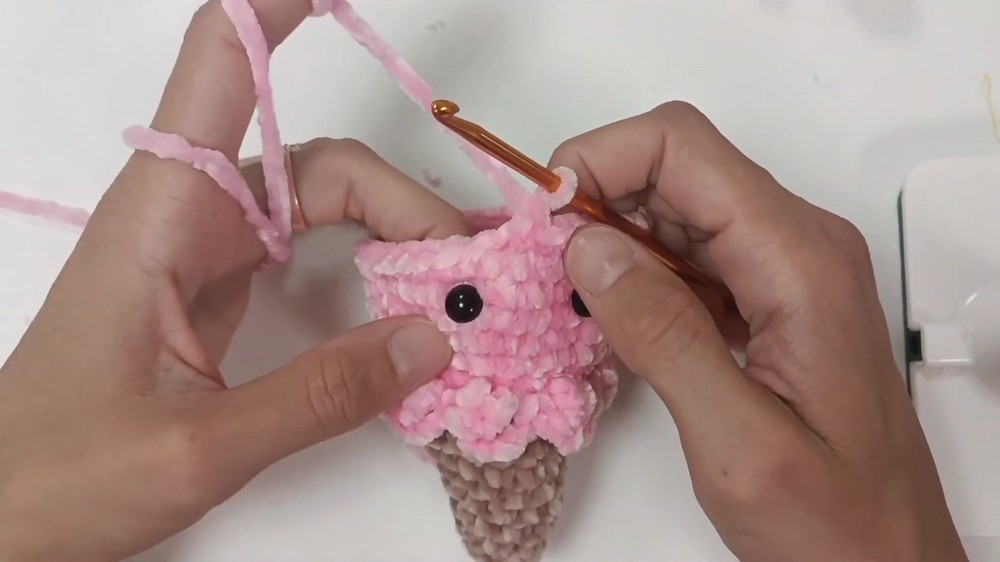
Stitch on facial details like eyes and a smile for added personality. Light stuffing is key to maintaining the plush’s shape, with the sections sewn securely together to ensure durability.

Special Features
- Customizable Colors: Choose your favorite "ice cream" flavors with yarn colors like vanilla, strawberry, or mint.
- 3D Plush Shape: The pattern delivers a soft and realistic cone shape, perfect as a pillow, toy, or decorative item.
- Beginner-Friendly: Ideal for those new to crochet, but also exciting for experienced crocheters to personalize further.
- Quick Crochet Time: A manageable project that can be completed in just a few hours!
Tutor’s Tips and Suggestions
- Take Your Time: If you’re new to crochet, focus on mastering the basic stitches first before moving on to details.
- Color Coordination: Choose complementary colors that align with your taste or theme.
- Gauge Matters: Keep a consistent tension to ensure the cone and scoop fit perfectly together.
- Interactive Design: Consider adding noise-makers or rattles inside the stuffing for a playful touch.
Difficulty Level
This project is beginner-friendly, but it offers room for creativity, making it equally enjoyable for experienced crocheters. Tutorials and guided practice will help you tackle any tricky stitches with ease.
Uses
- A fun toy for kids to play with.
- An adorable addition to nursery décor or children’s rooms.
- A thoughtful, handmade gift for birthdays or ice cream enthusiasts.
- A whimsical prop for photo shoots or themed parties.
- Perfect as a seasonal summer decoration.
A Final Tip to Succeed
When sewing the pieces together, ensure the stitches are tight and secure to maintain the shape of the plush and prevent stuffing from coming out. For added dimension, mix yarn textures (e.g., blending velvet with acrylic) for a unique and eye-catching plush!
Step-By-Step Instructions
Crocheting your own ice cream cone plush is a fun and rewarding project, perfect for making adorable decorations, unique gifts, or adding a pop of charm to your crocheting collection. This project combines creativity with simple stitches, resulting in a playful design suitable for all ages. Whether you're a beginner or an advanced crocheter, this step-by-step pattern is versatile and customizable.
Conclusion
Crocheting an ice cream cone plush is a delightful way to use your crocheting skills to crochet something playful and practical. With its simple stitches and endless potential for customization, this project offers the perfect balance of fun and functionality. Whether you’re gifting it or adding it to your personal collection, this handmade plush is sure to bring smiles and sweetness wherever it goes!

Leave a Reply