

Playful Crochet Axolotl Amigurumi Pattern to Brighten Your Space

Tip: Always position the stitch marker accurately and take your time when handling tight spaces, especially during the final decreases. Patience and steady hands will give you a perfectly shaped axolotl!
Materials Required
To crochet the adorable axolotl, ensure you have the following:
- Yarn – Choose soft acrylic or cotton yarn in preferred colors (main body and accents).
- Hook Size – Use a crochet hook that suits your yarn size (common sizes: 3.0mm – 4.0mm).
- Polyester Stuffing – For a soft and squishy axolotl body.
- Plastic Safety Eyes or Embroidery Thread – For the adorable facial features.
- Tapestry Needle – To sew the parts together.
- Scissors – For neat cuts.
- Stitch Marker – To keep track of your rounds.

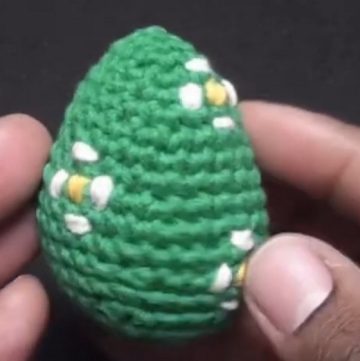
To begin the process, start by crocheting the axolotl’s tail using a peach-colored yarn. Begin with a loop, chain three, and use foundational techniques like slip stitches, single crochets, and increases to shape the tail.

Attach a stitch marker to clearly mark the rounds as you go. After completing the tail, transition into creating the body. Build the base with increased single crochets that total 24 stitches by the first round.

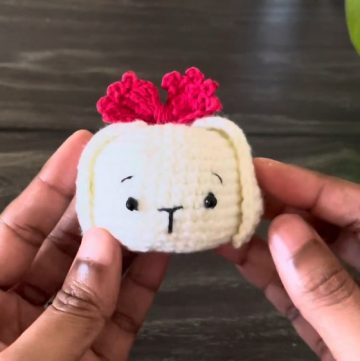
Continue inserting single crochets throughout the body, working in rounds with occasional decreases to shape it perfectly. Once the body is complete, move on to the head using a similar technique, ensuring proper placement of the decreases and even stuffing for structure.

For extra charm, crochet the legs, neatly attach them to the body, and finish with the signature axolotl gills. Use light pink yarn to add frills to the gills and black thread or yarn for beautifully embroidered eyes.


Special Features
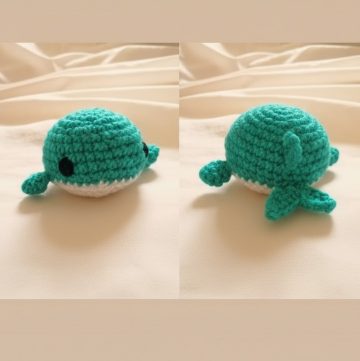
- Adorable Design: The axolotl pattern is a one-of-a-kind creature, and its plush version makes it irresistibly cute.
- Customizable Colors: Adapt the axolotl's colors (e.g., pinks, blues, pastels) to match your preferences.
- Compact Size: Typically small and portable, making it ideal for display or gifting.
- Unique Texture: Amigurumi techniques give it a soft and distinct texture that enhances its look and feel.
Level of Difficulty
- Difficulty: Beginner to Intermediate
This pattern is beginner-friendly with basic stitches but requires some patience with details like sewing small parts or adding features like gills and eyes. - Recommended Experience: Those familiar with basic stitches like single crochet (sc), increasing, and decreasing will find it more manageable.
Tutor’s Suggestions
- Use a stitch marker to keep track of your rounds and prevent miscounting stitches.
- Choose lightweight, soft yarn for a smooth texture that’s perfect for amigurumi projects.
- Work slower on smaller parts, like the gills and legs, to ensure neat and even stitches.
- If you’re new to Amigurumi, practice magic rings and stitch techniques before starting the project.
Uses
- Decorative Item: Display the cute axolotl on a shelf or as a desk companion.
- Handmade Gift: Perfect as a thoughtful present for friends, children, or animal enthusiasts.
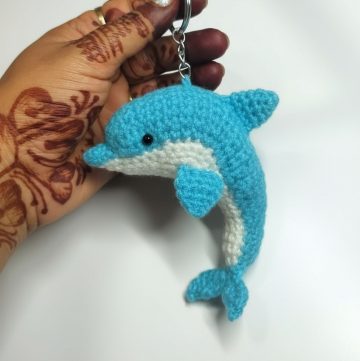
- Keychain or Accessory: Create a mini version to attach to bags or keys.
- Stress Reliever: Squish it for comfort or use it as a small sensory toy.
Step-by-Step Guide
Crochet Axolotl Amigurumi pattern is a fun, creative, and adorable project for crochet lovers of all levels. This step-by-step tutorial provides insights into the process, materials, and tips to help you crochet a beautiful handmade axolotl plushie. Whether you're a beginner or an experienced crocheter, this project is rewarding and versatile.
Conclusion
Crafting a Crochet Axolotl Amigurumi is not just a creative activity, but also a delightful way to explore your love for unique handmade creations. By following these steps and tips, you can produce an adorable axolotl that stands out with its charm and personality. Whether it's for you or a loved one, this project is guaranteed to please.
Tip
Always crochet with consistent tension to ensure all your axolotl’s parts match in size and shape. Test your tension on a small sample before starting your project.
Leave a Reply