

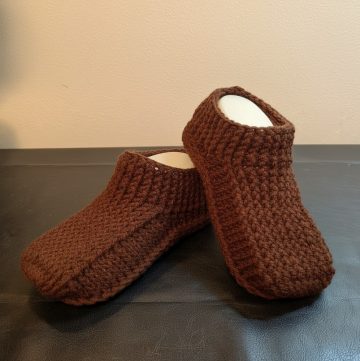
Easy Crochet Slippers With Sole Pattern Perfect for Comfort Lovers
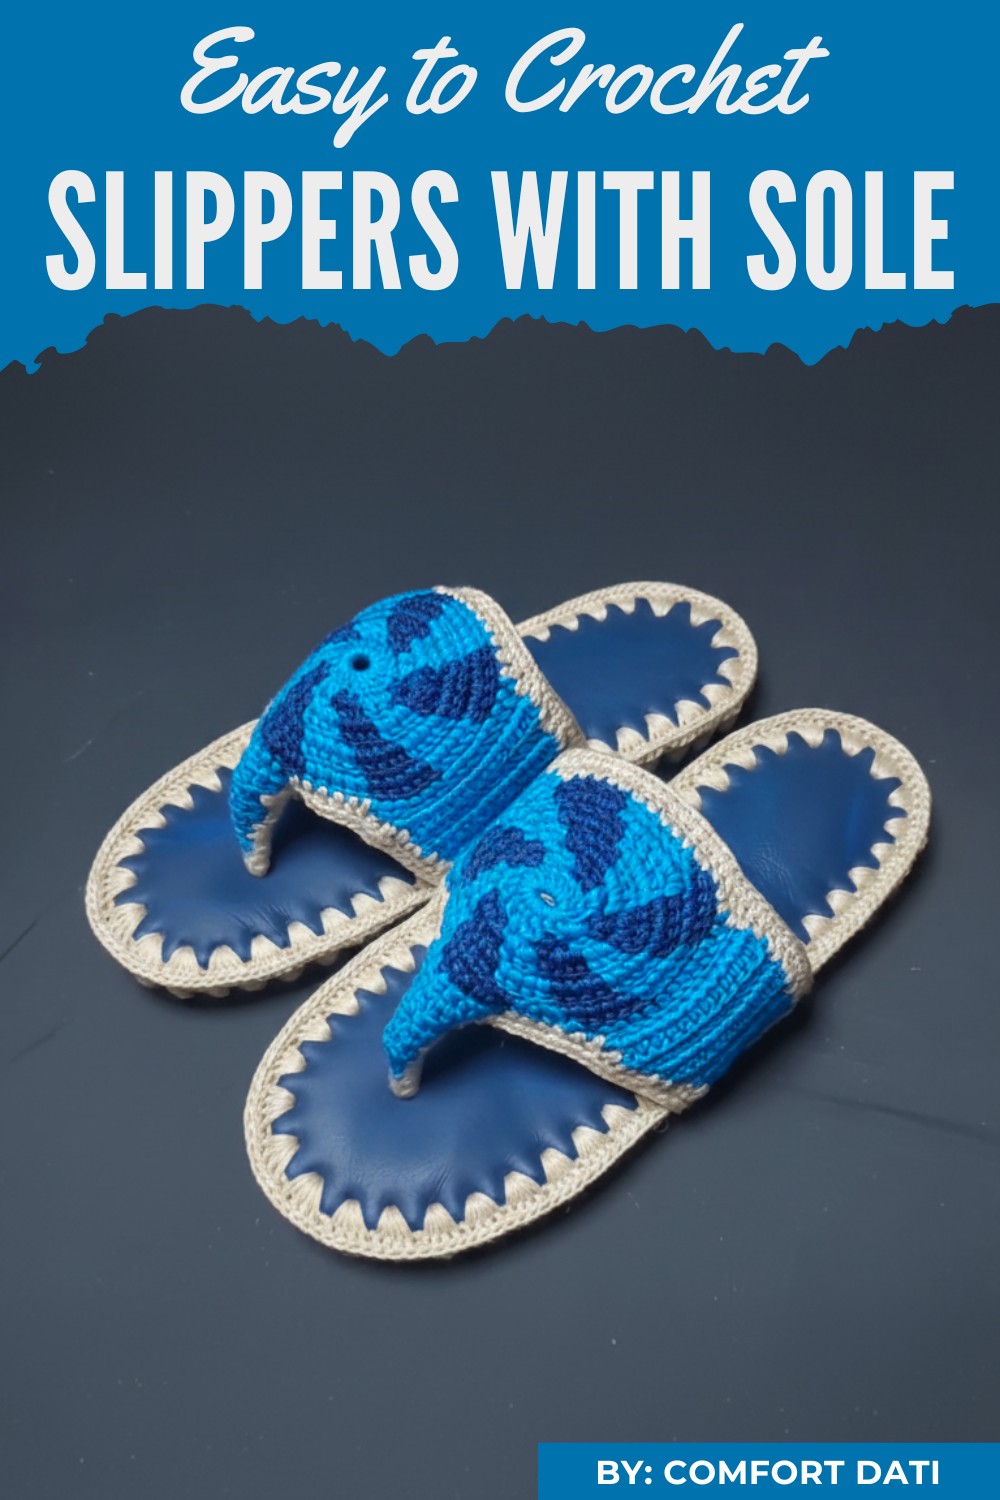
The versatility of the pattern allows for endless customization, letting you play with colors, textures, and designs to suit your personal style. Perfect for any season, it makes a thoughtful and unique gift option or a special treat for yourself. The process is beginner-friendly yet engaging, offering an opportunity to practice creative skills.
By using materials like yarn, a crochet hook, and pre-made soles, you can easily achieve a long-lasting and fashionable result. This Slippers With Sole pattern also encourages sustainability, as it allows you to upcycle old materials. Washable, comfortable, and functional, it’s the ultimate way to combine style, practicality, and care into one beautiful creation.
Materials Needed
To get started, you’ll need several materials to create these crochet slippers:
- Shoe Sole: A durable sole from an old shoe.
- Leather: For added durability and comfort.
- Knitting Yarn: Your choice of colors.
- Crochet Hook: Make sure it matches your yarn type.
- Marco Glue: For attaching layers.
- Measuring Tape and Pen: For marking measurements.
- Hand Puncher: To punch holes in the sole and leather.
- Tapestry Needle/Regular Needle and Thread: For sewing different parts together.
- Foam/Soft Lining (Optional): Adds softness for a cozier feel.

Step-by-Step Instructions
1. Preparing the Sole
- Begin by taking your shoe sole and marking ½ inch increments all around using a measuring tape and pen. These marks are where you’ll be punching holes to later insert the crochet hook.
- Use the hand puncher to punch holes at all the marked points. This step ensures your crochet stitches will be evenly spaced and aligned.

2. Adding Layers for Comfort
- Trace the shape of the sole onto your leather and foam lining (optional) using a pen, and cut them out carefully.
- Stack the pieces together: sole on the bottom, foam lining in the middle, and leather on top. Attach the three layers using marco glue to ensure a strong bond. Allow the layers to dry properly before crocheting.
3. Crocheting Around the Sole
- With the glue dried, begin crocheting around the sole. Insert your crochet hook into one of the punched holes and start with a single crochet stitch.
- Work 3 single crochet stitches into each punched hole along the sole's edge. This creates a neat base to which you’ll attach the slipper top.
- Once you reach the starting point, slip stitch and fasten off your yarn to secure the first round.
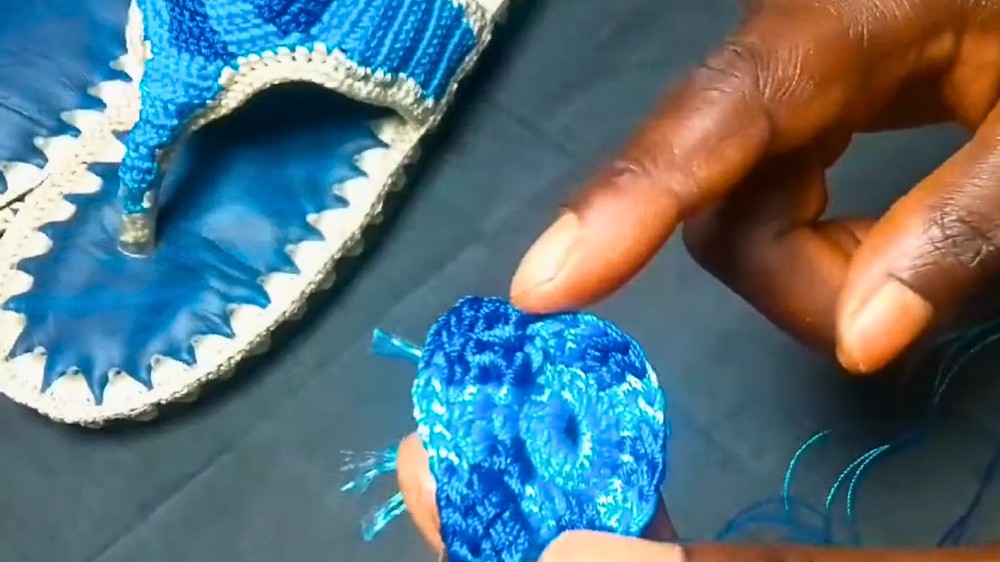
4. Creating the Top of the Slipper
- Start with a magic ring to form the slipper top. Wrap your yarn around your fingers, insert your crochet hook, and create a loop to start the ring.
- Chain 3 stitches and work 19 double crochet stitches inside the ring.
- Slip stitch to the initial chain 3 to close the round, and you’ve completed the foundation of the slipper top.
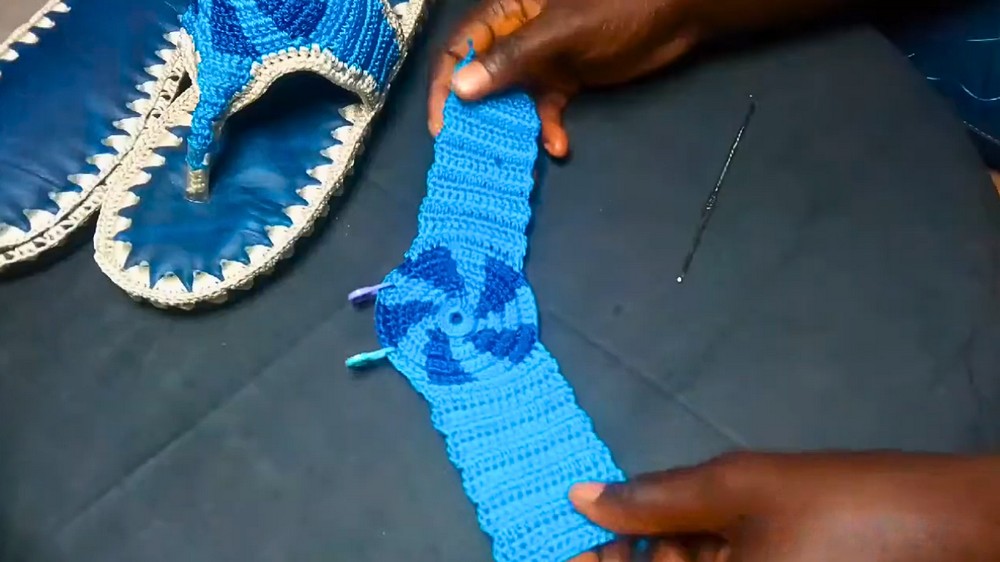
- Switch to a different yarn color by introducing a new yarn during slip stitching to create a spiral pattern.
- Continue working in rounds with double crochet stitches, alternating between colors to achieve the stripe design. You can follow this for about 5 rounds, or adjust based on your desired style.
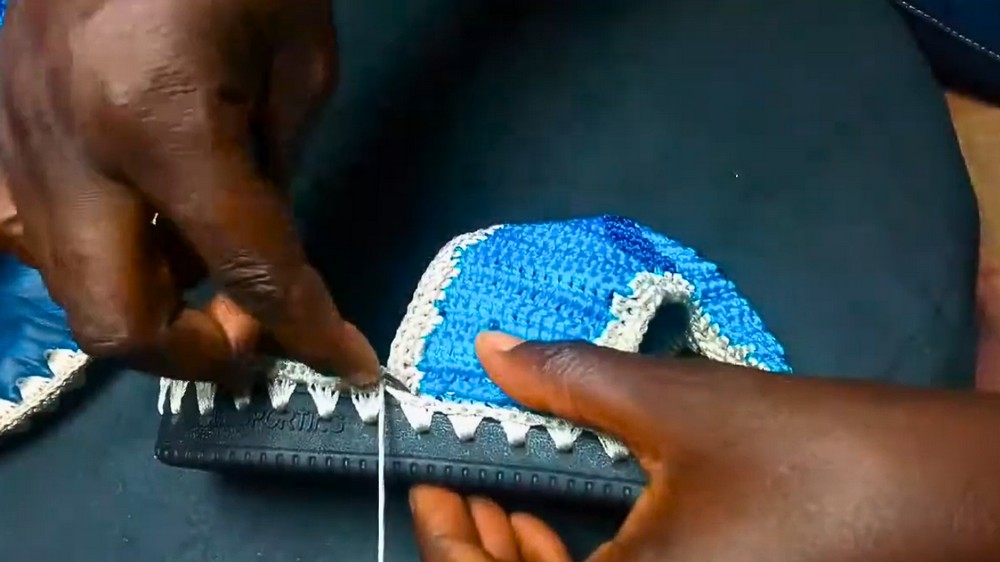
5. Attaching the Top to the Sole
- Once the top part of the slipper is complete, align it with the sole. Use single crochet stitches to attach the top to the sole securely. This step ensures a snug fit and adds durability to the slippers.
6. Adding Final Details
- Using a measuring tape, mark the front and back sides of the slipper to ensure proper alignment. You can use stitch markers to guide you.
- Add an optional strap or customize the design further, such as including decorative buttons or embellishments.
- For a polished look, finish the edges with a round of half-double crochets or single crochets.

Special Features
- Leather Sole Integration: Ensures durability and stability while walking.
- Customizable Design: Use different yarn colors and patterns to make the slippers unique.
- Added Comfort: Foam padding or lining makes these slippers soft and cozy.
- Versatile Use: This pattern is ideal for home use or even as a personalized gift.
Level of Difficulty
This project is beginner to intermediate level. The basic stitches used are easy to learn, but tasks like handling a hand puncher, creating lining layers, and consistent crocheting require some patience.
Tutor’s Suggestions
- Maintain Neat Stitches: Pay careful attention to your tension and placement of stitches for a clean finish.
- Take Time with Measurements: Measuring accurately ensures the slippers will be well-fitted.
- Let the Glue Dry: Rushing the gluing process may reduce the durability of the slippers.
- Practice the Magic Ring: If you’re new to crocheting, practice the magic ring beforehand for a smoother experience.
Uses of the Crochet Slippers
- Perfect as a personalized set of indoor slippers.
- Great for gifting during holidays or special occasions.
- A stylish and eco-friendly way to repurpose old soles.
- Excellent for enhancing handmade crochet skills.
Crochet Tip
When changing yarn colors or joining edges, ensure your finishing is tight and neat to avoid loose ends that may unravel the work.
Conclusion
Crochet slippers with soles combine practicality with creativity, letting you craft footwear that is both durable and stylish. This beginner-friendly tutorial takes you through each step clearly, ensuring you gain skills while creating something functional. Whether you’re looking to pamper your feet, gift someone a handmade treasure, or practice a new craft, these slippers make an excellent project with satisfying results. Give it a try, and enjoy the beauty of your finished work!
Leave a Reply