

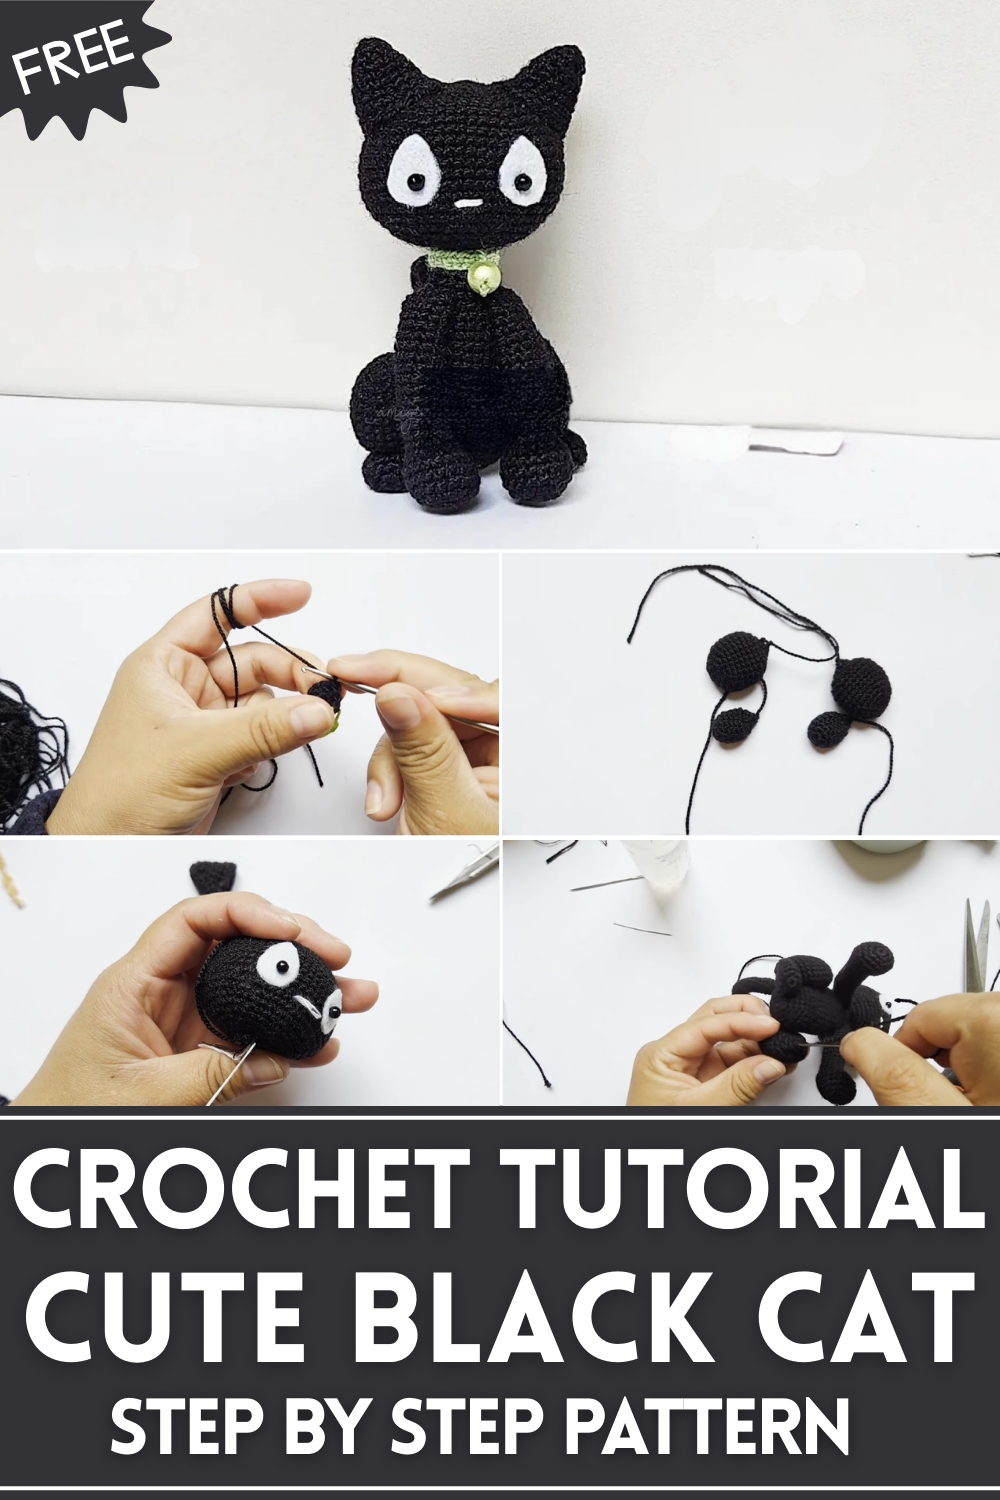
Spruce up your accessories with this Crochet Black Cat pattern, featuring playful details, handmade charm, and versatile use.
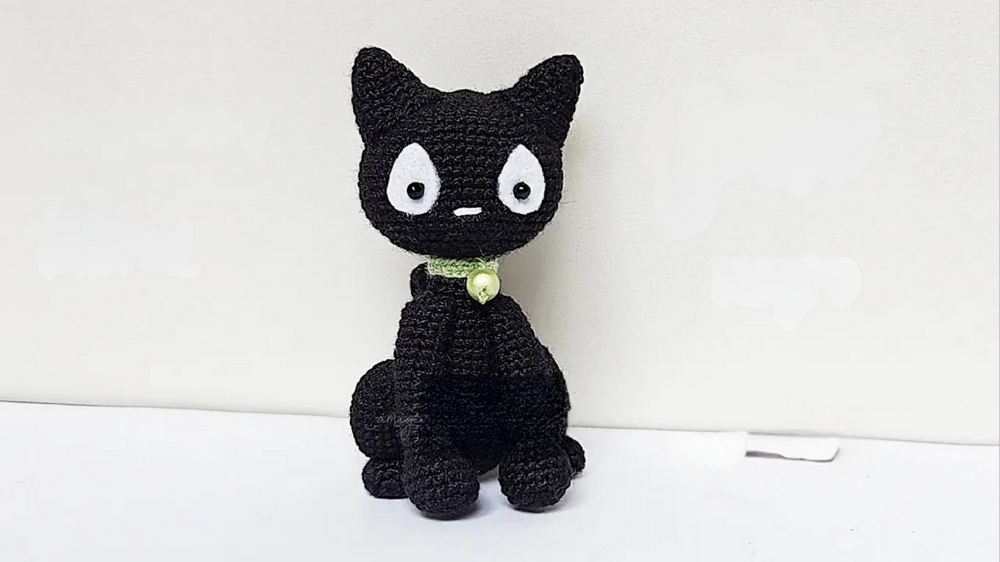
In folklore and popular culture, black cats have long captured curiosity and admiration, often symbolizing mystery, luck, or charm. The Crochet Black Cat pattern brings this beloved figure to life through soft yarn and detailed stitching, transforming a simple concept into a playful, tactile accessory. Its sleek body, pointed ears, and expressive features are carefully shaped to create a lifelike yet whimsical miniature companion.
Captivating Crochet Black Cat for Stylish Home Displays
This crochet creation serves multiple purposes beyond decoration. It can act as a keychain, bag charm, or a small collectible, adding character to personal items or living spaces. The pattern is suitable for crocheters of various skill levels, with clear steps that guide the maker through forming the body, attaching limbs, and finishing facial details. Using tightly stitched yarn ensures durability while maintaining the softness and charm of the finished piece. Its compact size makes it highly portable, allowing it to accompany keys, backpacks, or home displays with ease.
Beyond its practical uses, this black cat offers aesthetic appeal and a touch of personality wherever it is placed. The finished piece highlights attention to detail, careful stitching, and a sense of playful elegance. It is a thoughtful gift, collectible item, or a personal keepsake that combines creativity, charm, and functionality in a single handmade accessory.
Materials Needed
To crochet the black cat, the following materials are required:
- Black Yarn: Acrylic yarn with a thread thickness of 1.6 mm. Adjustments may be needed based on the yarn you choose.
- White Felt: A small amount for the cat's eyes.
- Pipe Cleaner: Used for the tail and as a support for the body. Replace with stainless wire if the final piece is larger.
- Beads or Pearls: For the eyes; the size depends on the finished cat's proportions.
- Scissors: For cutting yarn and felt.
- 2 Crochet Hooks: One for the main crochet work, and another to aid in sewing if necessary.
- Tapestry Needle: For sewing and assembling the pieces.
- Marker Pins: To secure parts during assembly.
- Thin and Thick Needles: For details such as attaching the beads for eyes.
- Stuffing Material: For the body, head, and limbs. Keep minimal stuffing in certain pieces to avoid puffiness.
- Liquid Silicone Glue: To attach the felt eyes.
- Bell or Accessory (Optional): Can be added to the cat’s collar for embellishment.
Step-by-Step Instructions
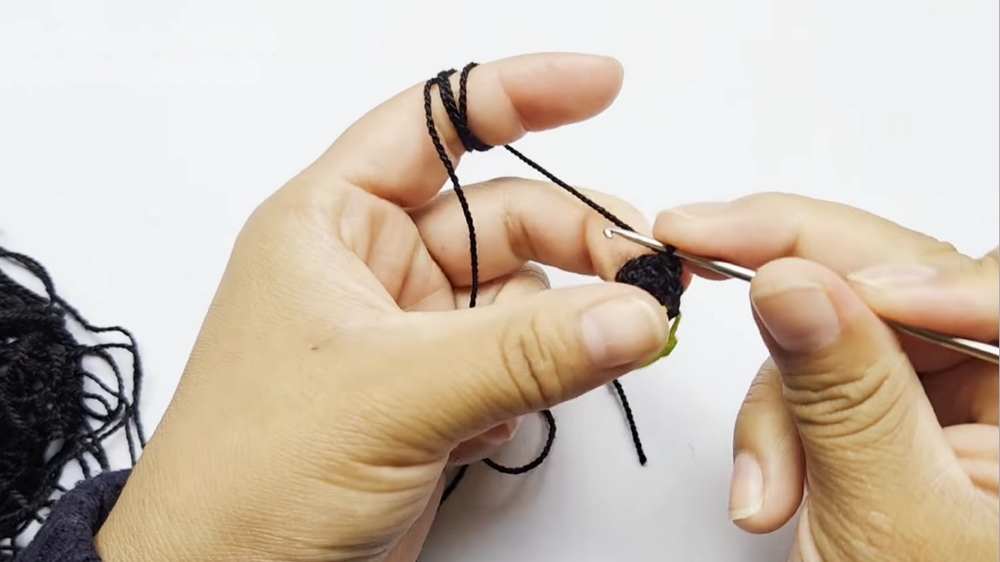
Step 1: Creating the Head
- Magic Ring Base
- Start with a magic ring and make 6 single crochets into the ring.
- Increasing Rows
- Round 2: Increase in all stitches to make 12 single crochets.
- Round 3: Single crochet, then increase. Repeat 6 times to get 18 stitches.
- Round 4: 2 single crochets, then increase. Repeat 6 times to reach 24 stitches.
- Continue with similar increasing patterns (3 single crochets + increase, 4 single crochets + increase, etc.) until Round 9, reaching 54 stitches.
- Body Formation
- For Rounds 10–17, maintain 54 single crochets (no increases).
- Round 18: Start decreasing by 7 single crochets, then decrease. Repeat 6 times for 48 single crochets.
- Round 19 onward: Gradually decrease by reducing the number of single crochets in each sequence (6 single crochets + decrease, 5 single crochets + decrease, etc.), until reaching Round 25 with all stitches decreased.
- Stuffing and Closing
- Stuff the head as you decrease. Ensure it's firm but not overstuffed.
- Finish by leaving a thread long enough to secure and sew the opening.
2: Crocheting the Tail
- Magic Ring and Setup
- Create another magic ring. Start with 4 single crochets.
- Building the Length
- Work 8 single crochets per round from Round 3 to Round 32. This creates a long, slim tail that doesn't require stuffing.
- Pipe Cleaner Insertion
- Insert a 15 cm pipe cleaner folded in half. Adjust placement to secure the tail while maintaining flexibility.
3: Making the Body
- Magic Ring Base
- Begin with a magic ring of 6 single crochets.
- Increasing Rows
- Follow the same increasing pattern as the head, stopping at Round 5 with 30 stitches.
- Shaping the Body
- Maintain 30 single crochets for Rounds 6 to 18. This forms the body height.
- For Rounds 19–27, start decreasing using the same method as the head until you’re left with a small opening.
- Adding Support
- Insert pipe cleaner into the body to support the structure. Stuff carefully around the pipe cleaner.
4: Front Legs
- Magic Ring Setup
- Begin with 6 single crochets in a ring.
- Increase to 18 single crochets by Round 3.
- Shaping the Legs
- Work 14 rounds of 11 single crochets each (created by 7 decreases in Round 7).
- Stuff lightly and leave a long thread for sewing.
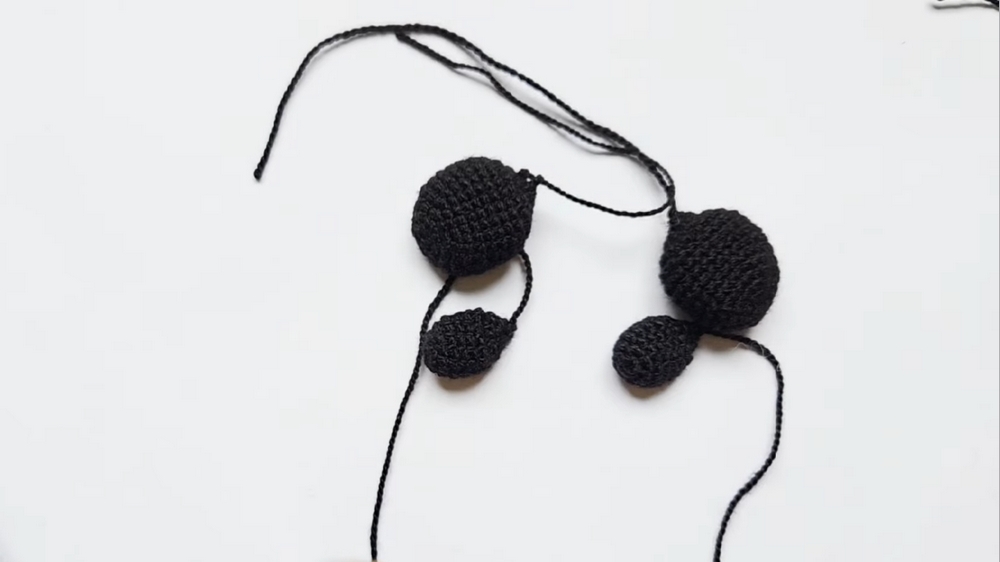
5: Back Legs
- Building the First Segment
- Start with the magic ring and follow the same pattern as the front legs, stopping at Round 13, leaving a thread for sewing.
- Second Segment
- Make another smaller magic ring of 6 single crochets, increasing to 12 stitches by Round 7, and lightly stuffing. This creates the rounded back leg look.
- Assembly
- Combine the two pieces to form the complete back legs.
6: Ears
- Magic Ring Base
- Start with 4 single crochets, increasing to 8 by the second round.
- Shaping the Cone
- Continue increasing and shaping over several rounds until Round 9, finishing with 20 stitches.
- Stuffing and Finishing
- Lightly stuff to maintain the cone shape. Leave a long thread for sewing.
Final Assembly
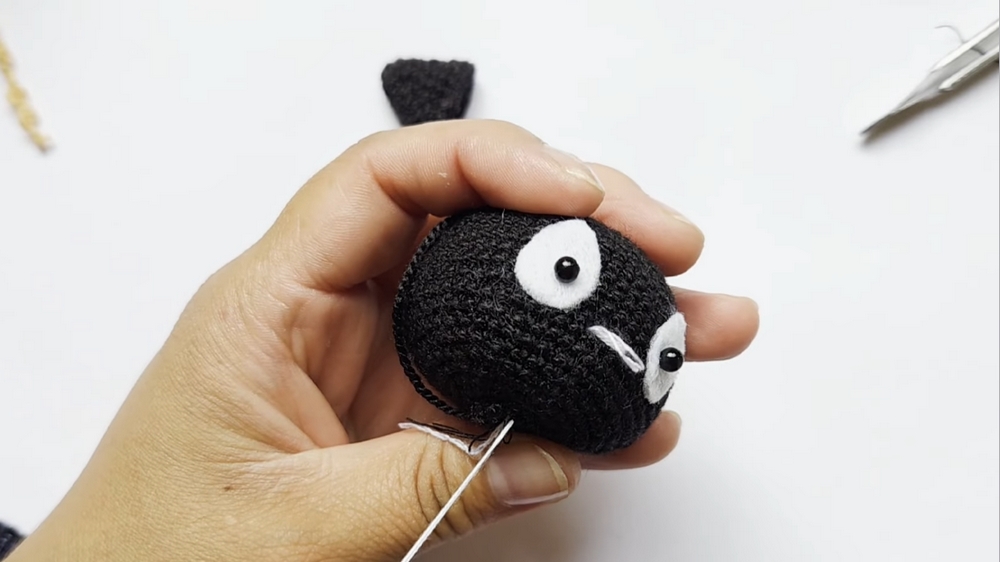
- Attaching the Eyes
- Cut white felt into teardrop shapes and glue them to the head (centered approximately in the 6th row from the magic ring).
- Sew beads in place for the pupils.
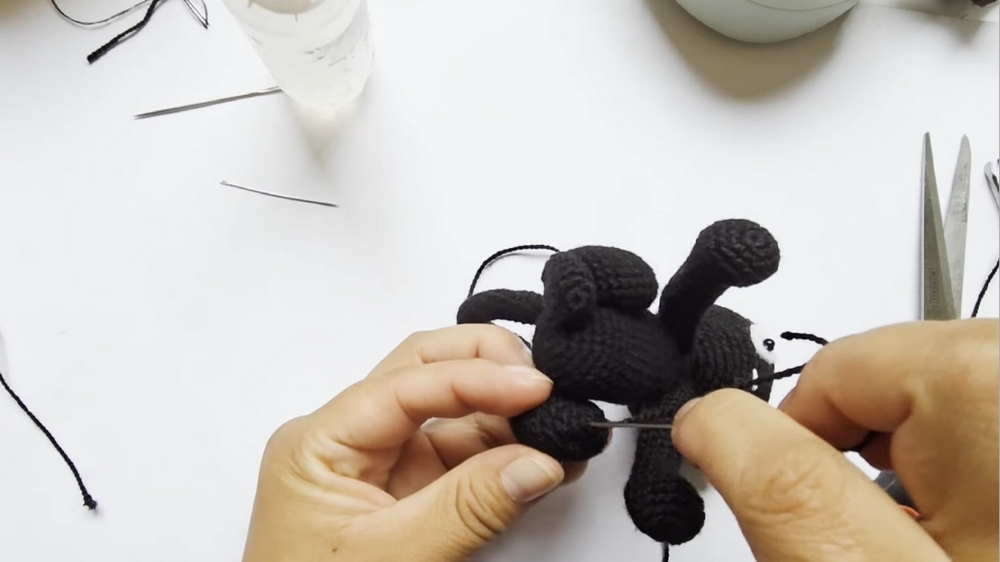
- Sewing Pieces Together
- Attach the head to the body securely.
- Sew the legs and tail symmetrically to ensure balance.
- Attach ears in a cone shape, filling them minimally.
- Adding the Collar
- Crochet a 20-chain collar and attach a bell or decorative pearl to it. Secure the collar around the neck.
Special Features
- Compact Size: The cat measures only 12 cm, making it ideal for small decorations or gifts.
- Flexibility: The pipe cleaner allows you to pose the tail, adding an interactive element.
- Halloween Aesthetic: Works great as a Halloween or fall decoration, especially with black yarn.
- Beginner-Friendly: Despite the detailing, the stitches are simple (single crochet and basic increases/decreases).
Level of Difficulty
- Intermediate: While the stitches are beginner-friendly, assembling the parts and shaping the cat requires careful attention to detail.
Tutor’s Suggestions
- Be Careful with Colors: Work in good lighting, especially with black yarn, as darker yarns can strain your eyes.
- Stuffing: Use minimal stuffing for small parts (ears, tail, and back legs) to keep the shape neat.
- Take Your Time: Be patient when sewing the small parts to ensure symmetry and balance.
Uses
- Decor: Perfect for Halloween or general home décor.
- Gifts: Makes a wonderful handmade gift for cat lovers.
- Amigurumi Practice: Great for building amigurumi skills, such as creating proportional body parts.
Tip
For a neat finish, always leave long yarn tails during assembly. These can be used to secure parts and avoid unraveling during attachment.
Conclusion
Ray of Amigurumis provides a detailed pattern for crocheting a 12 cm black cat, focusing on accuracy, neatness, and customization. While the project requires patience, the final result is an adorable collectible or gift that showcases your crochet skills. With clear adjustments and tips, this pattern ensures a rewarding amigurumi experience.


Leave a Reply