

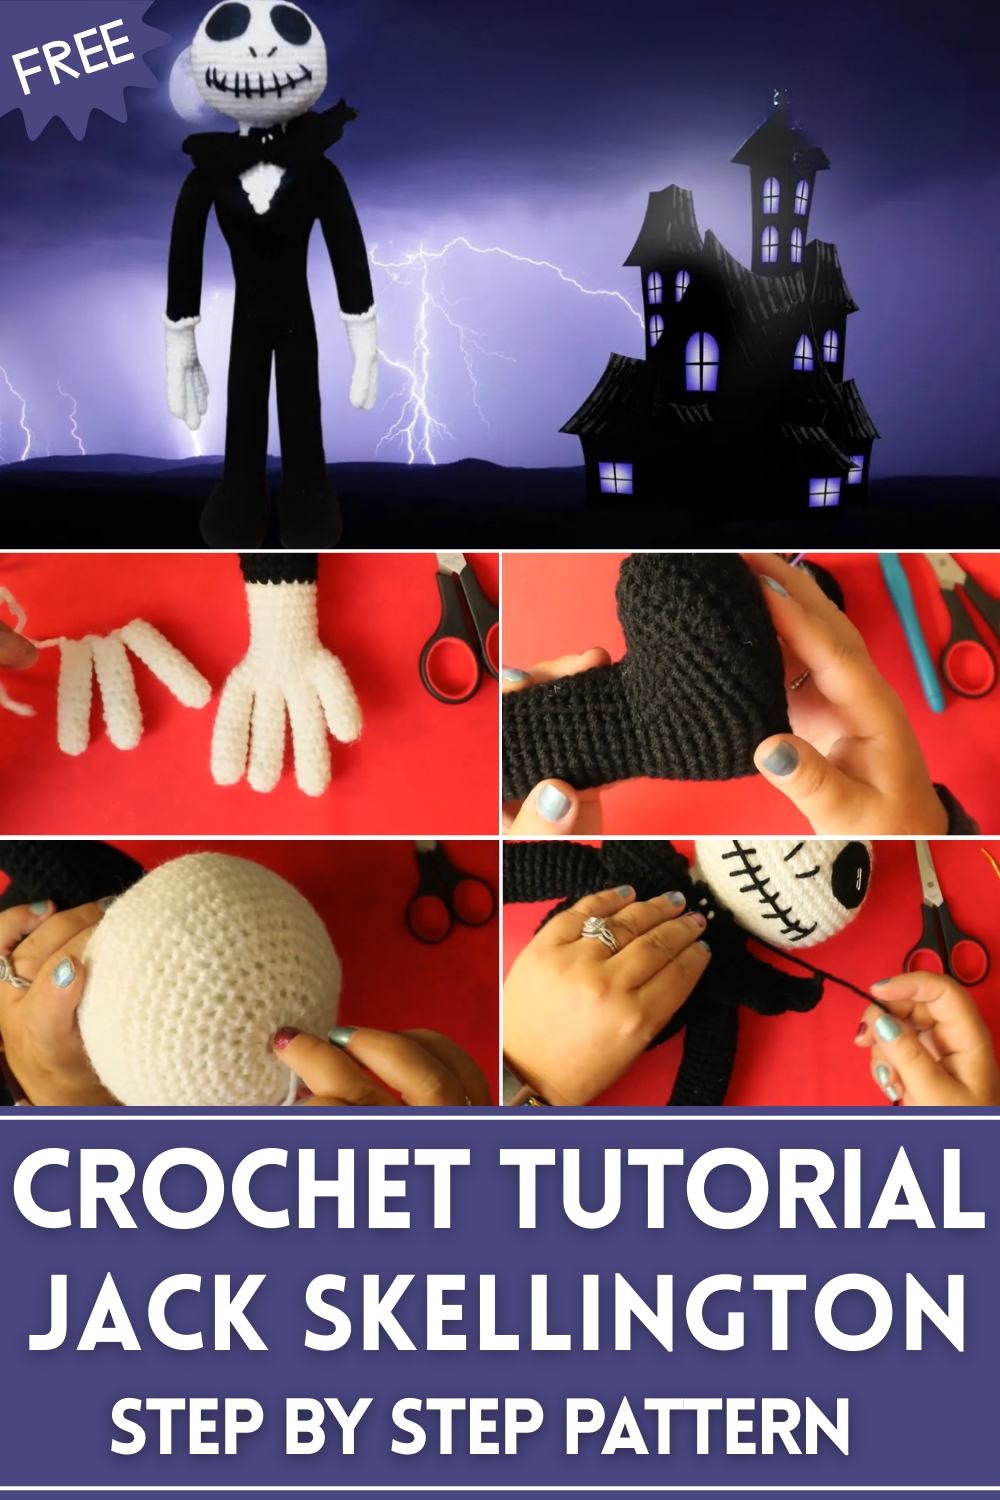
Spook up your space with this Free Crochet Jack Skellington Pattern, perfect for festive décor, collectibles, or playful handmade gifts with charm.
Many Halloween enthusiasts love adding playful and spooky decorations to their homes, and a Jack Skellington figure has become a favorite for its instantly recognizable charm. This crochet version captures the essence of the iconic character, offering a fun and engaging way to celebrate the season while practicing a favorite hobby. The Free Crochet Jack Skellington pattern allows crafters to create a small, detailed amigurumi that doubles as a collectible or a seasonal ornament, making it perfect for display on shelves, mantels, or even as a keychain charm.
Crochet Jack Skellington Pattern That Adds Fun to Any Room
Its compact size ensures it fits seamlessly into different spaces, while the intricate stitches give it a distinctive look that appeals to both beginners and seasoned crocheters. Beyond decoration, completing this project provides a sense of accomplishment and can even serve as a thoughtful, handmade gift for fans of Halloween or Tim Burton’s films.
The process encourages focus and patience, enhancing fine motor skills and offering a relaxing, mindful activity. Additionally, the versatility of this Jack Skellington crochet piece means it can be incorporated into themed parties, seasonal décor, or personal collections, offering endless ways to enjoy its playful and spooky charm. The pattern’s clear instructions ensure every crafter can achieve a polished, detailed result with ease.

Special Features
- Life-Sized Design: The finished doll is approximately 20 inches tall, giving it an impressive and lifelike appearance.
- Tight Stitching: Achieved with smaller hook sizes to ensure no stuffing shows through, even without using wires for structure.
- Adjustable & Durable Fingers: Since the fingers are tightly crocheted, you can shape them temporarily without needing internal wires.
- Detailed Accessories: The project includes Jack's signature bat-shaped bowtie and chest details for authenticity.
- Beginner-Friendly Walkthrough: Designed to be simple with detailed explanations, this tutorial is great for beginners who want to take on a more ambitious project.
Materials Needed
- Yarn:
- Black and white (Red Heart yarns in large balls, medium-weight size 4).
- Polyester yarn is recommended for durability.
- Hooks:
- 3mm hook (used for smaller sections like fingers).
- 4mm hook (used for the body and larger sections).
- Stuffing: Polyfill for stuffing the doll.
- Scissors: For trimming yarn.
- Tapestry Needle: For sewing and weaving in ends.
- Stitch Markers: Useful for tracking stitches, especially for beginners.
- Optional Wire: 3mm wire (or 8-9 gauge) for additional structure and posability, though entirely optional.
Level of Difficulty
Intermediate (Beginner-Friendly):
- While the individual stitches are easy, the small, tight spaces and shaping increases the complexity slightly, making this a good challenge for adventurous beginners and intermediates.
- Techniques used include: single crochet, magic ring, slip stitches, increasing, decreasing, and shaping amigurumi pieces.
Step-by-Step Instructions
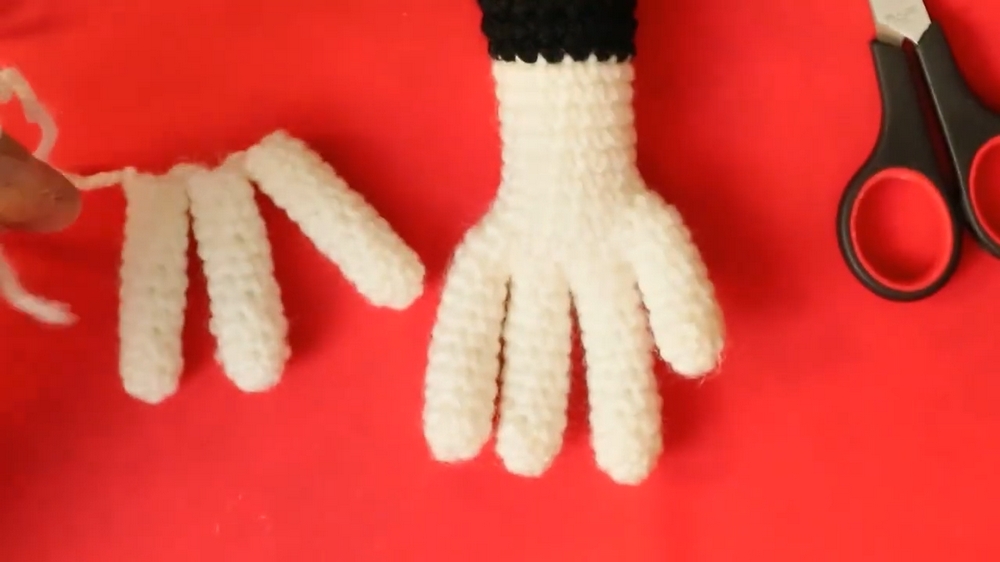
Part 1: Fingers and Hands
- Begin with the fingers using a Magic Ring with 6 single crochets.
- Crochet 10 rows of single crochet in each finger (3 fingers per hand). For the thumb, repeat this but only crochet 6 rows.
- Stuff each finger lightly before assembling.
- Sew fingers together, attaching the thumb to one side of the hand. Take note of left and right orientations for the thumbs to ensure symmetry.
- Transition to the 4mm hook to create the arms and continue with black yarn once the wrists are completed.
- Crochet 25 rows for the arms, working in a continuous spiral. Add an optional cuff detail (twisted single crochet) where the white ends and the black begins.
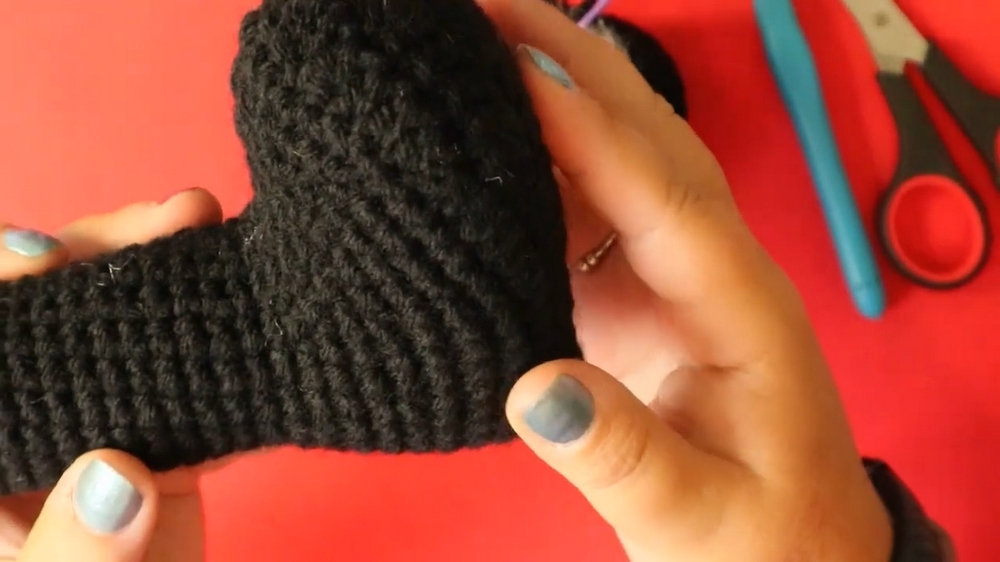
Part 2: The Legs
- Begin the feet with a chain of 12 stitches and build the foot shape with a mix of single, half-double, and double crochets.
- Shape the toe areas through gradual increases and decreases, adding stuffing as you go.
- Once the foot is complete, crochet the legs with 18 stitches across 30 rows, working with the black yarn and a 4mm hook.
- Ensure both legs are evenly stuffed. Do not fasten off the second leg, as it will connect to the body.
- With 6 stitches, connect the two legs together to form the pelvis area.
Part 3: The Body
- The body is worked continuously in the round from the legs upward using black yarn. Jack’s body is modeled after his slender physique, so minimal increases are made.
- Add stuffing progressively as you complete 16 rows for the torso. Ensure that Jack’s body stays slim and not overly stuffed.
- Gradually increase the stitch count to give a slight “flared chest” shape. After shaping the chest, crochet 6 rows of 50 stitches for Jack’s upper torso.
- Sew the arms into place, attaching them with the thumbs positioned forward.
Part 4: The Head
- Start the neck with 16 stitches and work 4 rows for Jack’s elongated neck while ensuring it is tightly stuffed for support.
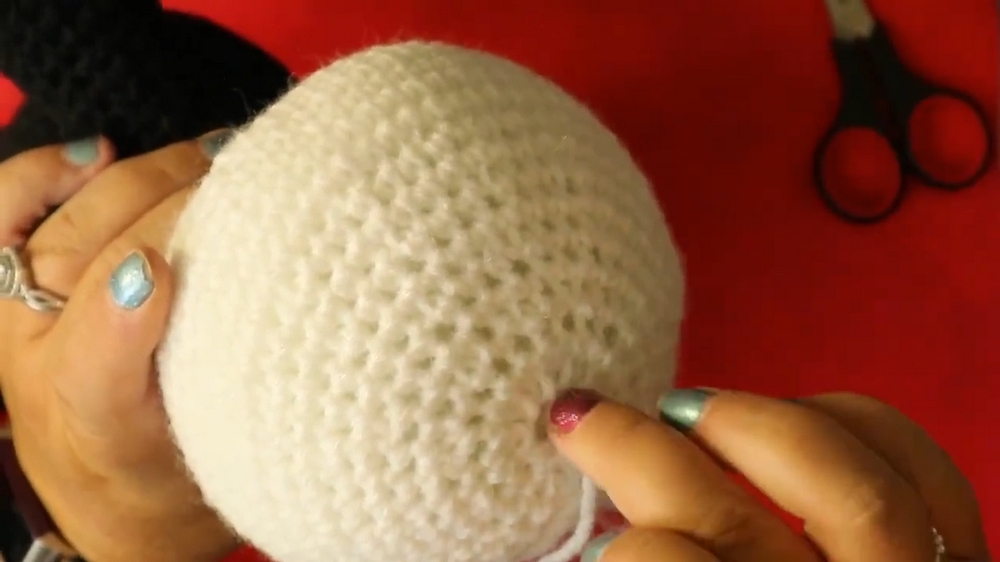
- Transition to the head, increasing in rounds to create a spherical shape.
- Begin with 2 stitches in each stitch (32 total), followed by sequences of “1 single crochet, 1 increase,” tallying up to 64 stitches for the widest part of the head.
- Crochet 8 rows with 64 stitches to create the rounded top.
- Begin decreasing, shaping the head down to 16 stitches. Add more stuffing to maintain shape.
- Finish the head by cinching the stitches together and weaving in the ends.
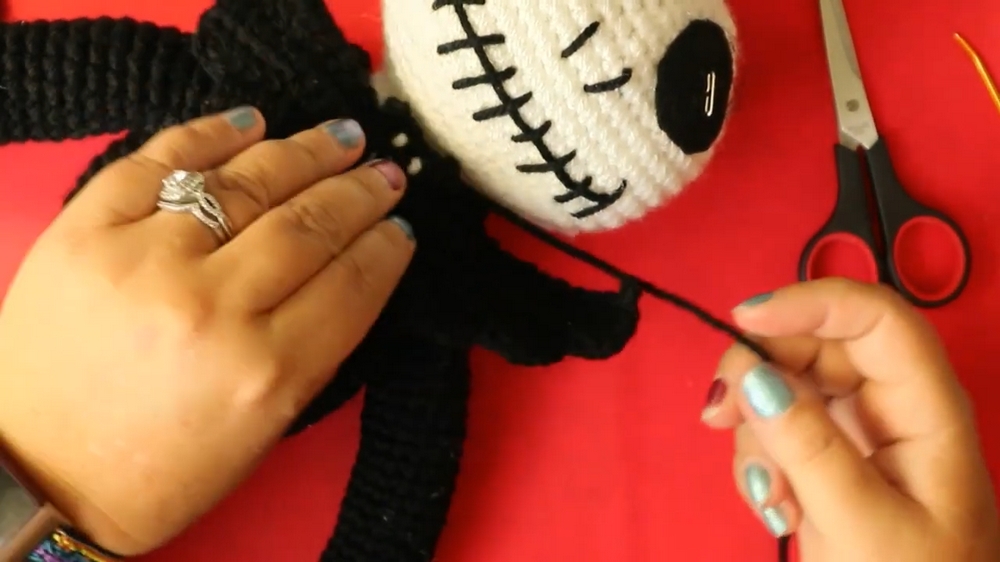
Part 5: The Bat Bowtie and Chest Details
- Chest Details:
- Use white yarn to crochet a triangular flat piece, representing the shirt or chest portion.
- Position and sew this piece onto Jack’s upper body with the point at the bottom and the flat edge meeting the neck.
- Bat Bowtie:
- The bowtie is shaped with black yarn and involves increasing and decreasing rows to form the bat wings.
- Attach the bowtie to the neck, firmly securing it in place.
Tutor’s Suggestions
- Tight Stitches Are Key: Use a smaller hook than your yarn recommends to ensure the stitches are tight, preventing stuffing from showing through.
- Use Markers: Keep track of stitches with markers, especially for beginners.
- Stuff Gradually: Add stuffing as you work on sections like the legs, arms, and torso. Overstuffing can distort the shape.
- Optional Wire Support: Use wire to make the arms, legs, and neck posable, but the design holds well without it.
Uses of the Crochet Jack Skellington
- Halloween Décor: A fun and spooky addition to your shelf or table.
- Gifts: Perfect for fans of The Nightmare Before Christmas.
- Themed Crochet Series: Add Jack to your collection of amigurumi or pair with other characters from the movie.
Tip
When sewing parts together (e.g., arms, legs), pin them in place first to ensure accurate placement. This way, you can adjust as needed before stitching permanently.
Conclusion
This Jack Skellington Crochet Tutorial is an exciting and rewarding project that lets you create a unique handmade figure with cinematic charm. Whether you're making it for Halloween, gifting it to a friend, or simply enjoying the challenge, this project is sure to impress. The detailed tutorial ensures even beginners can tackle Jack’s intricate design with confidence.


Leave a Reply