

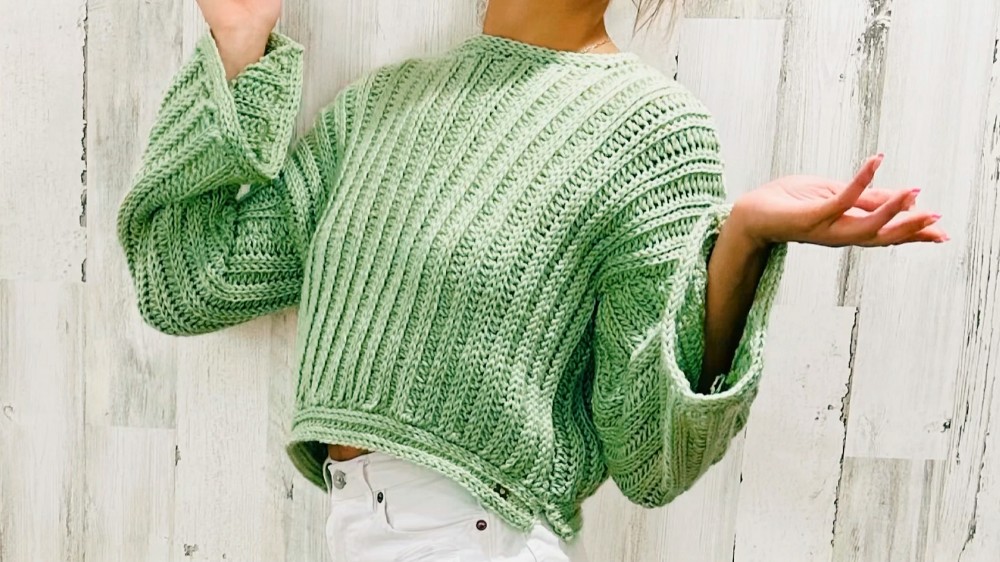
Snuggle into the Free Crochet Ribbed Sweater Pattern that combines warmth, flattering fit, and stylish texture perfect for autumn and winter days.
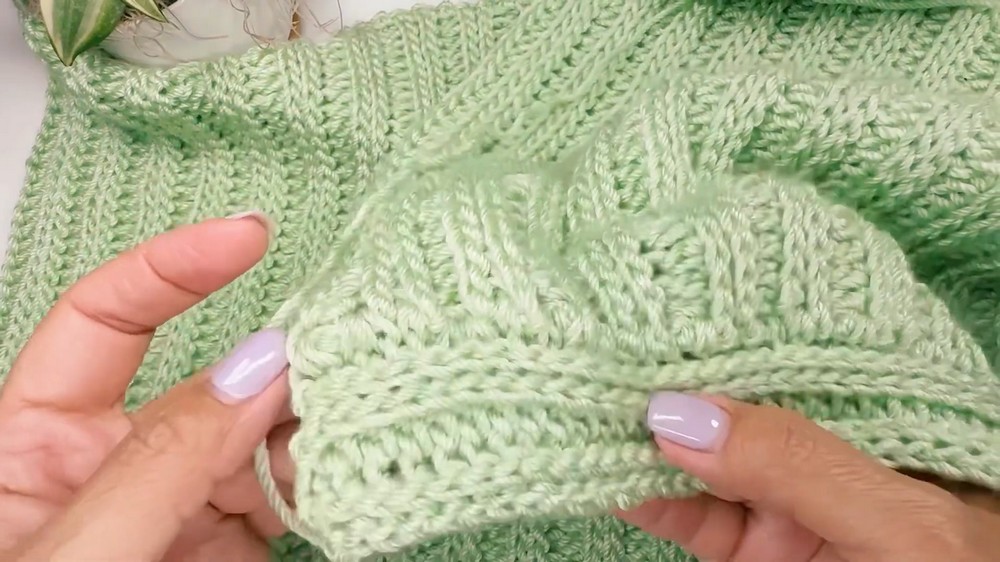
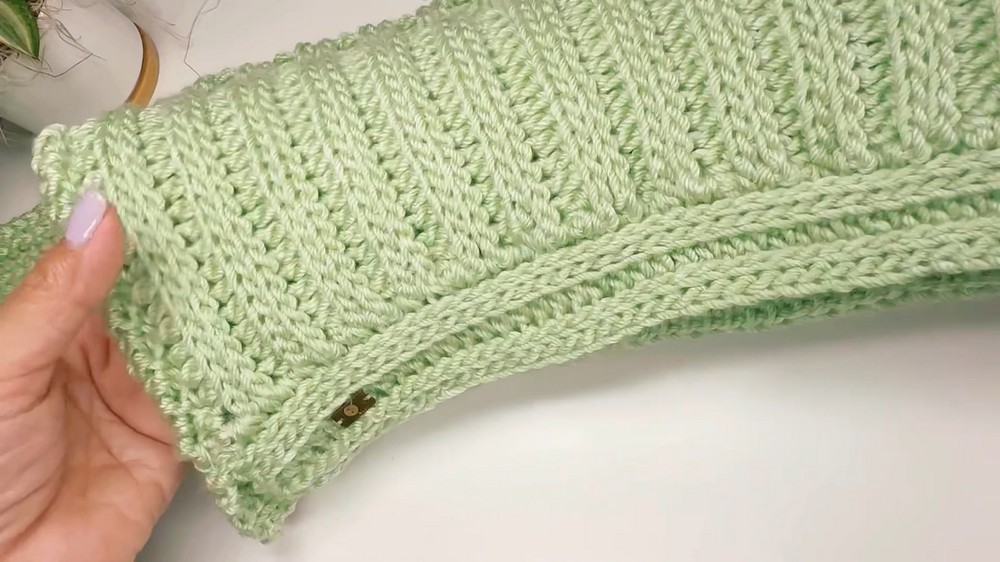
Soft, textured fabrics have long been a favorite for adding warmth and style to chilly days. The Free Crochet Ribbed Sweater Pattern brings this comfort into a practical yet fashionable garment, offering a cozy fit with visually striking details. The ribbed stitches create vertical lines that flatter the body, adding subtle elegance while enhancing stretch and flexibility.
Comfy Crochet Ribbed Sweater Pattern that feels soft
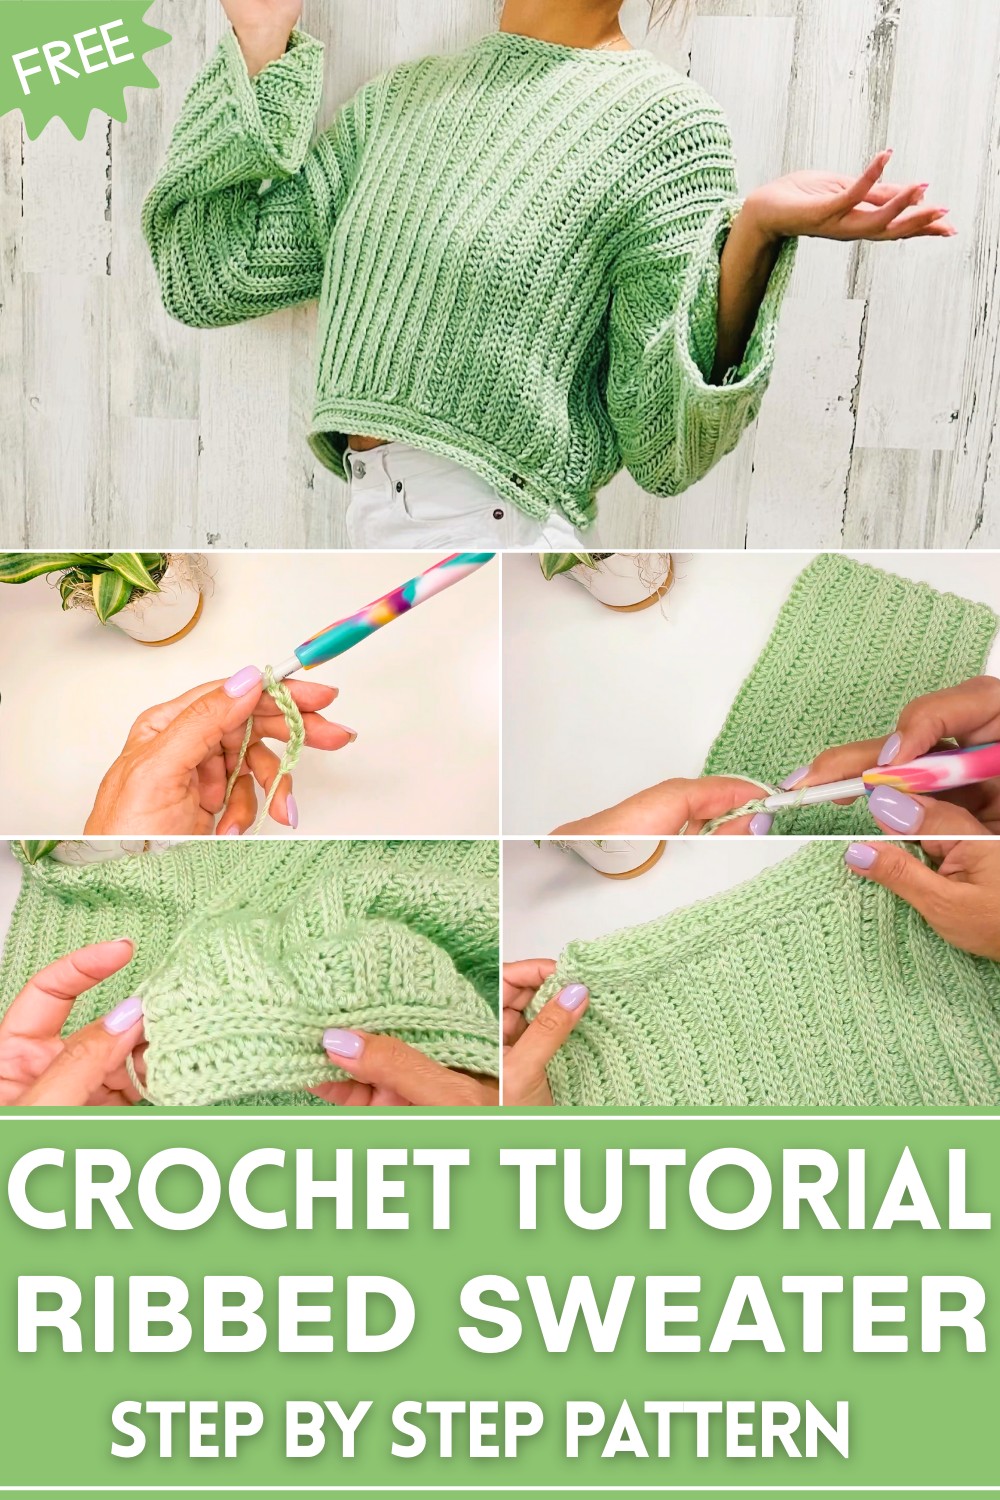
This sweater is ideal for layering over casual outfits or pairing with sleek bottoms for a polished autumn or winter look. The ribbing ensures the garment retains its shape while offering gentle compression for a flattering silhouette. Its lightweight warmth makes it perfect for indoor comfort or outdoor strolls on crisp days, and the texture provides a tactile appeal that is both stylish and comforting. Beyond personal wear, the sweater makes a thoughtful, versatile gift for friends or family, combining practicality with charm.
Attention to stitch consistency and balanced shaping ensures durability and a flattering fit across different body types. The sleeves and torso are tailored for freedom of movement, making it suitable for both relaxed lounging and active wear. With the Free Crochet Ribbed Sweater Pattern, crocheters can enjoy a garment that delivers both functional comfort and timeless style, offering a versatile addition to any wardrobe that’s as practical as it is elegant.
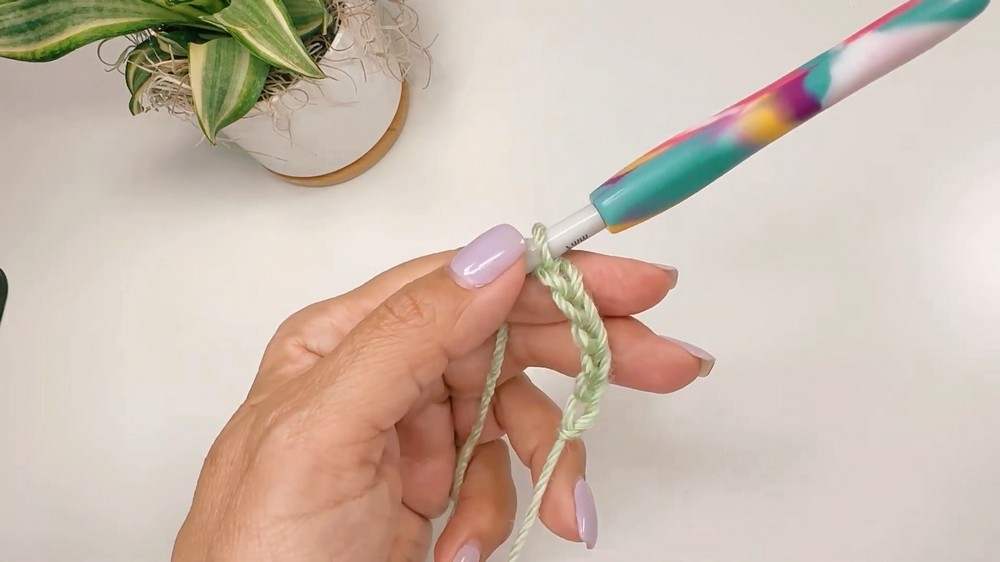
Materials Needed
- Yarn: Lion Brand Harlowe yarn in Chanel Isla color.
- Crochet Hook: 7mm crochet hook.
- Tape Measure: For ensuring proper sizing.
- Scissors: For trimming ends.
- Wool Needle: For sewing seams and securing loose threads.
Special Features
- Unique Stripe Pattern: Alternating between vertical stripes (slipped stitches) and horizontal stripes (half stitches).
- Customizable Structure: Designed to allow size adjustments for width, height, and neck depth.
- Flared Sleeves: Incorporates a mix of stitches to give the sleeves a wide, stylish appearance.
- Professional Finish: Includes neat edge finishes on the neckline and sleeves for a polished look.
Difficulty Level
Intermediate Level: While the stitches used are simple (half stitches, slipped stitches, single crochets, and double crochets), the technique of alternating stitch patterns and managing decreases/increases for shaping requires a moderate level of skill.
Step-by-Step Details
1: Front Panel
- Foundation Chains: Create 55 chains for the length of the sweater.
- Half Stitches: Crochet 55 half stitches in the back loop of the chain.
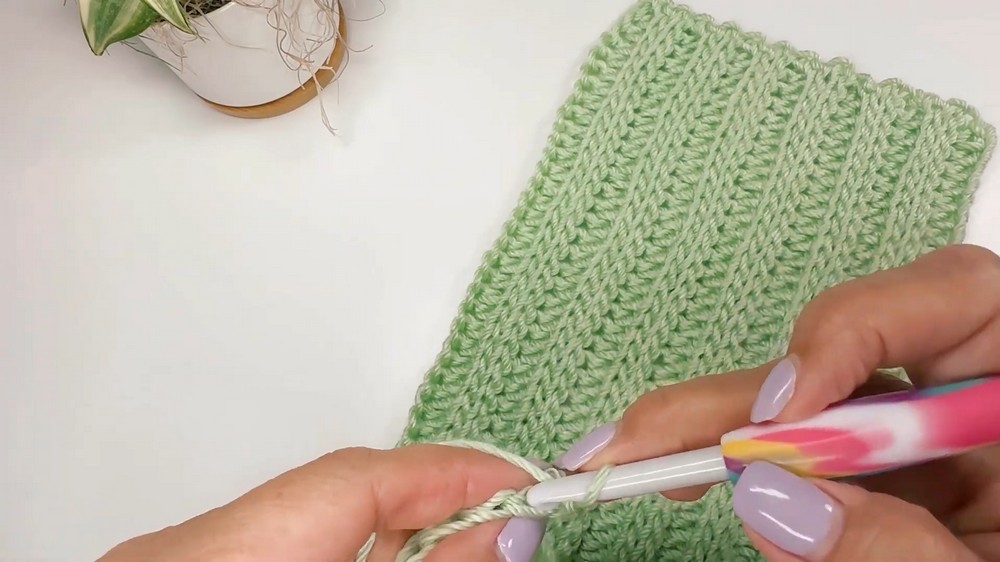
- Slipped Stitches: Add three rows of slipped stitches, working in the back loop of the "V" for the stripe pattern.
- Vertical and Horizontal Stripes: Alternate between one row of half stitches and three rows of slipped stitches until row 7.
- Neck Decreases: In row 7, decrease 5 stitches and work only 50 stitches for rounds of half stitches and slipped stitches.
- Neck Increases: At row 14, add back the 5 stitches to return to 55 stitches total. Then continue the pattern until row 20 of half stitches.
- Final Design: Work the edge with rounds of single crochets and slipped stitches for that polished finish.
2: Back Panel
- Foundation Chains: Start with 55 chains like the front panel.
- Repeat the Stripe Pattern: Follow the same process of alternating between half stitches and slipped stitches for 20 rows.
- No Decreases or Increases: Unlike the front panel, the back panel is worked straight, as it does not require shaping for the neckline.
- Edge Design: Finish the back panel with single crochets and slipped stitches like the front.
3: Sleeves
- Foundation Chains: Create 50 chains for the length of the sleeve.
- Half Stitches: Work 30 half stitches in the back loop for the initial rows.
- Double Crochets: Add 20 double crochets to create the flared sleeve effect
- Alternating Pattern: Repeat the sequence of 30 half stitches, 20 double crochets, and three rows of slipped stitches until you complete 13 rounds.
- Final Finish: End the sleeve with single crochets and slipped stitches for a clean edge.
4: Assembly
- Closing the Sleeves: With the sleeve inside out, use a wool needle to stitch the edges together.
- Attaching the Sleeves: Position the sleeve’s seam parallel to the side seam of the sweater. Use the wool needle to secure, ensuring proper alignment with the shoulder marker.
- Joining the Panels: Leave a 7-inch gap on the sides for the armholes and sew the side seams using the wool needle and single crochets.
5: Finishing Touch - Neckline
- Single Crochet Round: Work a round of single crochets around the neck opening, adding one stitch in each previously decreased section to ensure symmetry.
- Slipped Stitches: Add three rounds of slipped stitches for a cohesive look matching the sweater's overall design.
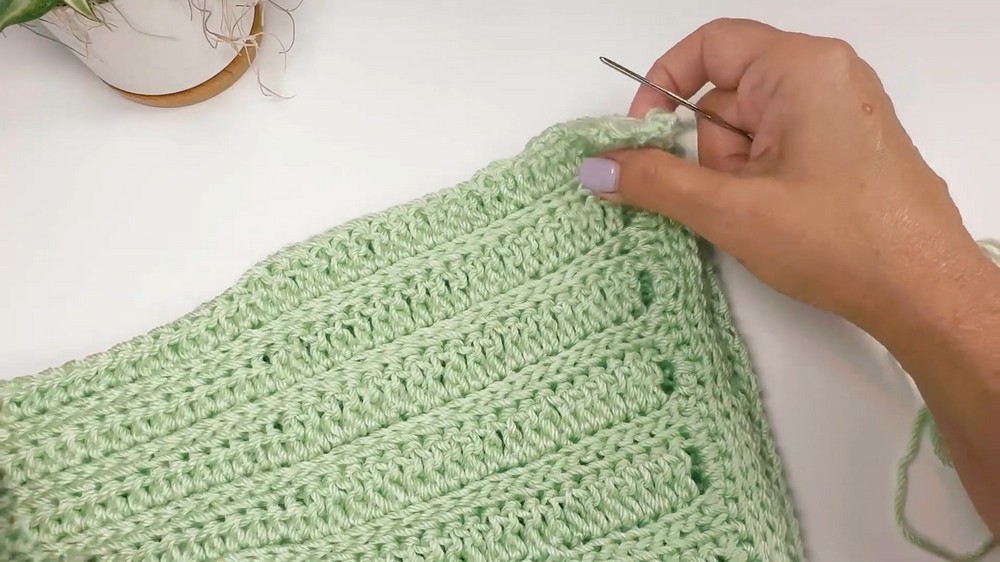
- Polished Finish: Cut the thread, adjust, and neatly sew in any loose ends.

Tutor’s Suggestions
- Size Adjustments: To make the sweater smaller, skip rows or decrease the number of foundation chains. For a larger sweater, add more foundation chains or repeat rounds of half and slipped stitches.
- Tension Control: Maintain even tension when working slipped stitches and half stitches to keep the vertical and horizontal stripes aligned.
- Edge Finishing: Ensure edges are tightly secured to prevent the fabric from opening or fraying over time.
Uses of the Sweater
- Everyday Comfort: Perfect for casual wear or keeping cozy at home.
- Handmade Gifts: A thoughtful present for family or friends, particularly for those who appreciate handmade clothing.
- Stylish Layering: Pair seamlessly with jeans, skirts, or leggings for an elegant look.
Tip
For even stripes, ensure you always start and finish your rows with half stitches. Additionally, work meticulously on decreases and increases for the neckline to maintain symmetry and proper shaping.
Conclusion
This crochet pattern offers a rewarding challenge for intermediate crocheters, blending simple stitches with creative techniques like shaping and stripe alternation. The final sweater is beautifully textured, comfortable, and customizable, with thoughtful design elements such as flared sleeves and finished edges. Whether you're crafting for yourself or as a heartfelt gift, this sweater promises warmth, style, and the satisfaction of creating something handmade.
Leave a Reply