

Delight in a Crochet Snowman Pattern that charms every space with cozy charm, festive spirit, and heartwarming winter beauty.
On a quiet winter evening, a gentle snowfall blanketed the streets, inspiring a small, cozy corner of a home to come alive with warmth and charm. Sitting by the flickering fireplace, a crocheted snowman rested on a shelf, capturing the spirit of the season with its cheerful presence. This delightful crochet snowman is more than a decorative piece—it brings personality and a touch of whimsy to any space.
Cozy Crochet Snowman Charm for Winter
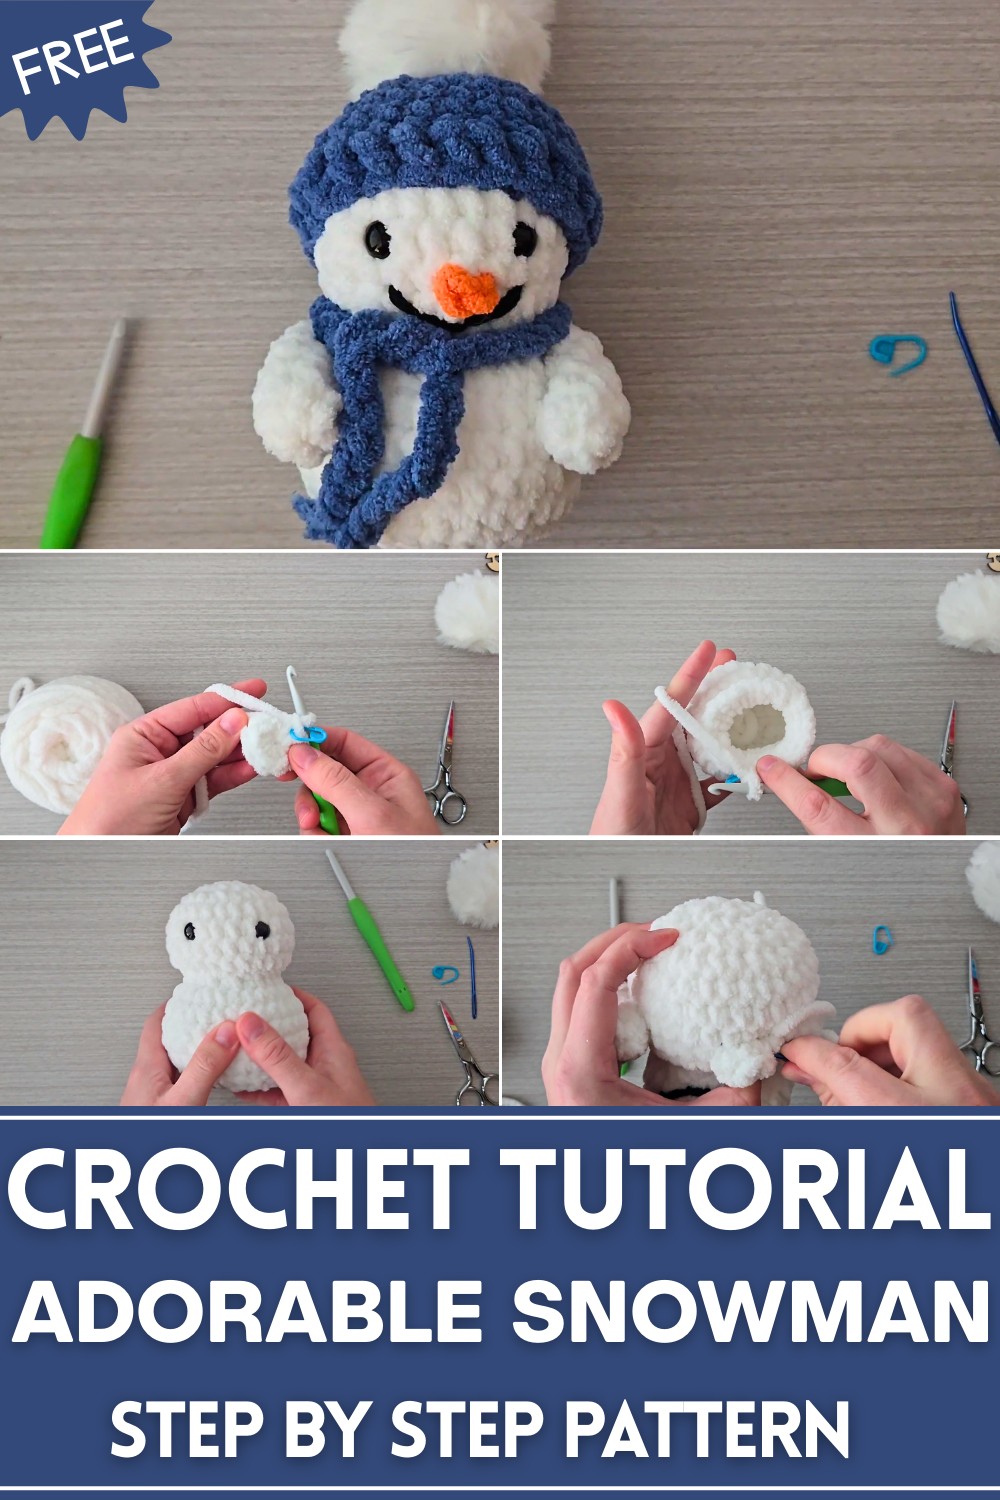
Its carefully formed details, from the tiny button eyes to the jaunty scarf, offer a comforting and nostalgic appeal that resonates with both children and adults. Perfect for adorning mantelpieces, windowsills, or holiday tables, it also serves as a thoughtful gift that carries warmth and care. Beyond its aesthetic charm, the crochet snowman encourages mindful handiwork, providing a satisfying sense of accomplishment and relaxation to those who assemble it.
Its versatility extends to festive displays, seasonal centerpieces, or even playful companions for storytelling moments.Soft textures and gentle colors enhance its visual appeal, creating an inviting atmosphere wherever it is placed. Practical, charming, and full of character, this snowman embodies a harmony of artistry and utility, making it a cherished addition that enriches home ambiance, inspires gentle smiles, and celebrates the quiet magic of wintertime in an accessible, enduring form.
Materials
- Yarn:
- Size 6 Yarn in white for the snowman's body.
- Red or your choice of color for the scarf and hat.
- Orange yarn for the carrot nose.
- Thinner black yarn for the smile.
- Hook: 6.5 mm crochet hook.
- Extras:
- Two 12 mm safety eyes.
- Scissors.
- Stitch marker.
- Needle.
- Toy stuffing for the body.
- Pom-pom for the hat tip (pre-made or handmade).
Step-by-Step Instructions
Part 1: Making the Snowman Body
Head and Upper Body
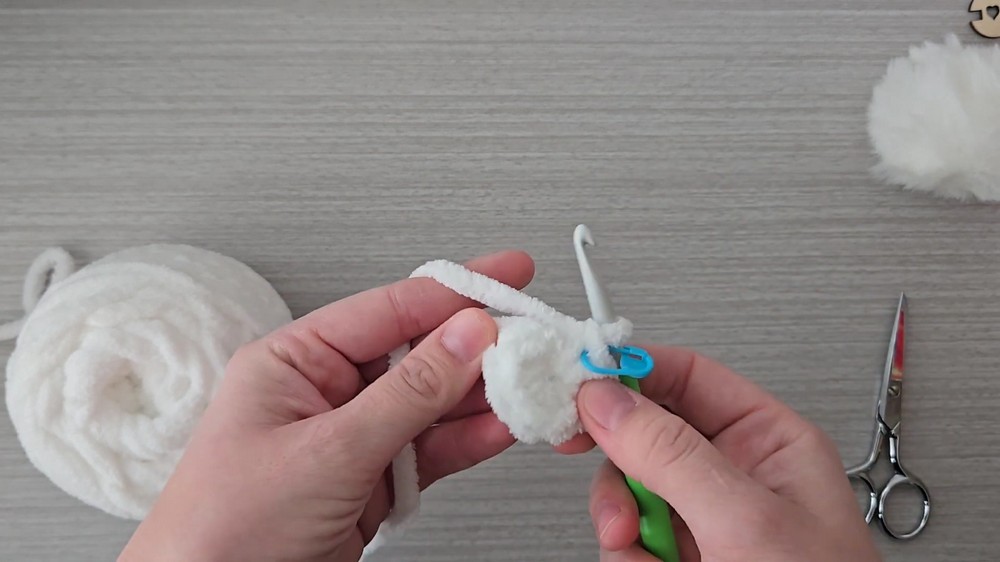
- Start with White Yarn
- Form a slip knot and chain two.
- Alternatively, create a magic ring if you're familiar with the technique.
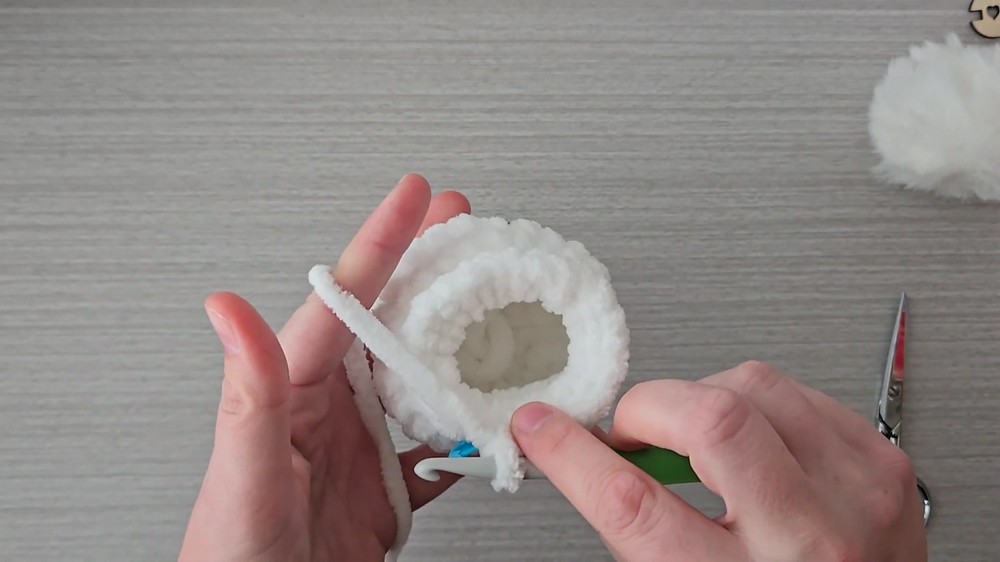
- Create the Base Circle
- Work eight single crochets into the first chain from the hook.
- Mark the end with a stitch marker to keep track of rounds.
- Increase Rounds
- Single crochet two times into each stitch to increase from 8 to 16 stitches.
- Move stitch marker to the last stitch once your round is complete.
- Expand the Body
- Alternate between single crochet and an increase pattern to expand further:
- Round 1: 1 single crochet, 1 increase — result should be 24 stitches.
- Round 2: Continue for four rounds totaling 24 single crochets each.
- Alternate between single crochet and an increase pattern to expand further:
- Decrease to Shape the Neck
- Work an invisible decrease: Combine front loops from two stitches and crochet a single stitch through them.
- Go from 24 stitches down to 12 stitches.
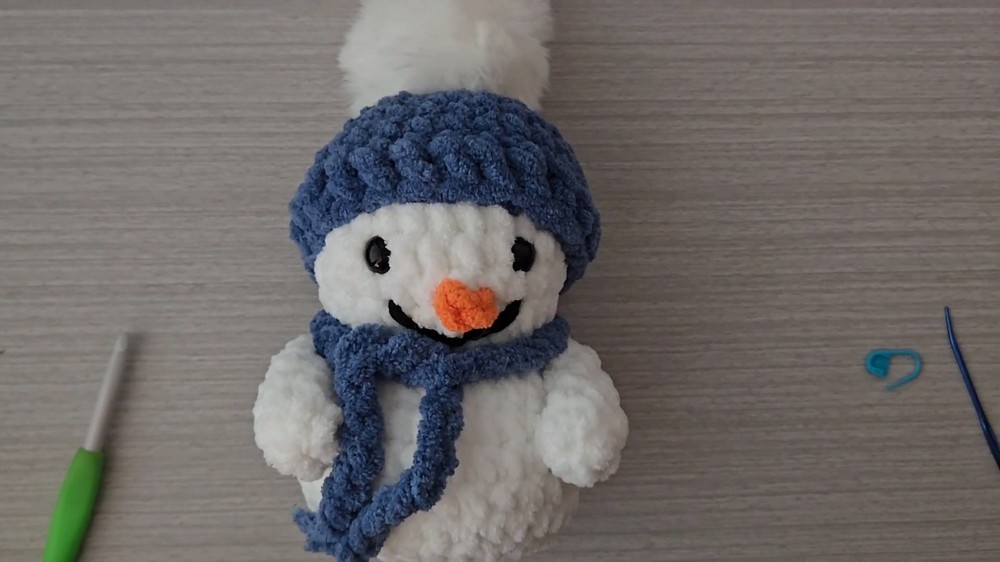
Add Safety Eyes
- Insert Safety Eyes
- Locate round five on the snowman’s head.
- Place eyes securely within the stitch ensuring no gaps around them.
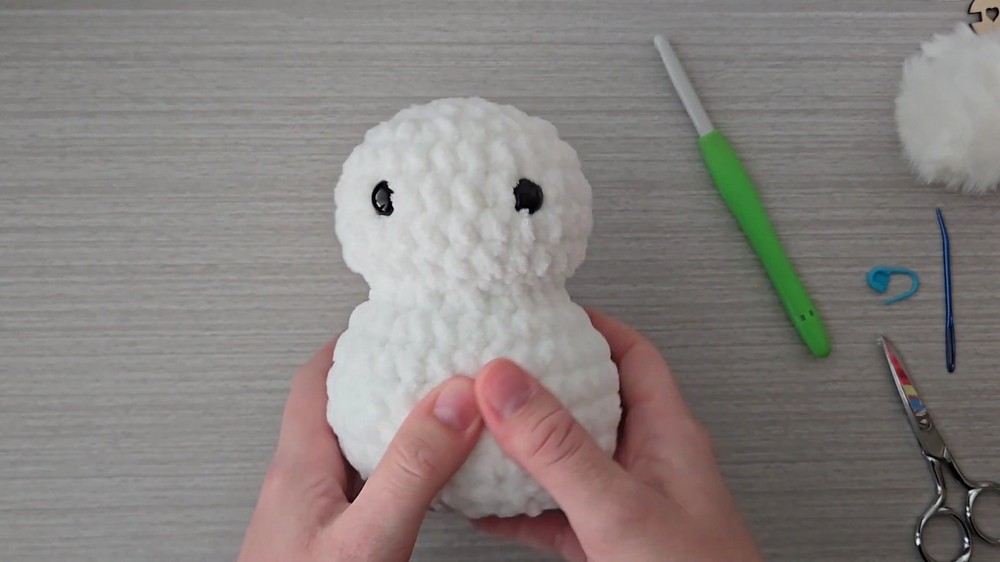
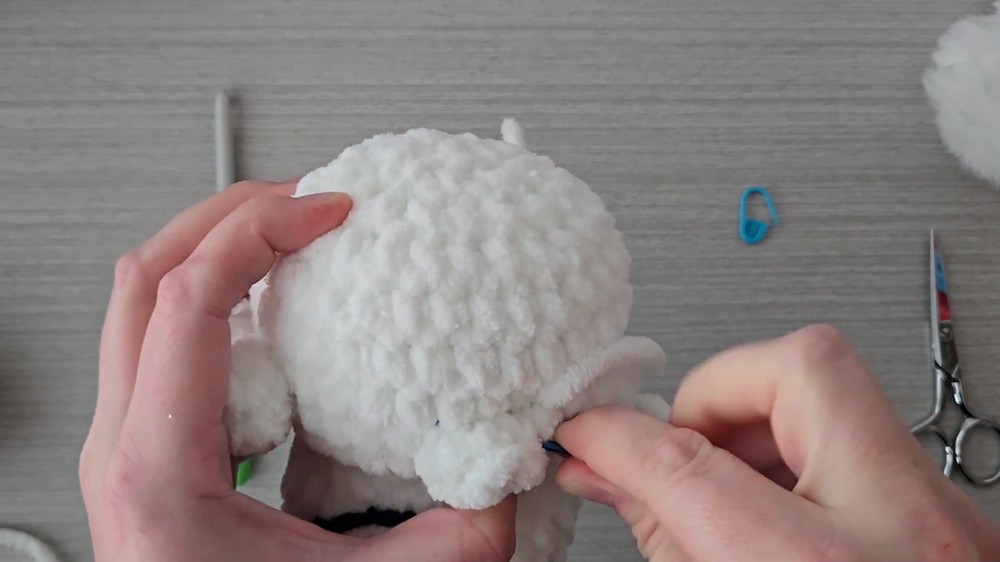
- Fill and Shape the Body
- Use toy stuffing inside the snowman until it attains a plump, full form.
- Shape the Upper Body
- Work increases from 12 back up to 24 stitches.
- Increase again to 30 stitches using a pattern of three single crochet and one increase.
- Form Lower Body
- Work single crochets across four rounds of 30 stitches.
- Decrease to tighten form: 3 single crochet and a decrease pattern — lower to 16 stitches.
- Repeat to decrease from 16 to 8 stitches and complete the lower body using invisible decreases.
Finish the Body
- Close and Secure
- Use needlework through the remaining top loops to close the body.
- Secure remaining yarn inside the body for a neat finish.
2: Facial Features
Carrot Nose
- Form Carrot Nose
- Thread orange yarn through, fold in half, pull through a stitch between the eyes, and chain two.
- Complete Nose
- Slip stitch back through the same original stitch to form the nose’s end.
Smile
- Thread Black Yarn for Smile
- Start beneath one eye and thread across to create a smile.
- Loop yarn through stitches to form a uniform curved smile beneath both eyes.
- Secure Smiley Face
- Knot ends and neatly hide inside the body using a needle or crochet hook.
3: Snowman Arms
- Form Arms
- Start by chaining two or using a magic ring, similar to the head method.
- Work six single crochets into the base chain.
- Extend Arm Length
- Crochet six rounds, maintaining six single crochets per round.
- Flatten end to close using single crochets through both sides.
- Attach Arms
- Sew arms in a tinseled belly-laugh position.
- Ensure symmetrical placement by checking relative positions visually to the body and face placement.
4: Hat and Scarf
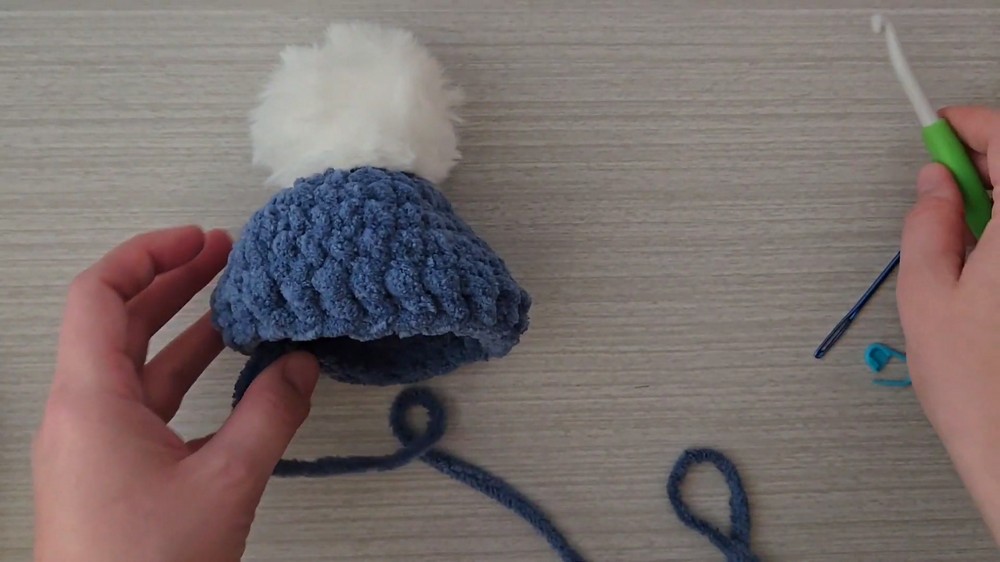
Hat
- Start Hat Base
- Chaining two initially and work eight single crochets into the base.
- Increase to 24 stitches.
- Increase Hat Size
- Four single crochets and an increase pattern added to fit the snowman's head snugly, adjusting for size.
- Create Final Hat Round
- Double crochet pattern around five rounds and decrease back to a base of 24 stitches.
- Add a Pom Pom
- Attach a pre-made pom-pom at the hat’s tip through a sewn button on the inside or securely knot tying.
- Secure Hat
- Sew hat onto the snowman's head to ensure no loss.
- Check alignment before finalizing the stitches underneath.
Scarf
- Chain the Scarf
- Slip knot and create a chain of 42.
- Test wrap for length and adjust accordingly.
- Finish and Style
- Hide scarf yarn ends securely.
- Trim ends at an inch from chain’s finish to prevent unraveling.

Special Features
- Quick Project: Designed to be completed in under an hour for skilled crocheters.
- Festive and Playful: Adds a touch of whimsy to any holiday decor.
- Beginner-Friendly Sections: Simplifies steps making it achievable for less experienced crocheters.
Level of Difficulty
- Skill Level: Beginner to Intermediate.
- Why: While single crochet and basic increase techniques are suitable for beginners, invisible decreases and facial embroidery require a bit more practice.
Tutor's Suggestions
- Use a Stitch Marker: Helps track stitches especially when using white yarn.
- Secure Eyes Properly: Ensure there are no large gaps around safety eyes to prevent popping through.
- Explore Different Nose Sizes: Make adjustments based on yarn weight and tension to your snowman’s face shape preferences.
Uses
- Holiday Decor: Perfect holiday-themed decoration, fun for winter and Christmas displays.
- Gifts: A charming, handmade gift option for friends and family.
Tip
Maintain firm tension when working decreases to avoid leaving visible holes. This preserves the shape and appearance of your finished snowman.
Conclusion
Creating "Marry the Snowman" with guidance blends cheerful design and practical techniques. Engaging for crocheters of all levels, this snowman is both whimsical and functional, inviting joy and creativity into your festive moments. Whether for gifts or decor, Marry the Snowman’s charm adds warmth and magical touches to the holiday season.


Leave a Reply